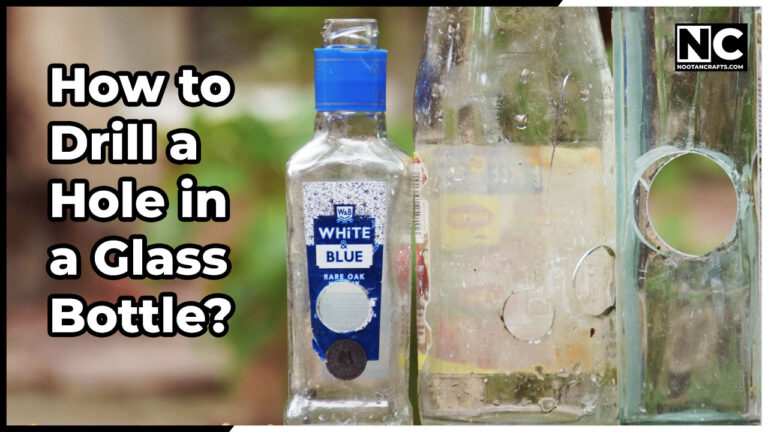
Due to their multifarious shape and appealing colors, glass bottles are one of the most popular decorative items. You can unleash your creativity and make something unique by reusing old glass bottles.
Working with glass bottles is challenging because of their delicate nature; one mistake and game over. As you know to make it work, we either need to cut or make a hole in the glass bottle; that’s why you’re here, aren’t you? In this post, we will discuss various methods of how to drill a hole in a glass bottle.
Method 1: Use a diamond drill bit to make a hole in a glass bottle
Making a hole in the glass bottle with the diamond drill bit is easy and effective, providing the most accurate cut.
Valid for: Making round holes.
Tools required:
- A glass bottle (of course!)
- Marker
- Drill machine
- Diamond drill bit
- Lubricant (water or mineral oil)
- Sandpaper
- Small flat wooden piece (optional)
- Wood drill bit (optional)
Step 1: Mark the drilling point on the bottle using the marker. Something drill gets slips, and this marker will help us to keep on the right spot.
Step 2: Put the bottle on a rubber pad or towel, and hold it down so it doesn’t slip around.
Step 3: Apply the water or mineral oil on the drilling point as lubrication. You can also use a water-filled plastic bottle for continuous lubrication by making a small hole.
Step 4: Start the drill at approx 45-degree angle with low speed and gradually move it at 90-degree. The reason behind starting the drill at an angle is that it slips. Now apply gentle and consistent pressure on the machine.
You can also use a small flat wooden piece for guide by making the same size hole. It’s an even more effective way for a steady drilling process.
Step 5: When the desired hole is formed, you can smooth it with the help of sanding.
How to make the hole in a glass bottle without a power drill.
Method 2: Use a glass bottle cutter to make a whole in a glass bottle
Valid for: Cutting bottles or making any shape holes.
Tools required:
- Glass bottle
- Glass bottle cutter
- Boiled and cold water
- Sandpaper
Step 1: Place the cutter on the bottle and rotate it evenly to make a scoreline around it. It’s a bit tricky, so you have to be patient.
Step 2: After forming the score line, carefully pour boiling water. Immediately pour the cold water to crack the glass along the line.
Step 3: Use the sandpaper to smooth the round edges.
Method 3: Use a soldering Iron and cutting pen to make a hole in a glass bottle
Valid for: Cutting bottles or making any shape holes.
Tools required:
- Marker
- Glass bottle
- Soldering iron
- Glass cutting pen
- Sandpaper
Step 1: Draw the desired shape on the bottle using the marker.
Step 2: Make a scoreline with the glass cutting pen; you need a starting point to make it work.
Step 3: Place the hot soldering iron on that scoreline and apply slight pressure, and the glass will start cracking on the marked line. You have to follow this procedure gradually till the whole shape gets cracked.
Step 4: After you complete the cracking process, you might see the cracked part is still intact. You may think applying more pressure with the soldering iron can separate this part but don’t do that; it may break the surrounding.
Step 5: Try to tap that broken part from the inside with the help of a stick or pen. When the unwanted glass piece is removed, sand the cut area smoothly.
Conclusion
Drilling or cutting glass bottles is a bit tricky, and it requires patience and practice. It’s natural to mess up initially; you might make the wrong holes or crack the bottle. Before you start working on your favorite bottle, practice on an old bottle that you won’t mind throwing.
Hopefully, it will help you. Thank you very much for reading!