Drilling through metal is tricky, even if you have all the “perfect” tools. Without the proper knowledge, you might have difficulty making a hole in metal with a hand drill. Trust me; I have broken and blunted dozens of expensive drill bits and learned my lesson. Especially if we talk about handheld drilling, it becomes even more challenging.
Metalworking is a skill that opens up a world of opportunities for DIY enthusiasts like us. Whether you’re crafting jewelry, building furniture, or repairing household items, knowing how to drill through metal is a fundamental skill. In this guide, I’ll walk you through the process of how to drill through metal with a hand drill safely and precisely.
How to Drill Through Metal With a Hand Drill – Step-by-step Guide
Time needed: 15 minutes
Before we dive into the steps, let’s gather the essential materials and tools for drilling through metal with a hand drill.
Hand drill: It doesn’t matter whether you have a corded or cordless drill machine as long as it has enough torque to handle the load.
Metal drill bits: Choose the appropriate size and bit types according to your metal. Don’t worry; I have explained it elaborately in the guide.
Safety gear: Safety glasses, hearing protection, and work gloves.
Metal piece: The material you want to drill through.
Clamps or a vise: To secure the metal piece in place.
Marker or punch: For marking the drilling spot.
Cutting oil or lubricant: Helps reduce friction and heat during drilling.
Ruler or measuring tape: For accurate measurements.
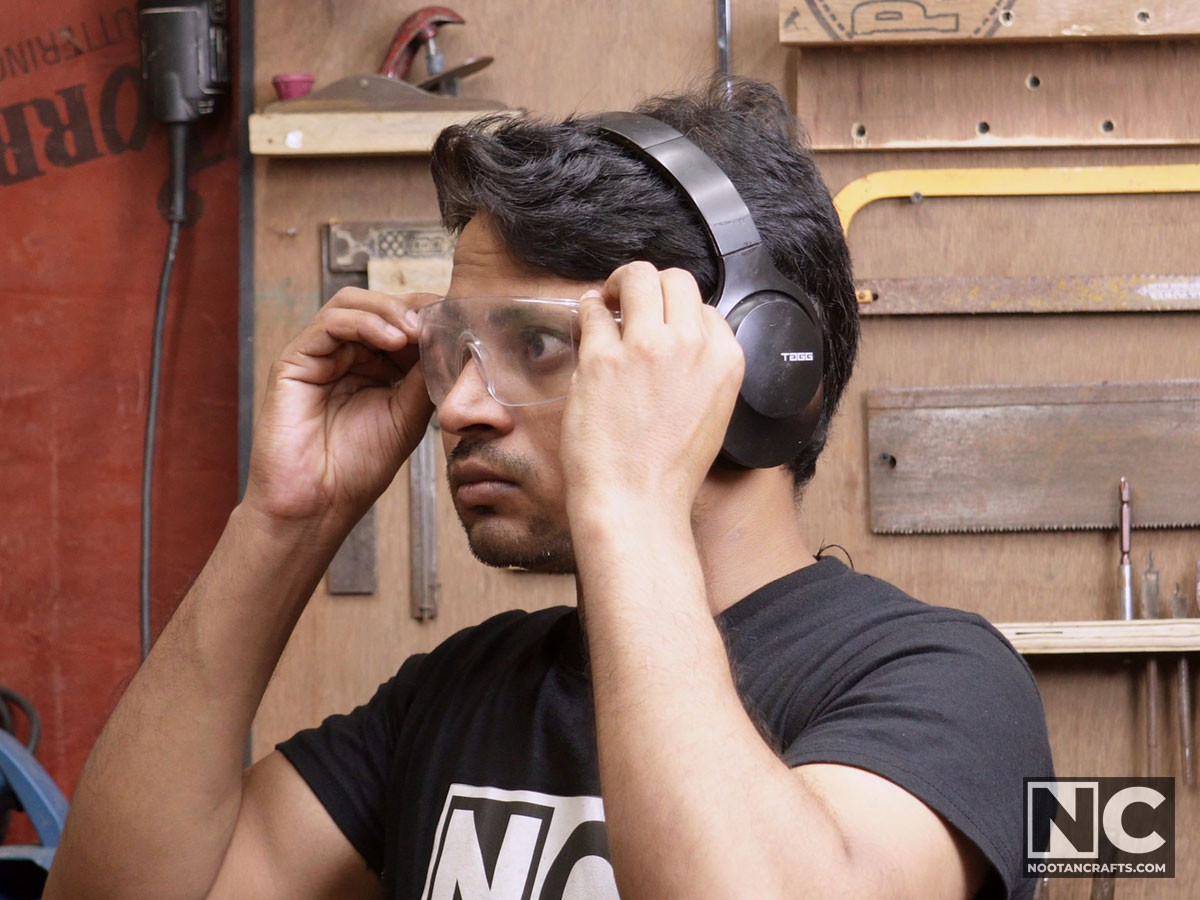
- Safety First
Safety is crucial; when drilling through metal, lots of debris will fly around, and the machine will make a loud noise. Therefore, it’s recommended to wear goggles and protect your ears. You can also wear a glove to protect your hand from unwanted cuts when dealing with metal.

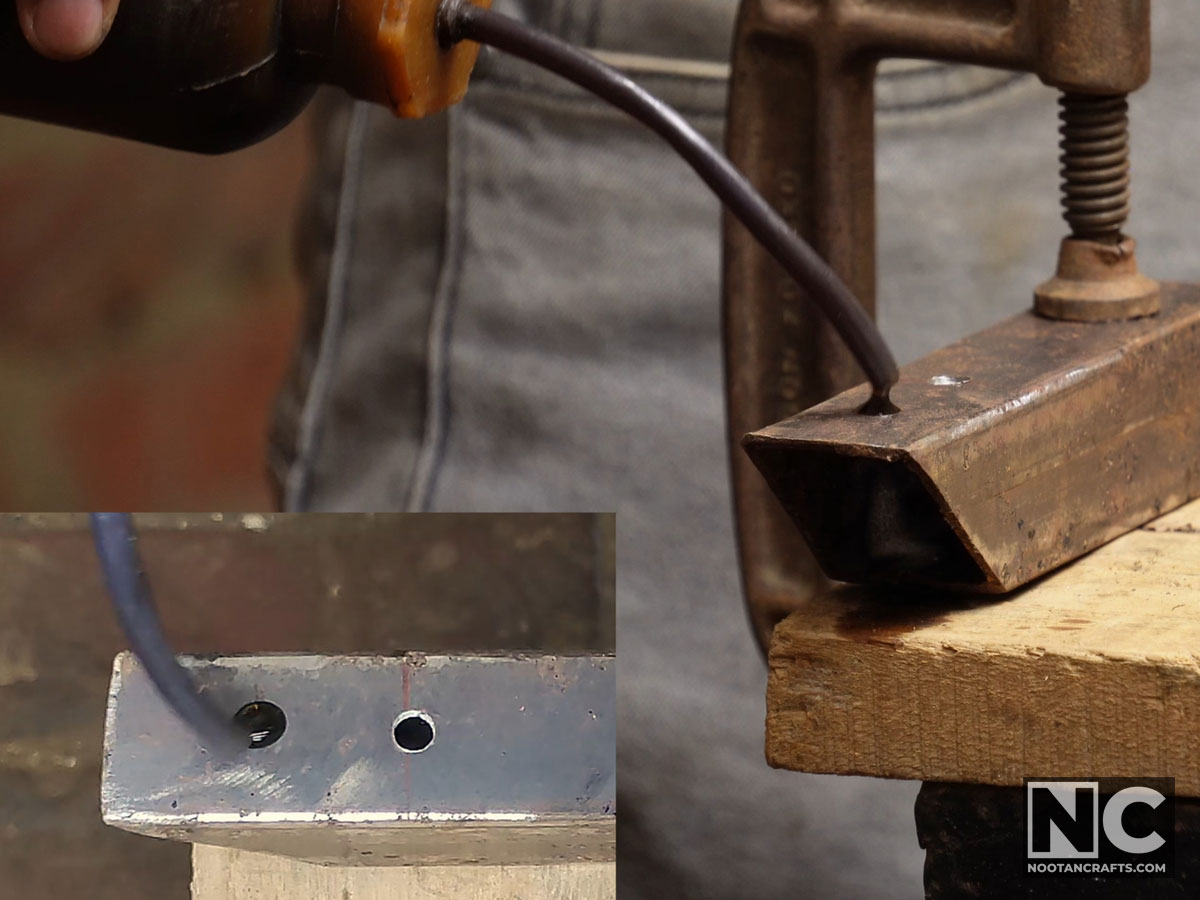
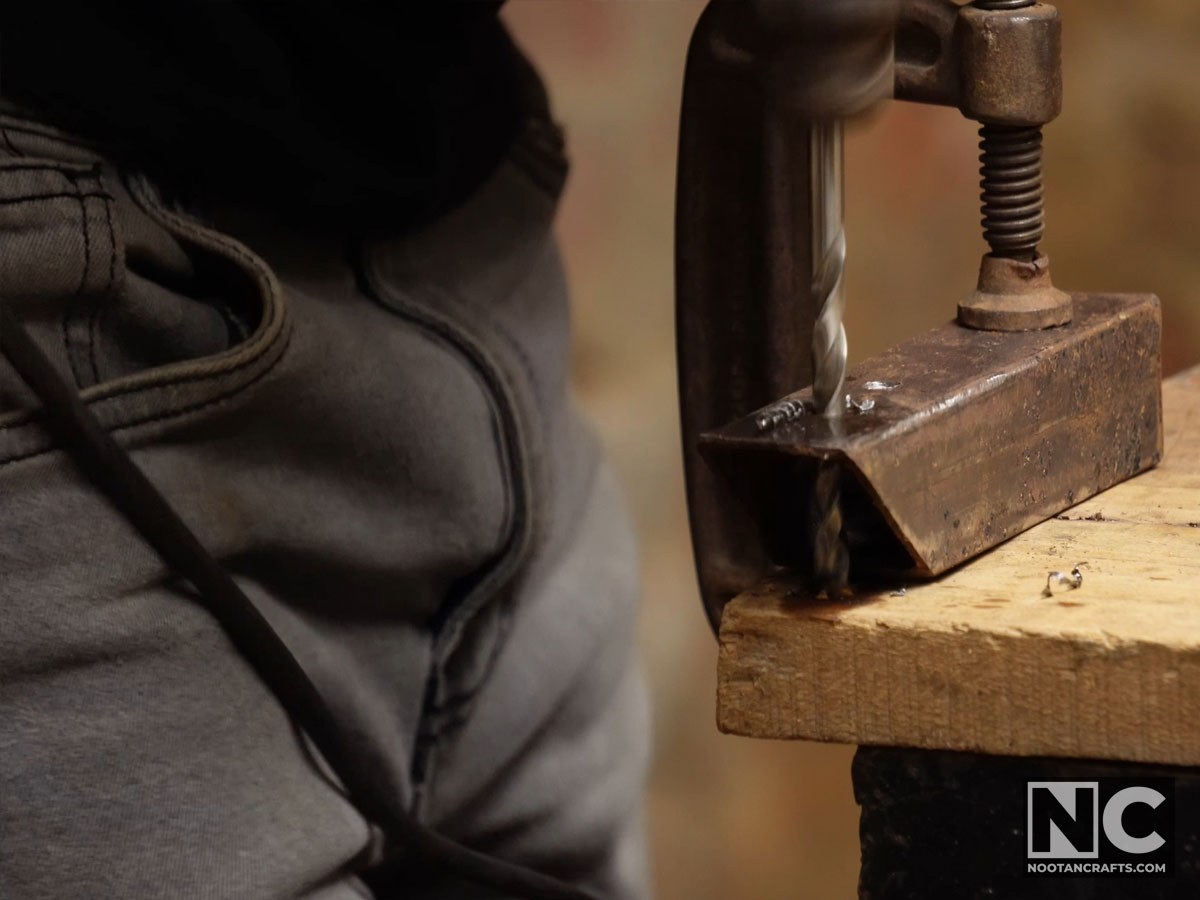
- Secure Your Workpiece
Because we are drilling handheld, we must hold the workpiece in a vice or with clamps to avoid any injuries and accidents.
- Mark Your Drilling Spot
Yes, you have to double-check your measurements before drilling. Moreover, you must punch a mark on the spot to provide a stable point to start drilling.
- Choose the Right Drill Bit
First, you have to figure out which size of hole you want. It’s important because if it’s larger, you’ll need to make a pilot hole before it. For example, with the bosch HSS PointTeQ drill bit, you can make up to 10mm holes without a pilot hole.
However, making a pilot hole is always a good idea because this way, you’ll need to apply less pressure, which decreases the chances of breaking the drill bit.
For those who don’t know what a pilot hole is; basically, you have to use a smaller bit before using the final large bit. Sometimes, you might need to use two drill bits before the final hole if it’s too large.
Now, you must select the appropriate drill bit type according to your project. Here are some of the most popular and common drill bit types.
Standard HSS (High-speed steel) – These bits are versatile and most commonly used. With these bits, you can easily drill through mild steel, aluminum, brass, and copper.
Cobalt – These bits are Ideal for stainless steel and other hard metals because of their heat resistance and durability.
Titanium-Coated – Titanium-coated bits are more heat resistant and harder than HSS and cobalt. You can use them to drill in the stainless steel and other hard metals.
Carbide – Best for drilling in extremely hard materials like hardened steel. These bits are extremely hard and can handle intense heat.
Step drill bit – If you don’t want to change bits to make a larger hole, the step drill bits are the right choice. These are ideal for sheet metal and other various materials. - Apply Lubrication
You have tightened the bit in the drill machine and are ready to drill. Apply some lubricant on the drill spot; it helps to cut through the metal more smoothly.
- Start Drilling
Hold the drill with a firm grip and align the drill bit tip with your marked spot. Begin drilling at a slow speed to create a small pilot hole. Gradually increase the speed and pressure as you go deeper.
Most people make mistakes; they don’t apply enough pressure and run the machine at a higher RPM. You must master the right speed and pressure to make a successful hole; it’s easy.
How can you check whether you’re on the right track or not? Keep an eye on the metal chips; if they are too small, either you’re on higher speed, or not applying enough pressure. If you are getting a longer continuous chip, you’re doing great. Drill steadily and consistently to avoid binding or breaking the drill bit. Keep the drill perpendicular to the metal surface for a straight hole. - Keep Cool
During drilling, periodically pause and apply more lubricant to keep the drill bit and metal cool. Overheating can dull the bit and damage the metal.
Don’t worry if drilling a small hole or working with a thin metal; you don’t need much lubricant. - Clear Chips
As you drill, metal chips will accumulate in the hole. Use a brush or compressed air to remove them regularly to maintain visibility and prevent jamming.
- Finish Drilling
Continue drilling until you’ve reached the desired depth. Slow down as you approach the end to prevent any damage to your workpiece. - Deburr and Clean Up
Once you’ve finished drilling, attach a deburring bit or a bit larger bit in the drill. This way, you can shave off raised edges on the metal, giving a smooth finish. Now, turn off the hand drill and let it cool.
Remove your metal piece from the clamps or vise, and remove any remaining lubricant or debris.


Conclusion
There you have it. Now you know how to make a hole in the metal with a hand drill. I recommend you make some test holes on the scrap metal before working on the final piece.
It’s not always the tools; sometimes it’s us. When I started my DIY journey, I also used to think that my bits weren’t sharp enough. I purchased titanium-coated bits just to drill in the mild steel but was unsuccessful. Just keep practicing, and you can do it! Hopefully, this article helped you. If you have any doubts, please comment. Thanks for reading!