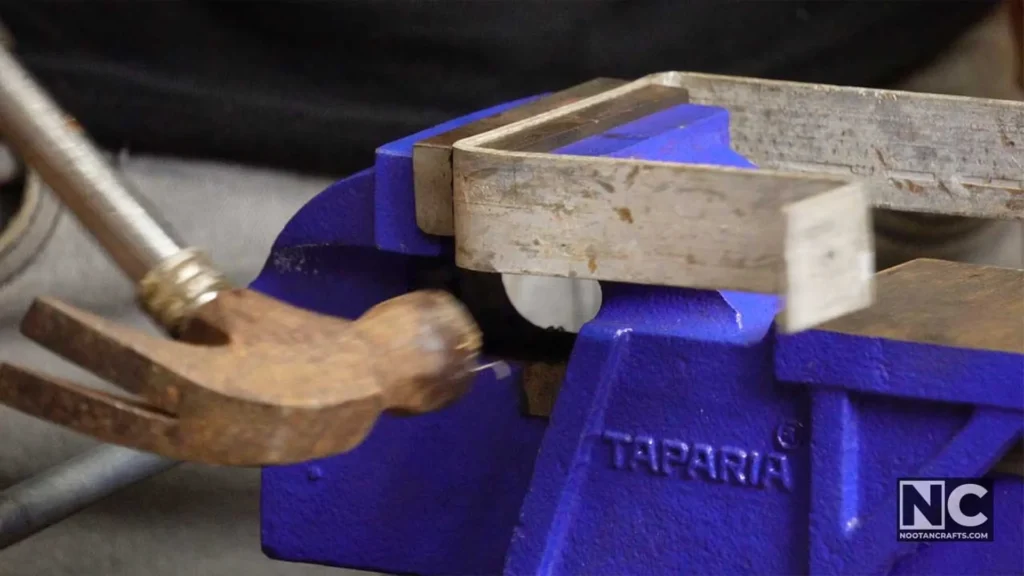
A year ago, I was flattening a steel bar with a hammer in my newly mounted vise. Before the bar had taken a single dent, the whole vise broke loose and landed on the floor. It was held down with ordinary screws, not bolts through the bench.
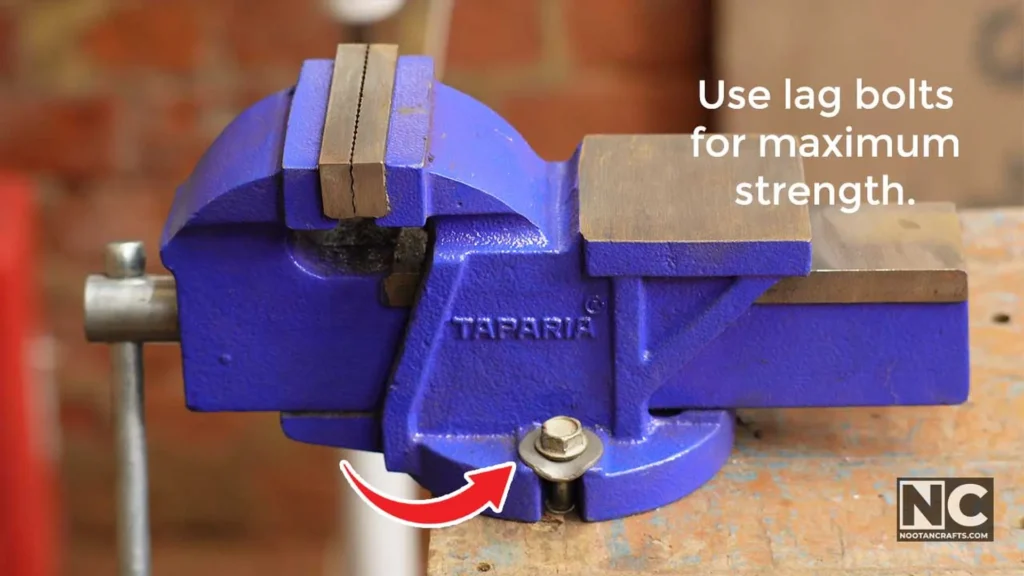
That is the tell. The mounting gave up before the steel did. When you hammer work in a vise, the vise becomes a lever. The sticking-up work is the long arm. The bolts are the fulcrum. A blow near the top of that bar pulls up on the back bolts with many times the force of the hammer itself. Lag screws lose that fight. Through-bolts with a washer under the bench win it.
So mount it with bolts that go all the way through the bench. Put the fixed jaw at the front edge. Do that, and the vise will outlast the bench it sits on.
The rest of this page covers bolt sizes, the bench thickness you need, and what to do if your bench is too thin.
- Through-bolts, Grade 5 or Grade 8, as thick as the vise holes allow
- Flat washers, two per bolt
- Nyloc nuts, or plain nuts plus lock washers
- A drill and a bit that matches the bolt diameter
- A wrench or socket set
- Measuring tape, marker, and a center punch
- A scrap of plywood or steel plate, if the bench is thin
- Safety glasses
A vise that tears loose does not slide gently — it goes where the force was pointing
Mine landed on the floor and I was lucky, because my free hand was on the bar. The reason this is worth taking seriously is the lever effect above. A vise weighs 20 to 40 pounds. When the fasteners let go mid-swing, all the energy you were putting into the work goes into moving the vise instead, and it moves fast. Your free hand is usually holding the workpiece, right in the path.
- Test it before you trust it. Clamp a long bar upright and pull hard on the top by hand. If you feel any lift at the back of the base, it is not mounted yet.
- Check the bolts after the first week of real use. Wood compresses under the washers, and a nut that felt tight goes slack. Then check every few months.
- Never stand the bench on an unsupported spot. Hammer over a leg, not over the middle of a long top. The top will flex, and flex is what loosens fasteners.
- Wear glasses when you hammer metal in a vise. Hardened jaw faces chip, and so do struck bars.
- Do not use wood screws. Not ever. They are not fasteners for this job.
What’s Inside!
- 1 – How to Mount a Bench Vise, Step by Step
- 2 – What Size Bolts and How Thick a Bench
- 3 – Why the Fixed Jaw Goes at the Edge
- 4 – Mounting on Wood, Metal, or a Thin Bench
- 5 – Where People Get This Wrong
- 6 – If You Are Still Choosing a Vise
- 7 – Bench Vise Mounting Questions People Actually Ask
- 8 – The One Thing Not to Get Wrong
How to Mount a Bench Vise, Step by Step
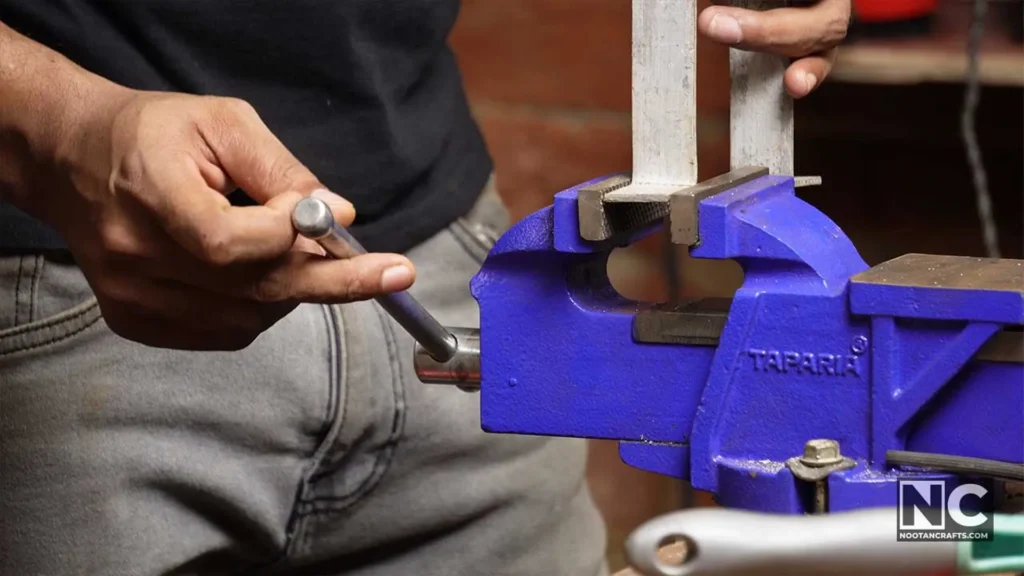
- Pick the corner, not the middleMount the vise over a bench leg. That is the stiffest part of the bench, and it is where you want hammer blows landing. The middle of a long top flexes, and flexing works fasteners loose.
- Put it on your non-dominant sideRight-handed, mount it on the left front corner. That way your dominant hand swings freely and your other hand steadies the work.
- Set the fixed jaw at the front edgeThe fixed jaw is the one closest to the bench edge. It should sit flush with that edge, or stick out a hair past it. This is the step most guides get wrong, and the reason for it is below.
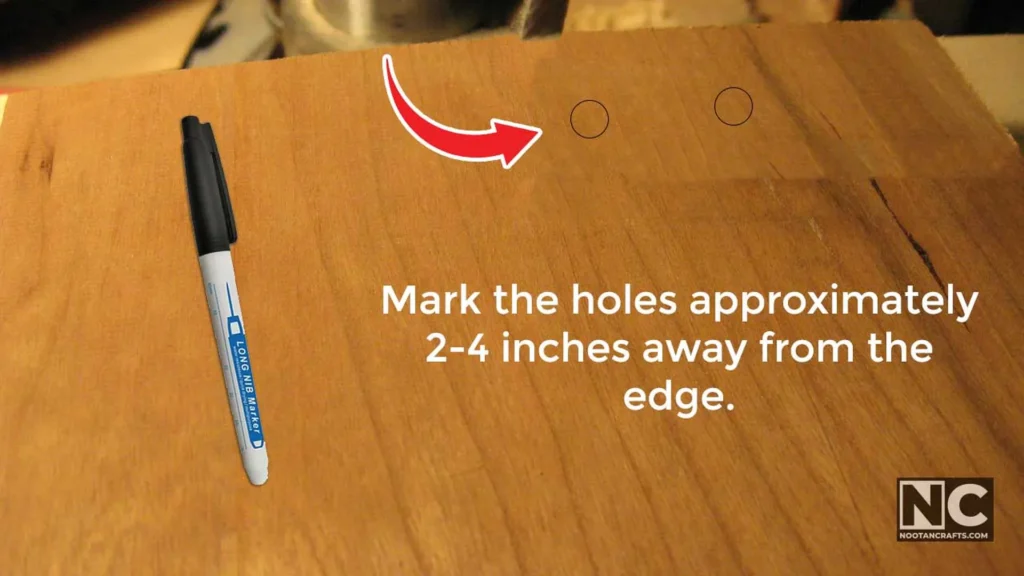
- Mark the holes through the baseSit the vise where you want it. Mark through each mounting hole with a marker. Punch each mark with a center punch so the bit cannot wander.
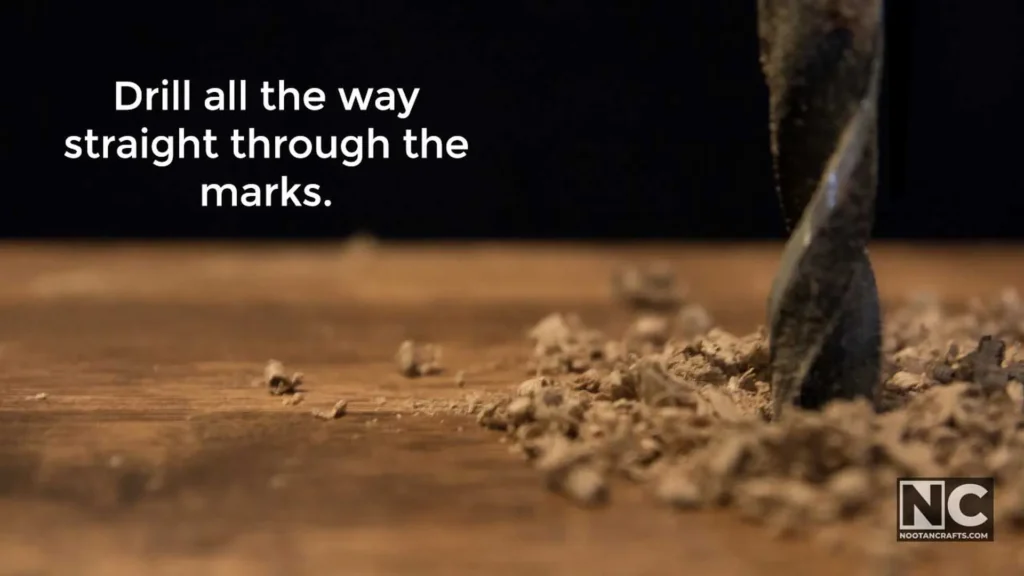
- Drill the holes to match the boltsUse a bit the same size as the bolt shank, not larger. A loose hole lets the vise shift every time you load it, and that movement is what wears the holes oval.
- Bolt it down with a washer top and bottomWasher under the bolt head, washer under the nut. The bottom washer is the one that matters. It spreads the pull over a wider patch of wood instead of letting the nut crush its way up into the bench.
- Use Nyloc nuts, or plain nuts with lock washersVibration walks a plain nut loose over weeks. You will not notice until something moves.
- Tighten evenly, in a cross patternSnug all of them first, then go round again and tighten fully. Doing one bolt all the way down first tilts the base and loads the others badly.
- Test it properlyClamp a long bar upright and haul on the top of it. Then hit it a few times. Better it fails now, while you are expecting it, than mid-job.
What Size Bolts and How Thick a Bench
These are the numbers. Most guides skip them and just say “use strong bolts.”
| What | Use this | Why |
|---|---|---|
| Bolt type | Through-bolts, all the way through the bench | Lag screws grip only the wood fibers around the thread. Shock loading pulls them out |
| Bolt grade | Grade 5, or Grade 8 for a heavy vise | Cheap mild steel bolts stretch and stay stretched, and then the vise rocks |
| Bolt diameter | The biggest that fits the vise holes, usually 3/8 in (10 mm) or 1/2 in (12 mm) | A fatter bolt resists sideways shear better. There is no reason to go thinner than the hole |
| Bench top thickness | 1 1/2 in (38 mm) minimum | Solid hardwood, or two layers of 3/4 in (18 mm) plywood or MDF glued together |
| Washers | One under the head, one under the nut | The bottom one spreads the pull. Without it the nut sinks into the wood and the joint goes slack |
| Nuts | Nyloc, or plain nut plus lock washer | Vibration loosens a plain nut in weeks |
| Jaw position | Fixed jaw flush with the bench edge | So long work can hang down past the bench instead of fouling it |
| Position on the bench | Over a leg, at a corner | The stiffest point. Mid-span top flexes under blows |
Lag screws are not banned, they are just second choice. They are fine on a top of 3 in (75 mm) or more, where there is enough depth for the threads to hold. Below that, or on any bench where you plan to hammer, bolt right through. If you cannot reach under your bench to fit a nut, that is a sign the bench is the problem, not the fastener.
Why the Fixed Jaw Goes at the Edge
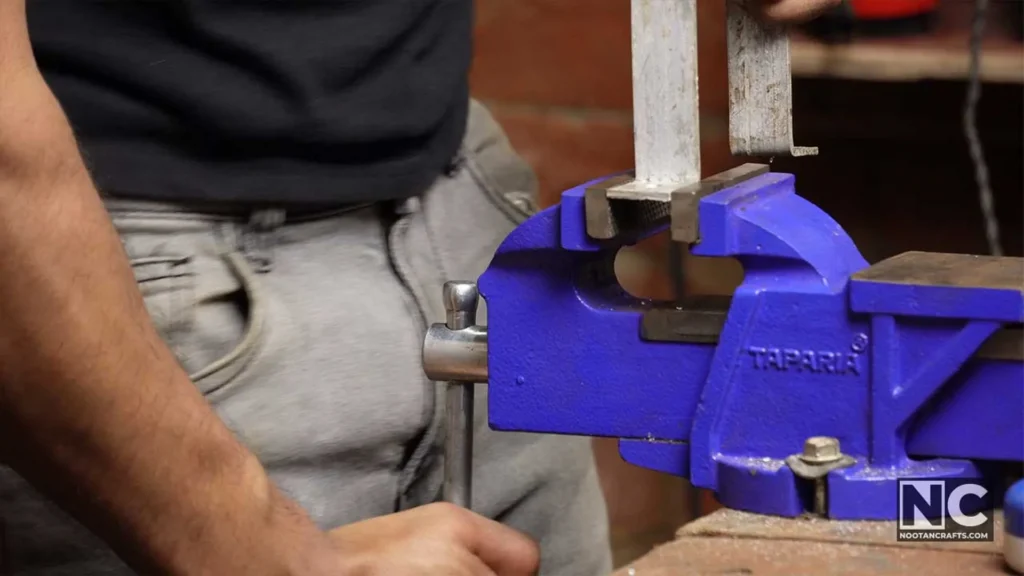
Plenty of guides tell you to set the vise back two to four inches from the edge. That advice costs you half of what a vise is for.
Think about clamping a long pipe upright to cut a thread. Or a door edge. Or a 3 ft bar you need to bend. If the fixed jaw sits back from the edge, the work hits the bench top before it can hang down, and you simply cannot hold it.
With the fixed jaw flush at the edge, long work hangs straight down the front of the bench, clear of everything. That’s why vises are built with the fixed jaw at the front and the mounting holes behind it.
One honest caveat. Sources do not fully agree here. Some recommend setting a vise back on a thin or flexible bench, because the overhang at the edge is the weakest part of a top. That is a fair point, but the answer is a thicker bench or a backing plate, not giving up the vertical clamp. If your top is thin and you cannot change it, set it back and accept the limit — just know what you are trading away.
Mounting on Wood, Metal, or a Thin Bench
| Your bench | Do this | Watch for |
|---|---|---|
| Solid wood, 1 1/2 in or thicker | Through-bolts, washers both sides, Nyloc nuts | Check the nuts after a week. Wood compresses |
| Thin wood or single-layer ply | Add a steel plate or a second layer of ply underneath, then bolt through both | The plate must be wider than the vise base, or you have just moved the problem |
| Steel bench | Drill through and use carriage bolts with Nyloc nuts | Deburr the holes. A sharp edge cuts into the bolt over time |
| Steel bench, permanent | Weld the base on | Strongest option, and you can never move or replace the vise |
| Portable or folding bench | Use a clamp-on vise, or bolt the vise to a plywood pad and clamp the pad down | Neither will take heavy hammering. Know the limit |
The plywood-pad trick is worth knowing if you work outdoors or move around. Bolt the vise to a piece of 3/4 in (18 mm) ply about twice the size of its base. Then clamp that pad to whatever bench you are at. You get a proper bolted vise that travels.
Where People Get This Wrong
- Screws instead of bolts. The one that got me. Ordinary screws hold a vise fine right up until the first real hammer blow, and then they do not.
- Lag screws into a thin top. Better than screws, still not enough. They pull out under shock loading.
- No washer under the nut. The nut crushes into the wood, the joint goes slack, and now the vise rocks even though the nut is tight.
- Drilling the holes oversize. “Slightly bigger so it fits easily” sounds sensible. It lets the vise shift under every load, and the holes wear oval.
- Mounting mid-bench. The top flexes, the flexing loosens the bolts, and you blame the bolts.
- Tightening one bolt fully before the others. Tilts the base. Snug them all, then tighten in a cross pattern.
- Never rechecking. Wood keeps compressing for weeks. One re-tighten after the first week prevents most failures.
If You Are Still Choosing a Vise
If you haven’t bought one yet, one spec matters more than jaw size, and almost nobody talks about it.
What the body is made of. Most cheap vises are gray iron, around 30,000 PSI. Gray iron is brittle. Put a shock load into it, and it cracks instead of bending. Ductile iron runs 60,000 to 80,000 PSI and gives a little before it fails. If you hammer in your vise, that is the difference between a tool that lasts and a tool that splits one day without warning.
Jaw width and jaw opening are not the same number, and listings mix them up constantly. Jaw width is how long the gripping faces are. Jaw opening is how far they part. A vise sold as a 4.5 in vise may only open 3 in. Check both before you buy, because the opening is the one that decides whether your work fits.
The third number worth checking is throat depth — how far down from the top of the jaws you can reach. A deep throat lets you hold a wide plate without it fouling the vise body.


Last update on 2026-10-13 / Affiliate links / Images from Amazon Product Advertising API
| If this is you | Get | Why |
|---|---|---|
| You hammer metal, and you want one vise for life | Wilton 6 in Apprentice | Ductile iron at 72,000 PSI. Roughly twice the strength of the gray iron in most vises at this size, and it bends before it cracks |
| Home workshop, occasional use, sensible money | Yost LV-4 | 4.5 in jaws, 3 in opening, swivel base. Note it is gray iron, so go easy with a hammer — fine for holding, filing and sawing |
| No bench to drill, or you move around | STEINBRÜCKE 3.2 in clamp-on | Clamps to a top up to 4 in thick, 360° swivel, cast steel jaws. Nothing to mount, and nothing to hammer hard either |
Being straight about the middle one. By the argument at the top of this section, the Yost is the weaker material. It is here because most people are not flattening steel bars, and for holding work while you file, saw or glue, gray iron is perfectly good and costs far less. Just do not buy it expecting to hammer on it. If you will, buy the ductile one.
One more thing on spec sheets. If a listing claims ductile iron and then gives a tensile strength in the single thousands of PSI, that is a typo or worse — real ductile iron does not go below about 60,000. A maker who cannot state its own material correctly is not one to trust with the thing holding steel next to your hands.
Bench Vise Mounting Questions People Actually Ask
Can I mount a vise without drilling?
Yes, with a clamp-on vise. They are useful for light work and for benches you do not own. They will not take hammering, and they will creep under sustained pressure. If you mostly file, saw and hold small parts, a clamp-on is fine.
How far from the edge should the vise go?
The fixed jaw should be flush with the front edge, or a fraction past it. That is what lets you clamp long work hanging straight down. Set it back and you lose that entirely. The exception is a thin or flexible top, where the overhang is weak — there, add a backing plate rather than moving the vise inward.
Lag screws or through-bolts?
Through-bolts, unless your top is 3 in (75 mm) or more. Lag screws hold only the wood around their threads, and shock loading pulls them out. This is the single most common reason a vise comes loose.
My bench is only 3/4 inch thick. What now?
Add material rather than stronger fasteners. Glue and screw a second layer of 3/4 in (18 mm) plywood underneath, or bolt through a steel plate wider than the vise base. A thin top will flex no matter what bolts you use, and flexing is what loosens them.
What size vise should I buy?
A 4 to 6 in jaw covers almost all home and small workshop work. Bigger vises are heavier, need a stronger bench, and cost more without helping on the jobs most people actually do.
Can I mount a vise sideways or on the end of the bench?
Some vises allow it, and the end of a bench can be a good spot if that is where the leg is. What matters is the same either way: bolt through, washers both sides, over a solid support.
Should I put a wooden block under the vise?
Only if you need the height. A spacer block raises the work to a comfortable level, but it also lengthens the lever your bolts are fighting, so bolt it through the block and the bench together, and expect to check the nuts more often.
How tight should the nuts be?
Firm with a normal wrench, not standing on it. Overtightening crushes the wood under the washer, and a crushed fiber never springs back — you get a joint that feels tight and is not. Snug them evenly, use the bar test, and re-check after a week.
The One Thing Not to Get Wrong
Bolt it right through the bench, with a washer under the nut.
Everything else on this page is worth doing. That one thing is the difference between a vise that stays put and a vise on the floor. Mine was on the floor because it was held down with screws.
Then clamp a long bar in it and try to pull it off the bench. If nothing moves, you are finished. If something moves, it’s better than having a hammer in your hand.