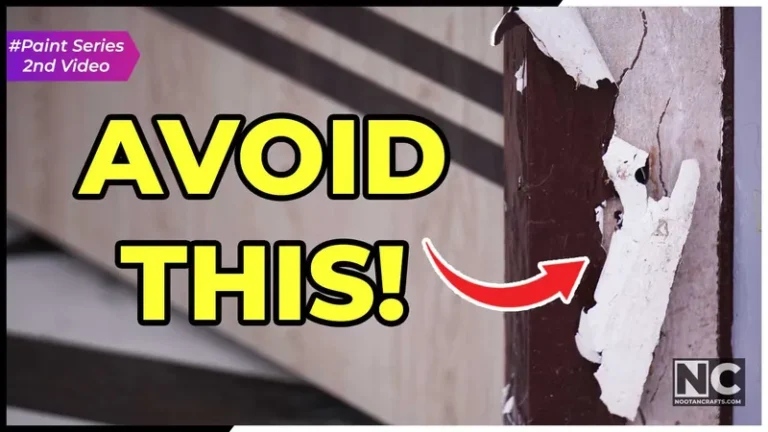
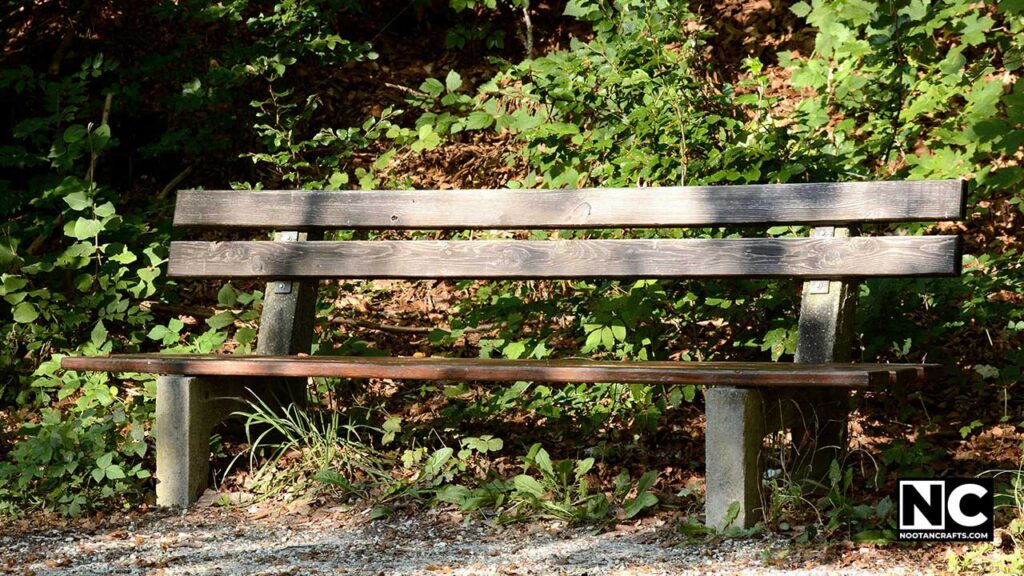
I treated my outdoor garden bench with coffee. It gave the wood a darker, richer look, and I liked it for a while. But it did not last. The color faded, and the wood went dry and thirsty-looking. In the end, I painted the bench, and the paint has lasted far longer out in the sun.
Back then, I didn’t know about linseed oil. Now I use it often on my outdoor furniture, because it is cheap and I can buy it anywhere.
I am telling you that first because most natural wood treatments you will find online don’t protect wood outdoors at all. Olive oil never dries, so it stays greasy and turns rancid. Tea and coffee are color, not protection, and they fade in one season. Baking soda cleans wood; it does not preserve it.
Three natural methods actually work outdoors: a drying oil like boiled linseed or tung, charring the surface, and starting with a wood that resists rot on its own. The rest of this page is what each one does, how often you have to redo it, and which popular remedies to skip.
Oily rags can catch fire on their own, with no spark and no flame
Drying oils protect wood by reacting with oxygen and hardening. That reaction gives off heat. A rag soaked in linseed oil and left bunched up holds that heat in, the temperature climbs, and the rag can reach its ignition point — around 250 °F (120 °C) — and start burning by itself. East Sussex Fire & Rescue Service warns about exactly this. The US National Park Service recorded a case where a crew’s oily rag ignited the same day it was used, lying flat on a workbench.
- Never leave oily rags in a pile, a bin, or a pocket. That is the one thing that causes these fires.
- Spread each rag out flat on concrete or hang it over a line outdoors until it is stiff and dry. Spread out, the heat escapes and nothing happens.
- Or drop the rags in a metal can of water with a lid until you can dispose of them.
- Do the same with brushes, gloves, and steel wool. Anything that soaked up the oil counts.
- Work outdoors or with the doors open. Linseed and tung oil both give off fumes while they cure.
What’s Inside!
- 1 – What Outdoor Wood Is Actually Fighting
- 2 – Every Natural Treatment and What It Really Does
- 3 – Drying Oils: The One That Actually Works
- 4 – Charring the Surface (Yakisugi)
- 5 – Start With Wood That Resists Rot
- 6 – The Natural Remedies That Do Not Work
- 7 – Prepare the Wood Before You Treat It
- 8 – Keeping It Going Year After Year
- 9 – Natural Outdoor Wood Treatment Questions People Actually Ask
- 10 – If You Only Do One Thing
What Outdoor Wood Is Actually Fighting
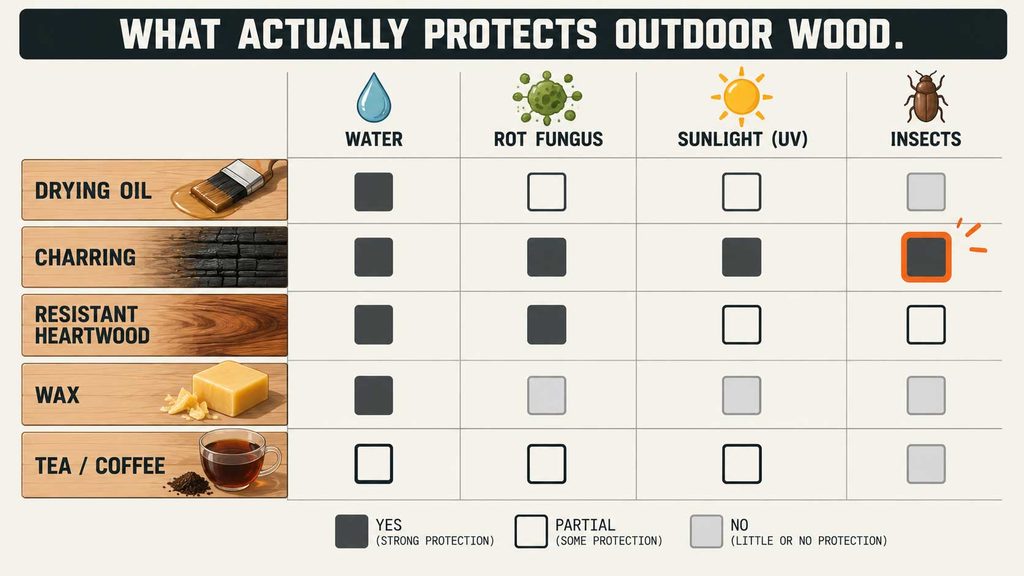
If you know what is attacking the wood, you can tell straight away whether a treatment does anything. Outdoor wood faces four separate problems, and most natural remedies address only one.
| The attack | What it does | What stops it |
|---|---|---|
| Water | Swells the wood, then it shrinks as it dries. That cycle opens cracks and pops joints | A finish that slows water getting in, plus end grain sealed |
| Rot fungus | Eats the wood fibers. It needs the wood above roughly 20 percent moisture to live | Keeping the wood dry, or wood the fungus does not like eating |
| Sunlight | UV breaks down lignin, the glue holding the fibers. The surface goes gray and powdery | Pigment or color in the finish. Clear finishes give almost no UV protection |
| Insects | Termites and borers tunnel through sapwood | Heartwood of a resistant species, or a charred surface |
This is where most confusion clears up. Rot fungus cannot work in dry wood. So keeping water out is not one protection among many — it is the main job. Everything that helps a piece dry out fast after rain, like a slope, a gap under the legs, or sealed end grain, does more for its life than the finish you brush on top.
Every Natural Treatment and What It Really Does
Here is the honest version of the list you usually see. I have put what each one really does next to it, and how often you have to go back and redo it.
| Treatment | What it actually does | Redo every | Outdoors? |
|---|---|---|---|
| Boiled linseed oil | Soaks in and hardens into a resin. Slows water, feeds the surface, warms the color | 6 to 12 months | Yes |
| Tung oil | Same idea, cures harder and more water-resistant than linseed. Costs more and dries slower | 12 months | Yes |
| Charring the surface | Turns the outer layer to carbon. Fungus and insects cannot feed on it, and it sheds water | Years. Re-oil, do not re-burn | Yes |
| Resistant heartwood | Not a treatment at all. The wood defends itself with its own extractives | Never | Yes |
| Beeswax on its own | A thin water-shedding film. Soft, wipes off, melts in hot sun | 2 to 3 months | Indoors, or on top of oil |
| Olive oil | Never hardens. Stays greasy, collects dust, then goes rancid and smells | — | No |
| Tea or coffee | Color only. Fades in a season of sun. No water or rot protection at all | — | No |
| Baking soda paste | Cleans and lightens. A cleaner, not a preservative | — | Cleaning only |
| Vinegar | Reacts with tannin to gray the wood. Color again, and it is mildly acidic | — | No |
Look down that table, and you will see the split. The things that work change the wood, either by hardening inside it or by burning its surface. The things that do not work only sit on top and change the color.
Drying Oils: The One That Actually Works
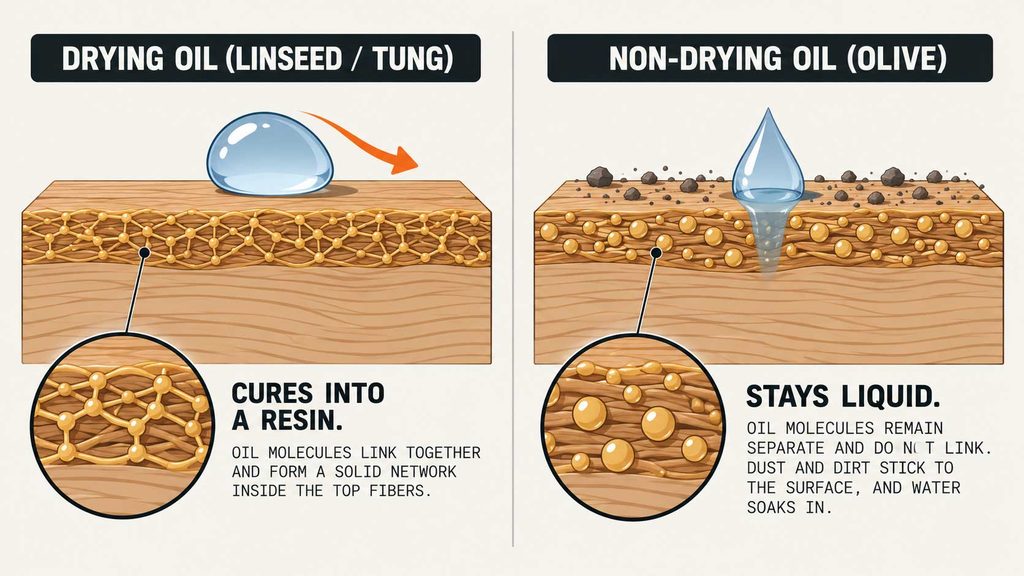
There are two kinds of oil, and that’s why my coffee bench failed while linseed oil works.
A drying oil reacts with the air. The molecules link up and turn into a solid resin inside the wood fibers. Linseed oil and tung oil do this. After a few days, the surface is dry to the touch, not oily.
A non-drying oil never does that. It stays liquid forever. Olive oil, vegetable oil, and coconut oil are all like this. They sit in the wood, hold dust, and eventually go rancid.
About the word “boiled.” Boiled linseed oil is not boiled. It is raw linseed oil with driers added so it cures in a day or two instead of weeks. That is what you want for furniture. Raw linseed oil takes so long to cure that it can stay tacky and pick up dirt. Tung oil is the tougher of the two once cured, but it costs more and needs more coats.
How to Oil Outdoor Wood
- Get the wood clean and dryOil cannot soak into damp wood. If you have just washed the piece, give it two or three dry days. Old flaking finish has to come off first, or the oil only reaches the finish.
- Sand to 150 grit, no finerFor an oil finish you want the pores open. Sanding to 220 grit or higher closes them down and the wood drinks less oil. Fine sanding is for varnish, not for this.
- Flood the end grain firstThe cut ends of a board suck up water many times faster than the faces. That is where rot starts. Give every end grain surface extra oil until it stops drinking.
- Brush or wipe a wet coat on everythingKeep the surface wet for 15 to 20 minutes. Add more oil to any patch that goes dull, because that patch is still absorbing.
- Wipe off all the excessThis step decides whether the finish is good or sticky. Anything left sitting on the surface cannot react with oxygen properly and stays gummy. Wipe until the rag comes away almost clean.
- Let it cure, then repeatWait a full day for boiled linseed, two or three for tung oil. Two or three coats is right for outdoor work. Each one reaches a little deeper.
- Deal with the rags before you put the tools awaySpread them flat outside or drop them in water. Do it now, while you are still thinking about it.
Be honest with yourself about the upkeep. An oil finish outdoors needs a fresh coat every 6 to 12 months, and sooner on a surface that gets full sun and rain. That is the price of a natural finish. The good part is that recoating is easy — a quick clean and a wipe, no stripping and no sanding back, which is what a peeling varnish would demand.
Charring the Surface (Yakisugi)
This is the oldest natural wood preservative, and hardly anybody mentions it. You intentionally burn the outside of the wood. The Japanese method for cedar siding is called yakisugi, and boards treated this way have lasted on buildings for decades.
Wikipedia’s page on wood preservation puts it plainly: charring wood gives you a surface that is fire-resistant, insect-resistant and weather-resistant. The reason is simple. Carbon is not food. Fungus and insects want cellulose, and the charred layer has none left to give.
- Use a propane torch and work outsideKeep a bucket of water and a hose within reach. Never do this near dry grass or against a wall.
- Burn until the grain stands outMove the flame steadily along the board. You want an even black surface with the grain showing through, not deep cracks. A light char is about 1/16 in (1 to 2 mm) deep.
- Let it cool, then brush itA stiff brush takes off the loose soot. Brush hard for a dark gray weathered look, lightly to stay near black.
- Oil it onceA coat of linseed oil locks the remaining soot down so it does not rub off on clothes, and it deepens the color.
Charring suits fence boards, planters, raised beds, garden screens and posts. It is not the right choice for a seat or a tabletop, where people touch the surface. Do the buried part of a fence post this way, and you protect the exact spot that rots first.
Start With Wood That Resists Rot
The cheapest natural protection is choosing the right board in the first place. Some species make their own preservative. The chemicals in their heartwood, the extractives, are simply not worth eating as far as rot fungus is concerned.
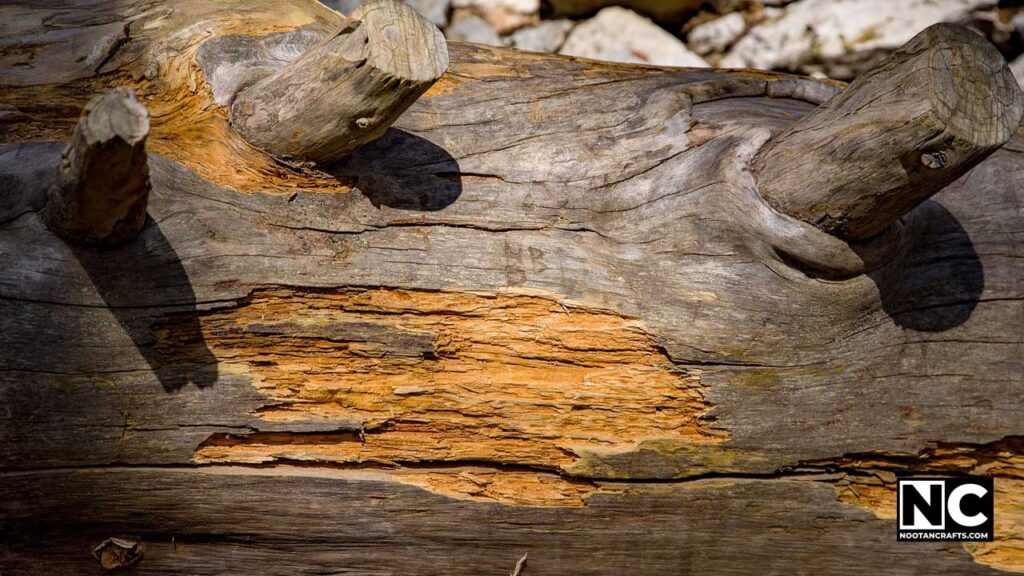
Cedar is the common one, and it deserves its reputation outdoors. Its natural oils fight both decay and insects. It is soft, so it dents, but it will sit outside untreated for years and only turn silver-gray.
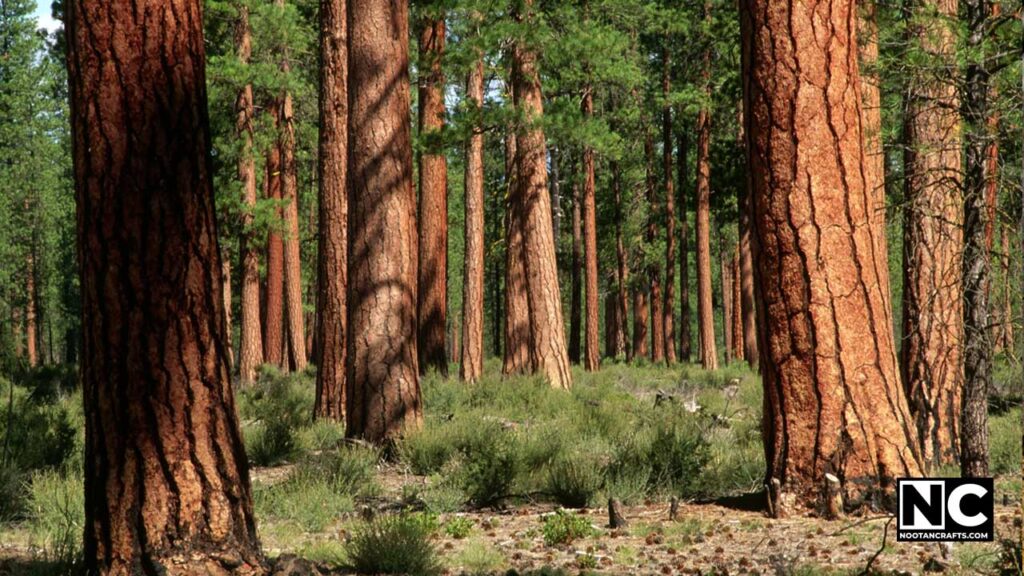
Redwood behaves the same way and looks better doing it. Where I live, neither is easy to get, so I use teak offcuts when I find them, and sal or shisham for anything structural. Ask at your lumberyard which local species they sell for gates and door frames — that answer is usually the rot-resistant one in your area.
Heartwood is resistant. Sapwood is not. This catches people out. On the same tree, the pale outer wood has almost no resistance at all. A cedar board that is half pale sapwood will rot at the pale part. When you buy for outdoors, look for the darker, even-colored heartwood and check the ends of the board.
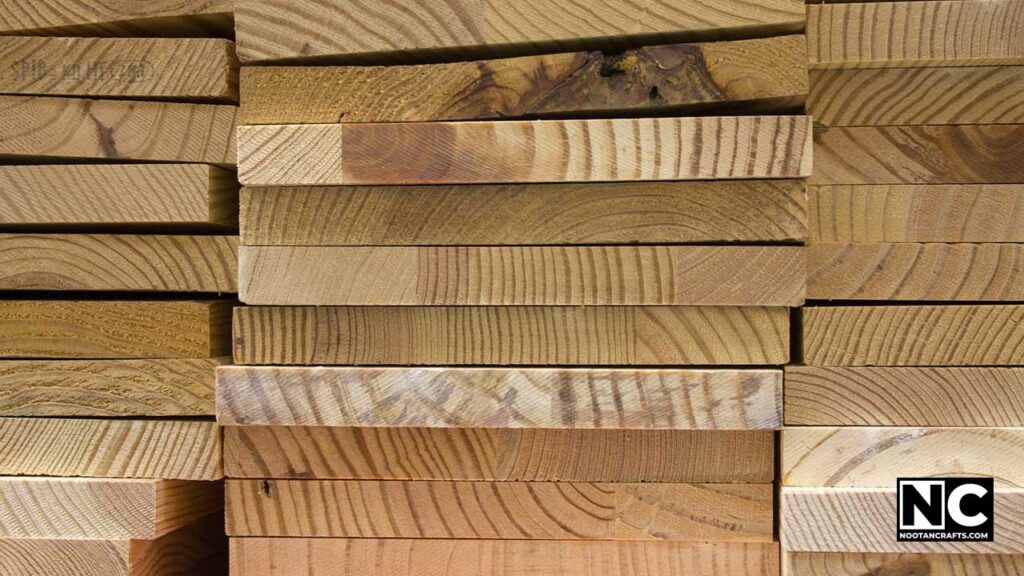
Pressure-treated pine gets recommended in a lot of these articles, including an older version of this one. I have taken it out because it does not belong here. Pressure-treated wood is pine forced full of a copper-based preservative under pressure. It works very well, and it is cheap. It is also the exact chemical treatment you’re trying to avoid on this page. If you are happy with chemicals, buy it — it will outlast any oil finish. Just do not let anyone call it natural.
The Natural Remedies That Do Not Work
These three come up on nearly every list of natural wood treatments. An older version of this page recommended all three. Here is why each one fails outdoors.
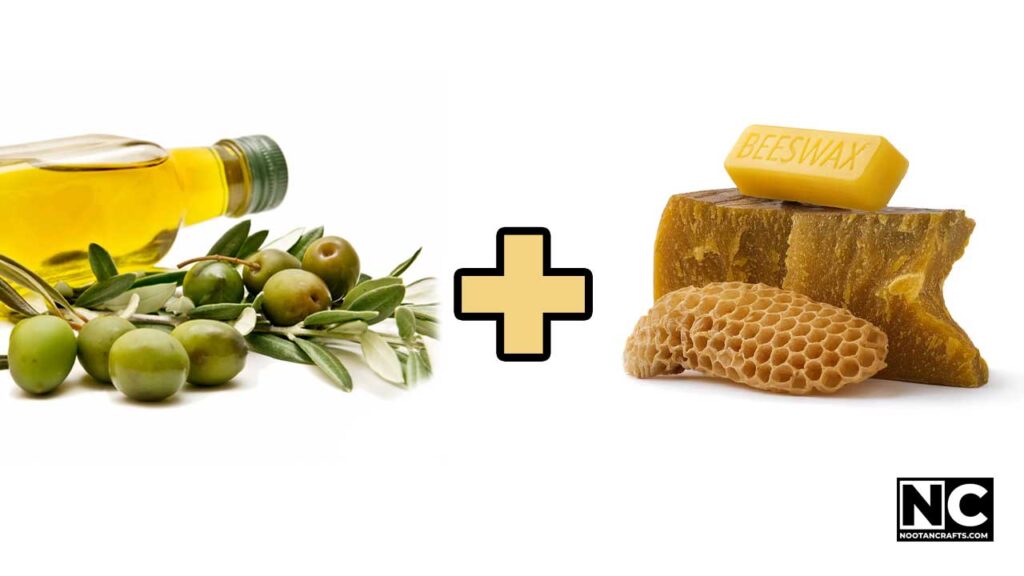
Beeswax and olive oil. The beeswax part is fine; it sheds water for a while. The olive oil is the problem. It is a non-drying oil, so it never hardens into anything. On an outdoor bench, it stays greasy, grabs dust and pollen, softens in the sun, and in a few months it goes rancid and smells. Swap the olive oil for boiled linseed oil and the same recipe becomes a good paste wax. Keep the beeswax as a top coat over oil, not as the protection itself.

Tea or coffee. This is the one I tried on my garden bench, so I can tell you exactly what happens. The color is real, and it looks lovely on day one. Then the sun fades it, the rain rinses it, and the wood underneath is as bare as before, because tannin doesn’t seal anything and it doesn’t keep insects away either. If you like the color, brew it strong, let it dry, and then oil over the top. The oil is the protection. The coffee is paint.
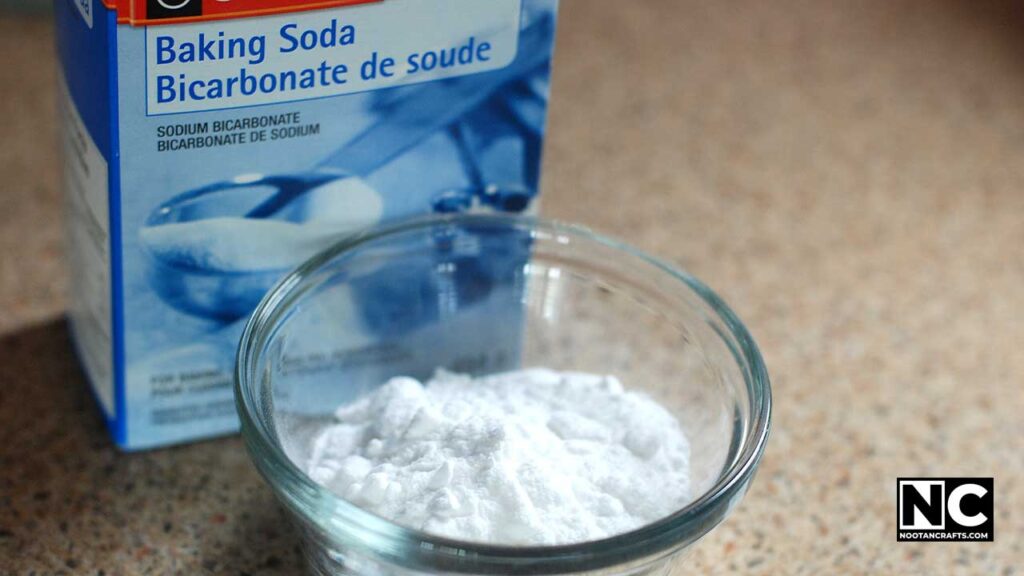
Baking soda. I said in the older version that this is more like cleaning than treatment, and that was the right instinct — I should have followed it and left the method out. A baking soda paste lifts grime and lightens gray weathered wood. It is a good pre-cleaner before you oil. It preserves nothing. Rinse it off well, because leftover soda can blotch under an oil finish.
Prepare the Wood Before You Treat It
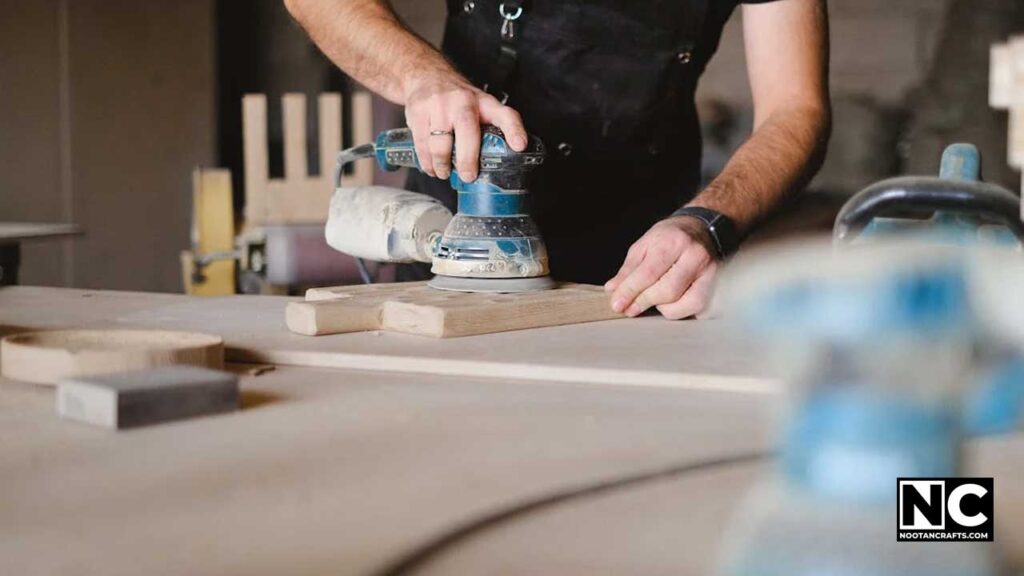
Preparation is short for an oil finish, and two of the steps matter more than people think.
- Sand out the damage, stop at 150 grit. Start at 80 grit if there are deep scratches or old finish. Going finer than 150 closes the pores and the oil cannot get in.
- Clean the gray off first. Weathered wood has a dead powdery layer on top. Oil on that layer never touches the sound wood beneath. Scrub it with soapy water or a baking soda paste, rinse, and let it dry.
- Wait for dry wood. Two or three dry days after washing. Oil and water do not mix, and trapped moisture is what feeds rot.
- Break the sharp edges. A rounded edge holds a finish. A sharp corner wears through first, every time.
- Look after the feet. Legs standing in wet ground rot before anything else. Oil the bottom of each leg heavily, or better, raise it off the ground on a small pad or a metal foot.
Keeping It Going Year After Year
A natural finish is not a one-time job, and once you accept that it stops feeling like work. Mine takes about twenty minutes a year per piece.
| When | Do this | Why |
|---|---|---|
| Start of the dry season | Wash with mild soap, let it dry, wipe on a coat of oil | Goes into the season with protection at full strength |
| Once mid-season | Flick water on the surface. If it soaks in instead of beading, recoat | The simplest test there is for whether the finish is still working |
| Every few months | Check the feet, the joints and every end grain | These are the three places rot always starts |
| Before heavy rain or storms | Cover it, or move it under shelter | Days of soaking is what pushes wood past the moisture level fungus needs |
| When it turns gray | Clean, sand lightly, oil again | Gray is UV damage on the surface only. The wood under it is still sound |
If you want color as well as protection, use pigment. Clear oil does very little against UV. A tinted oil, or oil with a little earth pigment mixed in, blocks sunlight and keeps the wood from graying for much longer. This is the one place where a color coat really does protect — not because of what it is made of, but because it is opaque.
Natural Outdoor Wood Treatment Questions People Actually Ask
Can I use any wood for outdoor projects?
You can, but the wood decides how much work you are signing up for. Cedar, redwood or teak heartwood will last outdoors with only a yearly oiling. Plain pine or poplar needs a finish kept up carefully and will still rot sooner, especially where it touches the ground. Always check you are getting heartwood, not the pale sapwood, which has no resistance.
How often do I have to reapply a natural finish?
Boiled linseed oil, every 6 to 12 months outdoors. Tung oil, about a year. Wax on its own, every few months. Anyone telling you a natural oil lasts 1 to 3 years outside is describing indoor furniture. Use the water test: if water soaks in instead of beading, it is time.
Is olive oil really that bad for wood?
For outdoor wood, yes. Olive oil is a non-drying oil, so it never cures into a solid. It stays greasy, collects dust, and the fatty acids go rancid, which is where the sour smell on old oiled boards comes from. Use boiled linseed or tung oil instead. For a cutting board indoors, food-grade mineral oil is the usual answer, because it does not go rancid.
Does coffee or tea protect wood from insects?
No. That claim is common and it is wrong — it was in an older version of this page and I have removed it. Tannin from tea or coffee reacts with the wood and darkens it. That is all it does. It does not repel insects, it does not seal against water, and it fades within a season outdoors. Treat it as a free stain, then protect the wood properly on top.
Are natural treatments safe for a vegetable garden?
Boiled linseed oil contains metal driers, so for a raised bed that grows food, use raw linseed oil and give it longer to cure, or pure tung oil, or simply char the boards. Charring adds nothing to the soil at all, which makes it the safest of the lot for planters.
Can I paint over wood I have already oiled?
Not straight away, and not well. Paint needs a clean dry surface to grip. Over a cured oil finish you have to scuff it thoroughly and use a bonding primer, and even then it may peel. Decide before you start. Paint lasts longer outdoors than any natural oil — that is why my coffee bench ended up painted — but you lose the look of the wood and you get flaking instead of fading.
What is the best way to take off an old finish?
For an old oil finish, usually nothing: clean it and oil over the top. For flaking varnish or paint, scrape the loose material, then sand back to bare wood, or use a stripper on detailed work. Never oil over a film finish that is still partly there, because the oil cannot reach the wood and it will stay tacky.
How do I treat cedar for outdoor use?
Cedar needs less help than most woods, because its own oils handle decay and insects. Left alone it turns silver-gray, which is only a surface change. If you want to keep the color, clean it and put on one or two coats of boiled linseed or tung oil, then recoat yearly. If you are happy with the gray, do nothing at all.
If You Only Do One Thing
Put boiled linseed oil on it, and flood the end grain and the feet.
That single step does more for outdoor wood than every folk remedy on the usual list put together. Then set a reminder for a year from now, because the oil is the part that needs you to come back.
And spread those rags out flat before you go inside.