Drill a pilot hole sized to the screw’s shank — the solid core — not to its thread. That single change stops most splitting, because a screw doesn’t split wood by taking up space; it splits wood when its thread wedges the fibers apart faster than they can compress. A hole the width of the core gives the thread something to bite while removing the wedge. Everything else on this page — screw choice, clamping, grain placement — is about the cases where a pilot hole alone isn’t enough.
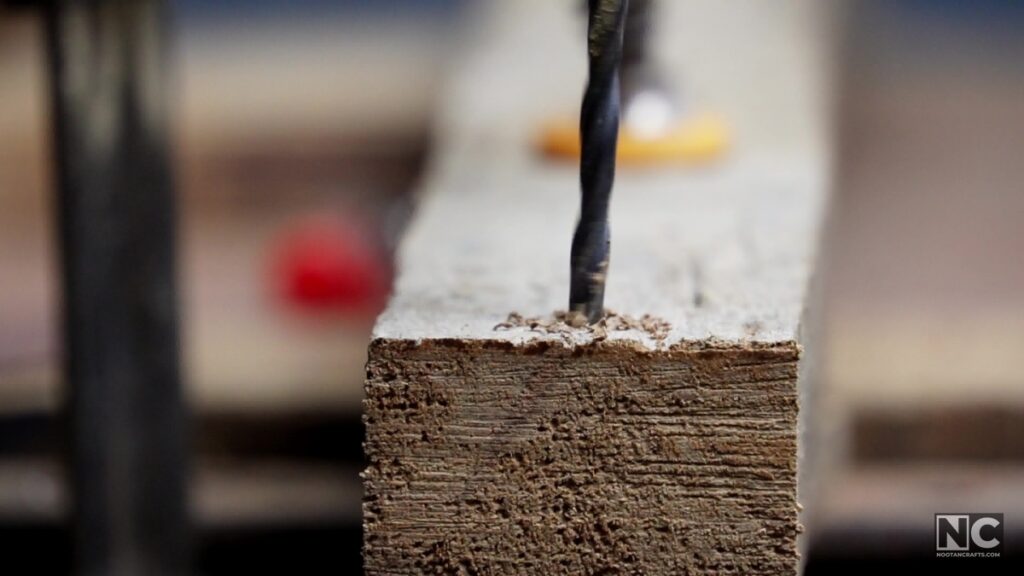
The same wedge explains splitting when you drill, which is why drilling is covered here too rather than on a separate page. A drill bit that wanders, or that exits through unsupported fibers, is doing the same thing the screw thread does.
What’s Inside!
Quick Verdict
| The situation | Do this | Why |
|---|---|---|
| Any screw into hardwood | Pilot hole at shank diameter | Non-negotiable. Hardwood fibers can’t compress out of the way |
| Screwing near an edge or an end | Pilot hole, plus stagger the screws | There’s less wood resisting the wedge, and two screws on one grain line start a crack |
| Softwood, mid-board, ordinary screw | Often fine without a pilot | Soft fibers compress. This is the one case you can skip it |
| Joining two boards | Clearance hole in the top board | Without it the top board can’t pull down tight, and the joint gapes |
| Screw driving hard, squeaking | Wax the thread | Driving torque is what snaps screws and strips heads |
| Drilling a large hole | Small pilot first, then the full size | Stops the bit grabbing and wandering as it enters |
| Drilling through thin stock | Sacrificial backer board underneath | The exit face blows out because nothing supports the fibers |
| Any drilling at all | Clamp the workpiece | A grabbing bit spins the board. This is the injury, not the split |
How to Stop Wood Splitting When Screwing
The video shows the screws and the pilot-hole work on the bench. What follows adds the numbers the video can’t pause on — pilot sizes, thread types, and the two places the usual advice is wrong.
Pilot Hole Sizes
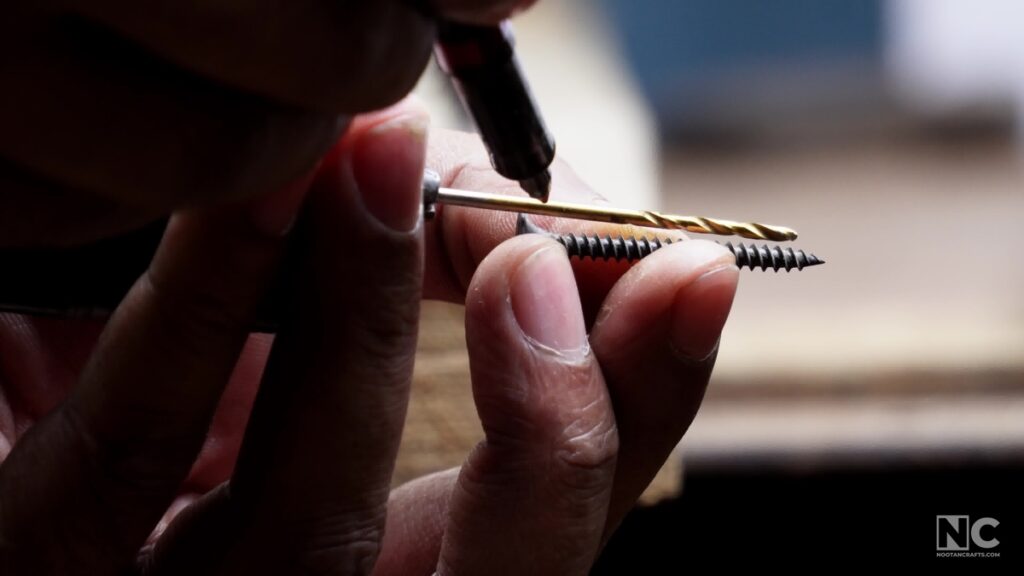
The rule underneath the chart: match the bit to the screw’s shank, the solid core the thread is cut into. Hold a bit up against the screw and sight along it — the correct bit hides the core and leaves the thread showing on both sides. In softwood you can drop one size, because the fibers compress. In hardwood you cannot.
| Screw gauge | Shank | Pilot — hardwood | Pilot — softwood | Clearance hole (top board) |
|---|---|---|---|---|
| #6 | 3.5 mm | 2.8 mm (7/64 in) | 2.4 mm (3/32 in) | 3.5 mm (9/64 in) |
| #8 | 4.2 mm | 3.2 mm (1/8 in) | 2.8 mm (7/64 in) | 4.2 mm (11/64 in) |
| #10 | 4.8 mm | 3.6 mm (9/64 in) | 3.2 mm (1/8 in) | 4.8 mm (3/16 in) |
| #12 | 5.5 mm | 4.0 mm (5/32 in) | 3.6 mm (9/64 in) | 5.5 mm (7/32 in) |
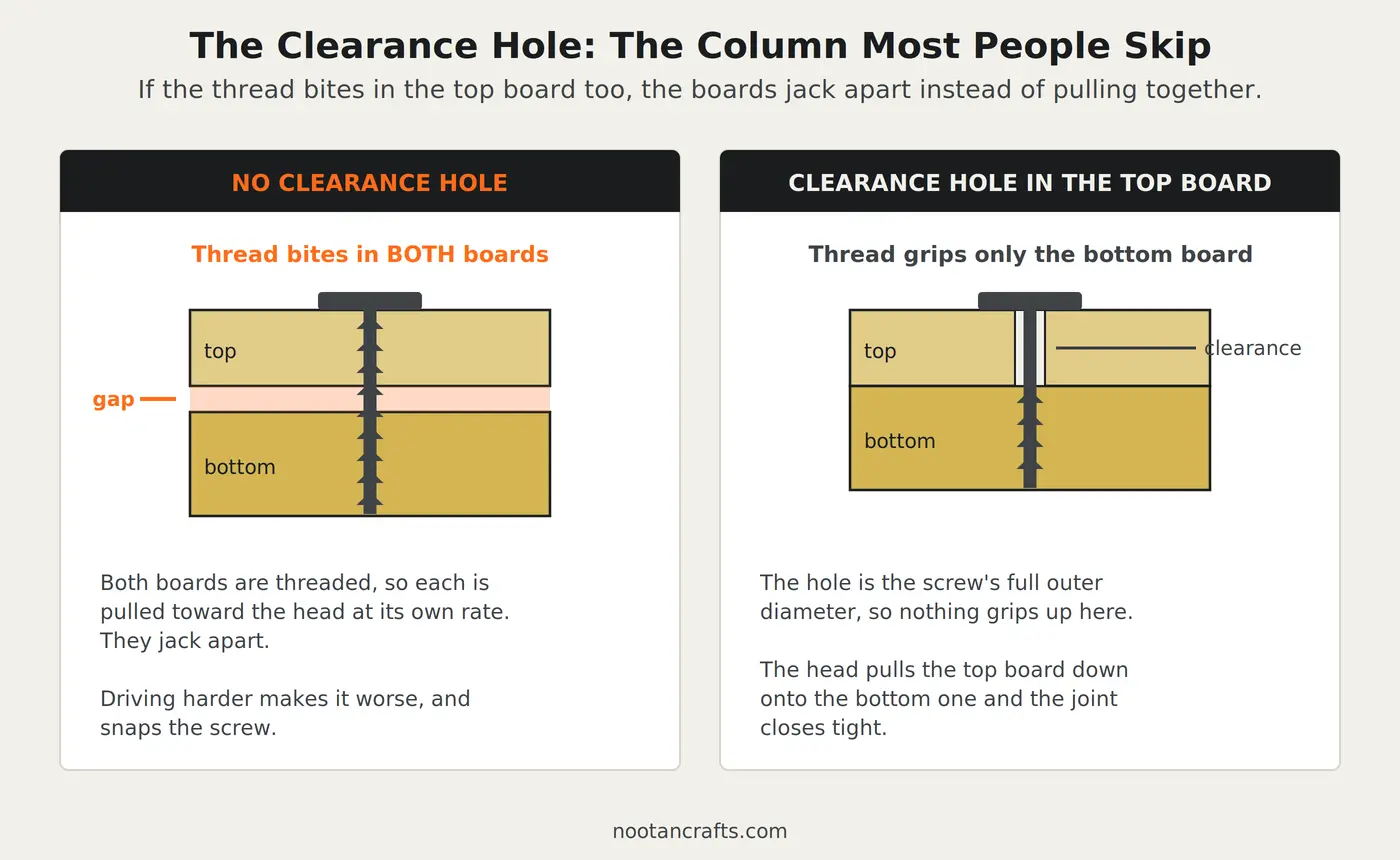
The clearance hole is the column most people skip. When you join two boards, the top one needs a hole the thread passes through freely — full outer diameter. If the thread bites in the top board as well as the bottom, the two boards jack apart instead of pulling together, and you get a gap you can’t close by driving harder. Driving harder is what splits the top board.
Depth matters less than diameter, but it still matters. Measure the screw without its head, mark the bit with tape, and drill just short of that. A pilot hole that bottoms out leaves the screw jacking against solid wood at the end of its travel; one drilled far deeper than the screw gives the tip nothing to grip.
Choosing the Screw
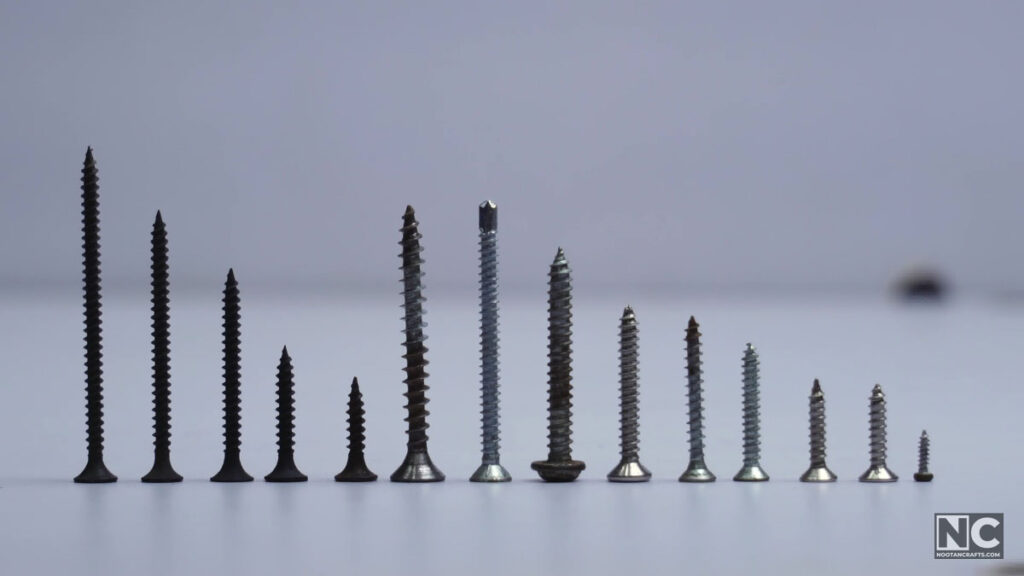
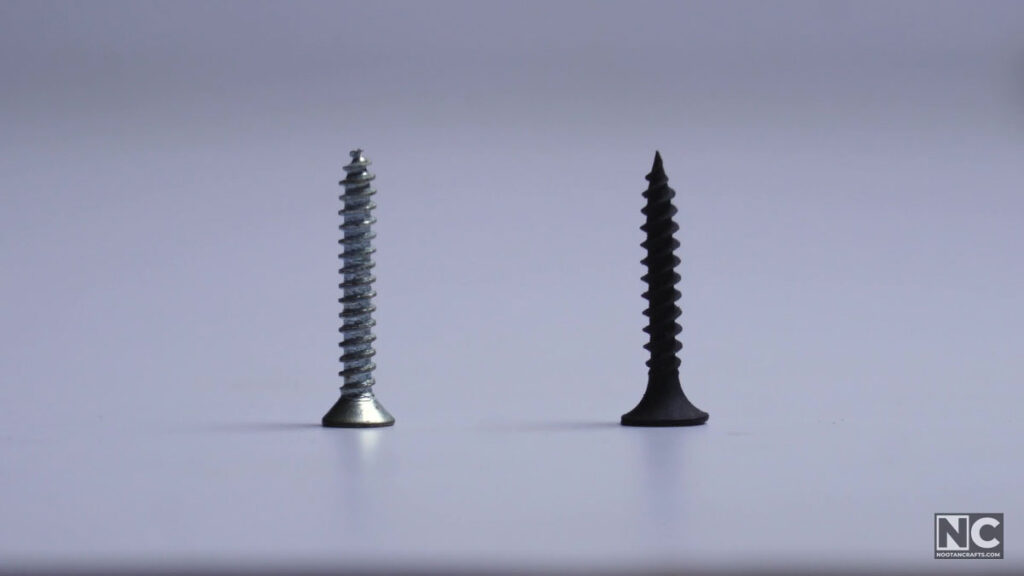
A needle-sharp point wedges fibers apart before the thread even engages. That is the whole reason for the old trick of blunting a nail before driving it near an end — a blunt tip punches through the fibers instead of parting them. The same logic applies to screws, and it’s why a screw with an aggressive cutting point behaves better near an edge than a plain sharp one.
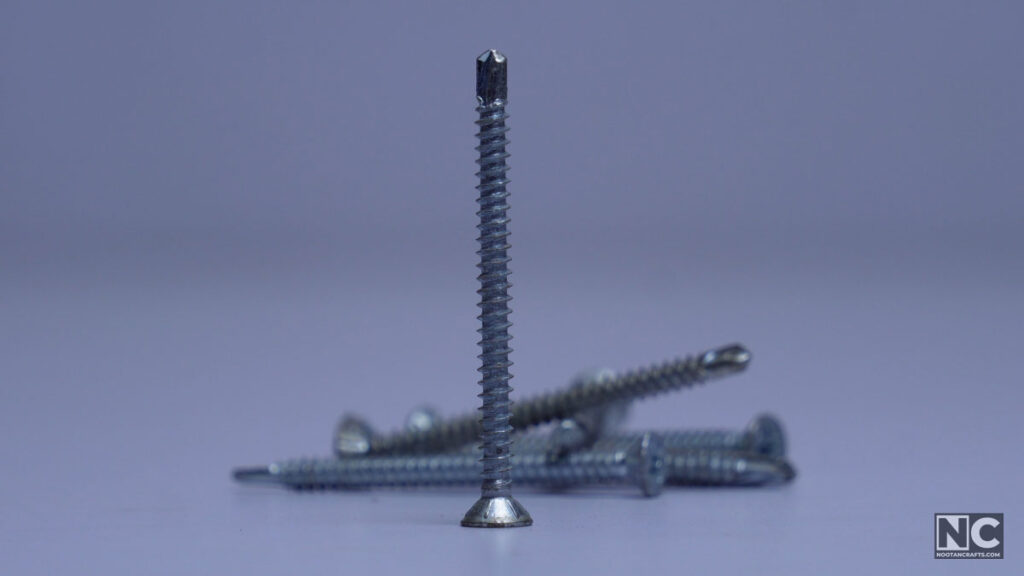
I like to use self-drilling screws. The tip cuts its own clearance as it goes, and the ones with cutting ribs under the head form their own countersink, so a single driving pass does what would otherwise take three tools. They are not a substitute for a pilot hole in dense hardwood, but in softwood and sheet goods they remove the step entirely.
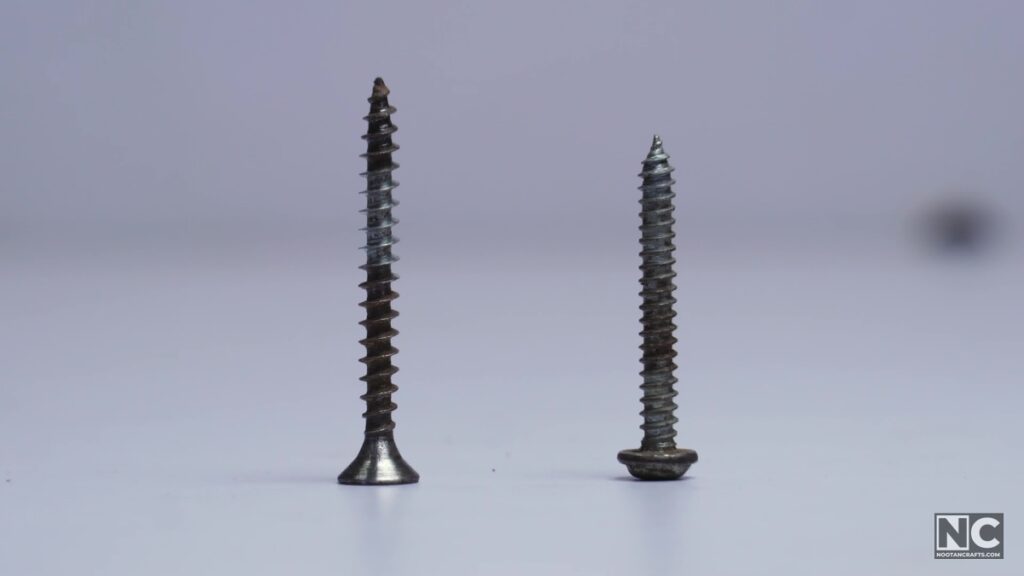
- ThreadFine thread for hardwood, coarse for softwood – coarse threads need soft fiber to bite into
- PointA cutting or self-drilling point near edges; a plain sharp point wedges
- DiameterThe thickest screw the wood will take is not the strongest joint – it is the one that splits
- LengthRoughly two thirds of the screw in the lower board; it should not break through the far face
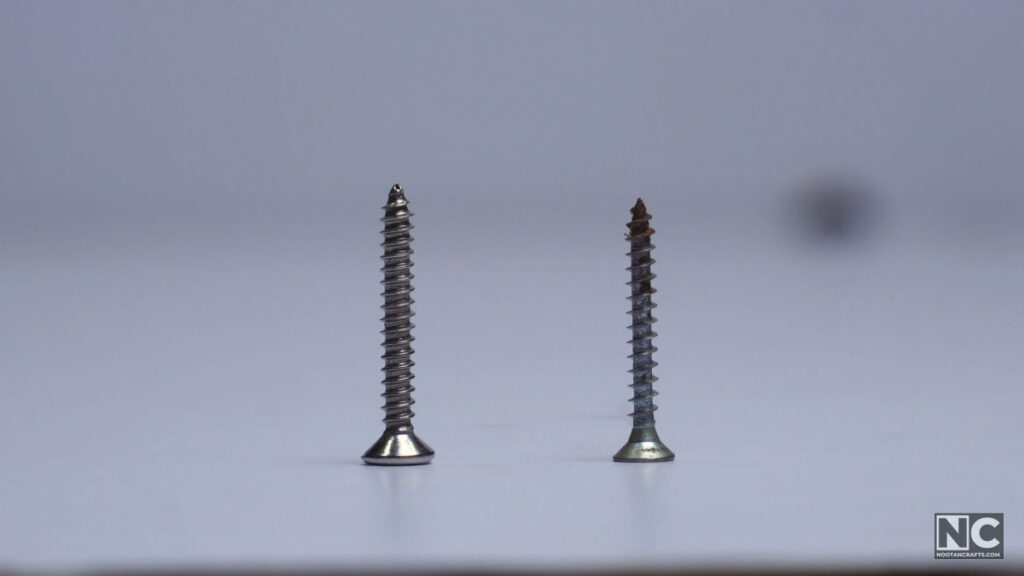
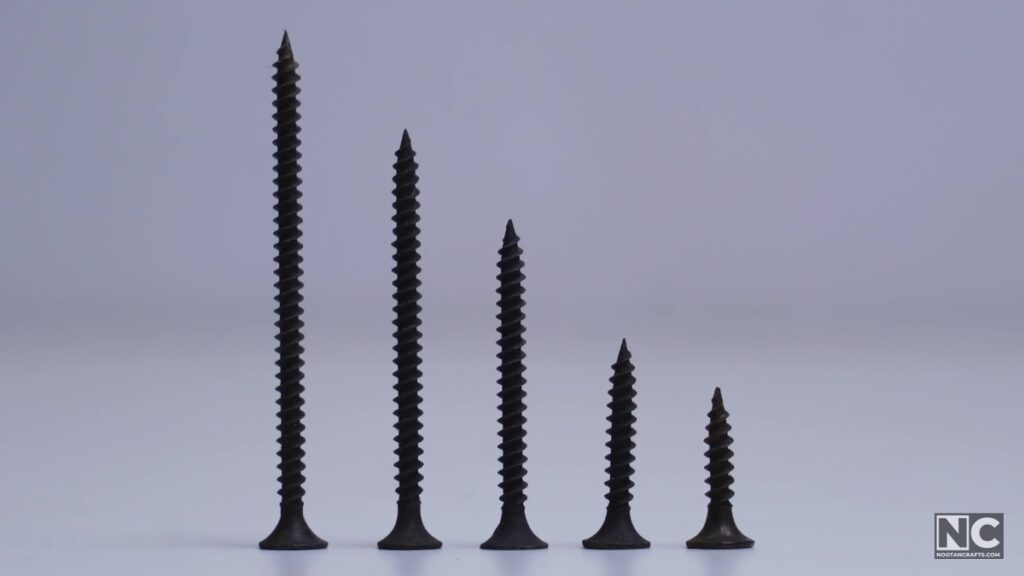
Diameter is where people over-build. A heavier screw feels like a stronger joint, but the wood fails long before the steel does — going up a gauge mostly buys you a larger wedge in the same amount of wood. Two #8 screws hold better than one #12, and neither of them splits the board.
Grain and Placement
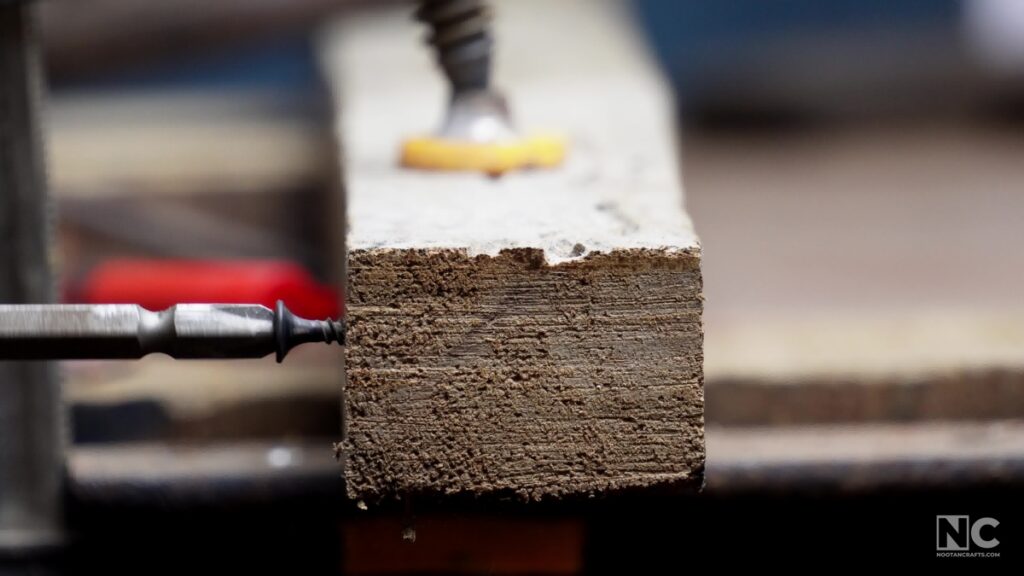
Correction to the earlier version of this article. It previously said that driving a screw parallel to the grain was safer and across the grain riskier. That is the wrong way round, and the photograph above has always shown the correct practice. Wood splits along its fibers, so the dangerous screw is the one whose wedging force acts in line with the grain — into an end, or close to an edge running the same direction.
Think of the grain as a bundle of straws. A screw driven into the end of the bundle only has to push two straws apart to travel the whole length of the board, and there is nothing holding them together sideways. Driven into the face, across the straws, it has to cut each one, and the surrounding fibers hold everything in place.
- End grain is the worst case. A pilot hole here is mandatory, and even then the joint is weak — end grain gives a screw thread very little to hold.
- Stagger your screws. Two screws on the same grain line, one behind the other, effectively perforate the board along a single fiber and it cracks between them. Offset them slightly.
- Stay back from the edge. Roughly one and a half times the screw’s diameter from any edge is a workable minimum. Closer than that and the pilot hole is doing all the work.
- Watch for a knot. The grain runs in circles around it, so a screw near a knot is wedging into fibers running every direction at once. Move the screw, don’t fight it.
Lubricating, Clamping, Countersinking
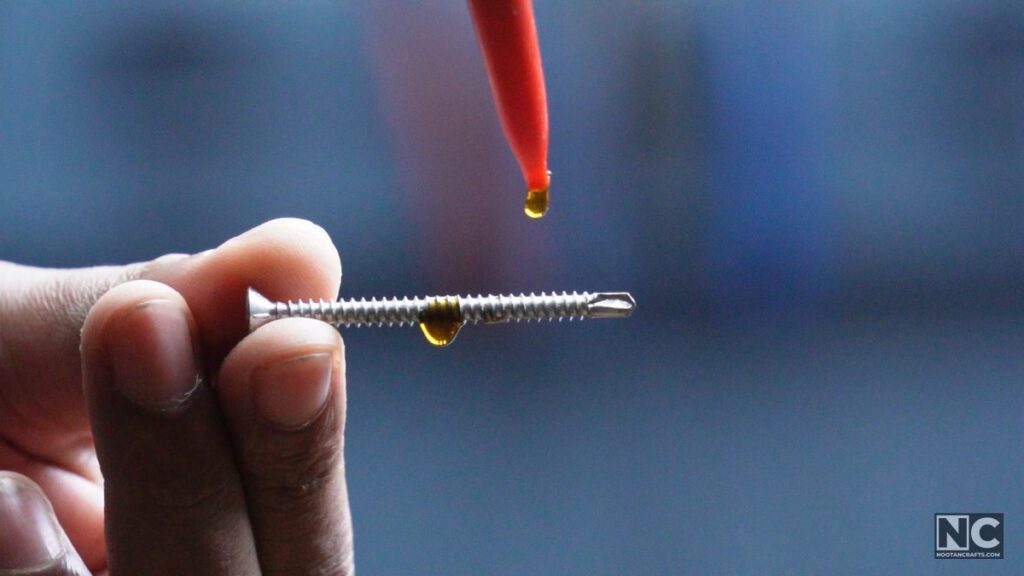
Wax on the thread — a beeswax block, a candle stub, or a bar of dry soap — cuts driving torque noticeably. Lower torque means less force twisting the fibers around the screw, and it is also what stops you camming out and chewing the head. Use paraffin wax or soap rather than oil or grease, which soak into the wood and will spoil a finish later.
Wood glue in the joint is worth adding for strength, but it is not a lubricant and shouldn’t be treated as one — it grabs as it starts to set, which is the opposite of what you want halfway through driving a long screw.
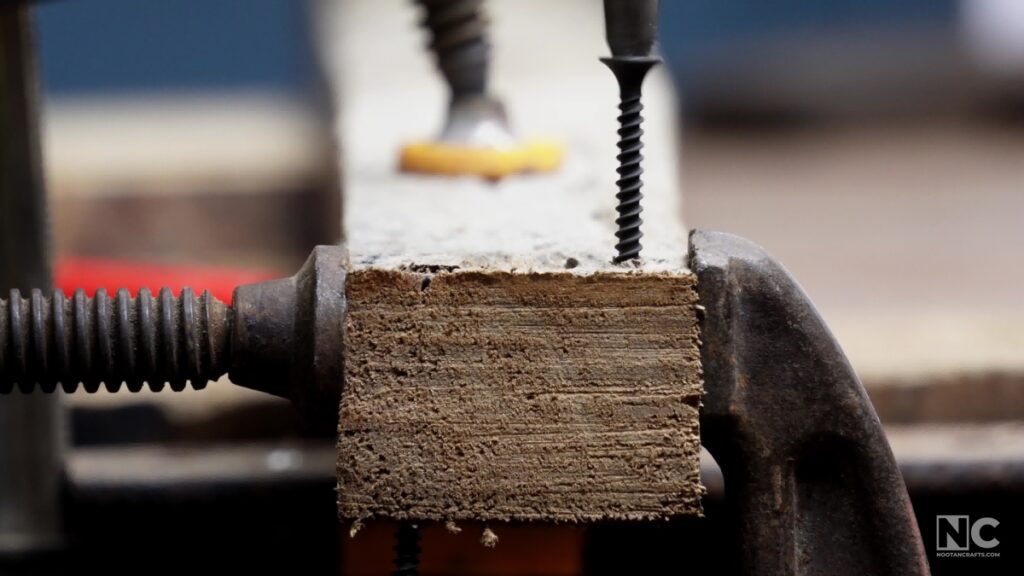
A clamp does two jobs. It stops the boards shifting as the screw pulls them together, and near an edge it applies sideways compression that physically resists the split opening. On a piece you already suspect will split — thin stock, a board end, dry hardwood — a clamp either side of the screw position is the cheapest insurance there is.
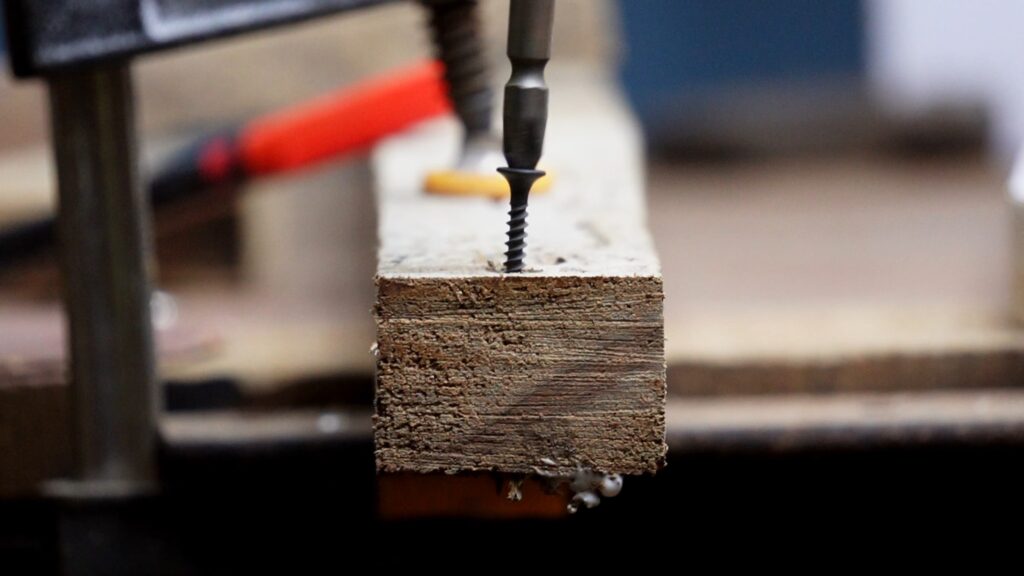
Drive slowly and keep steady end pressure on the driver so the bit stays seated. The speed itself isn’t what splits the wood — it’s that at speed you don’t feel the resistance change when the screw starts to bind, and you keep going. Set the clutch on a drill/driver low enough that it slips before the wood gives.
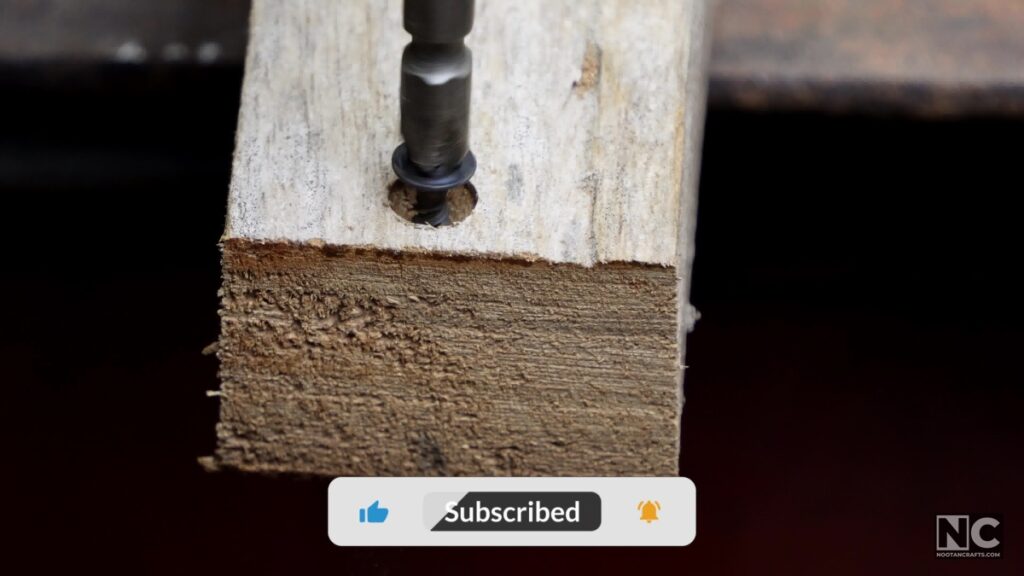
Countersinking cuts a seat for the head so it sits flush instead of forcing its way in. That matters because a flat screw head driven hard into an uncut surface acts as its own wedge — it is a common cause of a split that appears right at the last turn, after everything else went fine. Countersinking reduces that risk; it doesn’t remove the need for a pilot hole underneath.
How to Keep Wood from Splitting When Drilling
Drilling splits wood two ways, and they have different fixes. On the entry side the bit wanders before it bites, tearing fibers as it skates. On the exit side the bit pushes through fibers that have nothing behind them, and blows out a crater — the damage you find after you turn the board over.
- Clamp the workpieceNot optional, and not only about split prevention – see the safety note below.
- Mark the center and punch itA center punch, or a nail tapped once, gives the bit a start so it can’t skate. Skip this and a twist bit will wander every time.
- Use a brad point bit in woodThe center spur locates the hole before the cutting edges touch, and the outer spurs sever the surface fibers ahead of the flutes. A twist bit is a metalworking bit that happens to work in wood; a brad point is the right tool.
- Put a backer board underneathA scrap offcut clamped tight against the exit face supports the fibers as the bit breaks through. This is the fix for exit blowout – the only one that reliably works.
- Start slow, and pilot the big holesBring the bit up to the mark at low speed until it has cut its own seat. For anything above about 10 mm, drill a small pilot first so the large bit is guided rather than grabbing.
- Clear the chips on deep holesWithdraw the bit fully every few turns, still running forward, and let the flutes throw the waste out. Packed flutes generate heat and force the bit to wedge.
- Keep bits sharpA dull bit stops cutting and starts pushing, and pushing is what splits. If a bit needs leaning on to make progress, it’s finished.
A second correction. The earlier drilling article advised running the drill in reverse to back the bit out and prevent splintering on the exit side. Reversing does not prevent exit blowout — the fibers there break because nothing supports them, and a bit turning backwards isn’t cutting at all. Use a backer board. Withdrawing the bit periodically is useful on deep holes, but for clearing chips, and it is done running forward.
An unclamped board on a grabbing drill bit becomes a spinning blade at hand height
Splitting costs you a board. This costs you a hand. When a bit binds — and a brad point breaking through the far face is exactly when it binds — the torque has to go somewhere. If the workpiece isn’t held, the workpiece spins instead of the bit, and it spins fast, at the height of whichever hand is holding it. Thin stock and offcuts are the worst offenders because there’s so little mass to resist.
- Clamp it, don’t grip it. Two clamps, or a vise. Holding a small piece by hand while drilling is the single most common way people get hurt at a bench drill.
- Expect the grab at breakthrough. Ease off the pressure as the point emerges. Most binding happens in the last two millimeters.
- Large bits multiply the torque. A spade or hole-saw bit in a powerful drill will turn the board, or wrench your wrist, without any warning. Use the side handle if the drill has one.
- No gloves near a rotating bit. A glove caught in the flutes pulls your hand in. This is the one place where bare hands are the safer choice.
- Set the clutch. On a drill/driver, a clutch set low enough to slip is a mechanical limit on how hard the tool can twist anything.
Fixing a Split That’s Already Happened
Back the screw out completely first — leaving it in holds the split open and guarantees the glue can’t close it. Work thin wood glue into the crack, flex it gently to carry the glue in, then clamp across the split until it’s dry. A repaired split is weaker than uncracked wood, so if the piece is structural, treat the repair as cosmetic and put the fastener somewhere else.
If the split runs out to an edge and the piece is visible, it is usually faster to cut a new one. Glue lines on an edge are hard to hide under any finish.
What I’d buy for this job


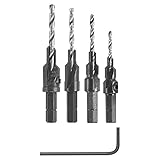
Last update on 2026-10-25 / Affiliate links / Images from Amazon Product Advertising API
Questions People Actually Ask
What size drill bit should I use for a pilot hole?
One that matches the screw’s shank — the solid core inside the thread. Hold the bit against the screw: you should see the thread on both sides of the bit and no core. The table above gives the common gauges; in softwood you can go one size smaller, in hardwood don’t.
Do I always need a pilot hole?
No. In softwood, away from edges and ends, with a screw that isn’t oversized, the fibers compress and you’ll be fine. In hardwood, near any edge or end, or with a large screw, it’s the difference between a joint and a crack.
Can I use regular screws in hardwood?
Yes, with a correctly sized pilot hole and preferably a fine thread. What actually matters in hardwood isn’t the label on the box, it’s the pilot diameter — an ordinary screw with the right hole beats a hardwood-specific screw driven dry into solid oak.
Why did my wood split even though I drilled a pilot hole?
Usually the hole was sized to the thread rather than the shank, so it was too small. The other common causes: no clearance hole in the top board, a screw too close to an edge or end, two screws on the same grain line, or a flat head driven hard into an uncountersunk surface.
Which drill bit is best for wood?
A brad point. The center spur stops it wandering and the outer spurs cut the surface fibers before the flutes reach them, which is what gives a clean rim. Twist bits work, but they’re designed for metal and they skate on wood unless you punch the center first.
What if I don’t have a center punch?
Tap a nail into the mark and pull it out, or press an awl in. Anything that leaves a small cone for the bit’s point to sit in will do the job.
Should I use a hammer drill on wood?
Not in hammer mode — the percussion is for masonry and it will wreck the hole and the wood around it. Most hammer drills have a rotary-only setting, and on that setting the tool is just a drill and works normally.
Does lubricating a screw weaken the joint?
Wax or soap on the thread doesn’t measurably weaken it, and the reduced driving torque is worth far more than any theoretical loss. Avoid oil and grease, which soak into the surrounding fibers and will interfere with glue and finishes.
How close to the edge can I put a screw?
As a working minimum, about one and a half times the screw’s diameter from an edge, and further from an end. Closer than that and you are relying entirely on the pilot hole, so make sure it’s the right size and consider clamping across the joint while you drive.
The Short Version
A screw splits wood because its thread wedges the fibers apart. Take the wedge away — a pilot hole at shank diameter, a clearance hole in the top board — and most splitting stops. What’s left is placement: keep screws off the ends, back from the edges, and off a single grain line. When drilling, the entry is fixed by a punched center and a brad point, and the exit is fixed by a backer board. Clamp the work either way, because the split is the cheap failure and the spinning board is the expensive one.