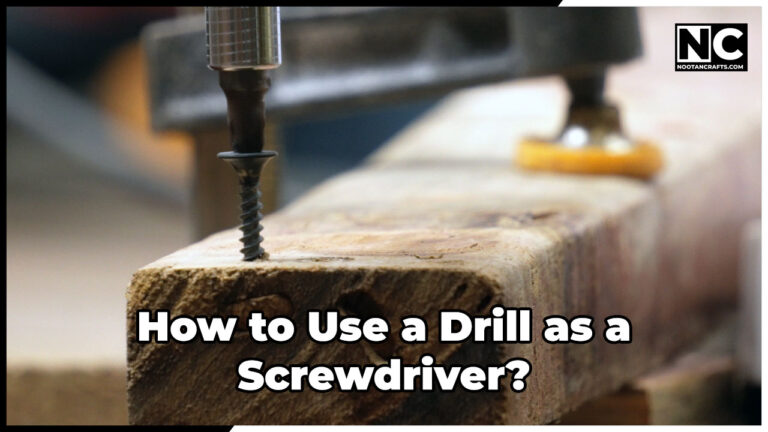
I was building a cupboard for the house, had every piece cut and laid out, and started driving screws with the plain drill I already owned. They kept snapping. I got the thing built, but it took a whole evening longer than it should have, and the reason was one dial I did not have.
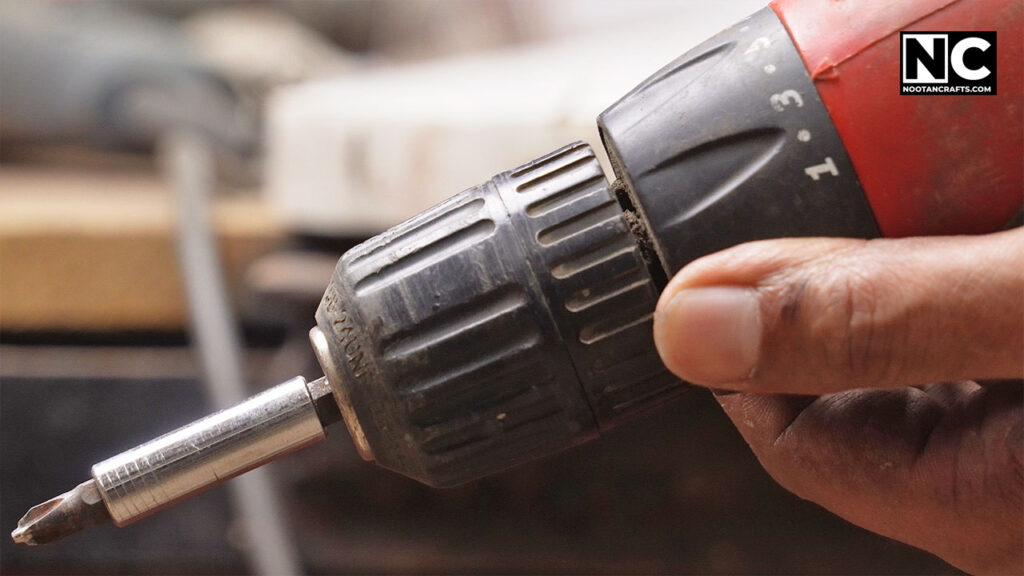
A drill drives screws perfectly well — provided it has a torque clutch, and you actually set it. That numbered collar behind the chuck is the entire difference between a drill that drives screws and a drill that destroys them. Everything else on this page is detail.
Recommended Tools


Last update on 2026-10-20 / Affiliate links / Images from Amazon Product Advertising API
What’s Inside!
What You Need
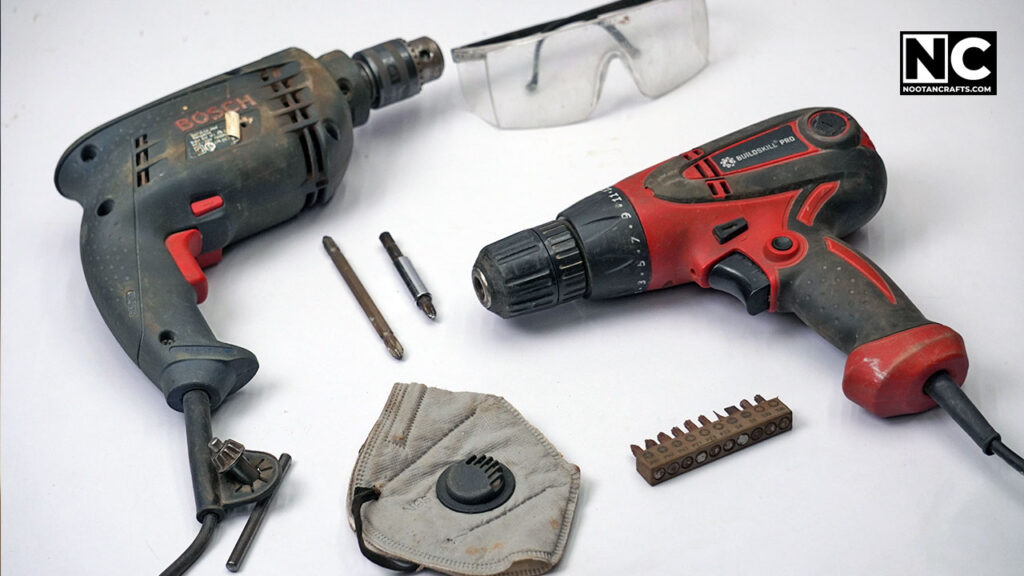
- A drill with a torque clutch – the numbered collar behind the chuck
- Driver bits in the right sizes – PH, PZ or T to match your screws
- A drill bit for pilot holes, sized to the screw’s shank
- Offcuts of the same material to test the clutch setting on
- Clamps, so both hands stay on the drill
The Clutch, and What It Actually Does
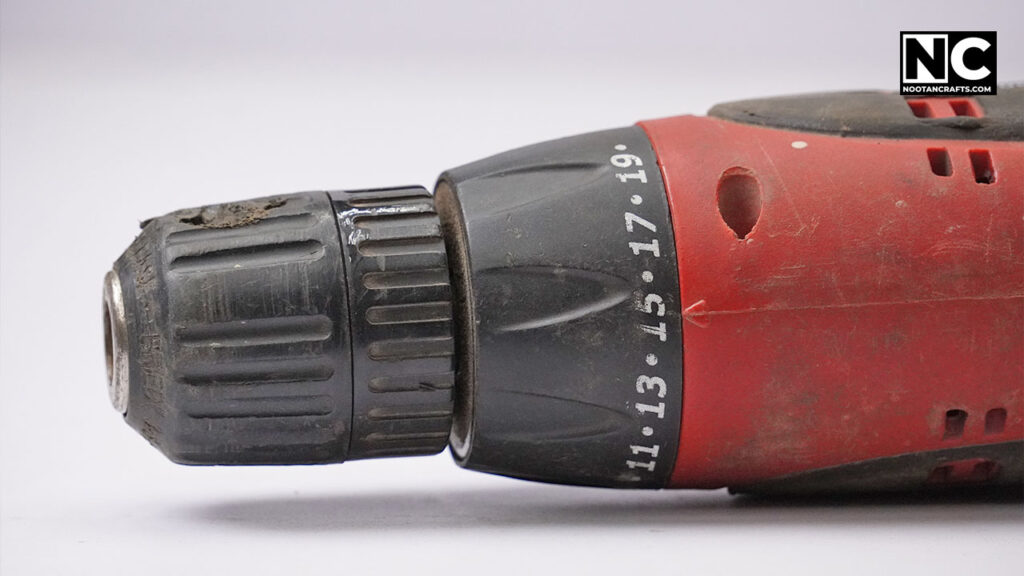
The numbered ring sets the point at which the drill stops turning the bit and starts slipping instead, with a ratcheting clatter. It is a deliberate mechanical failure — the tool gives up before the screw does.
Without it, the drill applies everything it has until something yields. What yields is the screw head stripping, the bit camming out and chewing the head, or the screw shearing off in the wood. That last one is what kept happening to me, and it is the worst of the three because the broken half is still in the workpiece.
| Setting | Use for | Why |
|---|---|---|
| 1-4 | Small screws, softwood, thin material, anything into plastic | Slips early. It is meant to |
| 5-10 | General assembly, cabinet screws, hinges | The range most work lives in |
| 11-15+ | Long screws, hardwood, driving into dense material | Only after a pilot hole. High torque without one splits wood |
| Drill symbol | Drilling only – clutch disabled | Never drive a screw here. This is the setting that snapped mine |
How to find the right number without guessing: start low, drive a test screw into an offcut of the same material, and step up one setting at a time until it seats flush and the clutch slips just after. That is your number for that screw in that material. It takes thirty seconds and it is the whole skill.
Which Drill, and What About Impact Drivers
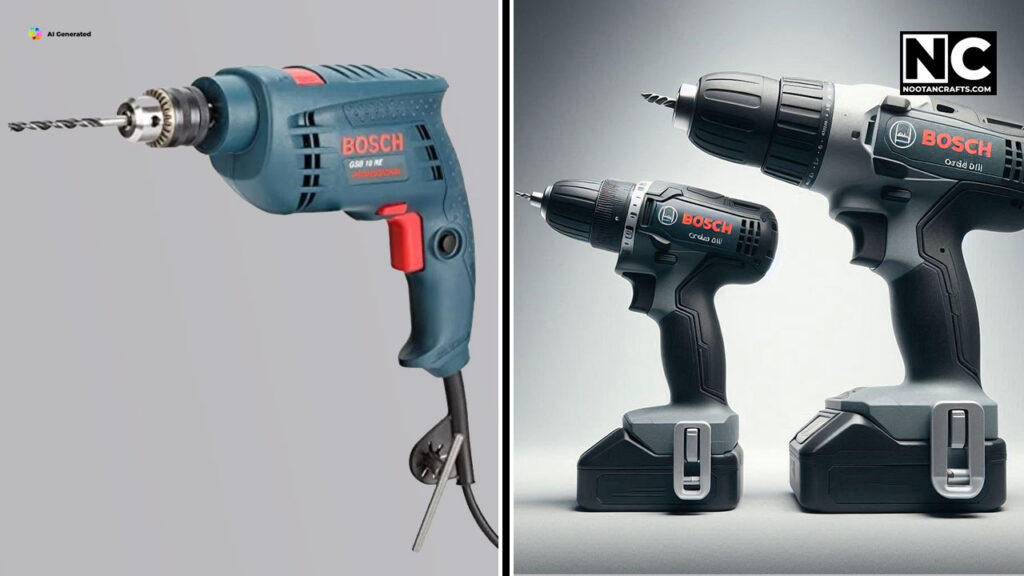
- A cordless drill/driver with a clutch is the right tool. Two speed ranges help: the low range gives torque at a controllable speed, which is exactly what driving wants.
- A corded drill without a clutch will do it, carefully, on a light trigger. This is what I was using. It works until it does not.
- An impact driver is a different tool that looks similar. It delivers rotational hammer blows, drives long screws into hardwood effortlessly, and has no clutch at all – it relies on you releasing the trigger. Superb for decking and framing, too crude for a cabinet hinge.
- Never use a hammer drill in hammer mode for screws. Percussion has nothing to do with driving and will destroy the screw head.
If you are still deciding what to own, the difference between these categories is covered properly in the eleven types of drill — the hammer drill versus impact driver distinction is the one most guides get wrong.
Bits, and Why Yours Keeps Slipping
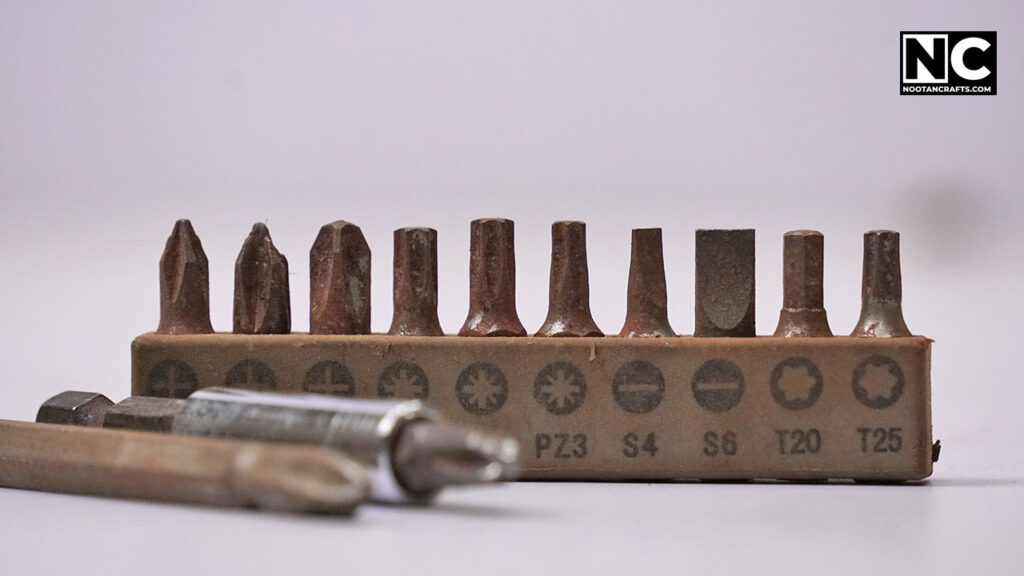
A bit that slips out of the screw head is called cam-out, and it is almost always a size mismatch rather than a worn bit. Phillips bits in particular are made to cam out — that was the original design intent, back when it was the only torque limiter available. A PH2 in a PH1 head will chew it every time.
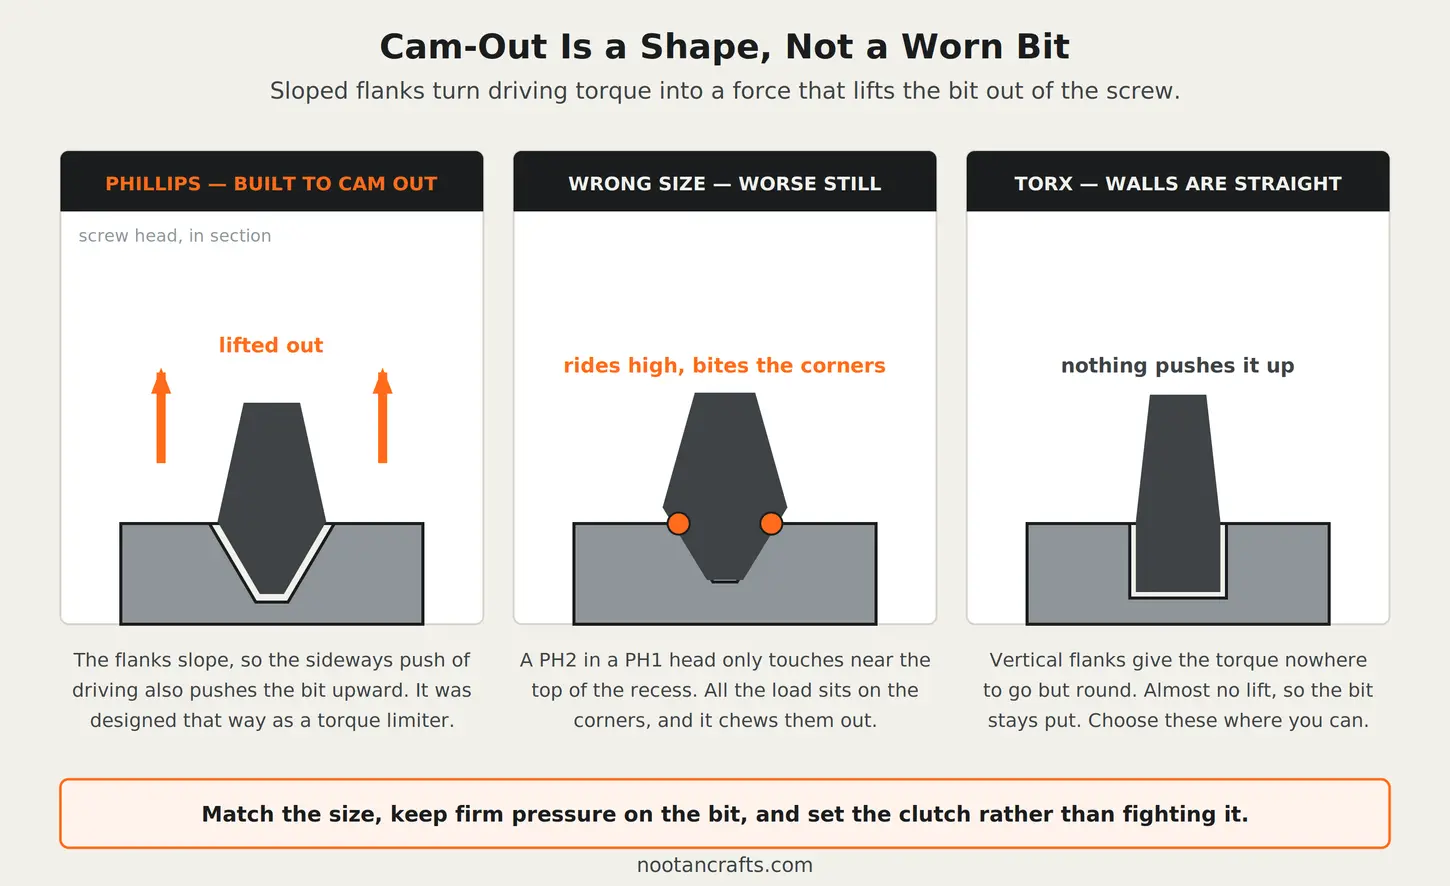
- Match the sizePH1, PH2, PZ2, T20 – the number is not decoration
- Pozidriv is not PhillipsPZ bits have extra small ribs. Using PH in PZ heads is the most common cam-out cause
- Torx barely cams out at allIf you can choose the screws, choose these
- Push while you driveFirm axial pressure keeps the bit seated
A bit that cams out goes somewhere, and so does the screw
Cam-out is not just a chewed screw head. The bit leaves the recess under full torque with your weight behind it, and whatever is on the other side of the screw is where it lands.
- Keep your free hand off the line of the bit. Behind the drill or on the side handle, never steadying the work in front of the screw.
- Clamp small work. A piece held by hand twists the moment the bit grabs.
- Safety glasses. Chewed bits shed hardened fragments, and they come off at driving speed.
Driving a Screw
- Drill a pilot holeSized to the screw’s shank, not its thread. Wood splits because the thread wedges the fibers apart, and the pilot gives the solid core of the screw somewhere to sit – the sizes by gauge are here.
- Set the clutch low and test on scrapStep up until it seats and slips. Thirty seconds, once per screw type.
- Low gear, moderate speedIf the drill has a 1/2 selector, use 1. Torque at low speed is what driving needs; speed is what drilling needs.
- Bit square to the screw, and pushAny angle at all invites cam-out. Firm pressure along the screw’s axis, not sideways.
- Start slow, then ease off at the endFeather the trigger for the first turn to get it started straight, and slow right down as the head approaches the surface.
- Let the clutch stop youWhen it starts clattering, release. That is the tool doing its job, not a fault.
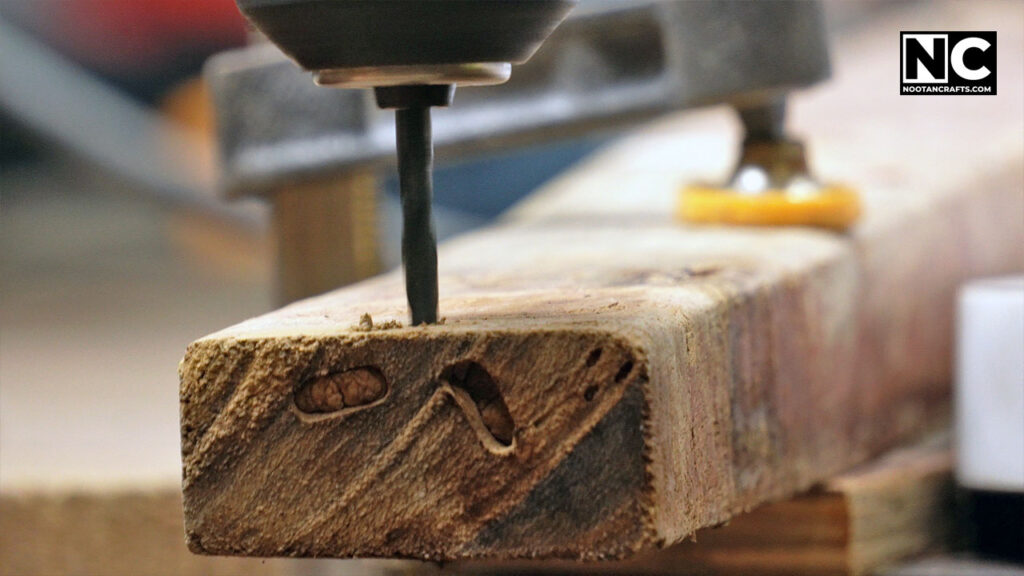
The Four Ways It Goes Wrong
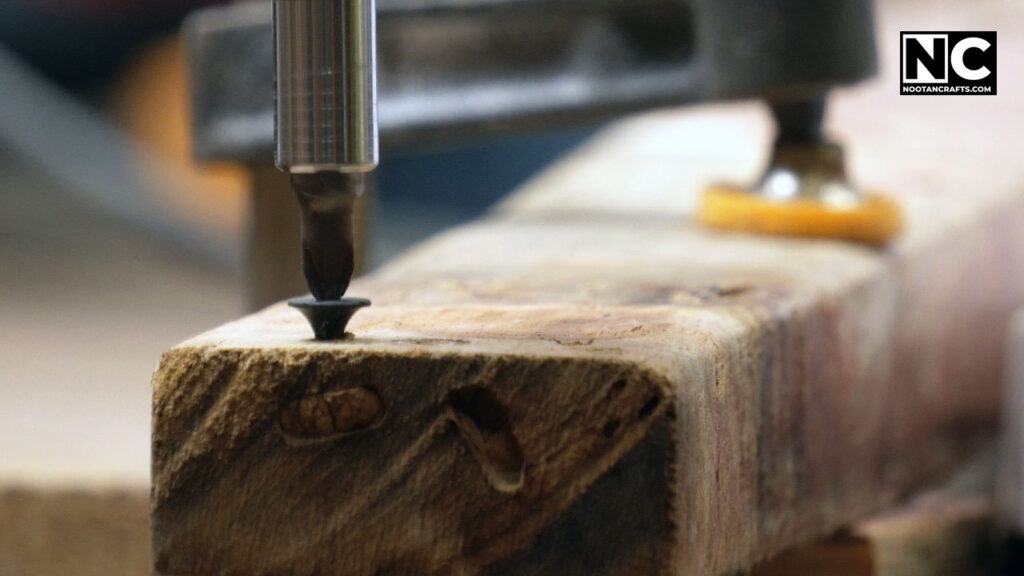
- Stripped head. Wrong bit size, or driving at an angle. You can recover it with a rubber band across the head or an extractor, but it’s far easier to avoid.
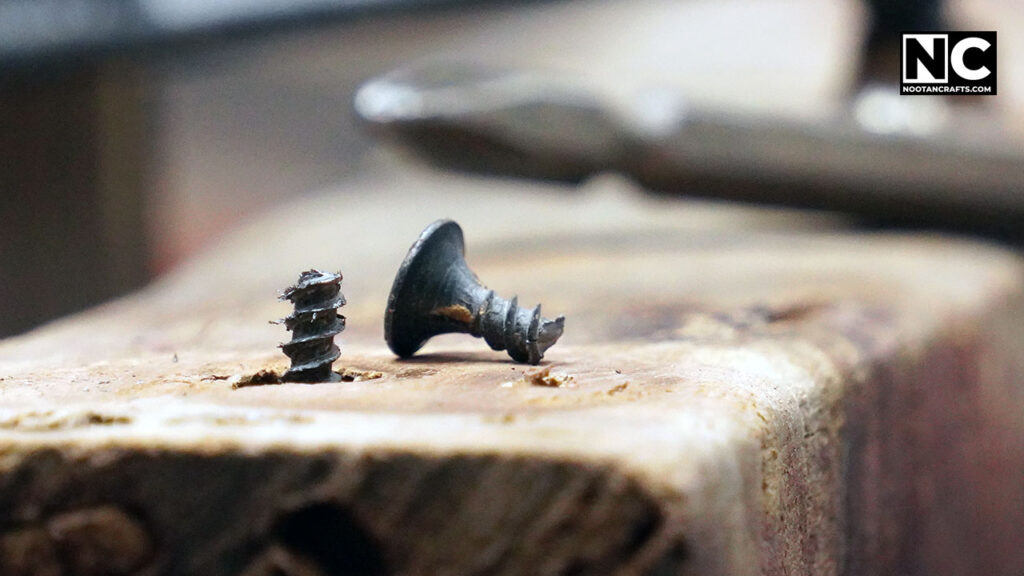
- Snapped screw. Too much torque, no pilot hole, or hardwood. This is the one that cost me an evening. The clutch exists precisely to prevent it.
- Screw driven too deep. Clutch set too high, or the drill symbol selected. In softwood, the head vanishes into the surface and holds nothing.
- Split wood. No pilot, or too close to an end or edge. Not a torque problem – a hole problem.
A snapped screw is worse than a stripped one. The head comes off and the shank stays buried, usually flush or below the surface, in a joint you have already assembled. Getting it out means an extractor, or drilling it out and plugging the hole. It is entirely preventable with a pilot hole and a clutch setting, which is why both are steps rather than suggestions.
Looking After the Drill
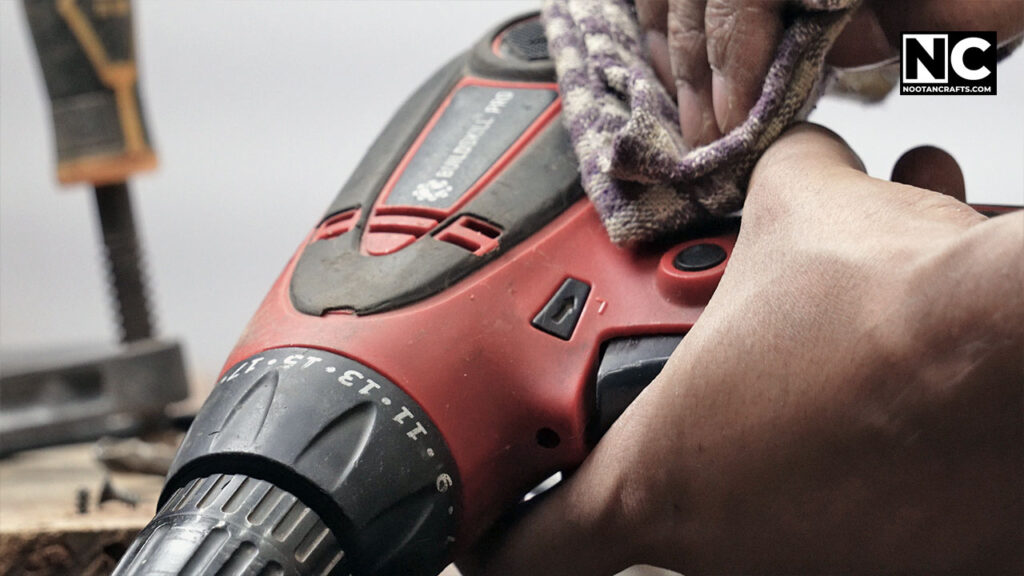
- Blow the vents out after a dusty session. Motors fail from heat, and heat comes from blocked vents.
- Do not store batteries flat. Lithium packs left fully discharged for months can refuse to charge at all. Around half charge is the storage state.
- Replace worn bits. A rounded bit tip is the cheapest thing on the bench and the most expensive to keep using – it strips heads you then have to extract.
- Keep the chuck clean. Grit in the jaws makes bits sit off-center, and an off-center bit cams out.
What I’d buy for this job

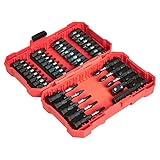

Last update on 2026-10-20 / Affiliate links / Images from Amazon Product Advertising API
Common Questions
Can I use any drill as a screwdriver?
Mechanically yes. Practically, a drill with a torque clutch is a screwdriver and one without is a drill you are using carefully. I have used both, and the difference is not convenience – it is whether the tool or the screw is the thing that gives way when something binds.
Which torque setting should I use?
There is no universal number, because it depends on the screw, the wood and the pilot hole. Start low, test on an offcut of the same material, and step up until the screw seats flush and the clutch slips just after. Thirty seconds of testing beats any chart.
What if the bit keeps slipping out of the screw?
Check the bit size first – a PH2 in a PZ2 head, or a PH2 in a PH1 head, will cam out no matter what you do. Then check you are square to the screw and pushing hard enough along its axis. A worn bit tip is the third possibility and the easiest to rule out by trying a new one.
Drill or impact driver for screws?
Drill for anything where the finish matters or the screw could be over-driven – cabinets, hinges, hardware. Impact driver for long screws into structure, decking, framing, where speed matters and a bit of over-driving does not. The impact driver has no clutch, so it stops when you stop.
Do I always need a pilot hole?
Not in softwood with small screws well away from an edge. Always in hardwood, always near an end or an edge, always for long screws, and always in plywood edges. It is the difference between the thread cutting and the thread wedging.
Set the clutch before the first screw, not after the third one snaps. That is the whole lesson, and it cost me an evening to learn.

Thank you
I appreciate the detailed guide! I’ve noticed that battery management is key when using cordless Bosch drill machines. Keeping a second battery charged and ready can save a lot of downtime, especially on bigger projects. Also, it’s good to avoid overcharging the battery to extend its lifespan.
Why don’t people purchase hammer drill drivers like Dewalt?