Last week, I built my own Ryzen 7 7700X PC. Since my cabinet only came with three front fans, I needed an extra rear fan to enhance CPU cooling and see some RGB sparkle (honestly). Installing quality fans is crucial if you want to keep your rig cool. In this post, I’ll walk through the unboxing and installation of the Cooler Master CF120 ARGB 120mm fan. This guide covers you whether you’re aiming for lower temperatures or want that beautiful RGB glow. So, let’s do this!
Product used in this build!
- Cooler Master’s CF120 ARGB is the most well rounded fan solution for your case and chassis
- The frame is constructed with reinforced PBT for stability, with air balance fan blades for high airflow and cooling performance.
- The flexible mounting system is anti-resonance for noise minimization
Last update on 2026-05-14 / Affiliate links / Images from Amazon Product Advertising API
What’s Inside!
Cooler Master CF120 ARGB Fan – My YouTube Video
I’ve also created a no-vocal video of this fan’s unboxing and installation process. So, check it out, and please consider subscribing for more DIY projects and madness!
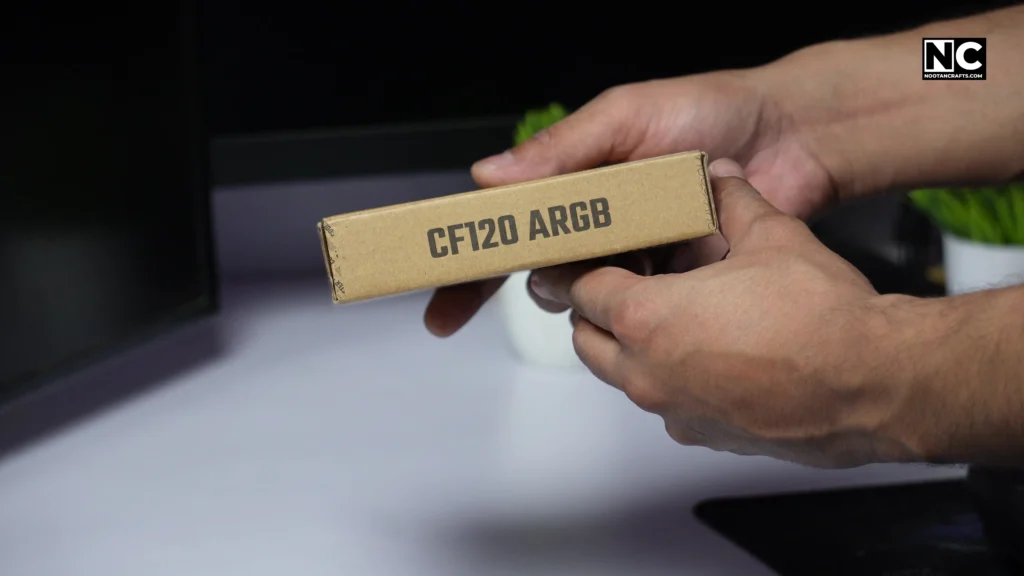
Cooler Master CF120 ARGB Fan Unboxing
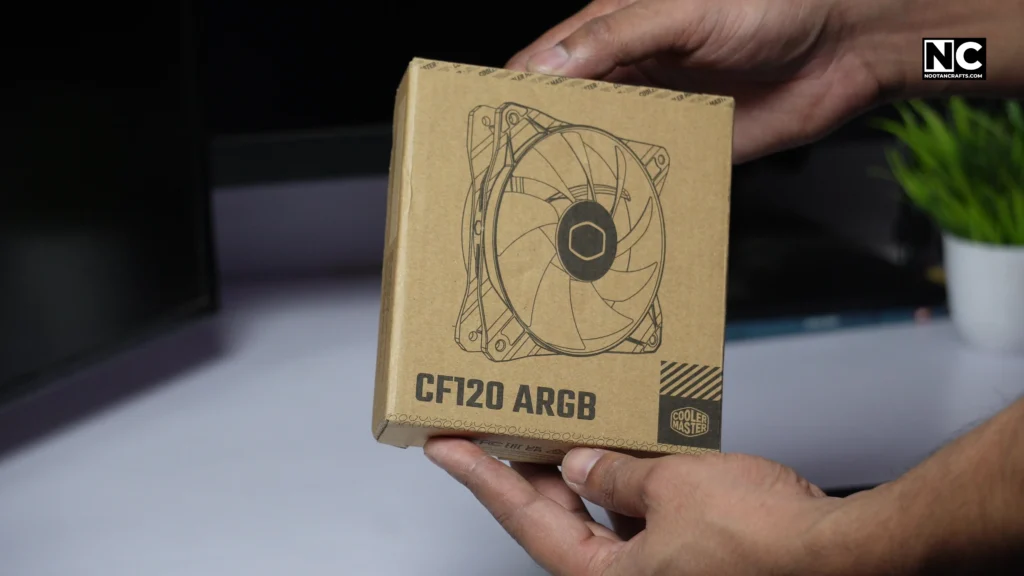
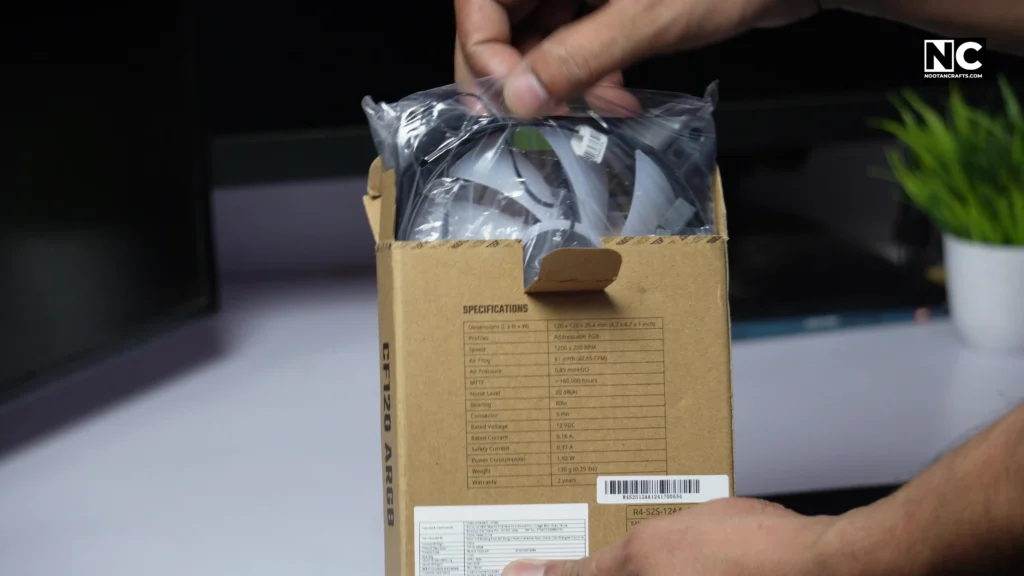

The CF120 arrives in a compact, no-nonsense box featuring product details and key specs. Inside, you’ll find:
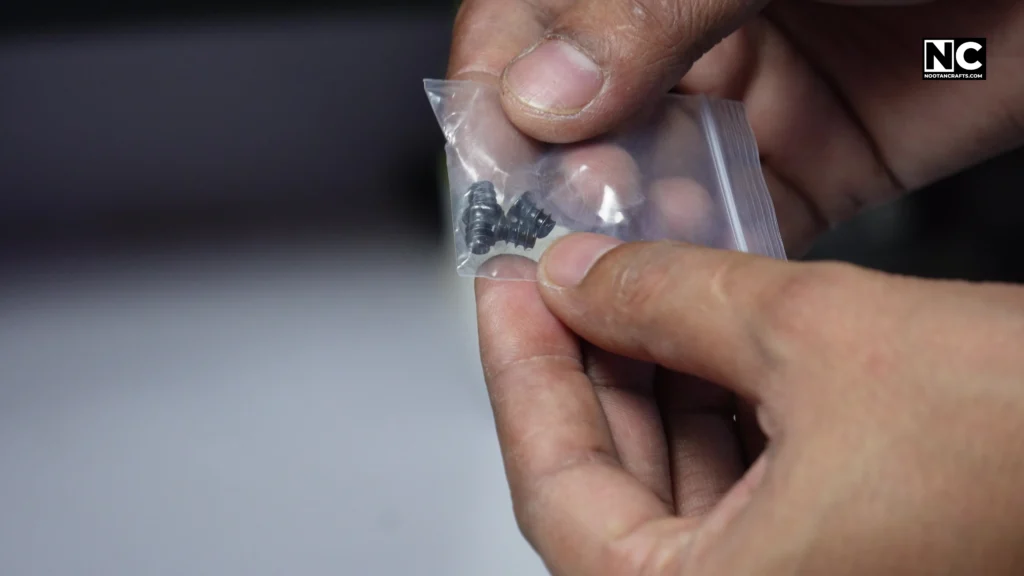
- 1x CF120 ARGB 120mm Fan
- 4x Mounting Screws
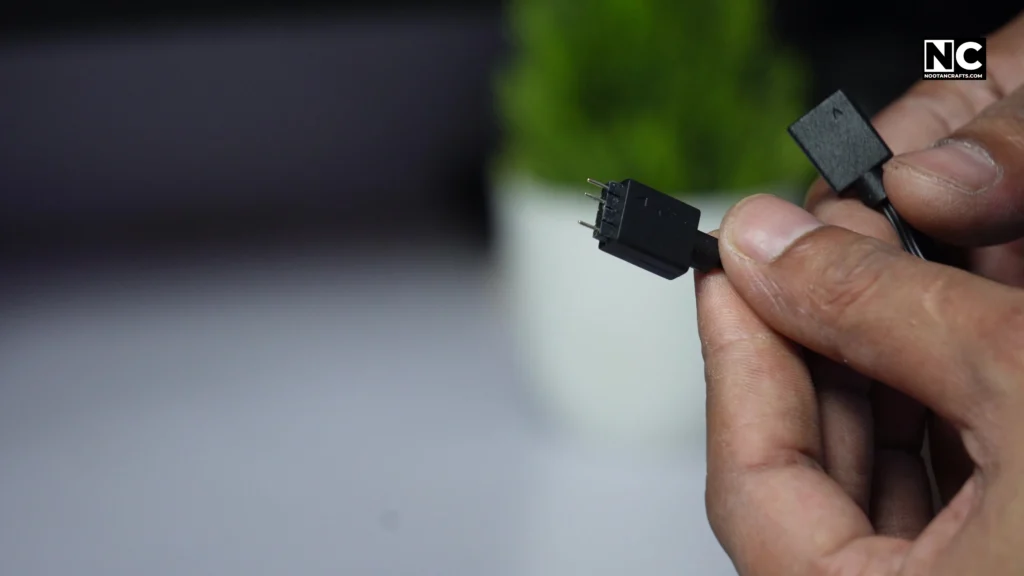
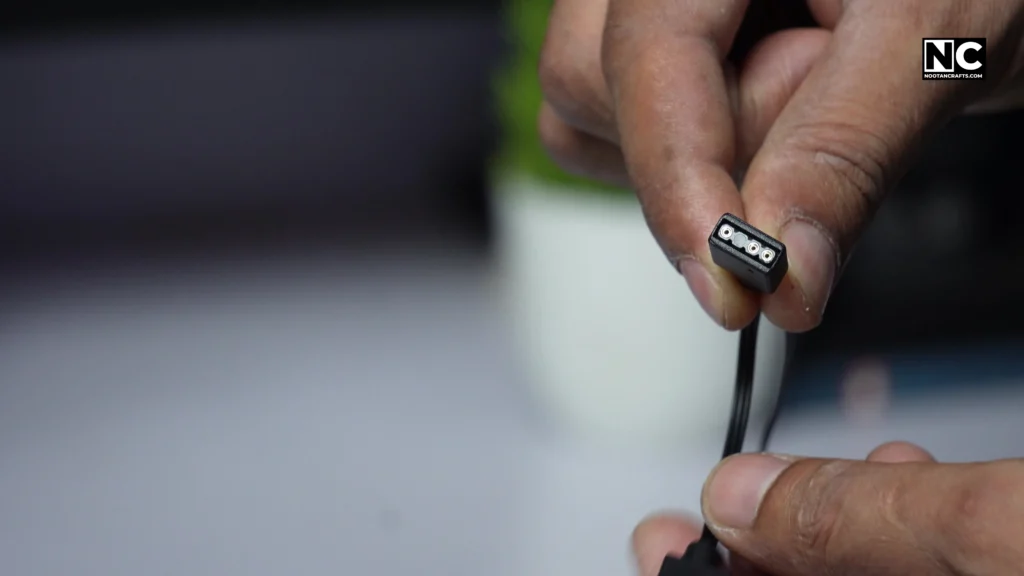
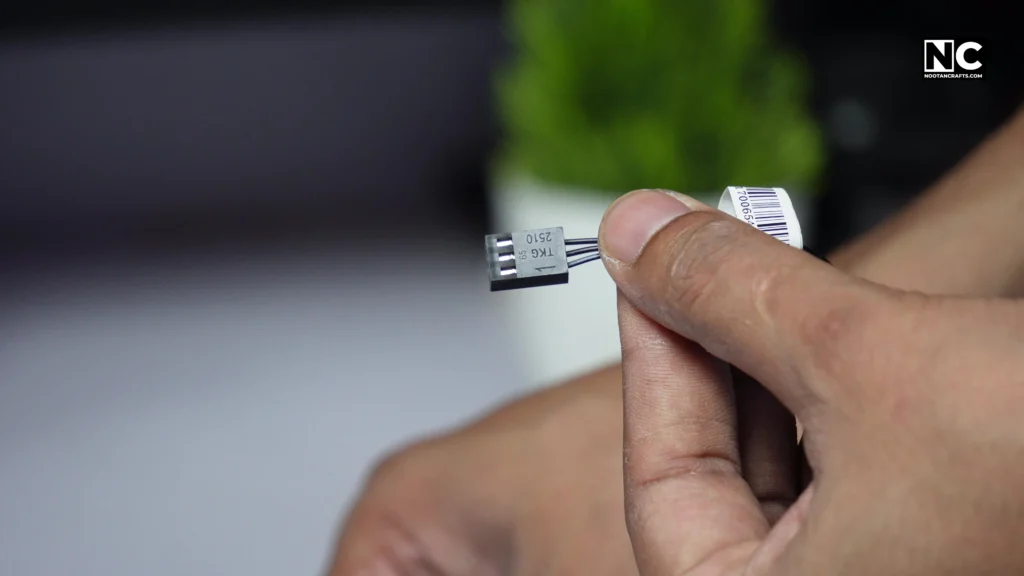
- 3-pin ARGB Connector with Splitter
- 3-pin Fan Power Connector
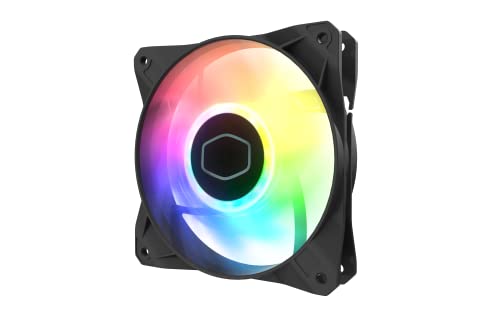
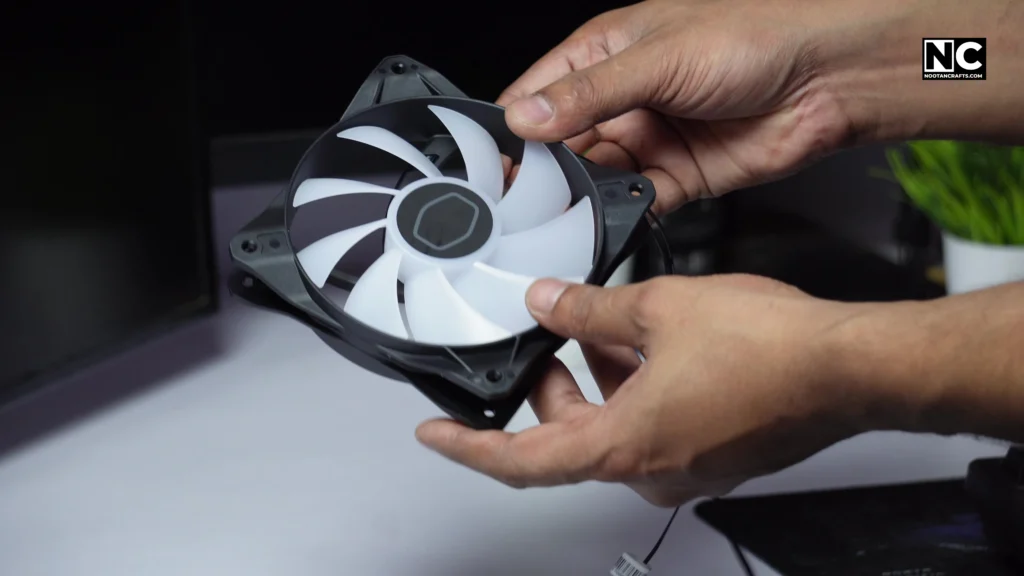
The Cooler Master CF120 looks sleek with a matte black frame and semi-transparent blades designed to diffuse RGB lighting evenly. The build quality feels solid, and the cables are long enough to reach most mid and full-tower cases (I am using a Cooler Master TD500 Mesh V2 case).
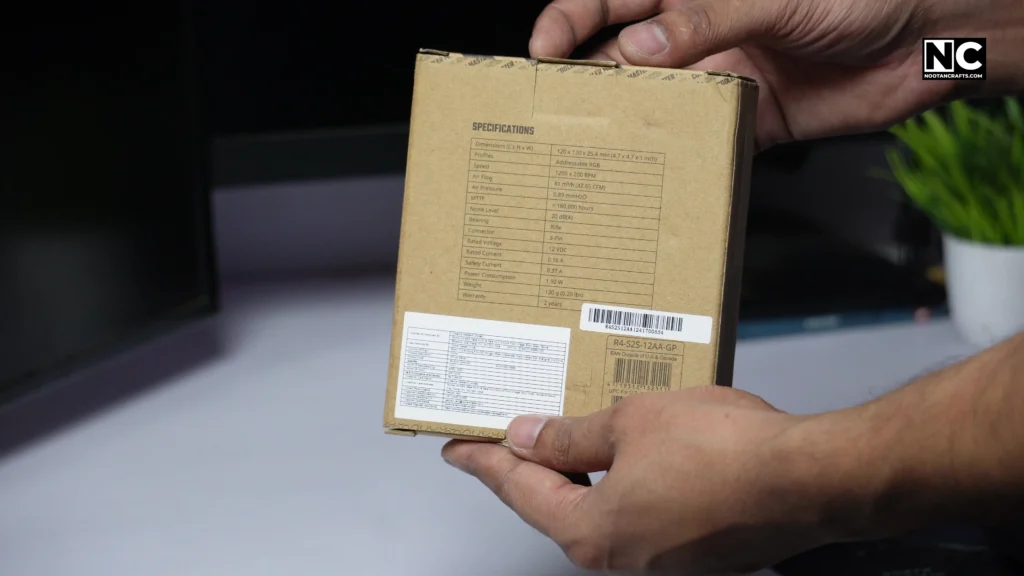
Key Specifications
- Feature Details
- Dimensions 120 x 120 x 25.4 mm (4.7 x 4.7 x 1 inch)
- Fan Type Addressable RGB
- Fan Speed 1200 ± 200 RPM
- Airflow 47.5 CFM
- Air Pressure 0.89 mmH₂O
- Bearing Type Rifle Bearing
- Noise Level 20 dBA (Max)
- MTTF >160,000 hours
- Connector 3-Pin
- Rated Voltage 12V DC
- Rated Current 0.15 A
- Safety Current 0.37 A
- Power Consumption 1.92 W
- Weight 130 g (0.29 lbs)
- Warranty 2 Years
Compatibility: ASUS Aura, MSI Mystic Light, Gigabyte RGB Fusion, ASRock Polychrome
This efficient and quiet fan adds vibrant RGB lighting to your build. You can purchase it without any hesitation.
Cooler Master CF120 ARGB Fan Installation
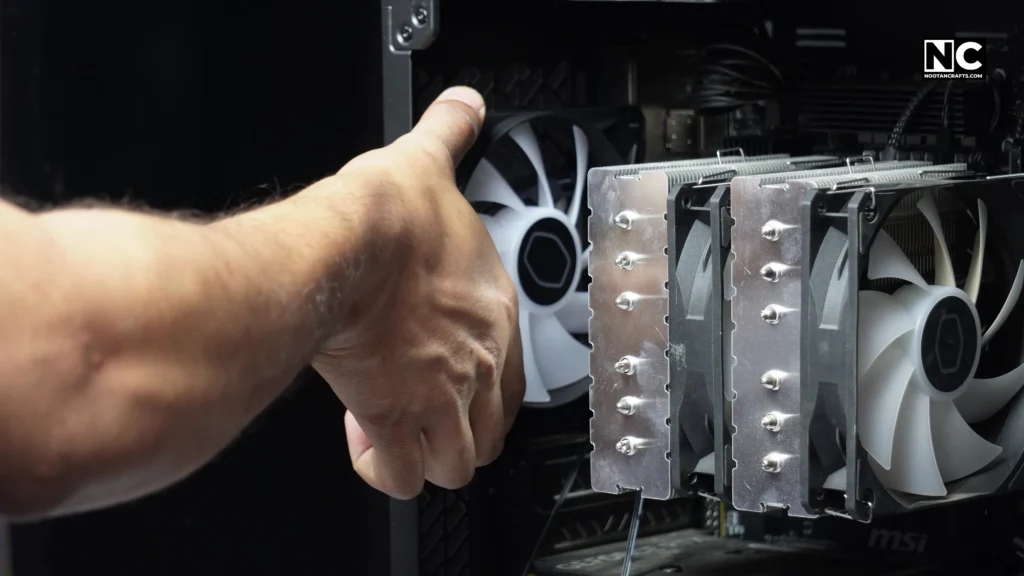
Choose Your Mounting Location: Depending on your airflow setup, this fan can be installed as either an intake (front/bottom) or exhaust (rear/top) fan.
Check Airflow Direction: The side with the hub (without support grill) is the front (intake side). Ensure you’re orienting it correctly for your setup.
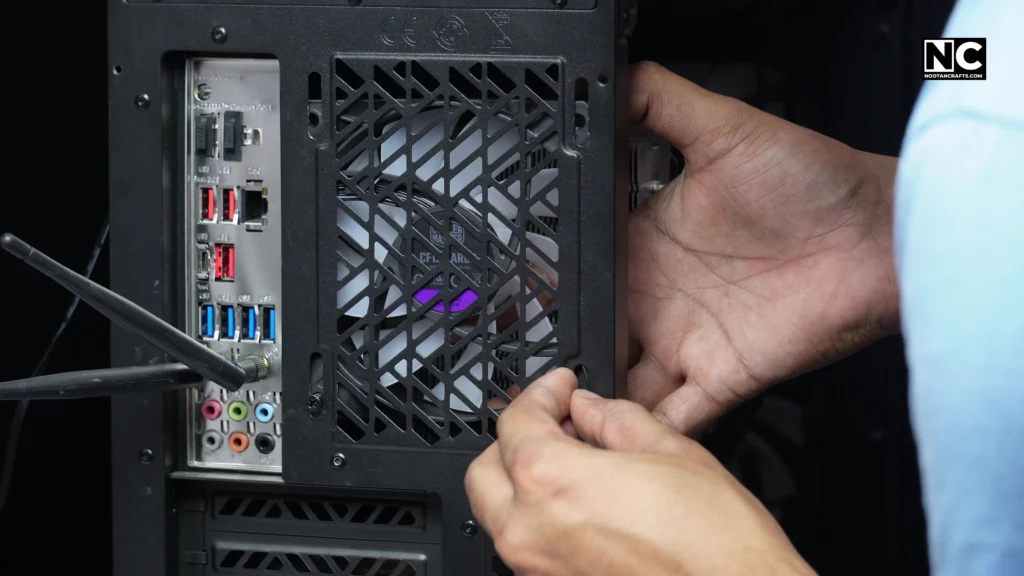
Secure the Fan: Align the holes and use the included Philips head screws to mount the fan to your case.
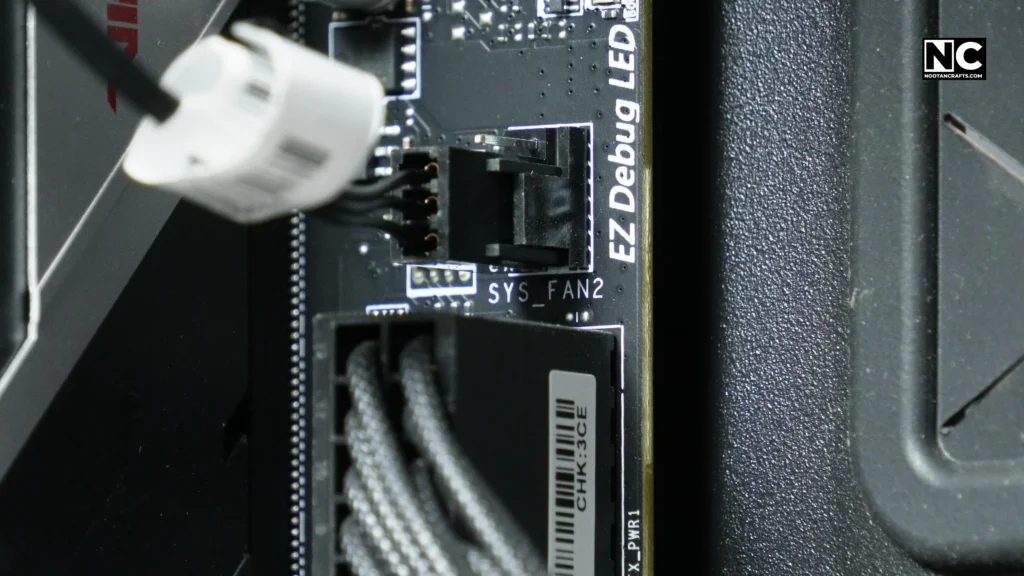
Connect the Power Cable: Plug the 3-pin fan connector into your motherboard’s SYS_FAN or CHA_FAN header.
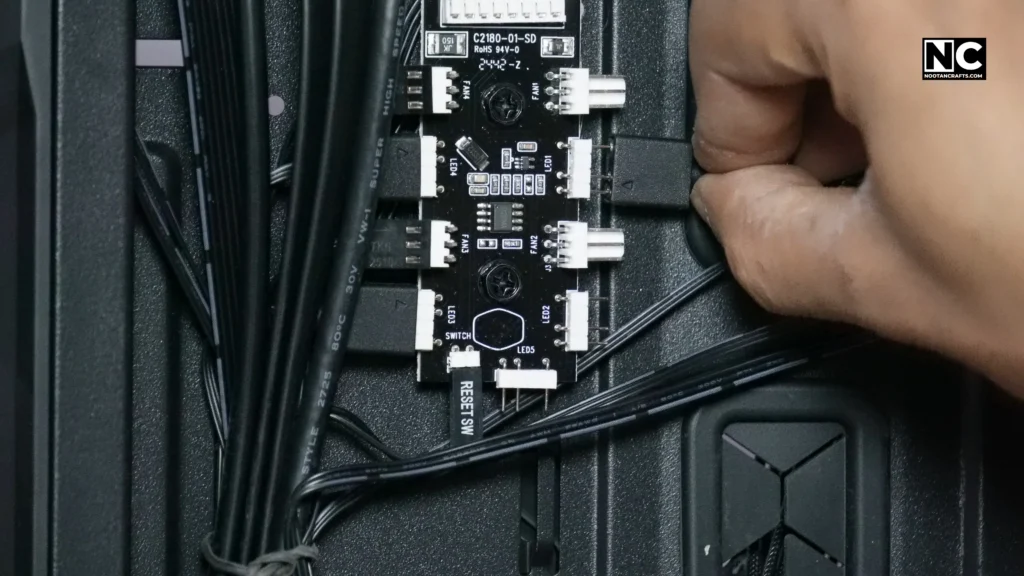
Connect the ARGB Cable: Plug the 3-pin ARGB connector into your motherboard’s 5V ARGB header or a compatible ARGB controller.
Cable Management: Tie up the cables using zip ties or Velcro straps to ensure a clean build.
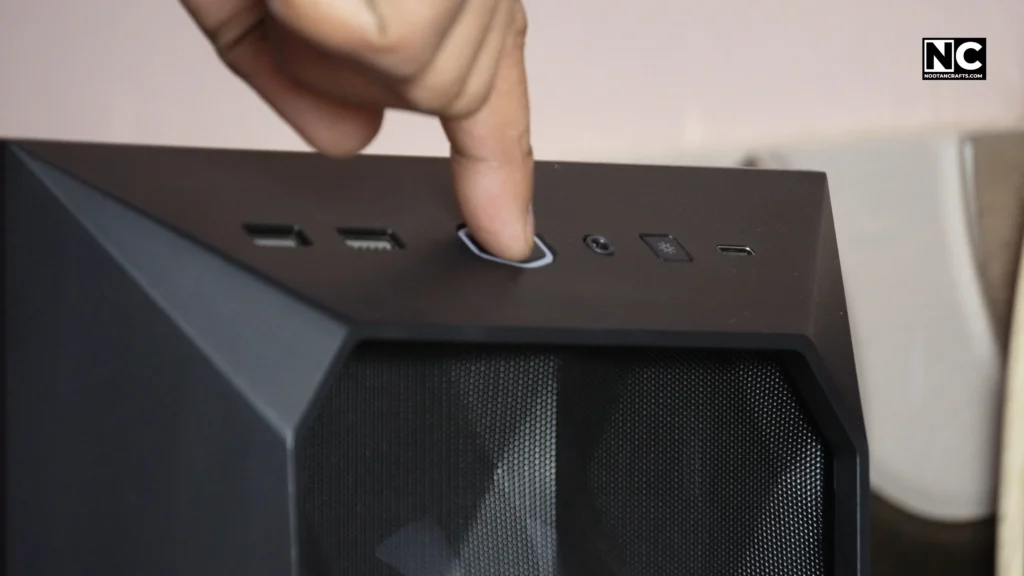
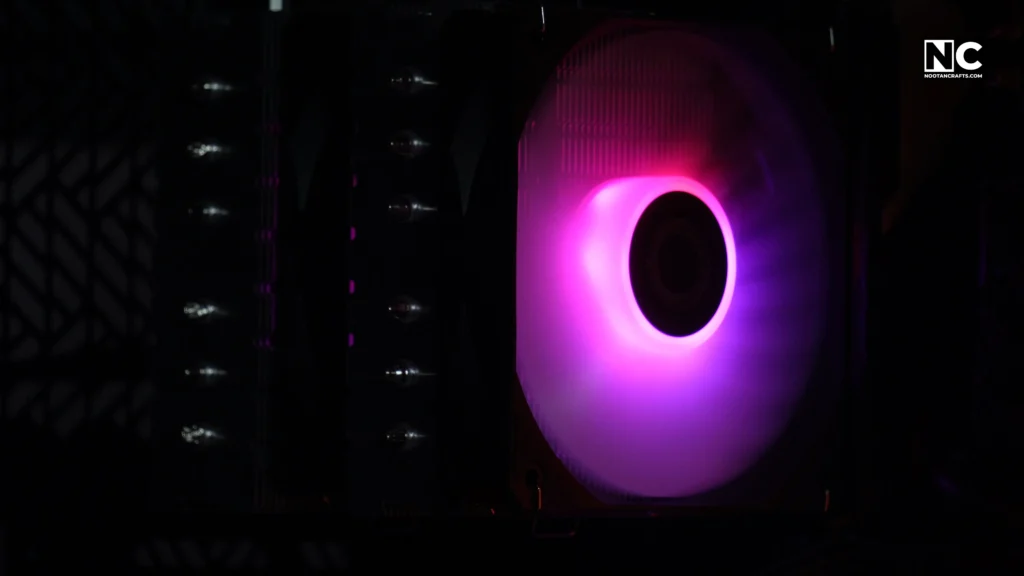
Power On & Test: Turn on your PC and check the fan function and RGB lighting. Use your motherboard’s software to sync or customize the RGB effects.
Final Thoughts
The Cooler Master CF120 ARGB is an excellent fan for a budget build. It offers visually striking ARGB lighting, is easy to install, looks great, and provides excellent airflow for most PC builds. Thanks for reading. If you have any questions or feedback, please comment. Until next time, keep crafting!