Hello guys, last month my main laptop broke, and I felt helpless because it wasn’t repairable, and its parts weren’t easy to find. That’s why I decided it was time to take matters into my own hands and build a future-proof desktop PC. I created a Ryzen 7 PC build for video editing and gaming that performs like a dream. In this article, I’ll walk you through my complete AMD Ryzen 7 7700X PC build featuring the RTX 4060 GPU—a combination that perfectly balances performance and affordability. Whether you’re editing 4K footage, running VMs, or just gaming after hours, this Ryzen 7 7700X and RTX 4060 build has got you covered.
Components used in this build!


Last update on 2026-05-14 / Affiliate links / Images from Amazon Product Advertising API
AMD Ryzen 7 7700X PC build – Step-by-Step Guide
1. Parts Overview
Let’s dive into a detailed overview of the components I’ve carefully selected for this build. Each part has been chosen for its performance, value, and a touch of RGB sparkle, of course. This comprehensive overview will ensure you’re fully informed and prepared for your own build.
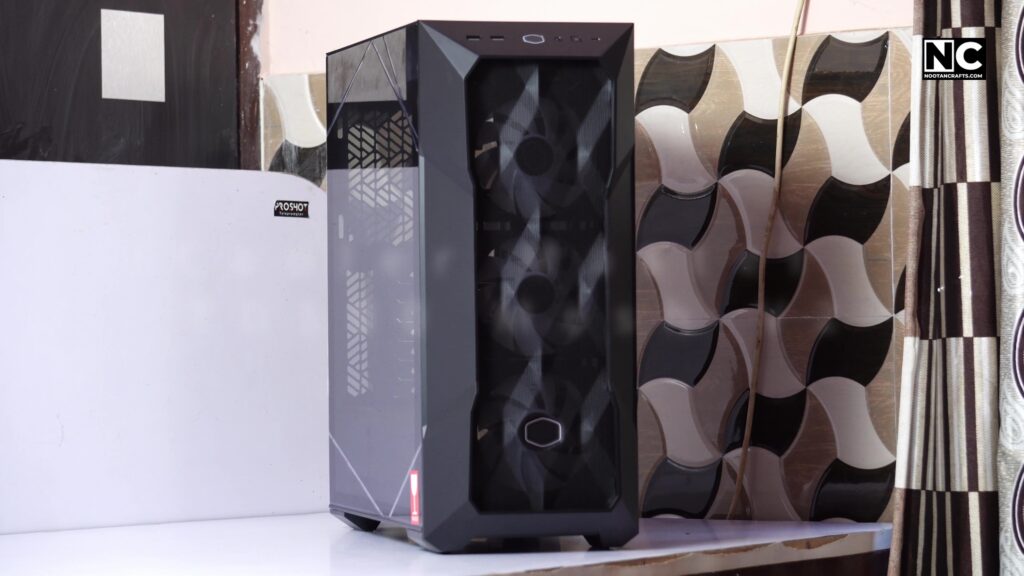
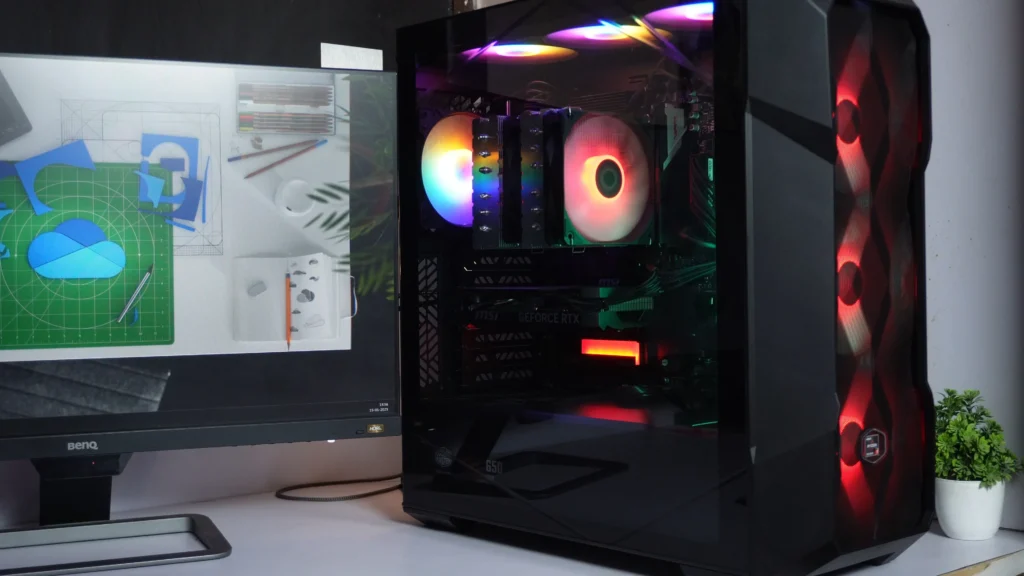
1. Cooler Master TD500 Mesh V2
Let’s start with the Cooler Master TD500 Mesh V2. It comes with three preinstalled ARGB fans, a mesh front, a tempered glass panel, and a built-in ARGB Hub. This case looks fantastic and supports the airflow needs of a powerful AMD Ryzen 7 7700X RTX 4060 build. It also comes with accessories like nuts to secure the motherboard and PSU, rubber pads, and channels to install an HDD or SSD.

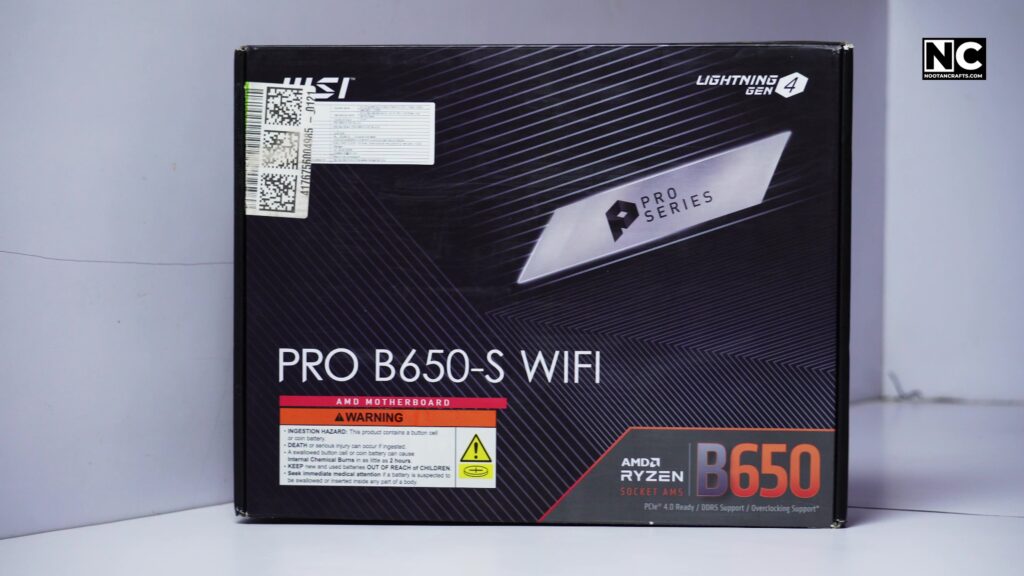
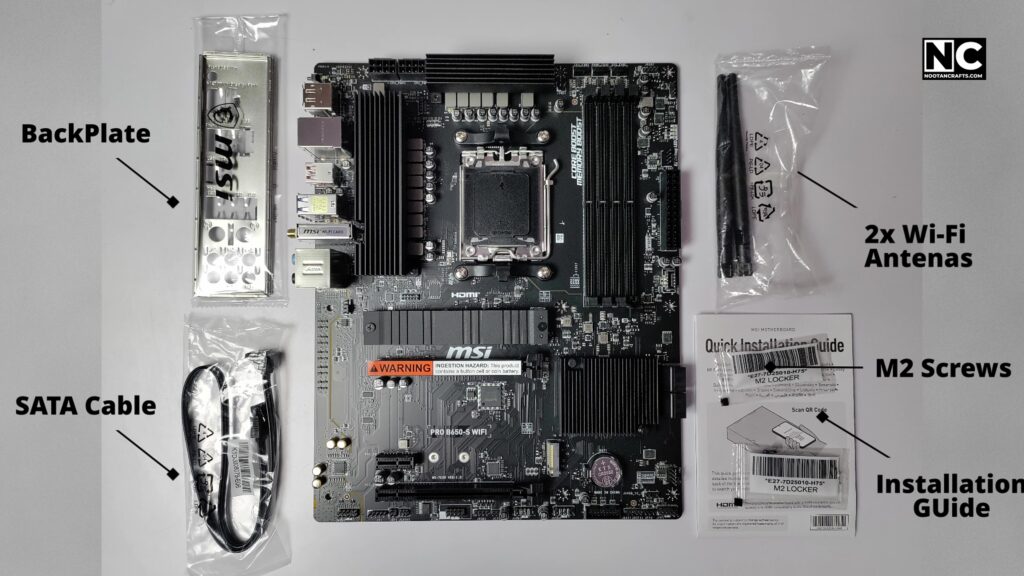
2. MSI PRO B650-S Wi-Fi Motherboard
I have chosen the MSI PRO B650-S Wi-Fi motherboard for my Ryzen 7 7700X Processor, which requires an AMD5 socket. The board offers DDR 5 RAM, PCI 4.0, Wi-Fi 6E, and solid VRMs. This board is highly reliable and future-ready. The package includes a SATA cable, backplate, installation guide, M2 locker screw, and two Wi-Fi antennas.
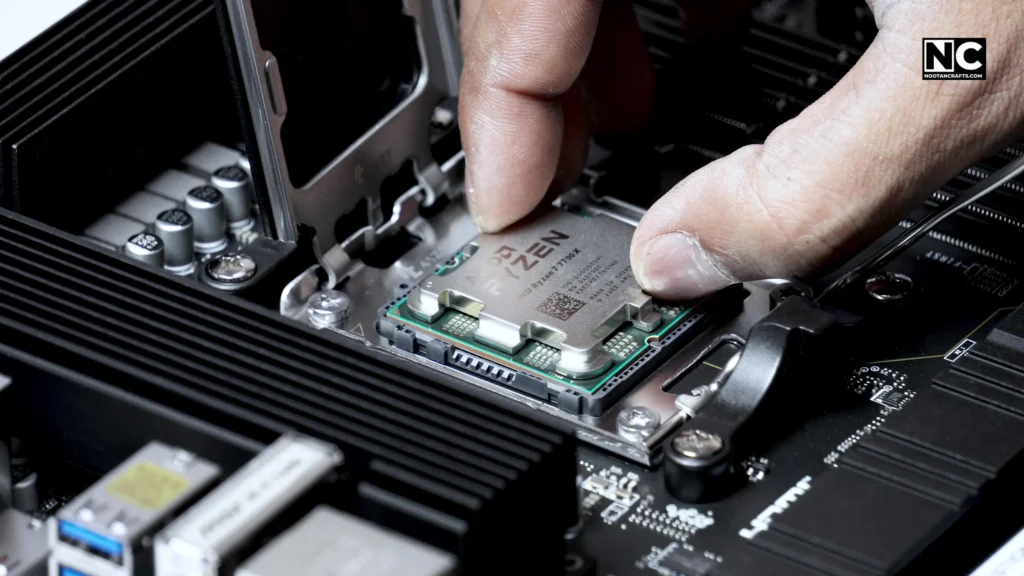
3. Ryzen 7 7700X
Now, let’s talk about our beast: Ryzen 7 7700X. This processor offers 8 cores and 16 threads, designed on 5nm technology, making it incredibly powerful and efficient. Thanks to its high core count and advanced architecture, it can handle my editing, gaming, and multitasking like butter.

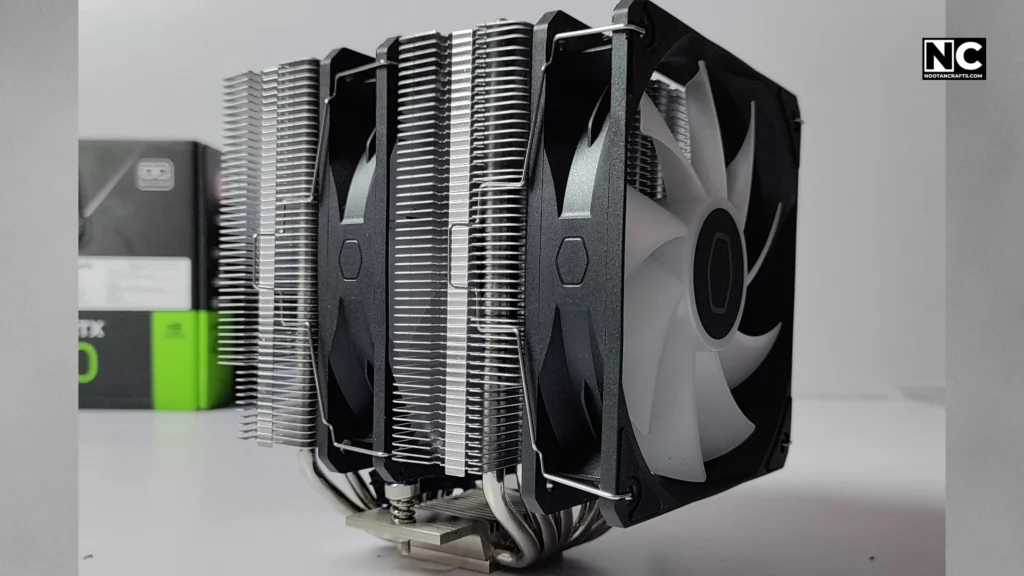
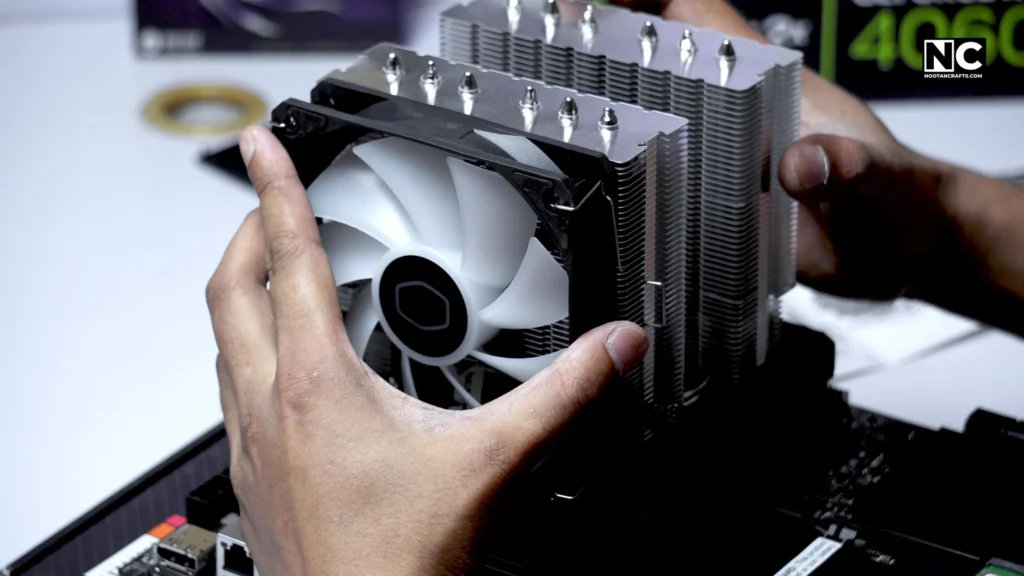
4. Cooler Master Hyper 620S
To keep this beast under control, I have used a Cooler Master Hyper 620S. It’s a dual tower air cooler with dual ARGB fans, which looks great and keeps temperature control even during long renders. It comes with both Intel and AMD socket-compatible accessories. Also, there is a cable extender and CryoFuse thermal paste in the box.


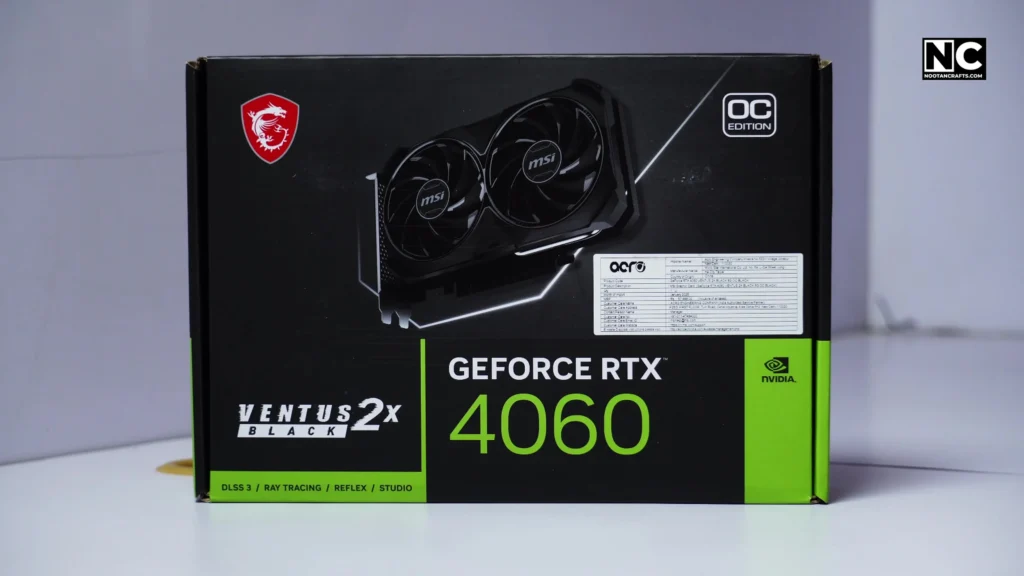
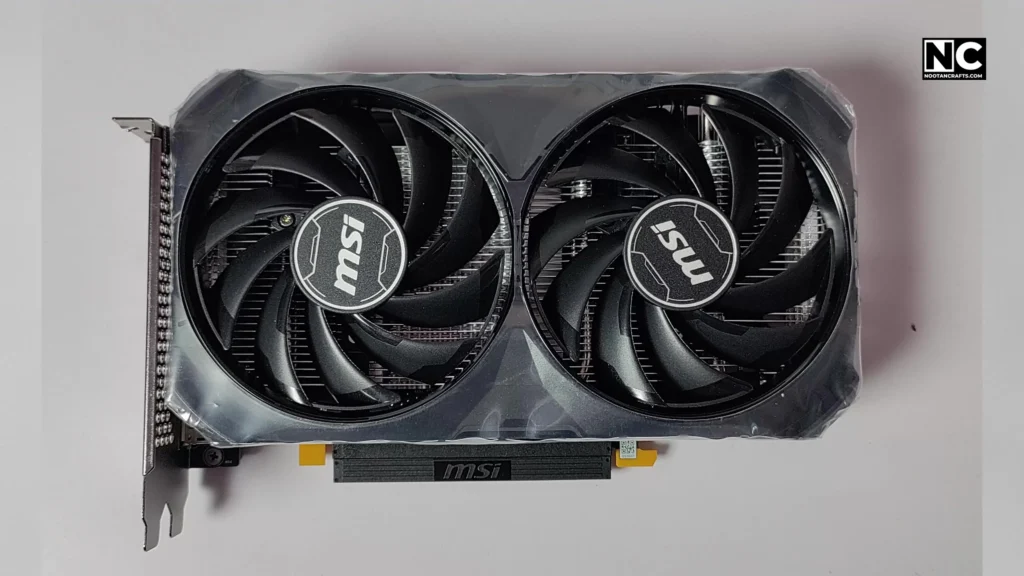
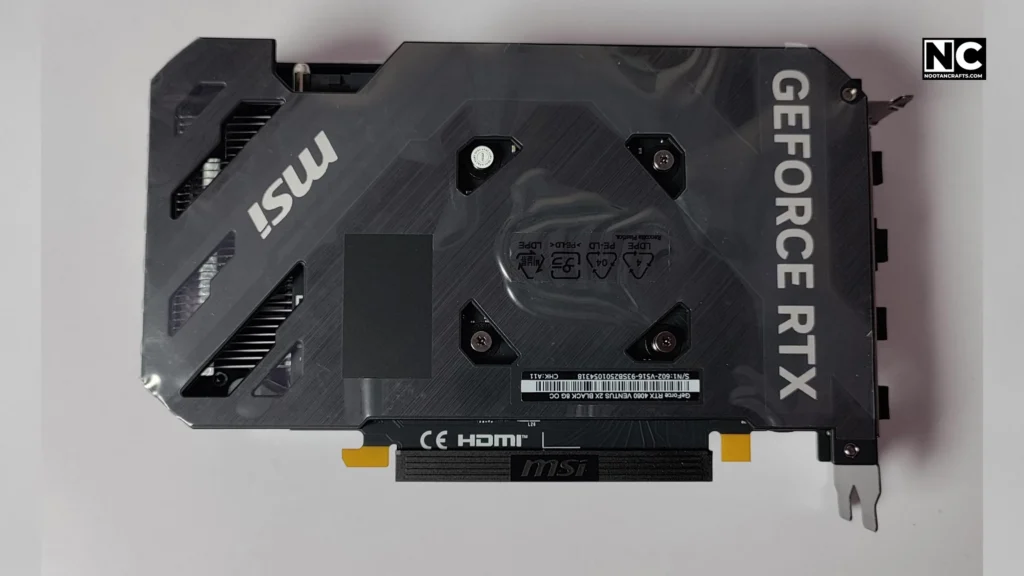
5. MSI RTX 4060 Ventus 2X OC 8 GB
Next is our GPU, the MSI RTX 4060 Ventus 2X OC 8 GB. The Ryzen 7 7700X PC build truly shines when paired with the RTX 4060, offering fast render times in DaVinci Resolve and smooth gameplay in mid to high-range titles. This efficient and compact GPU is perfect for my work and gaming needs. I usually work with VMware Workstation, DaVinci Resolve, Adobe Photoshop, and SketchUp, and play some mid-range games.
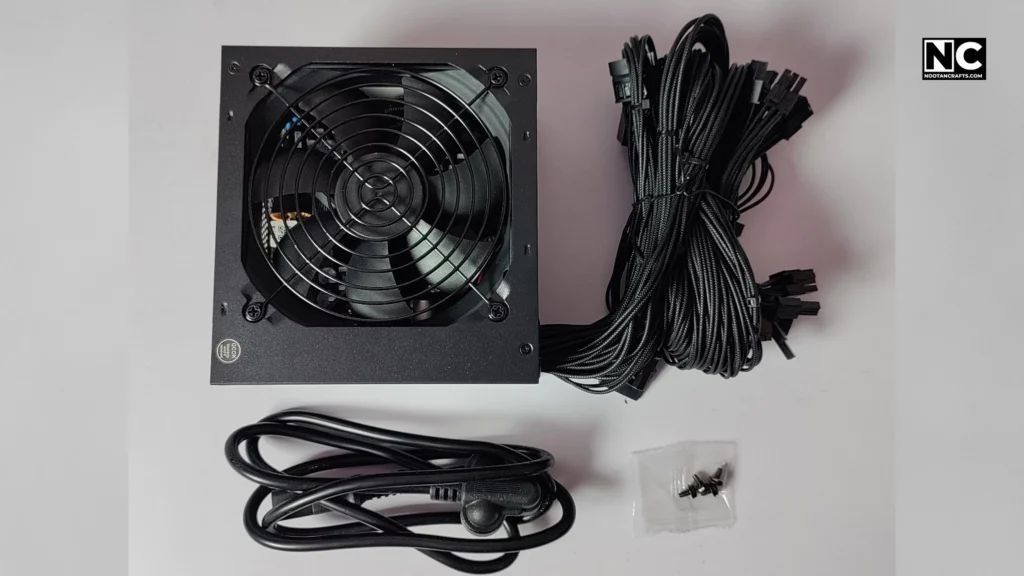
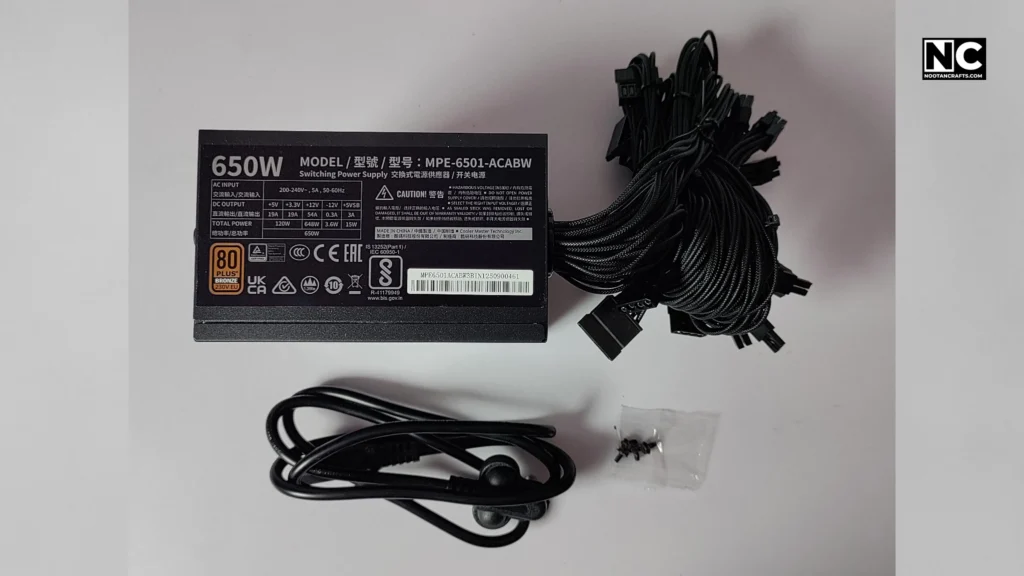
6. Cooler Master 80+ Bronze 650
To handle all these demanding family members, I have used a Cooler Master 80+ Bronze 650 power supply. The PSU is critical as it provides stable power delivery to all other components, ensuring they function properly. It also offers enough headroom for future upgrades, making it a reliable choice for this build.

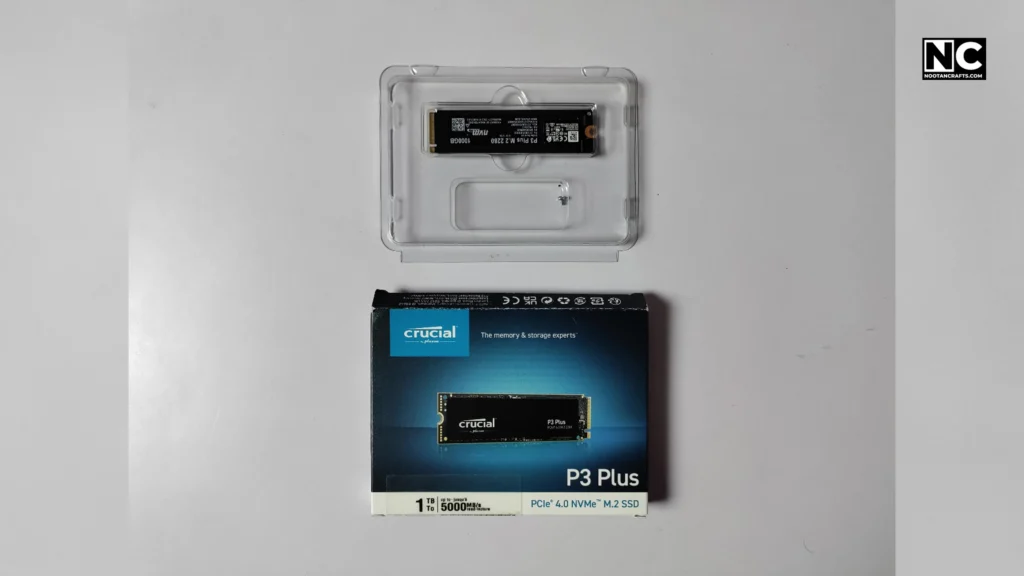
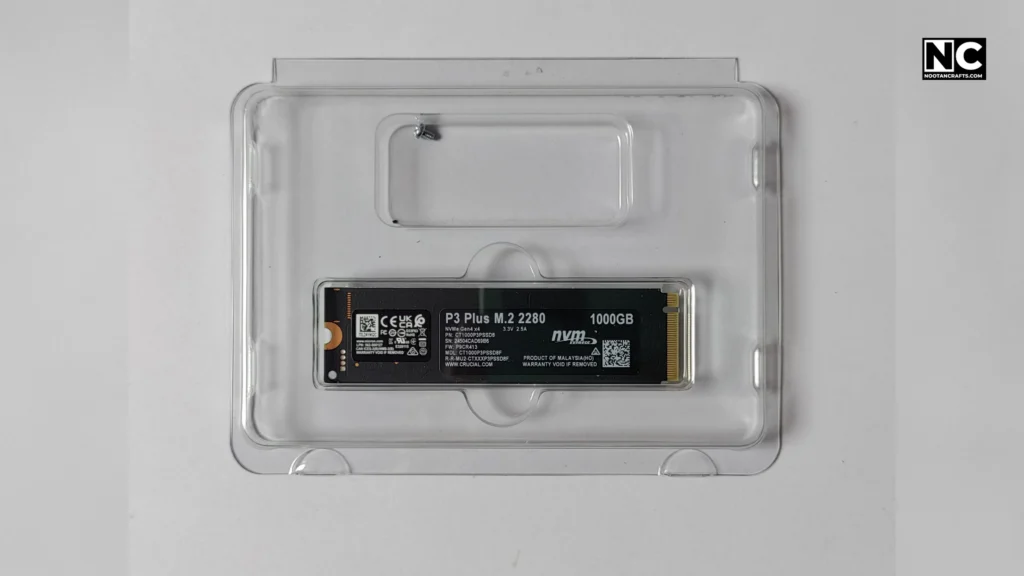
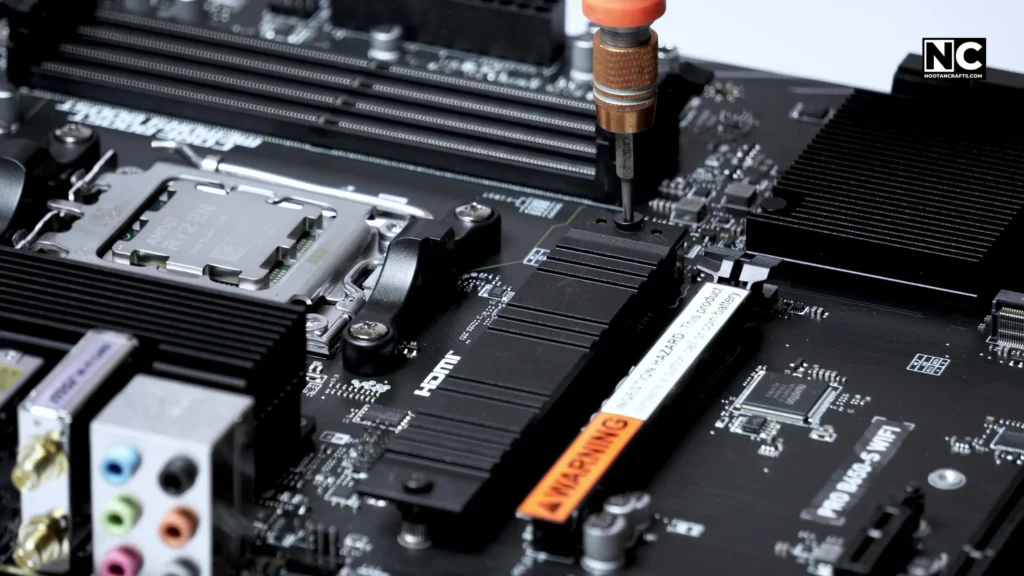
7. Crucial P3 Plus PCIe 4.0 NVMe M.2 SSD
I have used a Crucial P3 Plus PCIe 4.0 NVMe M.2 SSD drive to ensure faster boot time and quick project loading. It can deliver up to 5000 MB/s of whopping speed. 1TB is good enough to handle all my software and seasonal gaming needs.
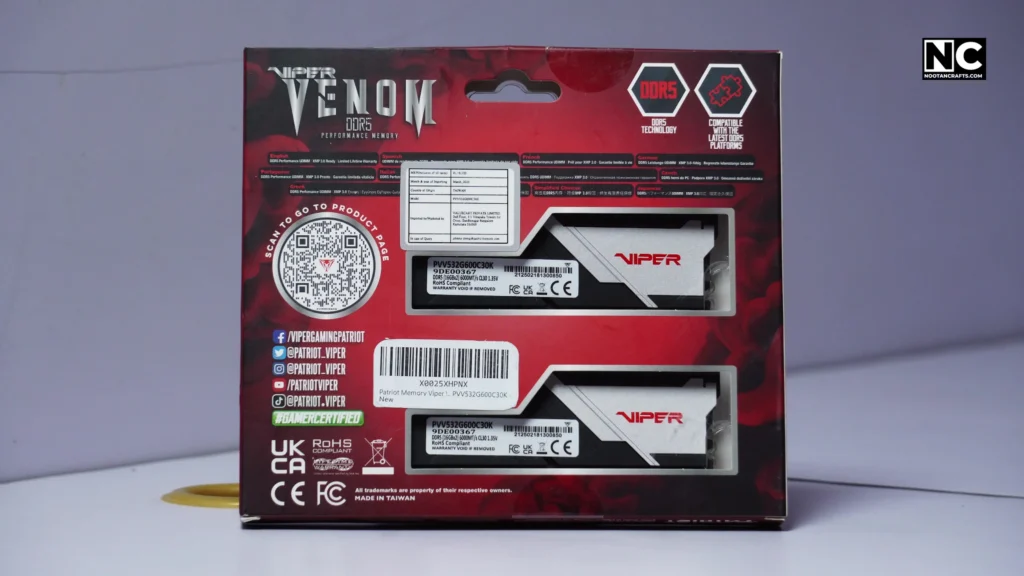
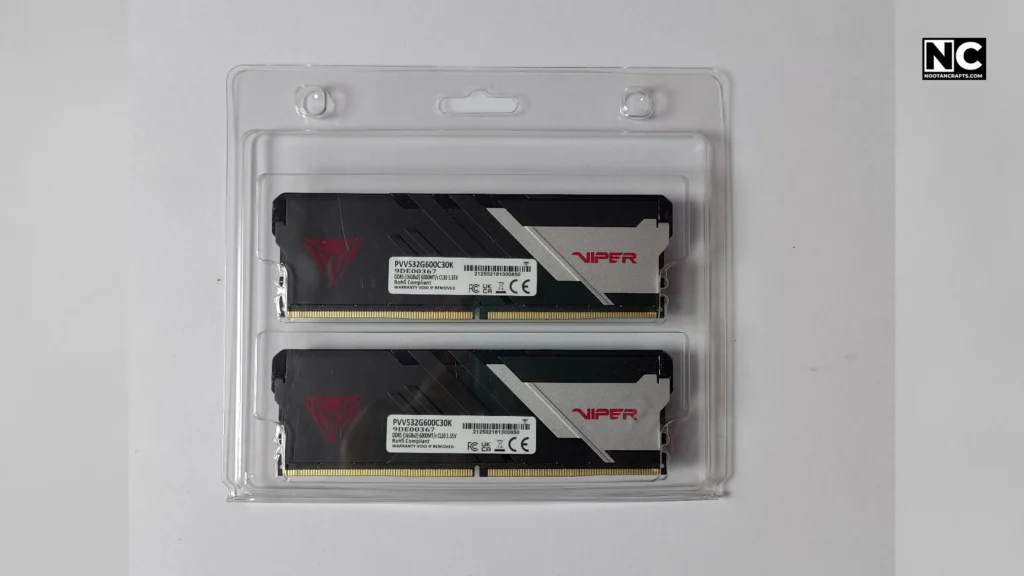
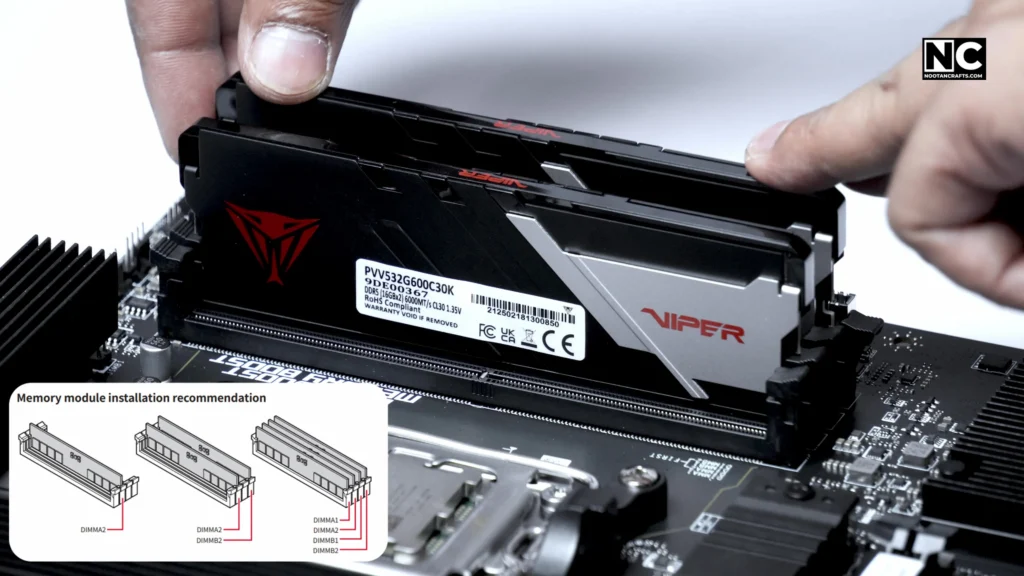
8. Patriot Viper Venom DDR5
Next, I used the 2x Patriot Viper Venom DDR5 16GB memory sticks. These are blazing-fast 6000MHz memories with low latency, which is great for my 4K editing and heavy multitasking. I can’t wait to show you the performance benchmarks of this setup!
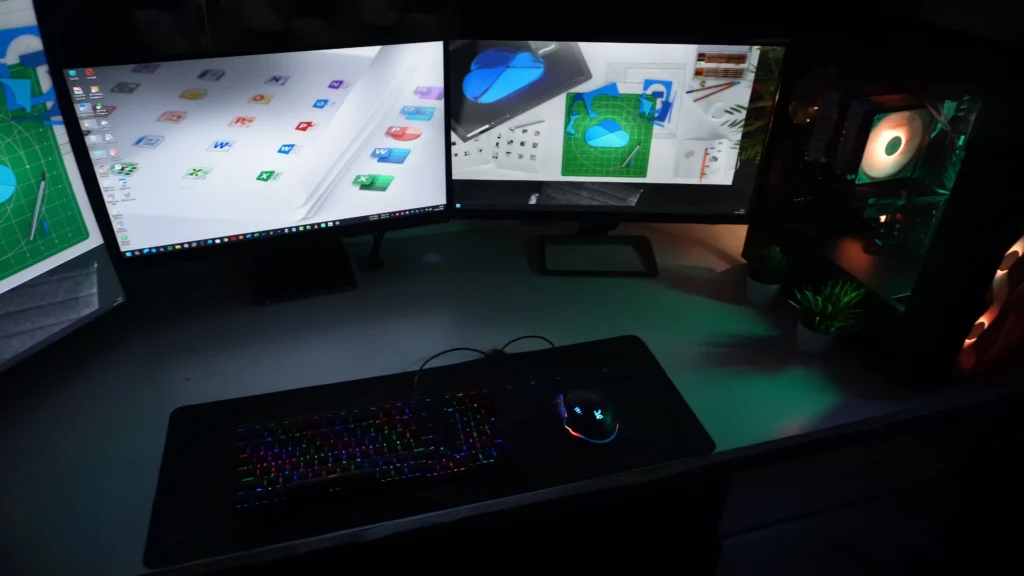
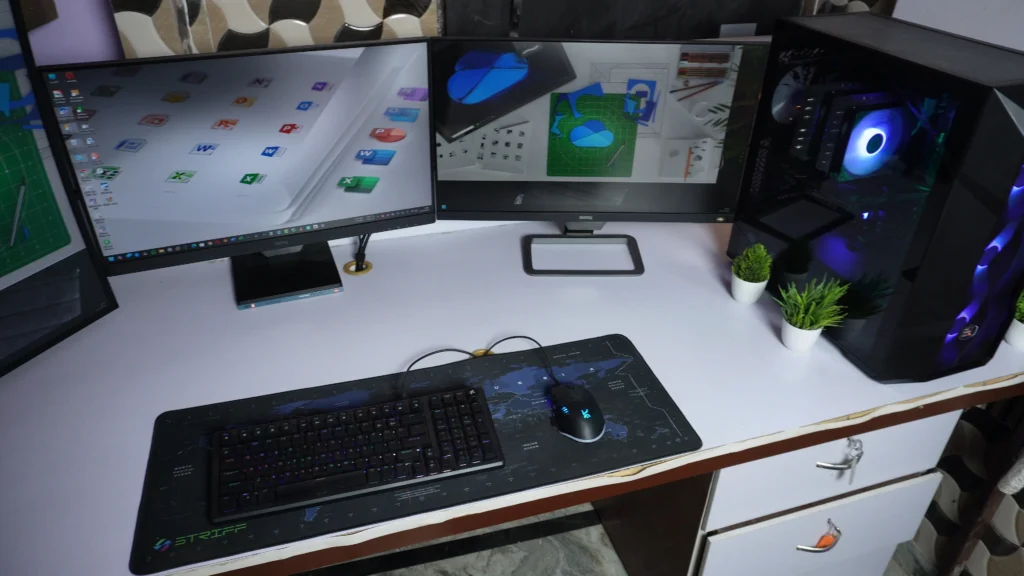
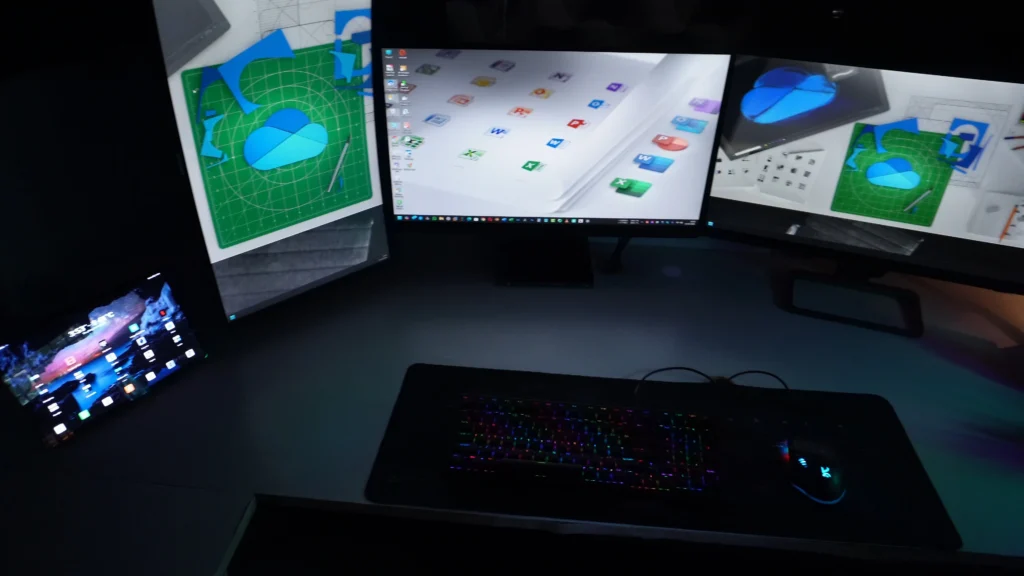
9. BenQ GW2790 99% sRGB monitor
I used to work on three screens. As you know, my laptop broke, so I needed another monitor to fill the gap. So, I chose a full HD BenQ GW2790 99% sRGB monitor; it’s more than enough for me.
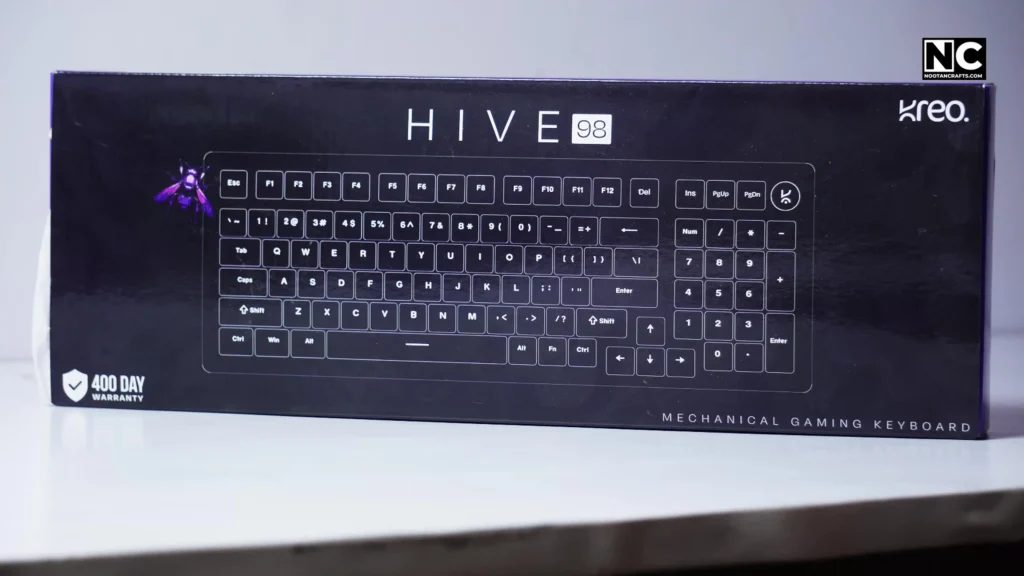
10. Kreo Hive mechanical keyboard
My older keyboard and mouse also gave up, so I purchased a new one for this build. I ordered a Kreo Hive mechanical keyboard with brown switches because I type a lot. It has a Type-C port and, of course, RGB lighting. Overall, this keyboard offers many great features for its price.
11. Kreo HAWK Gaming Mouse
The mouse I chose is also from the Kreo brand. This gaming mouse is designed with a Top Pixart sensor, supports up to 12400 DPI, and has programmable RGB lighting. Now, let’s start the build!

2. Hardware Assembly
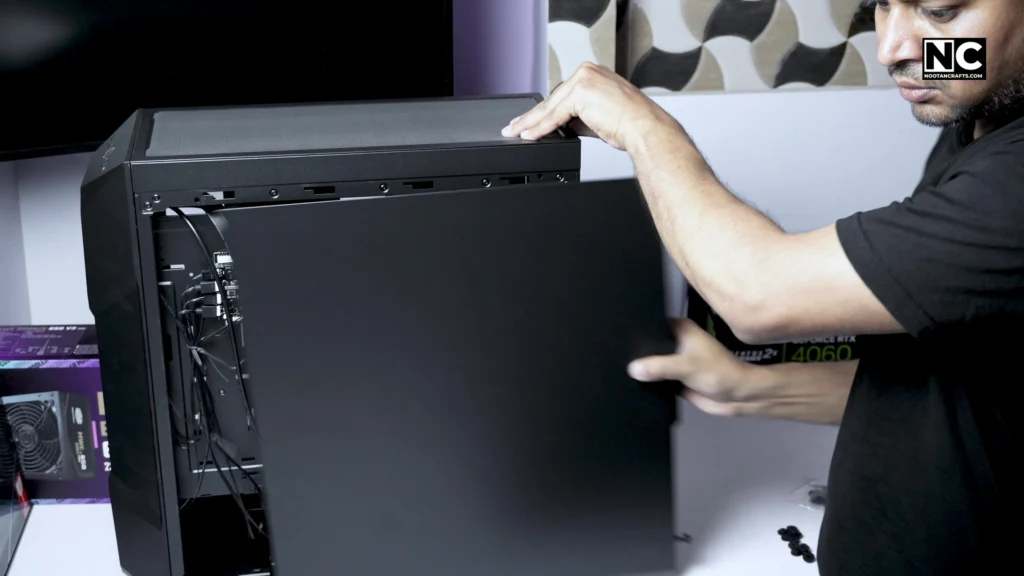
First, I removed the tempered glass panel, which was secured with an optional thumbscrew. I really liked its easy-to-access design. Then, I removed the second side panel by loosening the thumbscrew.

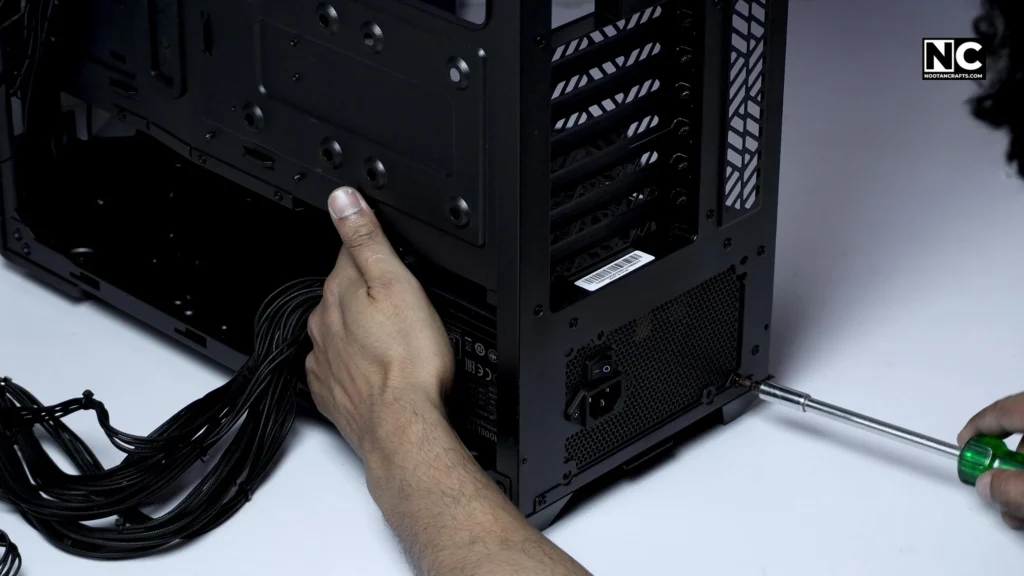
Then, I carefully placed the PSU unit by aligning its screw holes. Then, I started inserting four screws one by one with my hand, followed by a Philips head screwdriver. I made sure the PSU fan faced the bottom.
Now, it’s time for the heart of our system, the CPU Ryzen 7 7700X. Installing the AMD Ryzen 7 7700X was a breeze. I opened the latch, gently put the CPU on the socket, and closed the latch. This 8-core beast deserves a special shoutout—it’s the hero of this gaming PC build.

Next, I installed both memory sticks. According to the manual, the memory must be installed in the A2 and B2 slots first.
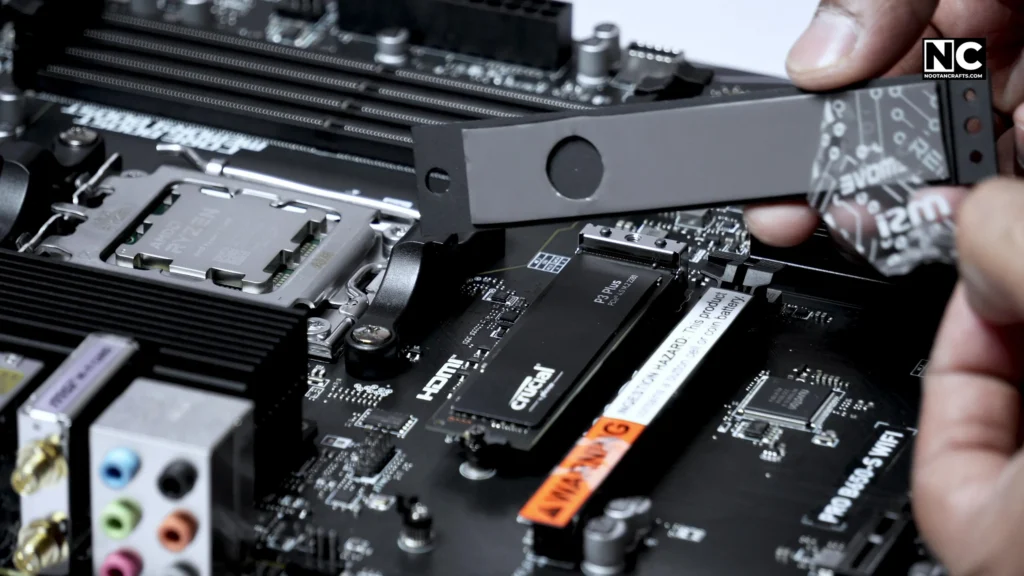
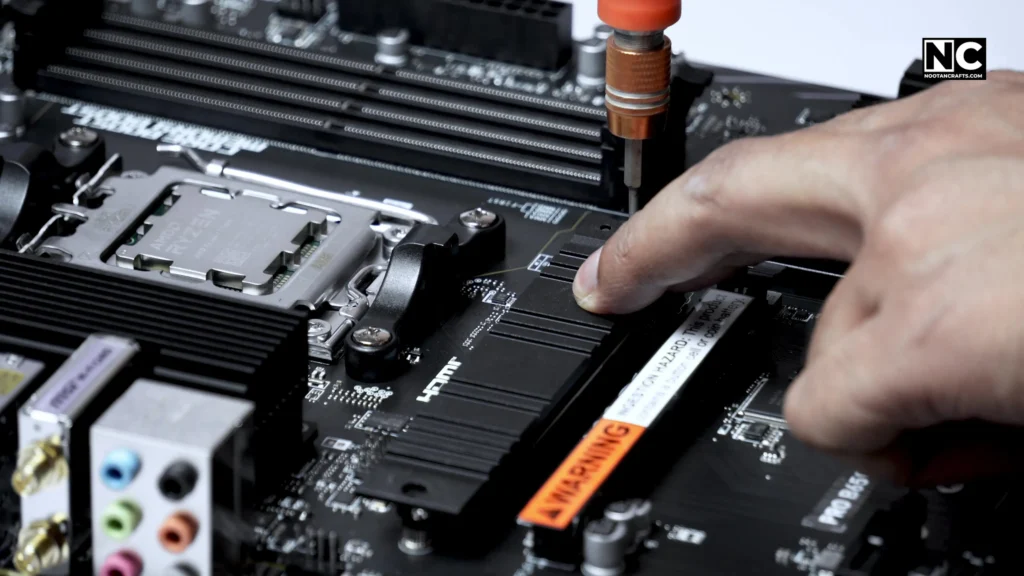
Now it’s time to mount our storage drive, the Crucial 1TB PCIe SSD, on the M.2 slot. The board comes with a preinstalled heatsink for the SSD, which I removed by loosening two screws. I carefully inserted the SSD into the slot and secured it with the lock. Then, I removed the protection film from the heatsink. I carefully placed the heatsink above the SSD by aligning its holes and properly tightening its screws.

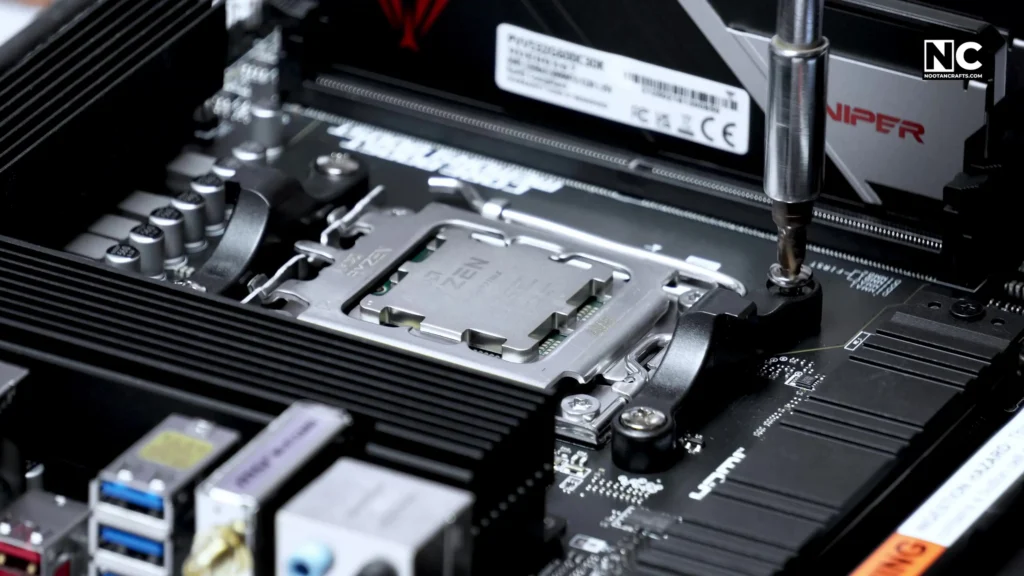
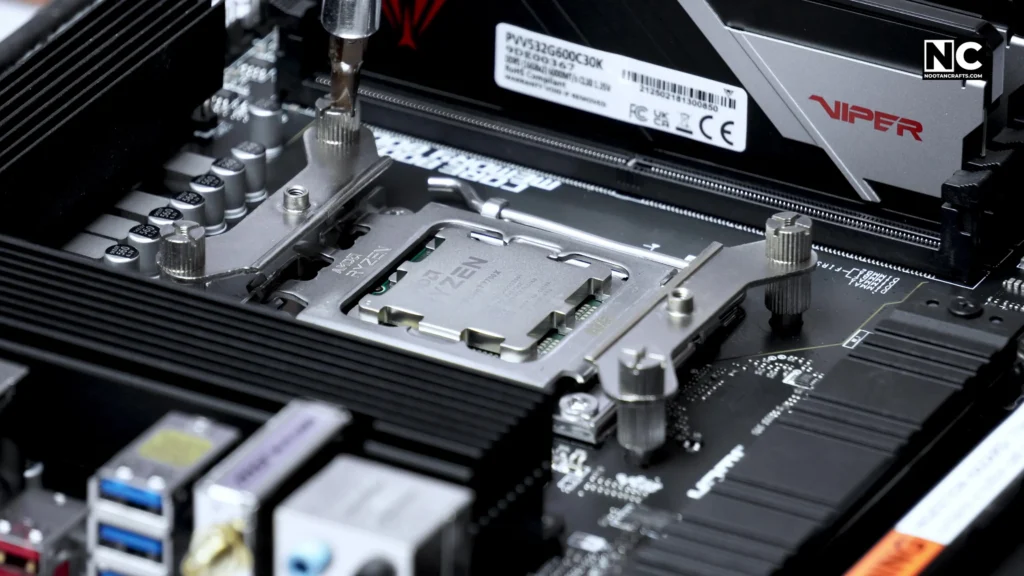
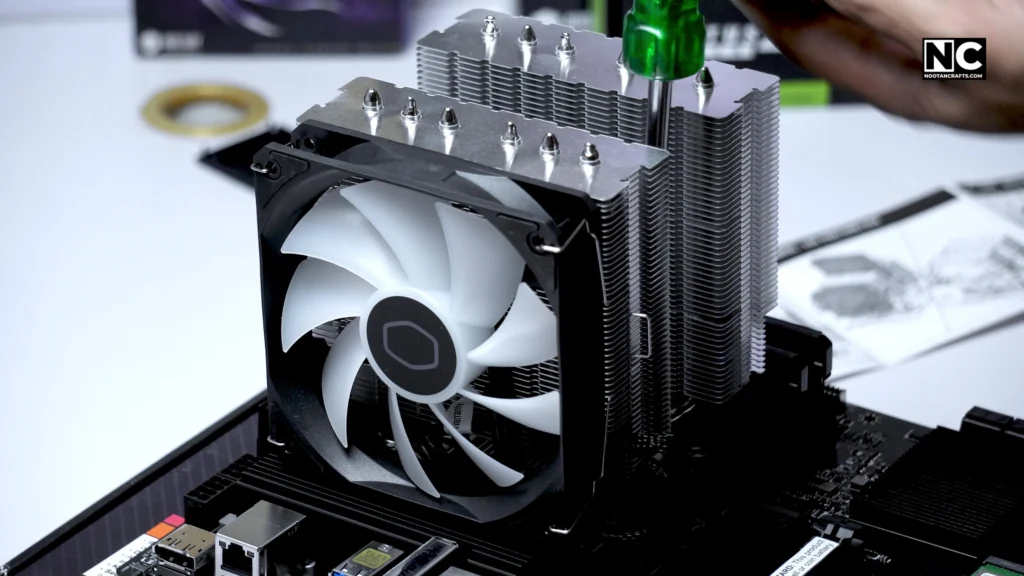
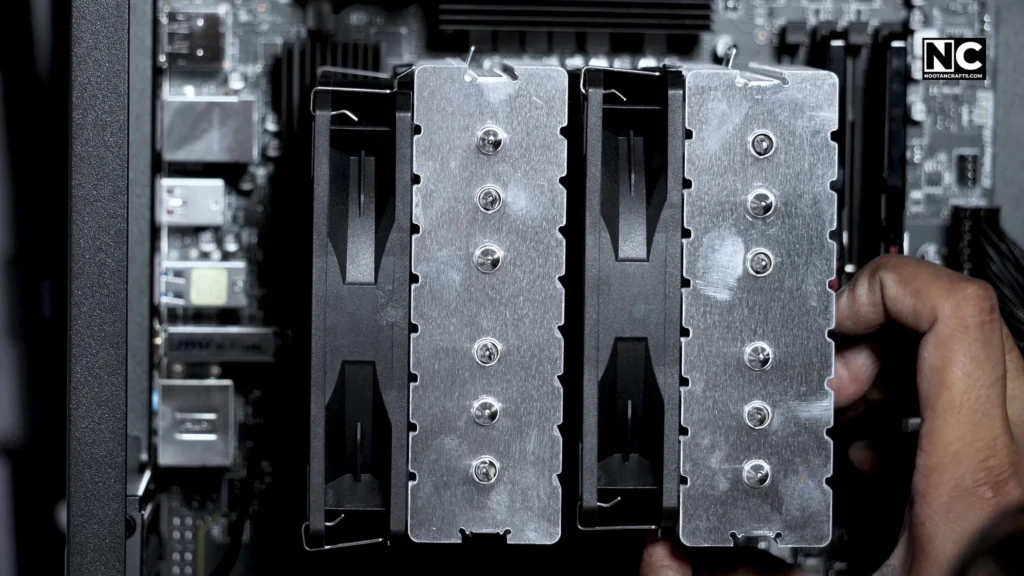
The CPU Cooler Hyper 620s comes with a different mounting system, so I needed to remove the existing bracket from the motherboard. It was secured by four Philips screws. Then, I started inserting the bracket riser one by one. Later, I installed the AMD5-compatible cooler plate using four thumb screws. To avoid movement, I fastened the screw with a screwdriver.
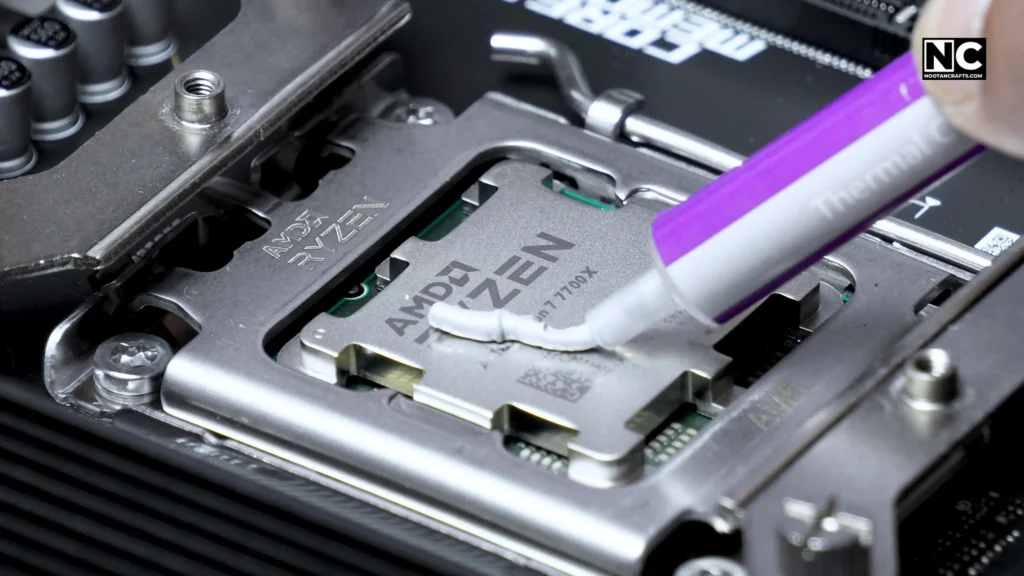
Thermal paste time: I know it came out a bit more than needed. However, I tried to keep it in the center so it didn’t spill outside. Next, I put the CPU cooler unit over the CPU by aligning it onto those installed brackets. I tightened both screws properly to avoid any gap between the heatsink and the CPU because it can drastically affect the temperature.
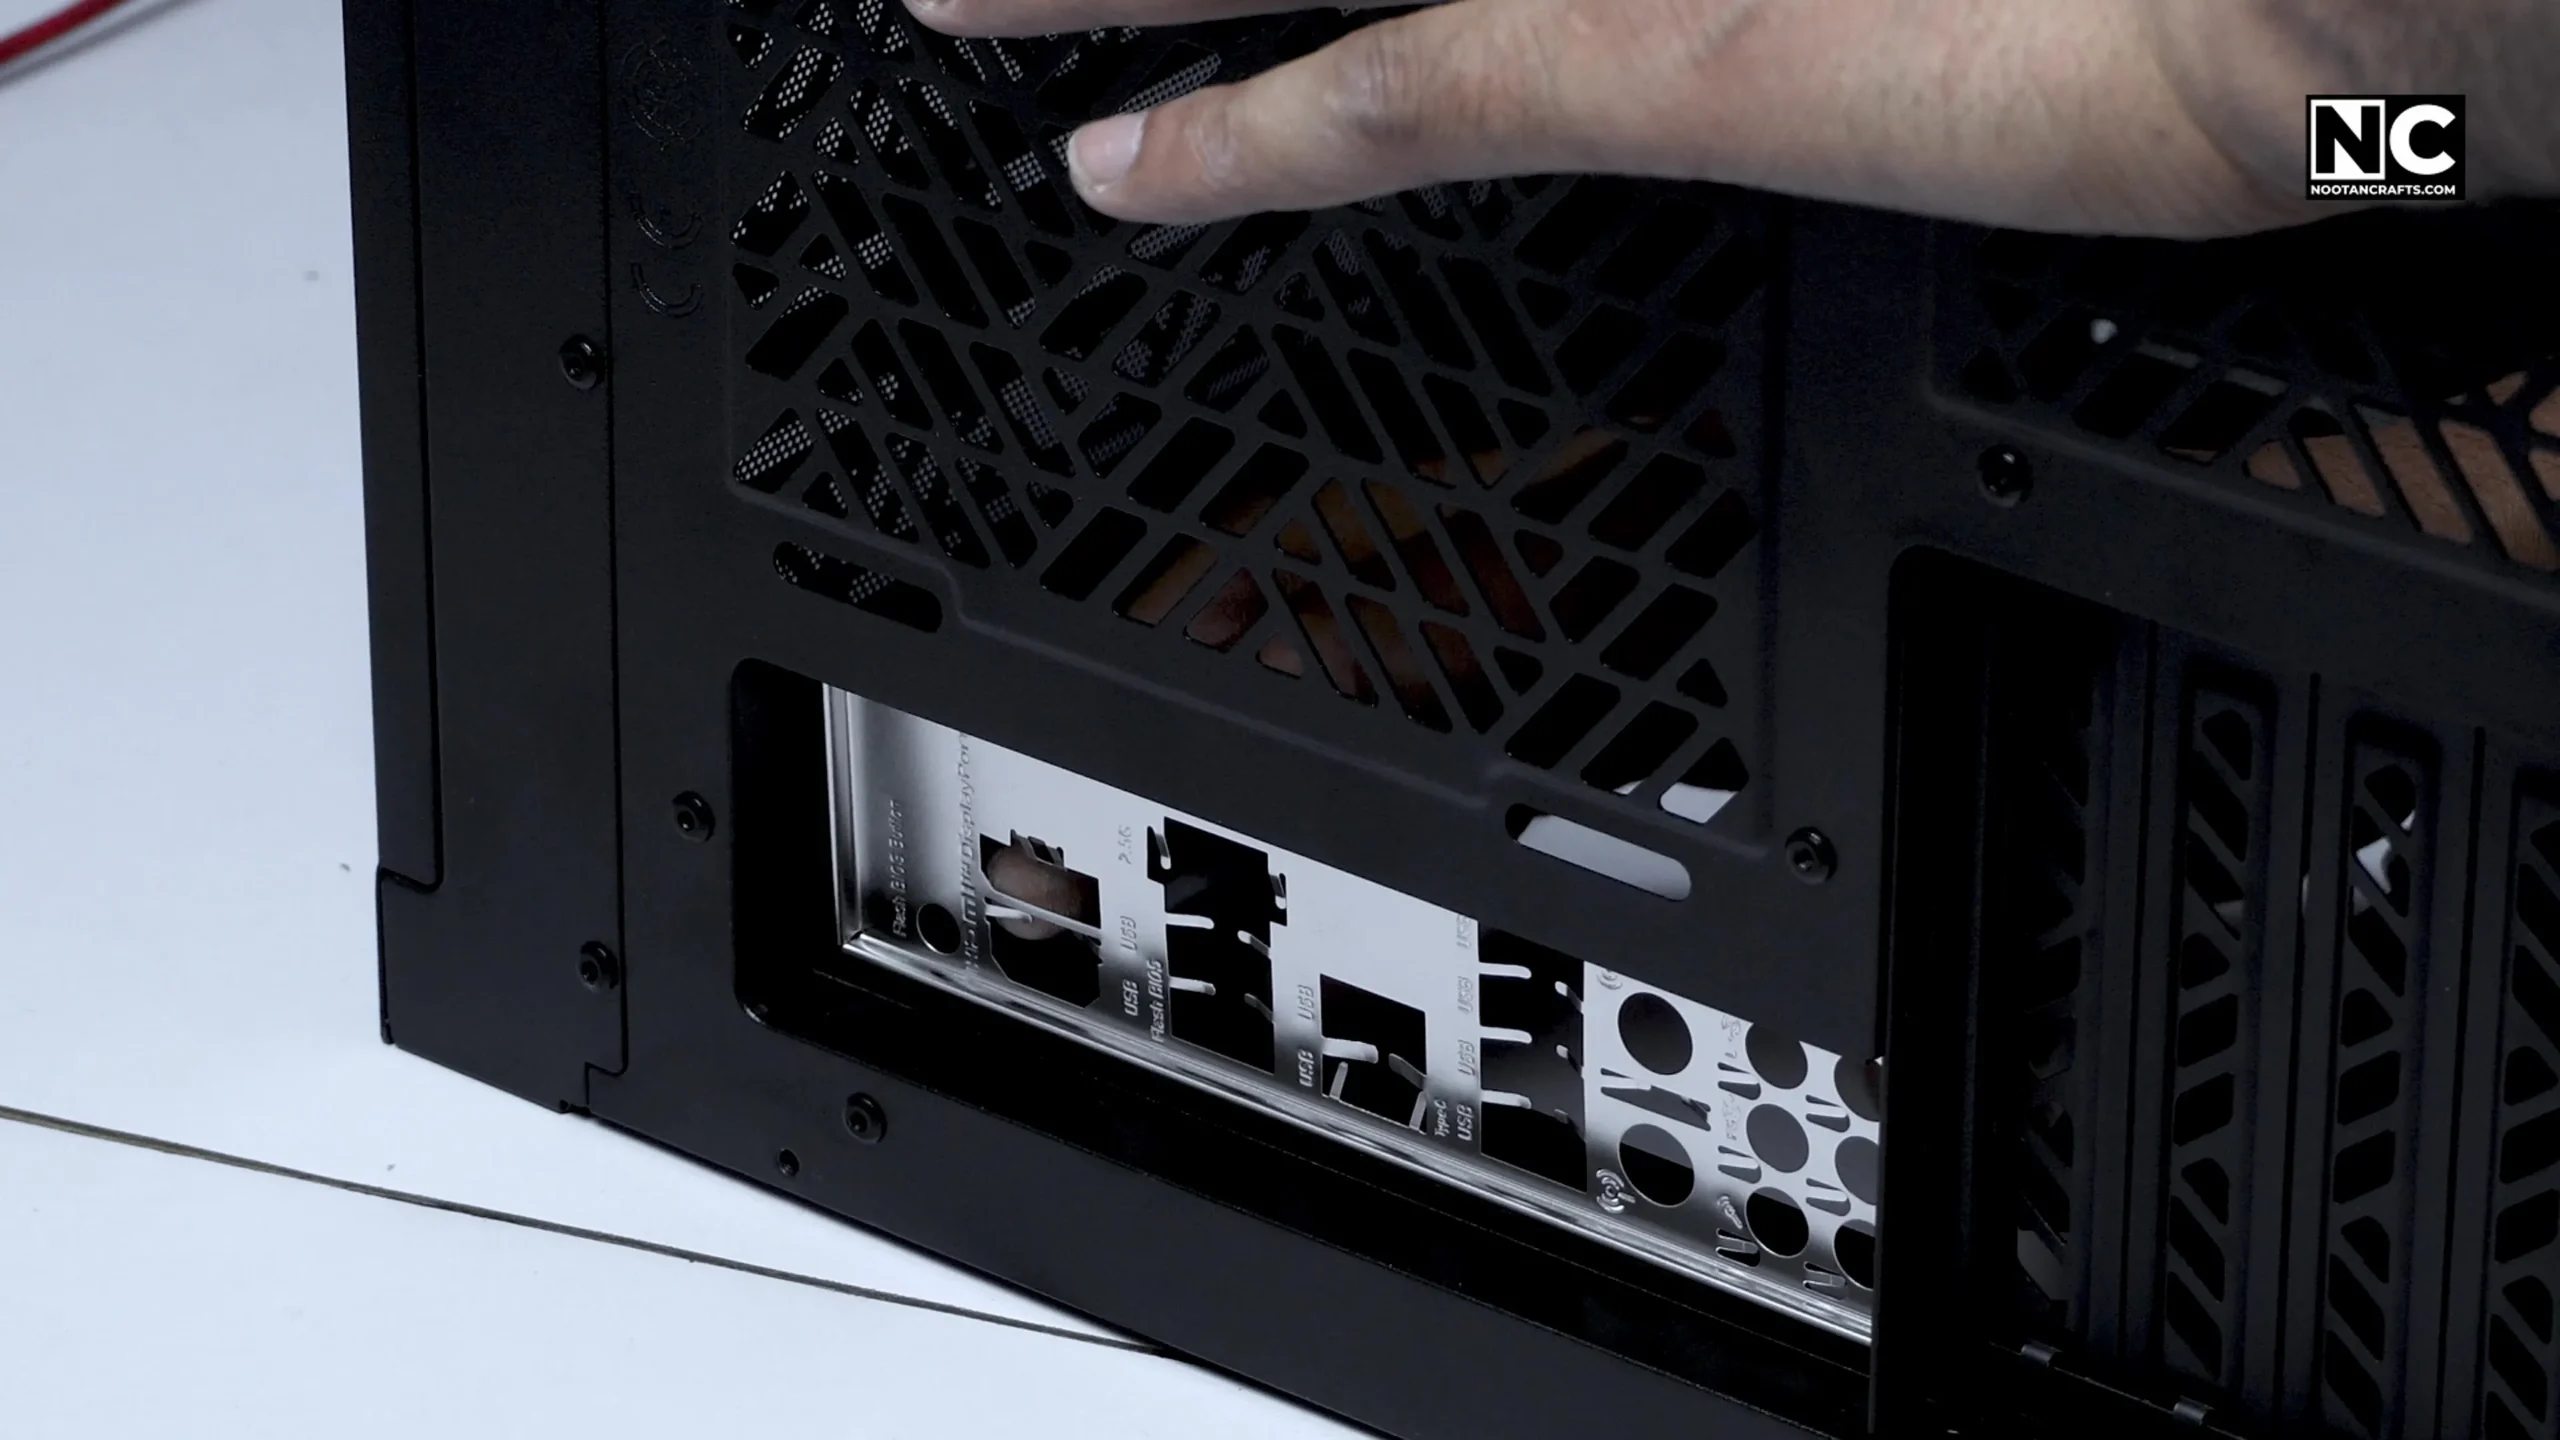
After that, I laid down the cabinet and inserted the backplate according to the motherboard’s position. Then, I put the motherboard inside the case above the riser points and aligned the ports’ positions at the back. There are around 10 screws to secure the motherboard, so I carefully inserted the screws and tightened them with the Philips screwdriver.
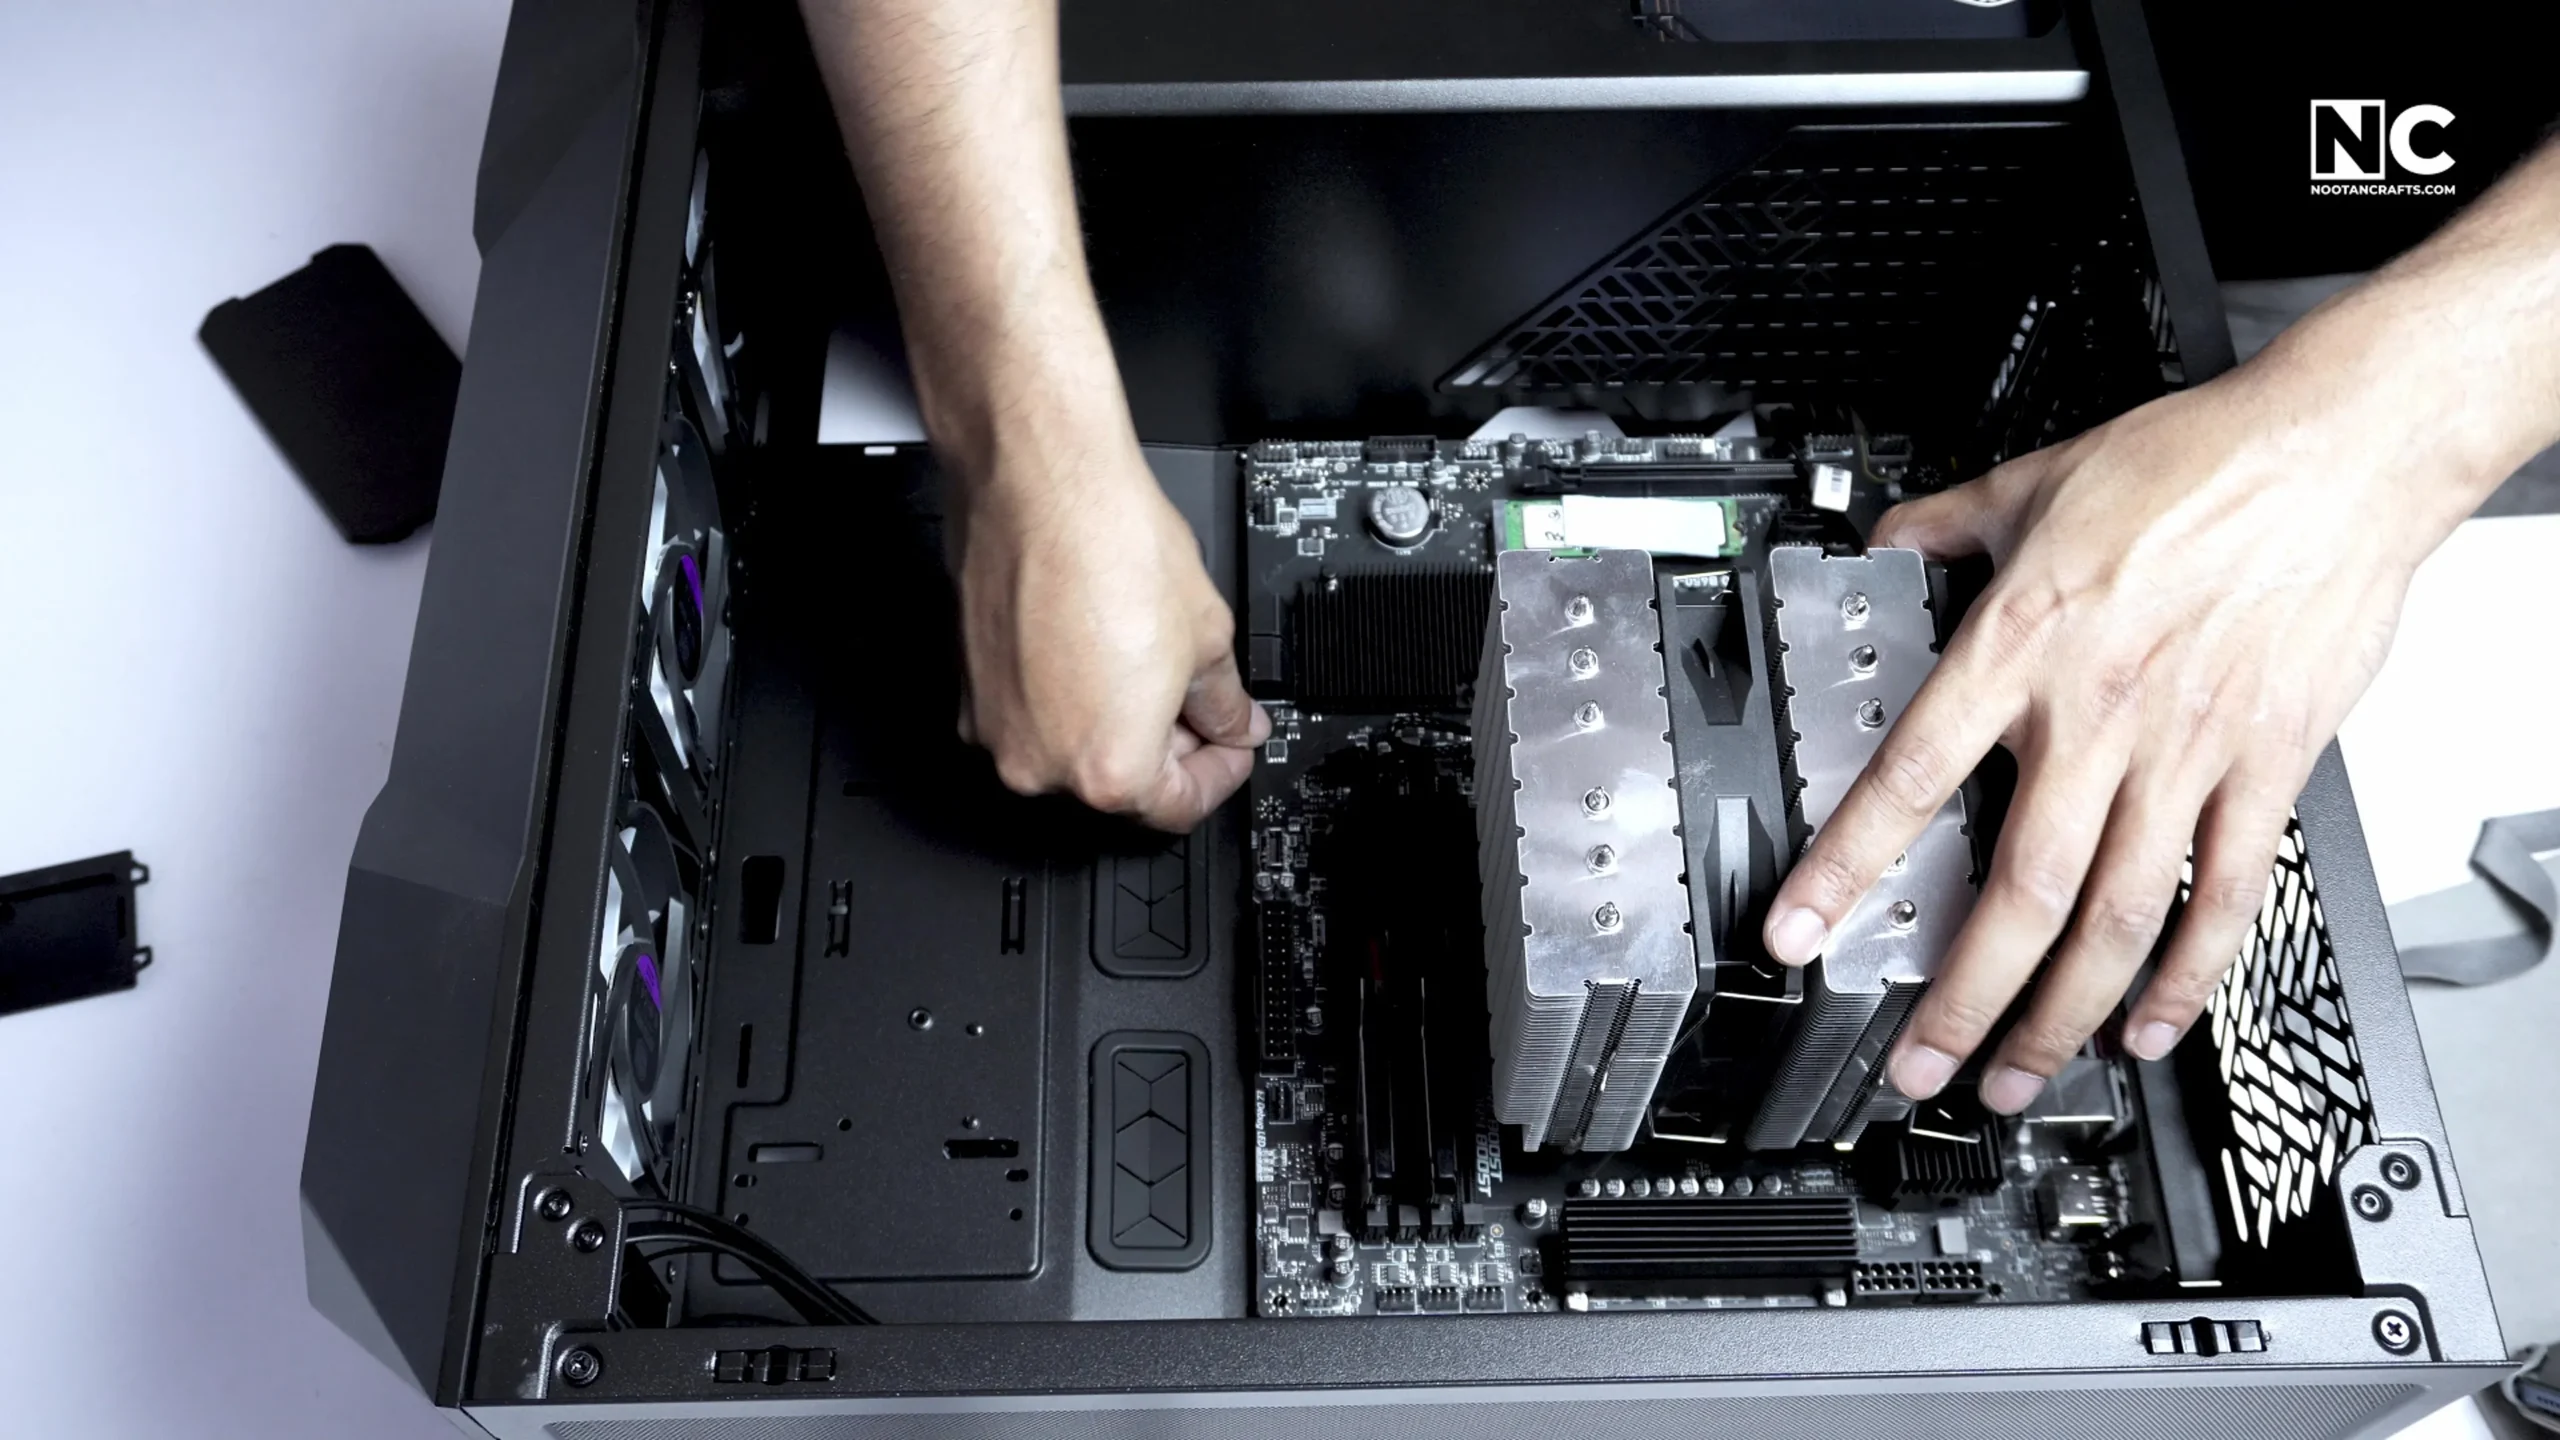
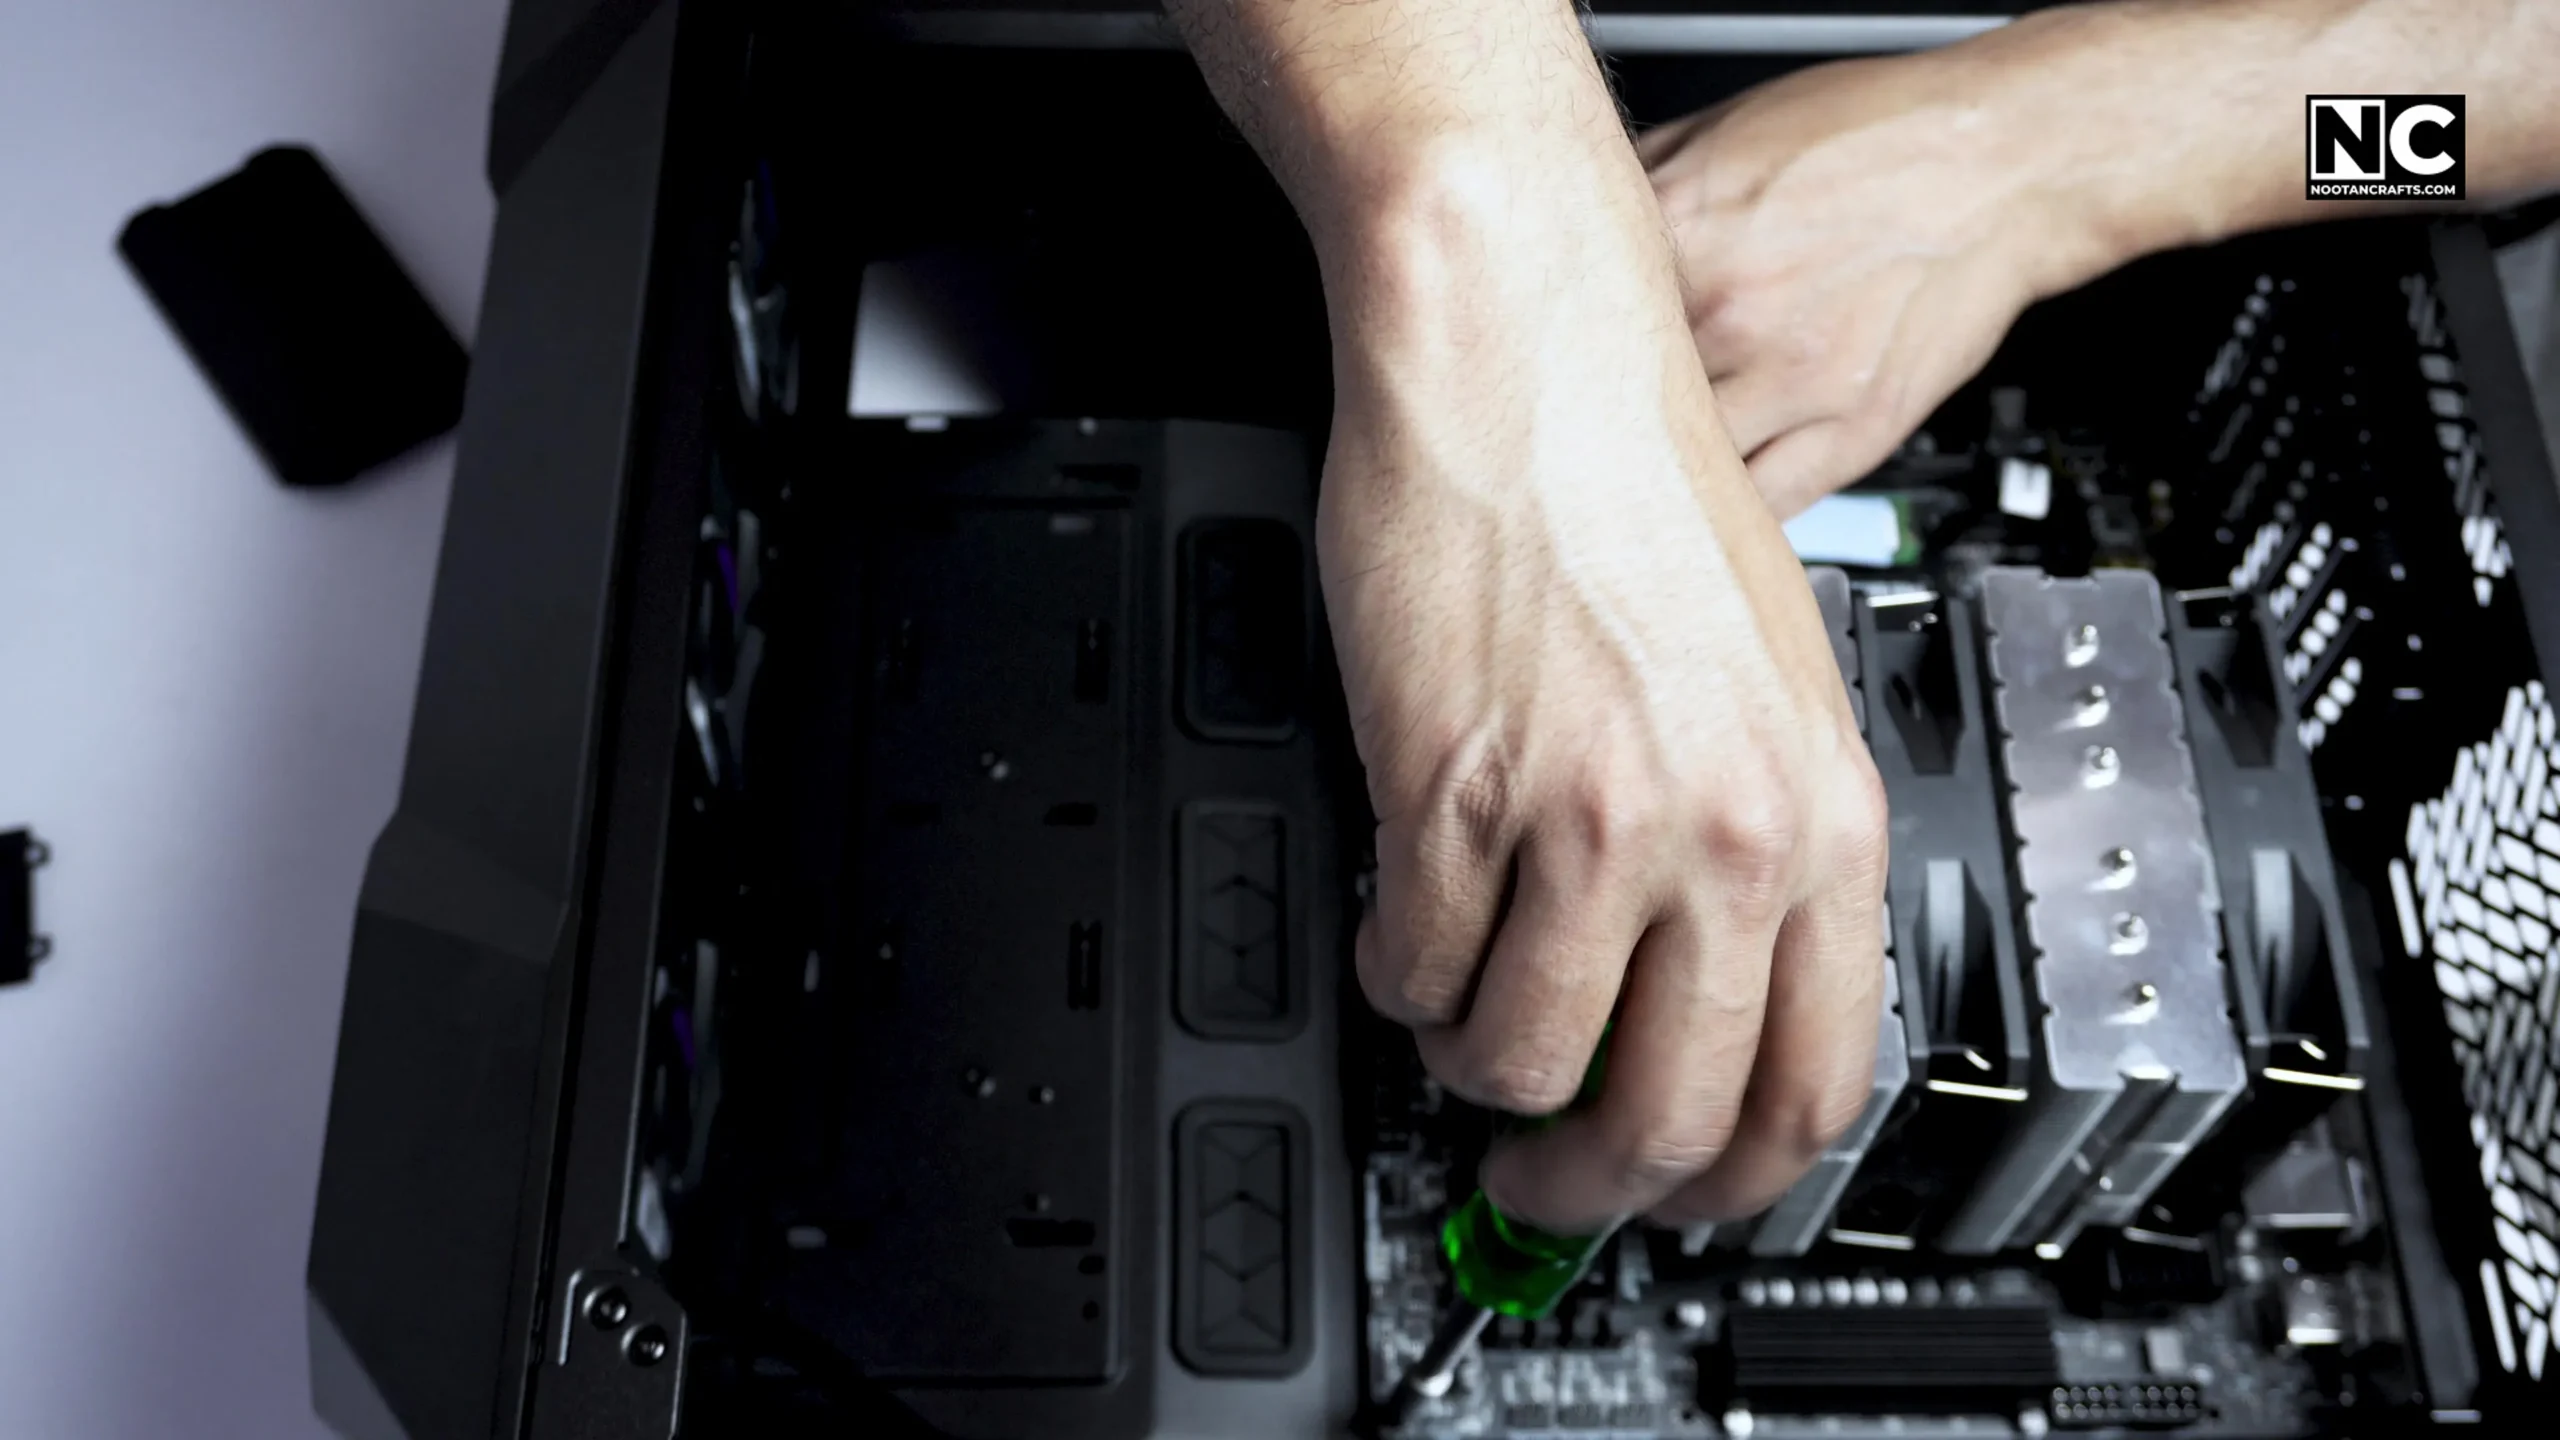
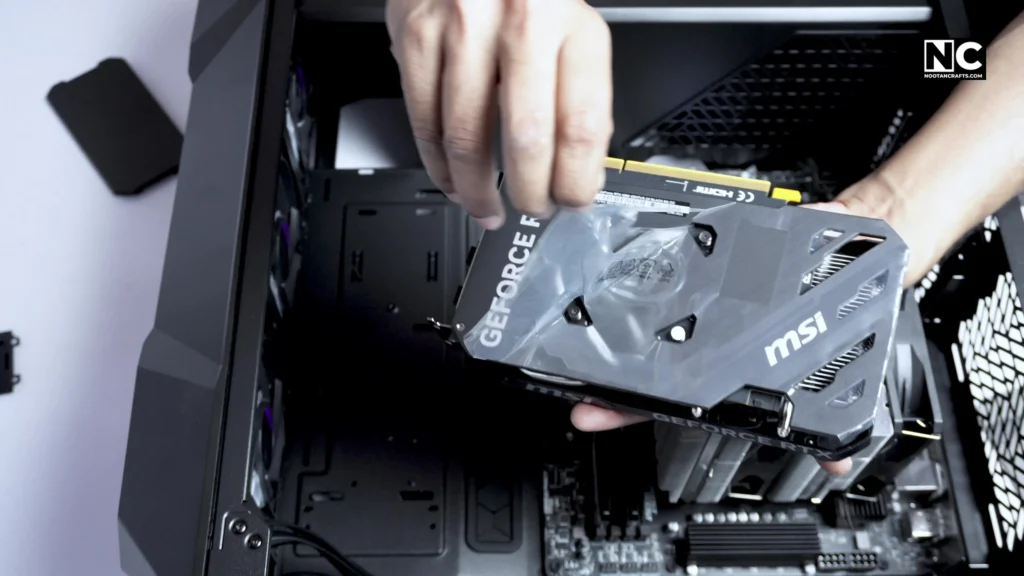
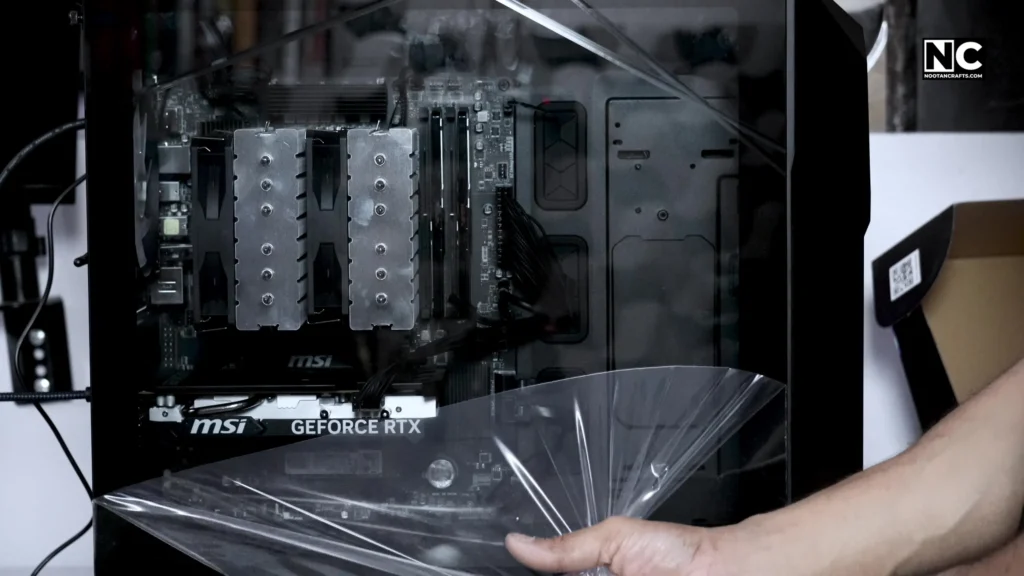
It’s time for the Render Baron, our GPU – MSI RTX 4060 Ventus. Please don’t forget to remove any protective film before installing a GPU because it can cause a heating issue and affect its performance later. To install any PCI-based module, you need to remove the respective expansion slot cover, which is usually secured with screws. But in some budget cabinets, you need to punch them out. Also, some expensive cabinets offer a latch or clamp mechanism. Now, I attentively aligned the PCI slot with the GPU’s gold fingers and gave a little push downward, and you’ll hear a small clicking sound. Now, I secured the GPU with the screws. It’s a crucial step, especially for heavy PCI cards that can break when you stand upright in the cabinet or just sag over time.
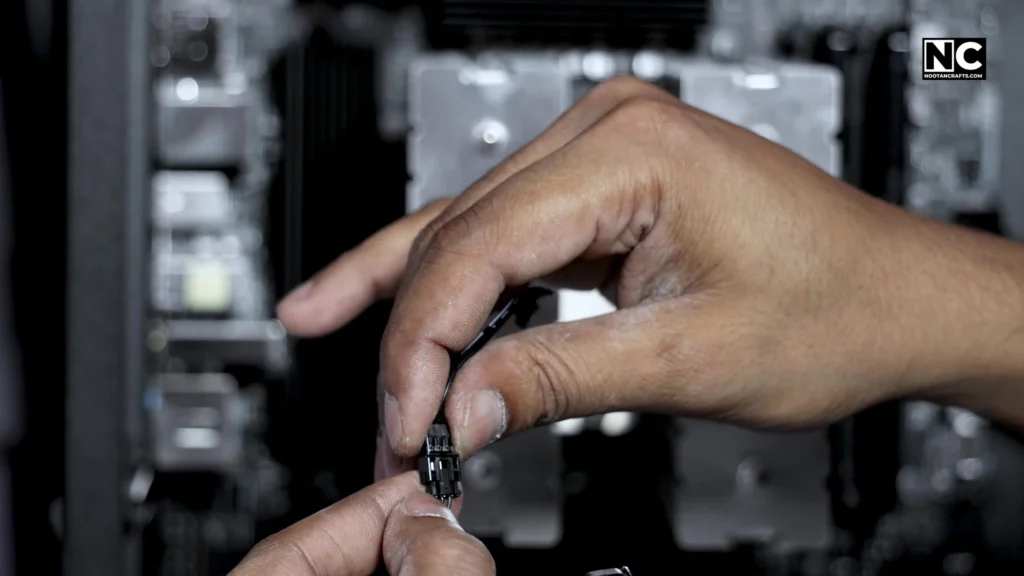
Now it’s time to attach our cooler fans. First, we need to connect the extension cum joining cables. Each fan features two cables, one for the fan and another for its ARGB lights. Both CPU fans can be powered by a single point on the motherboard. I know I installed the fans the wrong way, but I corrected the position before the first boot. The clip-on function is very convenient.

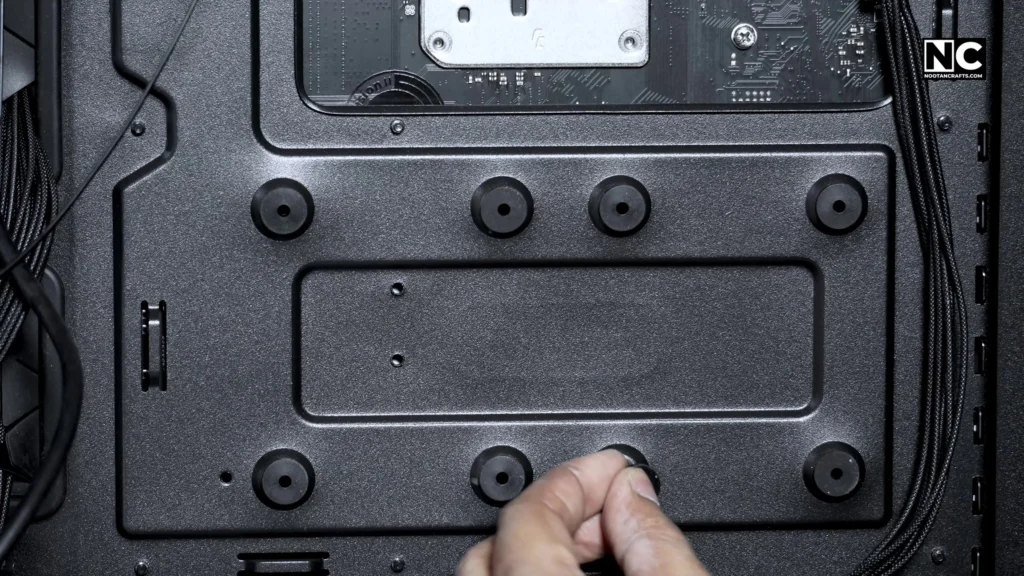
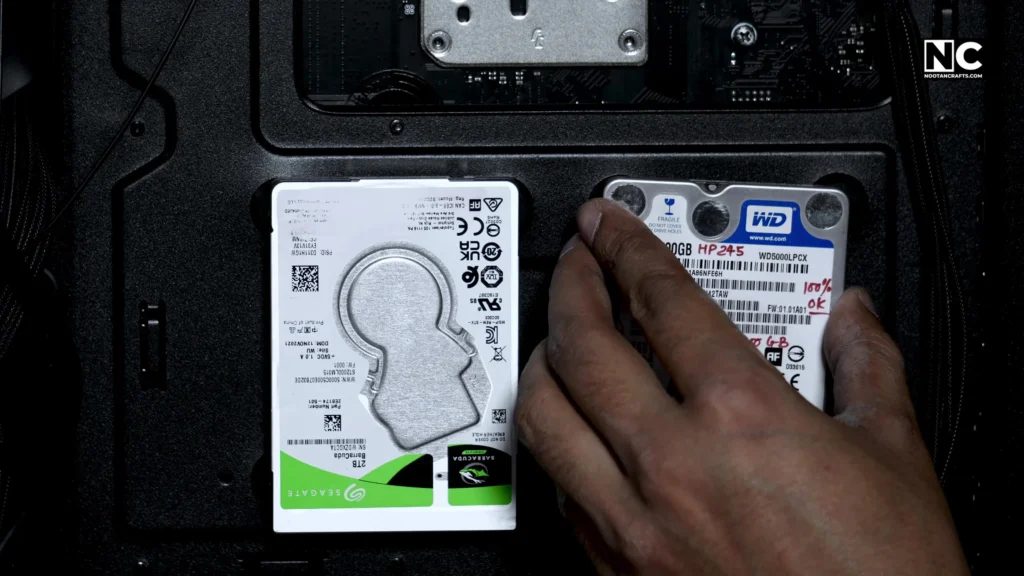
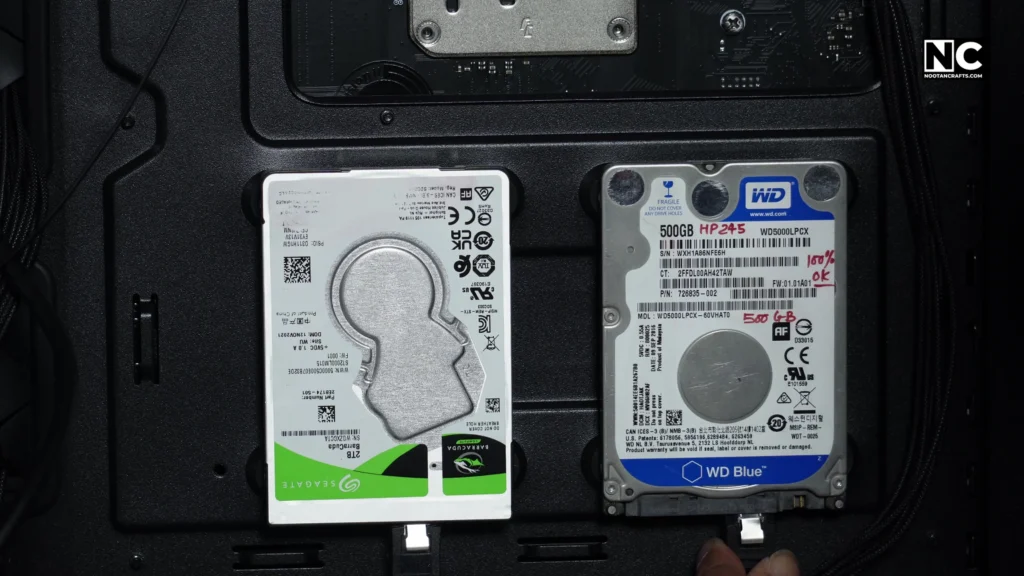
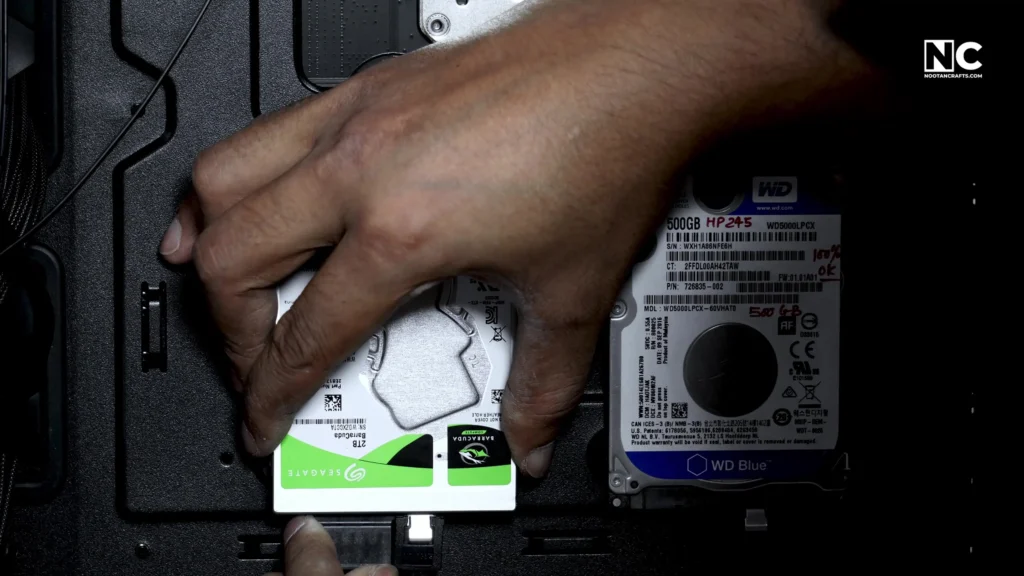
Apart from the two SSD drives, some SATA HDDs were lying around, so I decided to attach them to the system. The cabinet has a simple mechanism for attaching the drive. First, you need to put this small screw on your HDD. After that, you must install the rubber pads onto the cabinet mounting points. These rubber pads not only provide quick installation but also reduce vibration. You just need to press these pads against the holes, and you’re done. Now, put your drive onto these pads by aligning the holes. Easy peasy.

3. Wiring & Connections
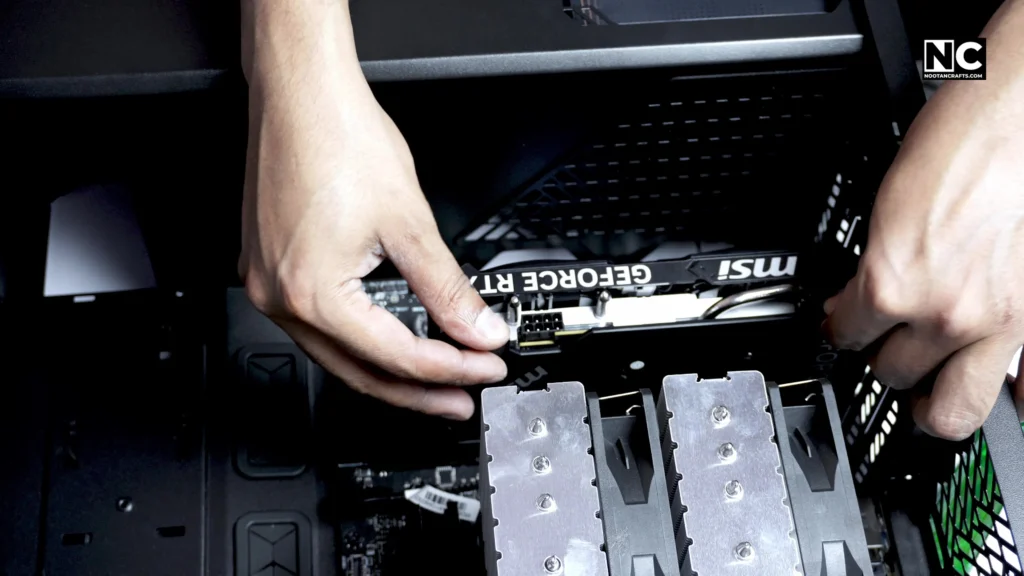
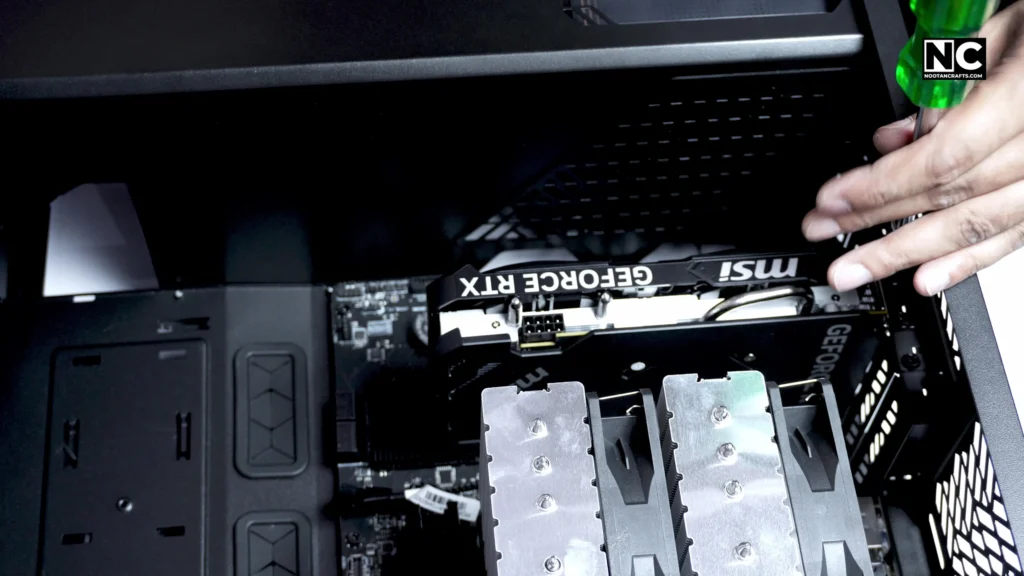
First, I passed the ATX connector through the cutout and connected it to the motherboard slot. This cabinet’s cable management system is quite neat and clean. Next, I supplied the GPU with power through the PCIe power connector.
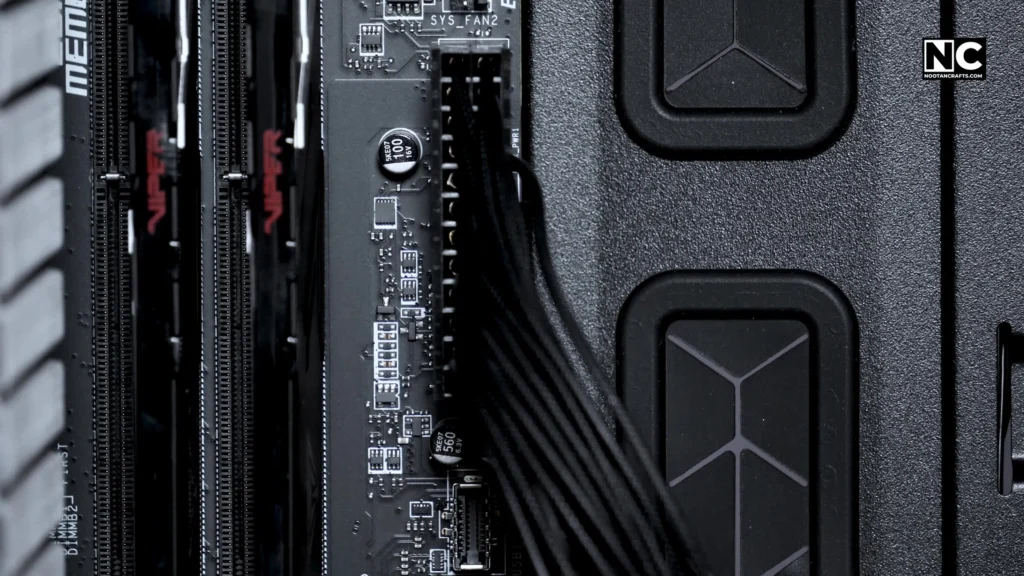
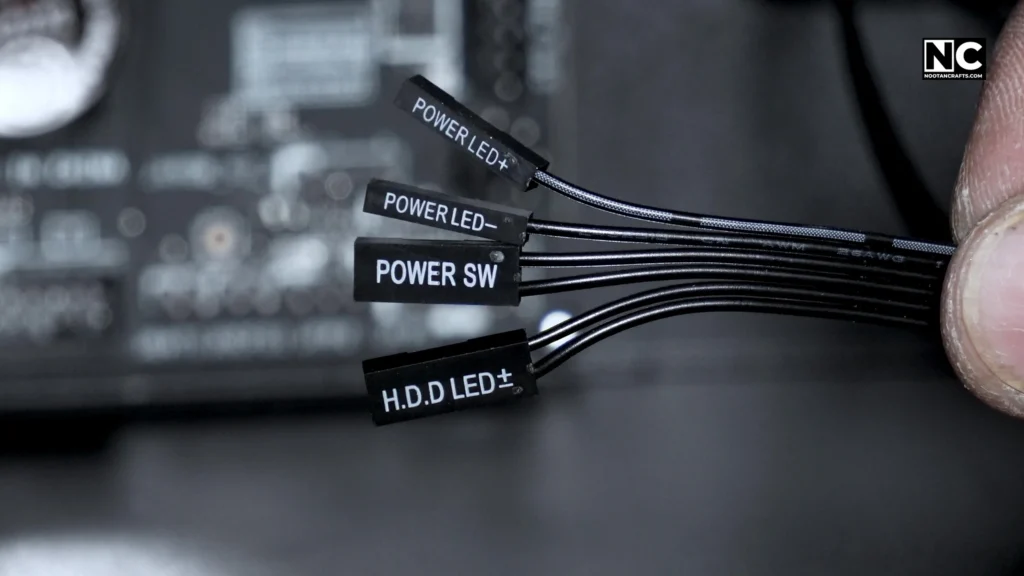
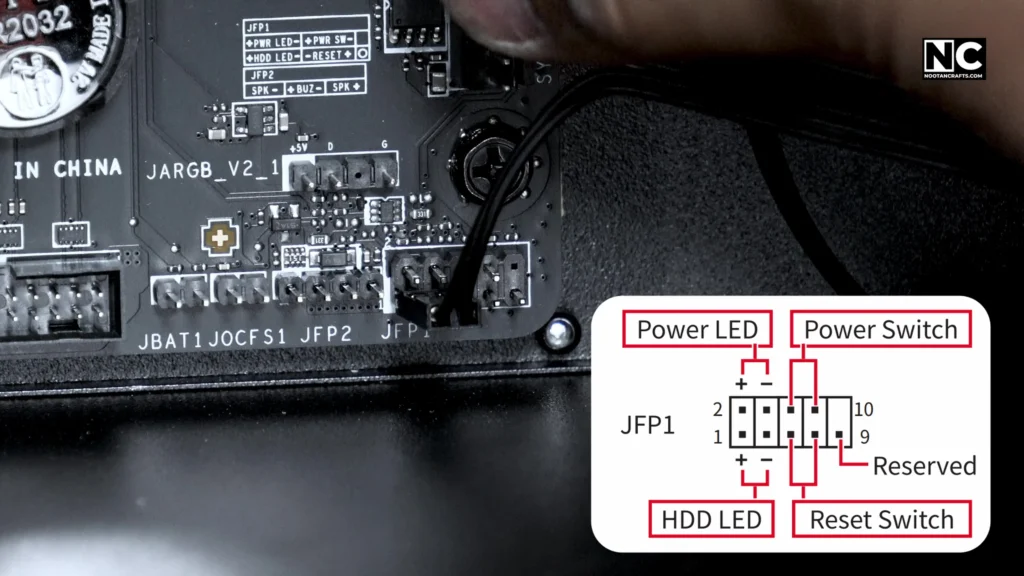
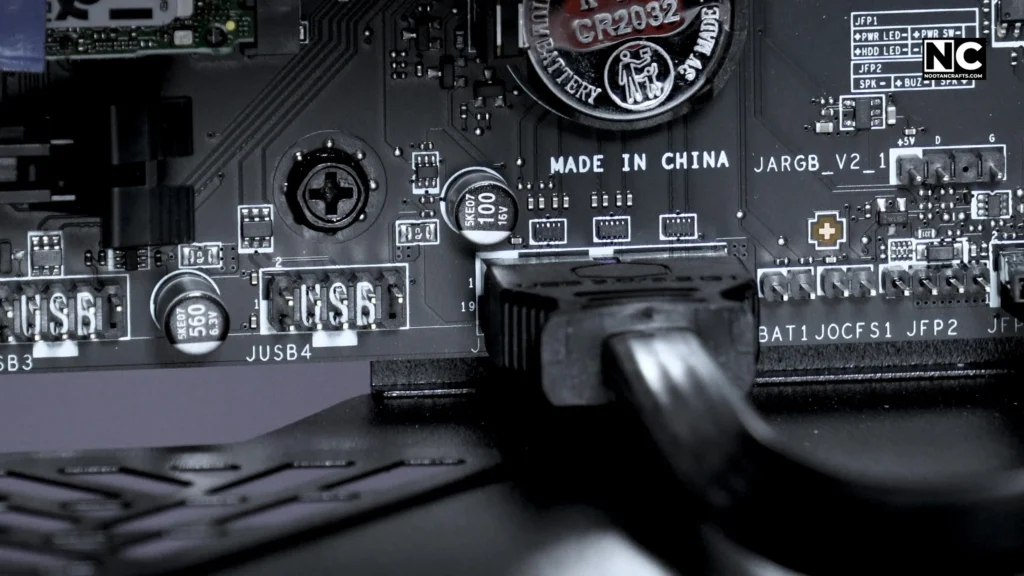
Now, front panel connectors like the HDD LED, power switch, and LED switch need to be connected. You can check the diagram here. The reset switch of this cabinet is used to switch light patterns, so it will not be connected here.
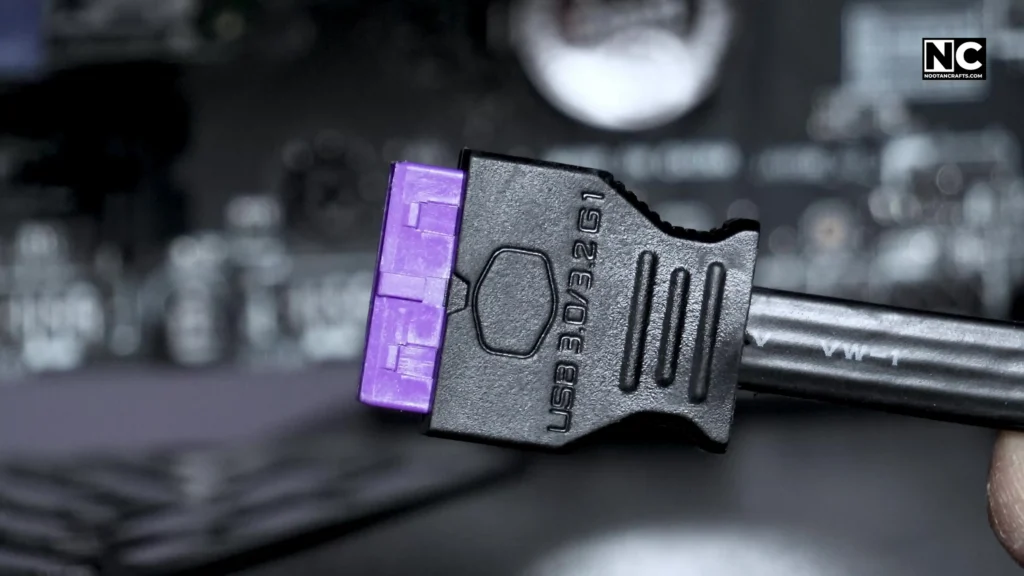
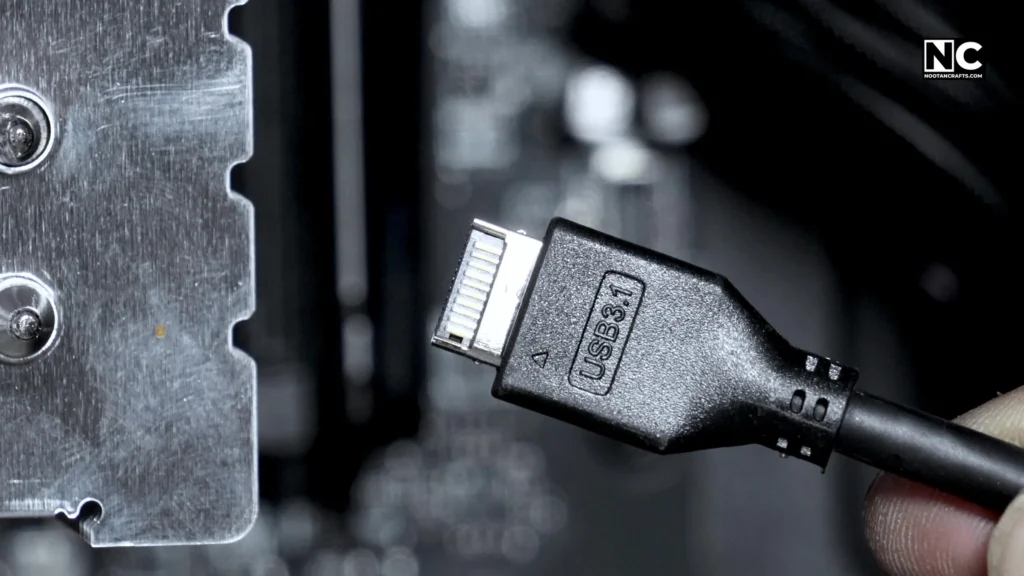
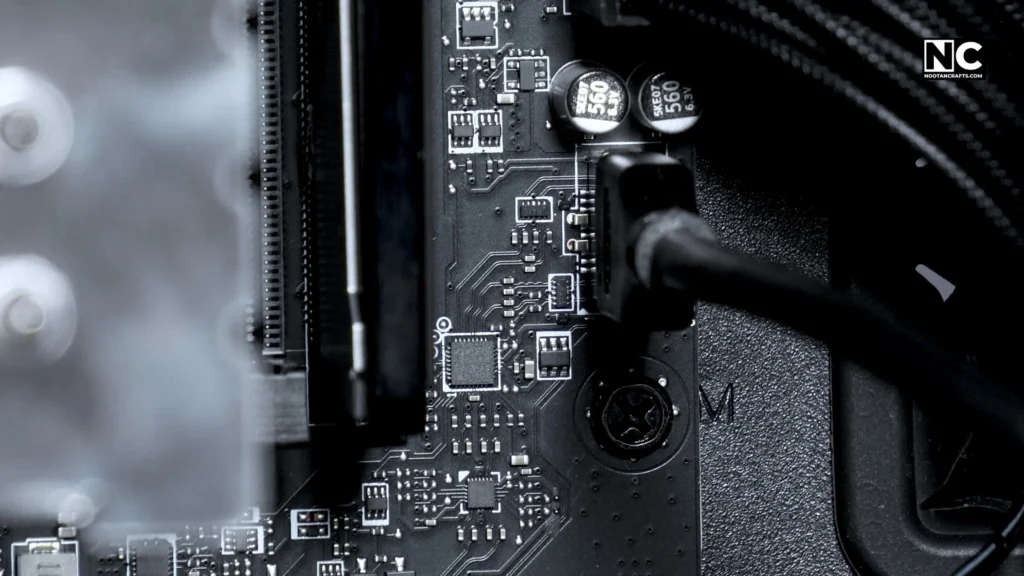
Two USB 3.2 Type-A ports are available on the front of the cabinet, and I connected one to the respective slot. Then, I connected the Type-C slot connector.
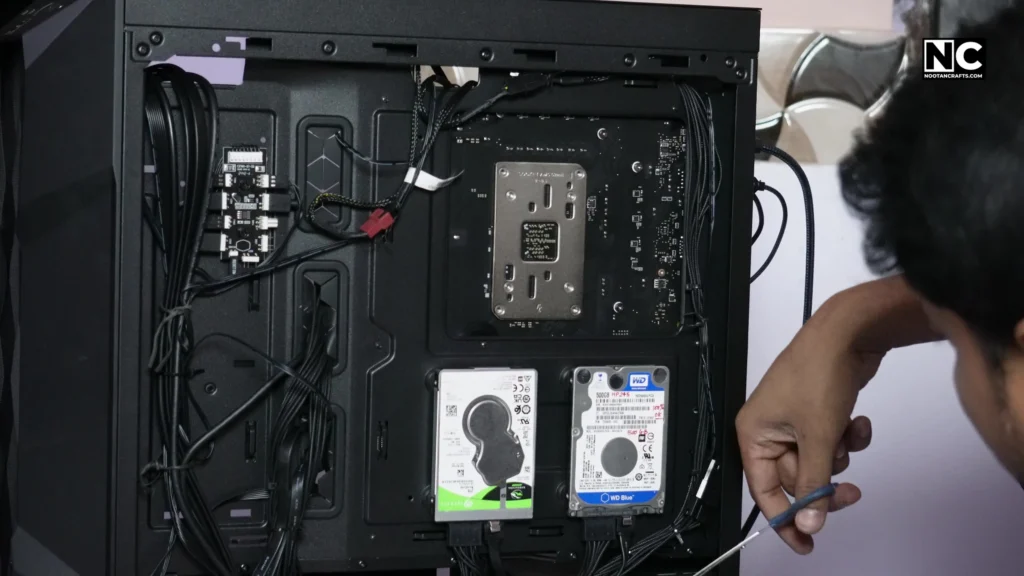
SATA HDDs work with two connectors: one for data, which goes to the motherboard socket, and the other for the power supply unit. So, I wired all my drives and provided data and power supply properly.
Remember the CPU cooler fans that I joined with a common cable? That cable will connect to the cabinet’s ARGB controller so the whole system’s ARGB light can sync. The hub is connected to the motherboard anyway.


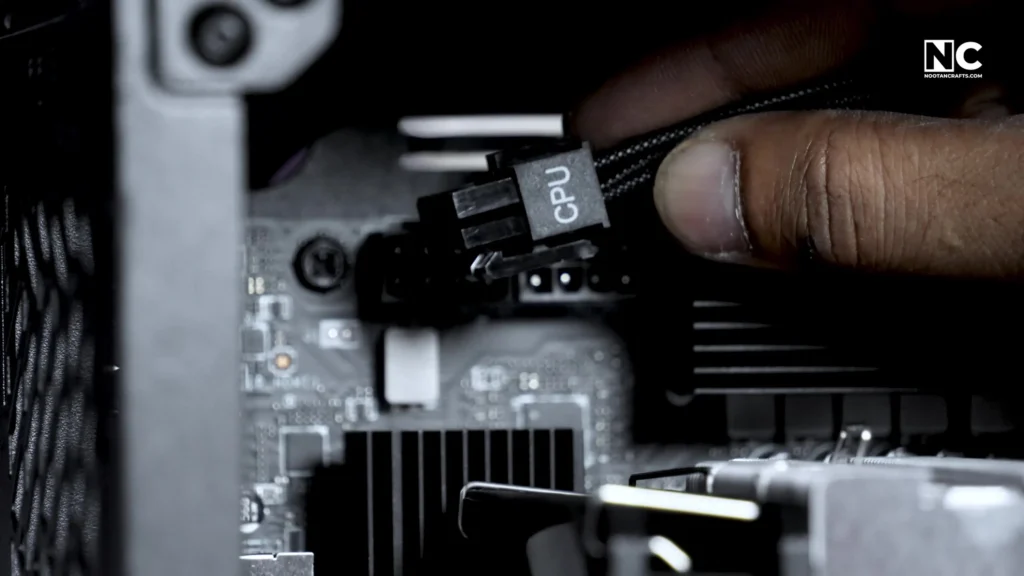
Now, we need to provide a blood supply to the heart of our system, the CPU. It needs two connectors to fulfill its demanding power needs.

4. Cable Management & Cleanup
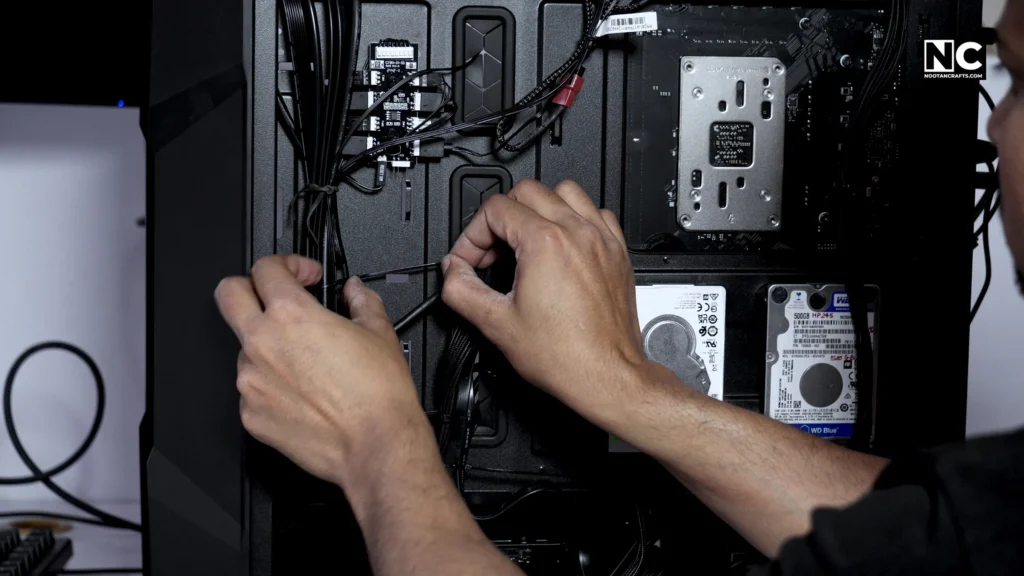
The cable management of this cabinet was quite good. There were several cable tie points and cutouts to pass the cable neatly. Also, it came with nylon ties, which I used to tighten the cables and firmly secure them to the body. I passed the cable tie through the attachment points and wrapped it around the wires before fastening.
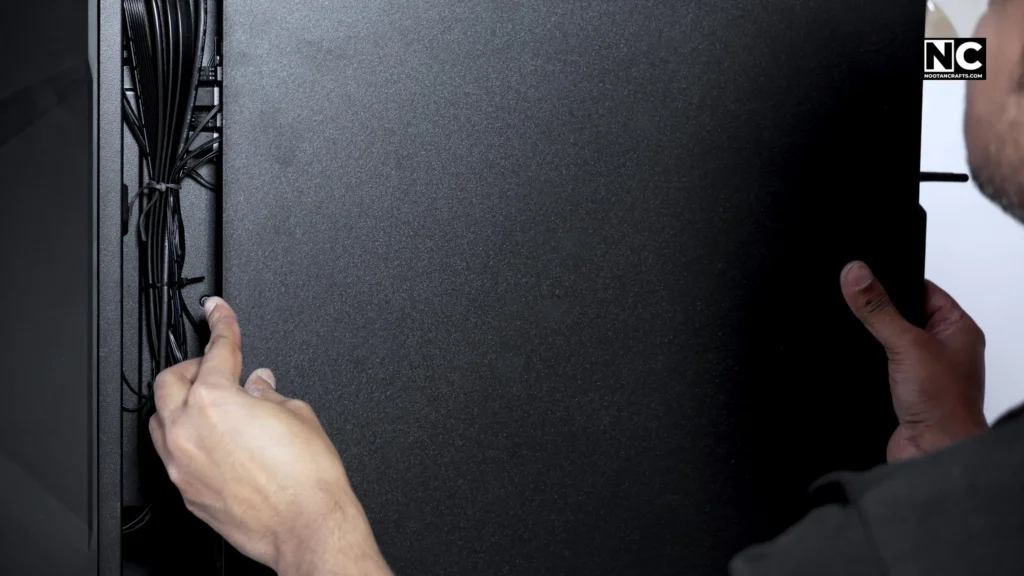
Finally, I cut the excess ties and put on the back cover, followed by tightening two thumbscrews. I also put the tempered glass panel on the second side panel and secured it with a thumbscrew. Now, I peeled off the protective film from the panel to reveal its true beauty.
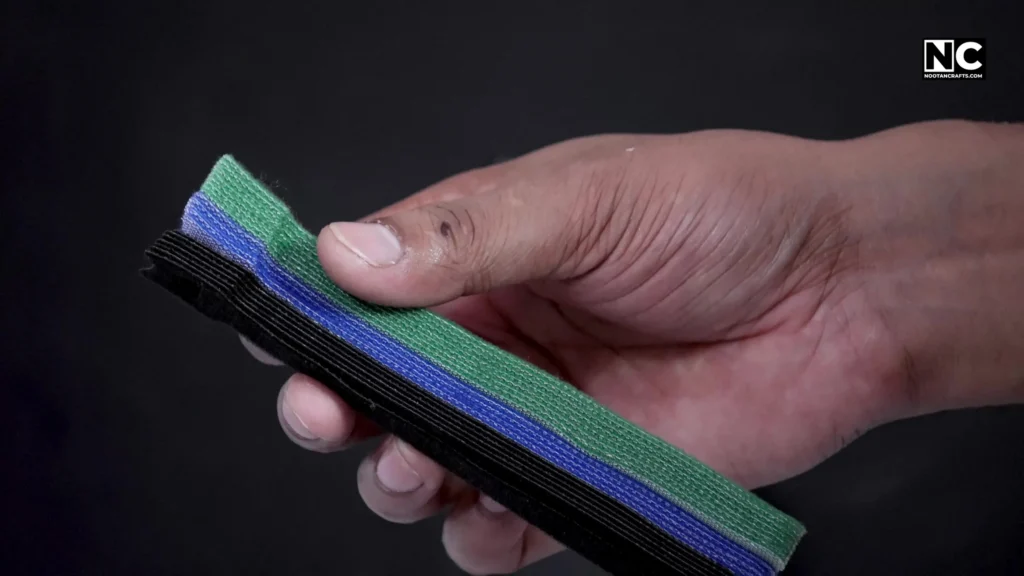
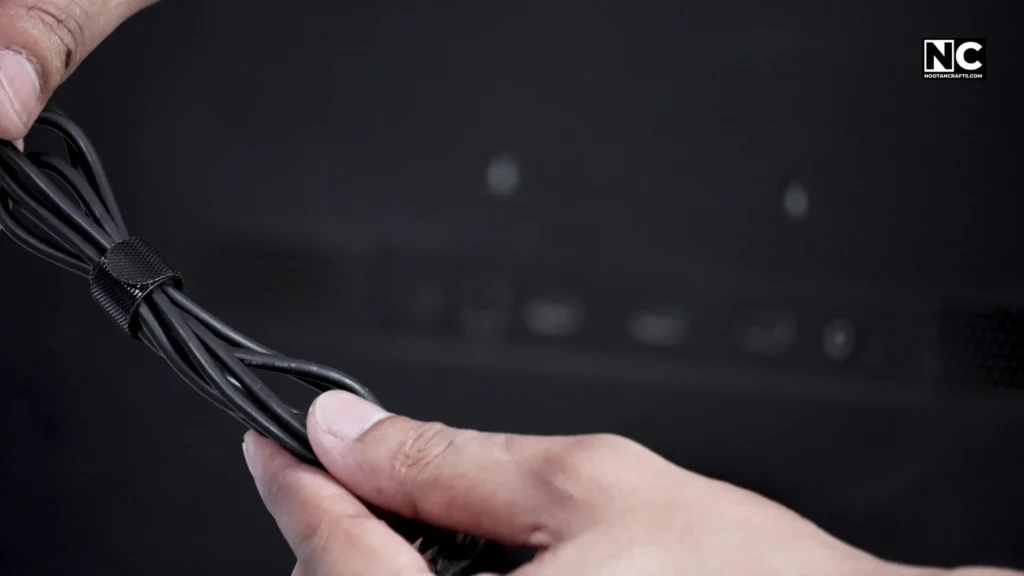
I also purchased some cheap Velcro straps. These are handy for managing wires and cables around the desk and system. You can wrap extra cable in a loop and secure it with a strap to keep your space tidy and clean.

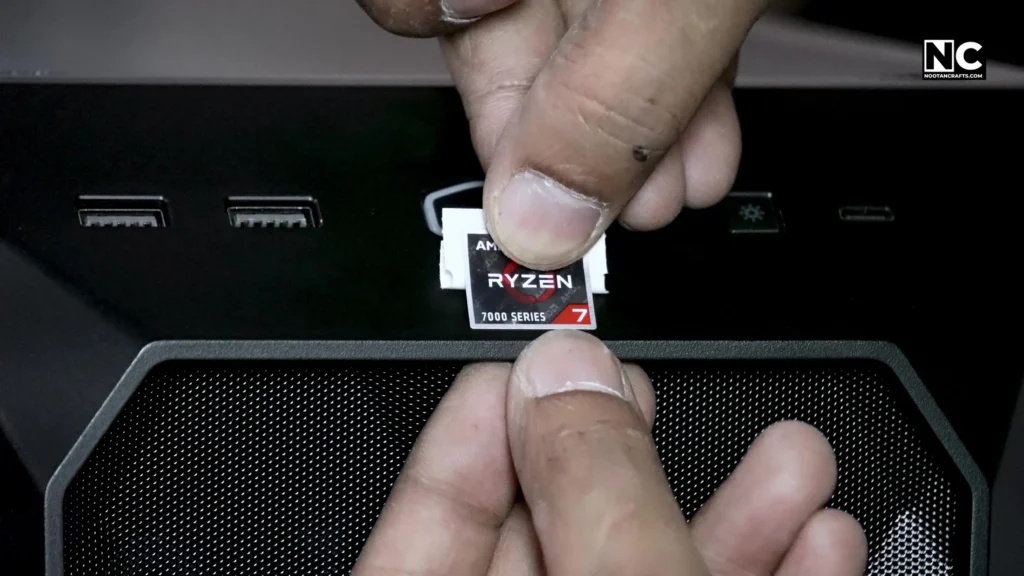
Ah, how can I forget to put that gorgeous Ryzen sticker? The build is incomplete without it.
5. Software & Setup
It’s time to connect all the devices and complete the setup. First, I inserted the display and USB cables into the back of the computer to connect the display, mouse, and keyboard. Now, I provided the supply to the monitor and inserted the display cable at the back.

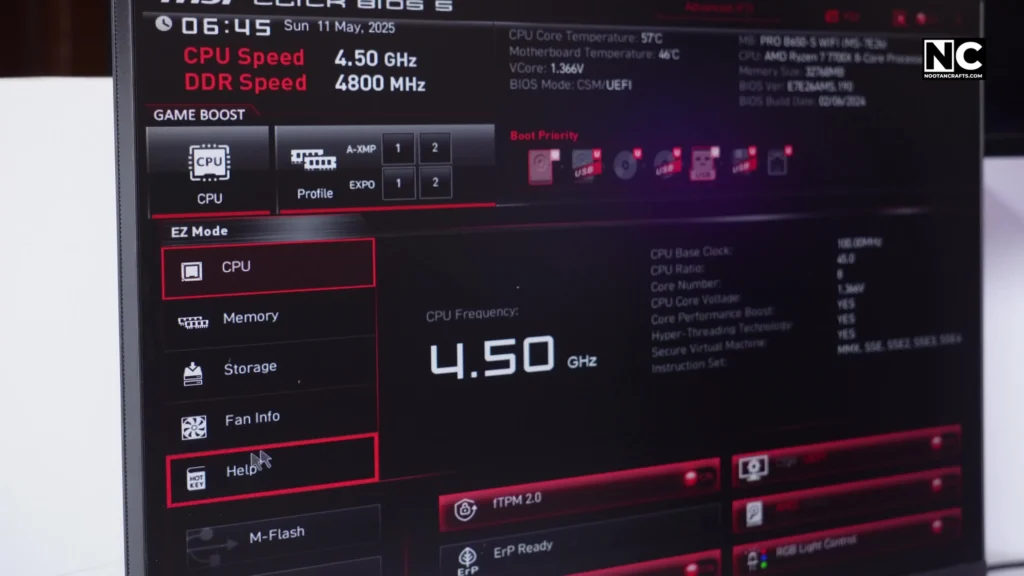
Finally, I connected the power cable to the computer PSU unit at the back and turned on the switch. I turned on the power switch and entered the BIOS mode by pressing the “Delete” key. Here, I choose the M-Flash option to update the BIOS. You have to first download the latest BIOS firmware according to your motherboard and put it on a USB drive.
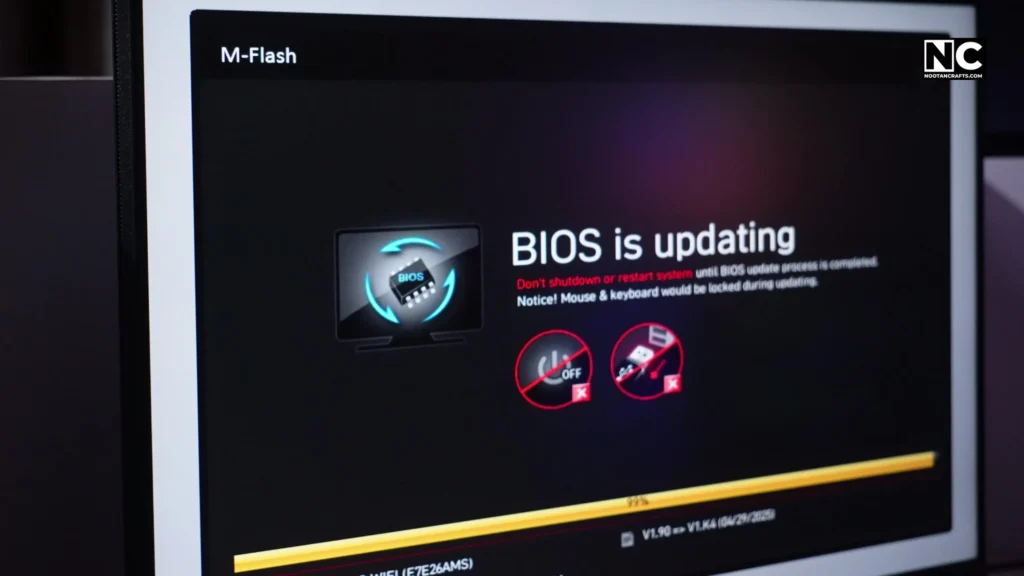
The USB stick will be used to update your system firmware, as no OS has been installed yet. This process takes some time, so keep your computer on with some backup in place because interruption of this process can break your system functionality. I quickly installed the operating system and drivers, by the way. I purchased Windows 11 Pro from the official Microsoft Store to keep my system secure and up to date.
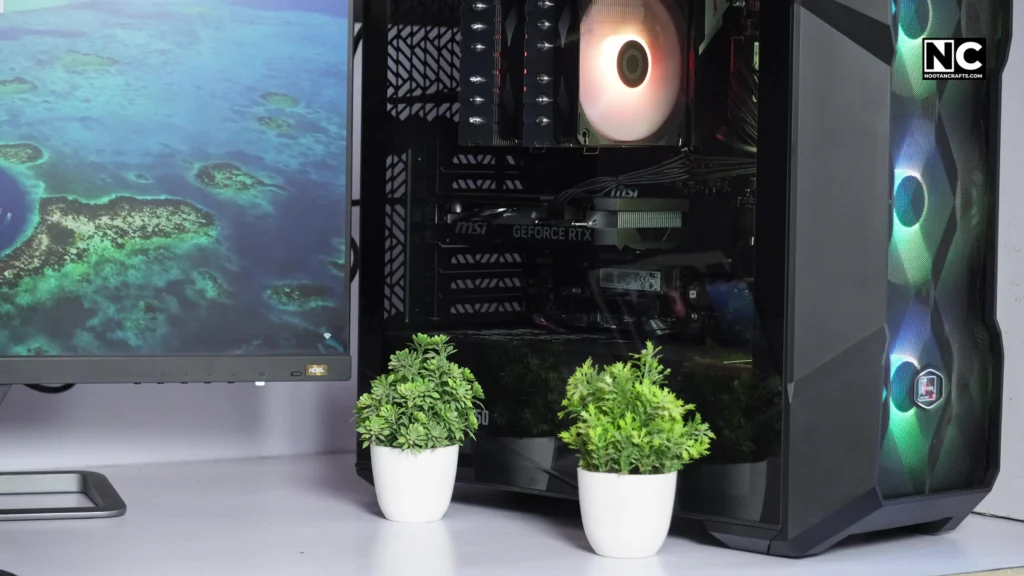
6. Boot & Benchmark
The system booting time was quite fast. However, when you change the BIOS, the machine takes a bit longer than usual, and that’s completely normal.
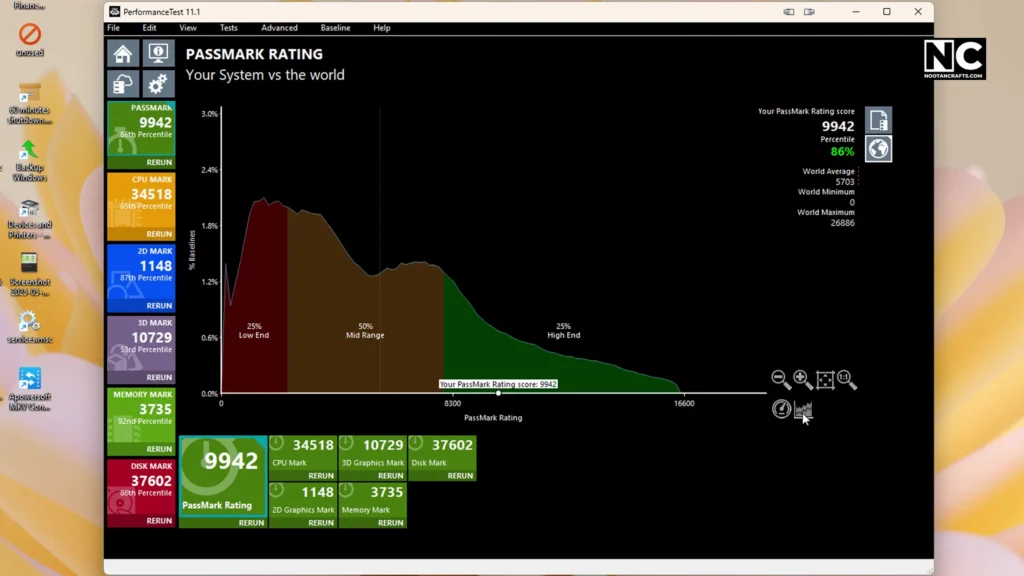
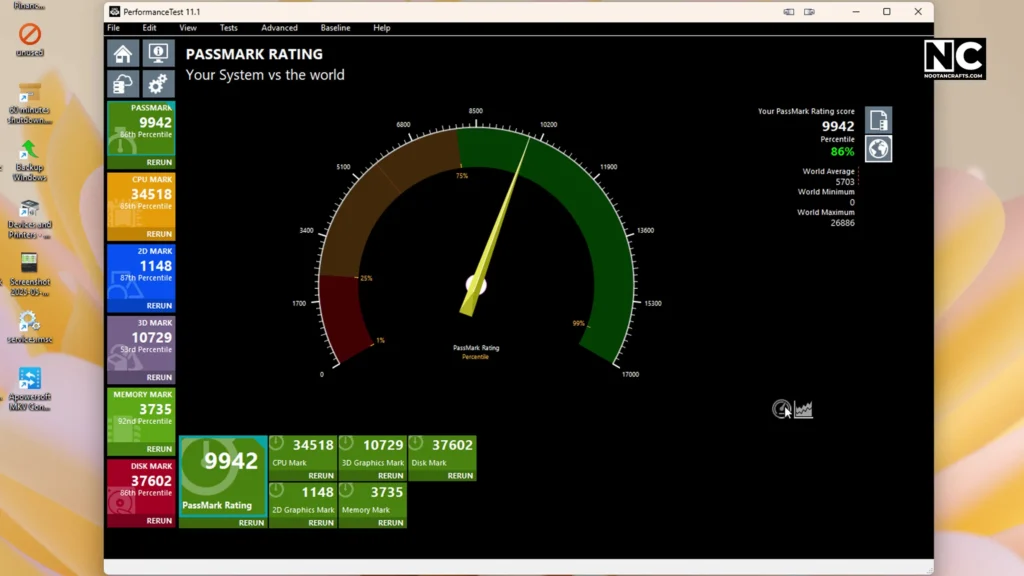
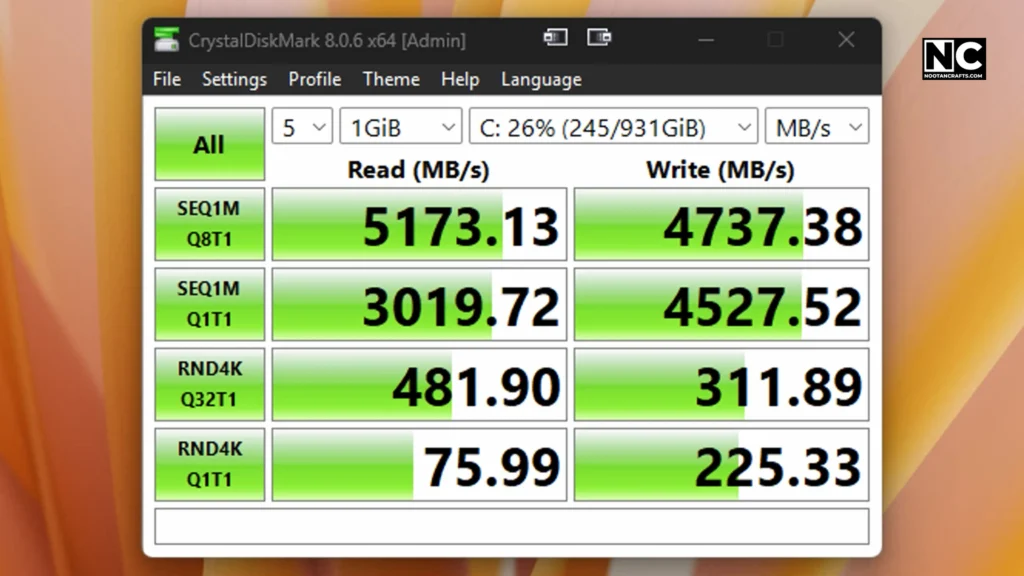
I ran the Pass Mark test on the performance of this AMD Ryzen 7 7700X RTX 4060 build, which came out with a 9942 value and 86%, which is pretty good. I also ran the Crystal 3D mark to test out my SSD separately, and you can see the results here. I am delighted with my system’s performance. This Ryzen 7 PC build for video editing doubles as a competent 1080p and 1440p gaming rig with frame rates north of 100 FPS in most modern games. What do you think about it? Please tell me in the comments.
Conclusion – AMD Ryzen 7 PC Build for Gaming and Video Editing
This PC build Ryzen 7 7700X journey was both fun and educational. I now have a reliable desktop that powers through editing tasks, handles multiple virtual machines for my tinkering nature, and lets me enjoy some games when the day is done. If you’re considering an AMD Ryzen 7 7700X PC build, especially with an RTX 4060, I say go for it. It’s one of the best performance-to-price combos out there right now. Whether you’re into content creation, casual gaming, or both, this Ryzen 7 PC build for video editing, or I would say, gaming, is a well-rounded powerhouse that delivers.
If you’ve got questions or just want to roast my cable management and professional paste application, drop a comment. Don’t forget to subscribe to my YouTube channel—more madness is coming soon. Until next time, keep crafting.