Is a vertical monitor just a flex, or is there a more significant purpose? Why do I need a vertical monitor? How to Set Up a Vertical Monitor? In this vertical monitor setup tutorial, we will discuss everything.
It all started when I was scrolling back and forth to grasp the full context of my research data. I tried various things, such as zooming out and reducing the font size, but it didn’t help, and I became frustrated. I angrily put my monitor vertically on the desk (while its stand was connected) and set it to portrait mode. I was both relieved and surprised; why hadn’t I done this earlier? The vertical monitor was a true savvier option for me.
Best Selling Monitor Mounts


Last update on 2026-03-31 / Affiliate links / Images from Amazon Product Advertising API
Whether you’re a coder scanning hundreds of lines, a writer reviewing a long article, or a data analyst juggling complex data, going with a vertical monitor will not only show you more content but also reduce your neck strain. Whether you want to use a vertical monitor with one, two, or even more monitors, this guide will cover you. So, let’s do this!
Why Go Vertical?
You might think that vertical monitors are more useful for coders, but they’re a game-changer for many of us. Let’s start with a few real-life examples:
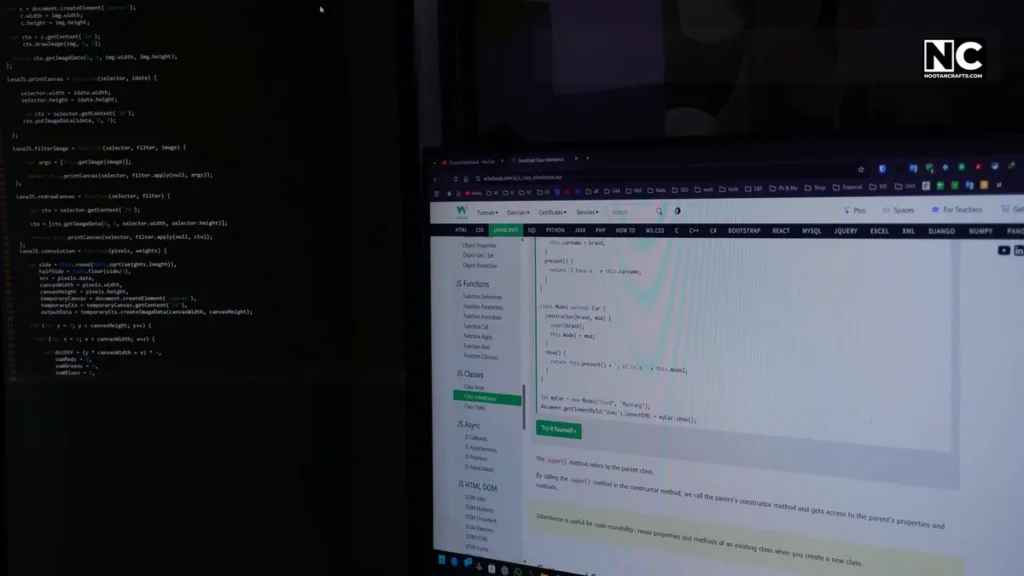
Coders and developers: Imagine reading 80+ lines of code without needing to scroll every 5 seconds. It will not only make your work easier but also increase productivity by saving a significant amount of time.
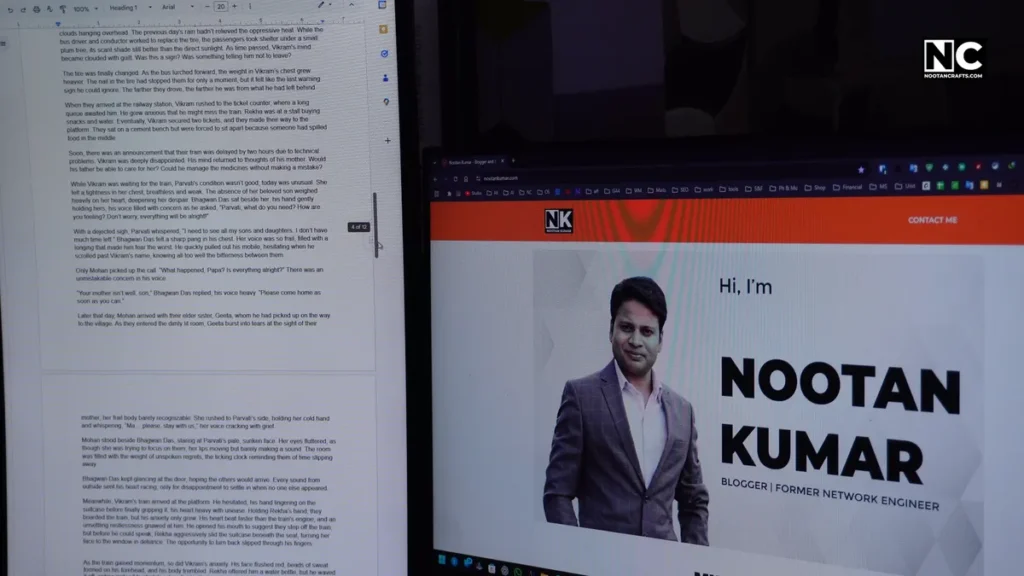
Writers and editors: You see full articles at once — no choppy scrolling, no losing context. It will allow you to edit effectively and work smartly.
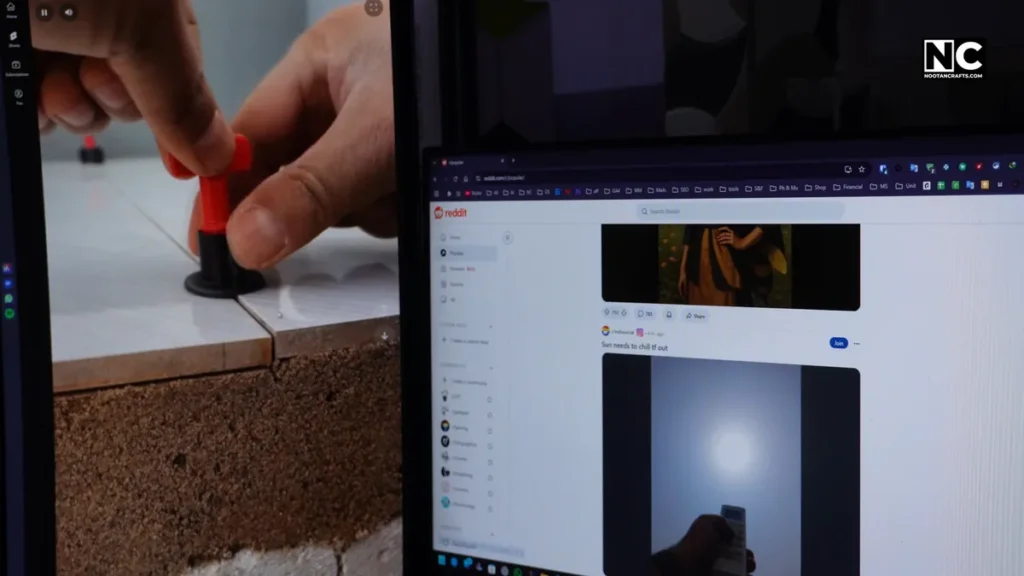
Social media junkies: Instagram, Twitter, Reddit — they were born for vertical screens. You might be surprised, a desktop can also be used for watching short videos, and you might not go back to your smartphone after getting exposed to a giant vertical screen.
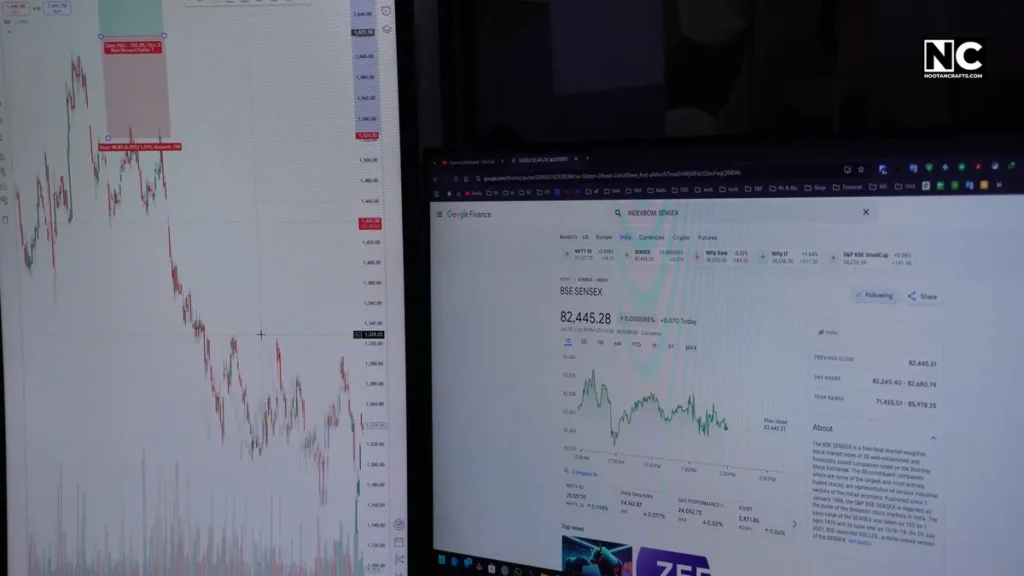
Stock traders or data analysts: Think of a tall spreadsheet where you can see more rows with less effort.
I started using a vertical monitor out of frustration. Now I can’t live without it. I love reading on my screen even more, particularly if I talk about chatting with AI, it can display longer responses without truncating, which saves time.
Tools & Space You Need for a Vertical Setup
Here is what you’ll need:
- Tools: A small Phillips screwdriver, Allen keys (which usually come with the monitor arm), and possibly a wrench.
- Space: Vertical monitors are tall bois, make sure you have enough room. Otherwise, you may not be able to adjust the monitor’s position to suit your needs.
- Desk Mount or Wall Mount: It depends on your setup, but usually, desk mounts are easier to set up and reposition. However, wall mounts are great for a permanent setup.
Tip: Place your vertical monitor either to the left or to the right (if you have a triple-monitor setup). I keep mine on the left, which feels more natural to me.
Vertical Monitor Setup Tutorial – Step-By-Step Instructions
Step 1: Make Sure Your Monitor Supports Rotation
Alright, before you twist your screen like a Rubik’s cube, check if your monitor even supports rotation.
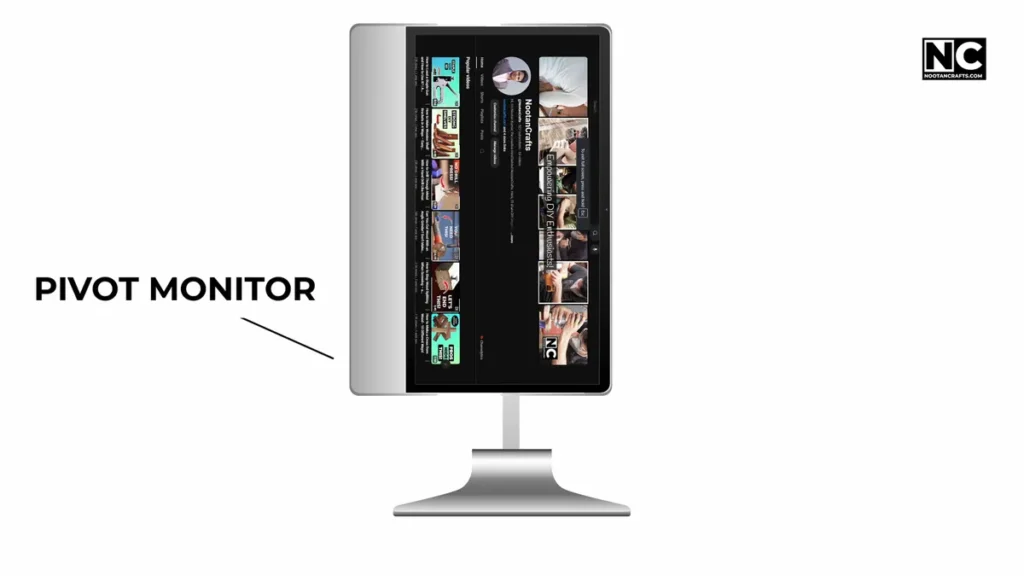
Some monitors rotate on their own — they’re called “pivot monitors.”
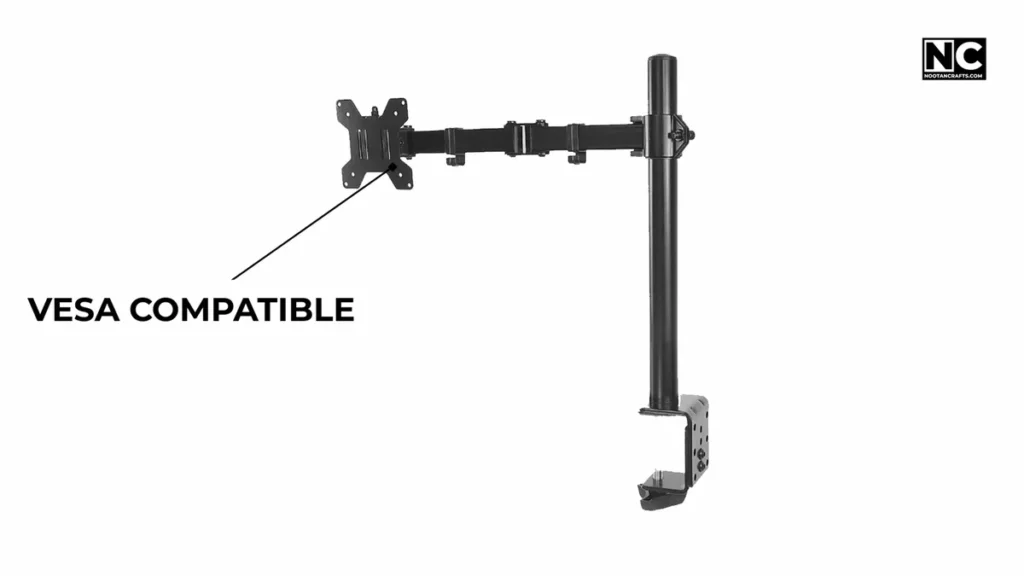
However, don’t worry; if your monitor doesn’t support it, it likely has VESA mount holes. It allows you to connect a VESA-compatible monitor arm, which enables you to rotate your monitor vertically and adjust its position.
The installation of these VESA mount arms is straightforward:
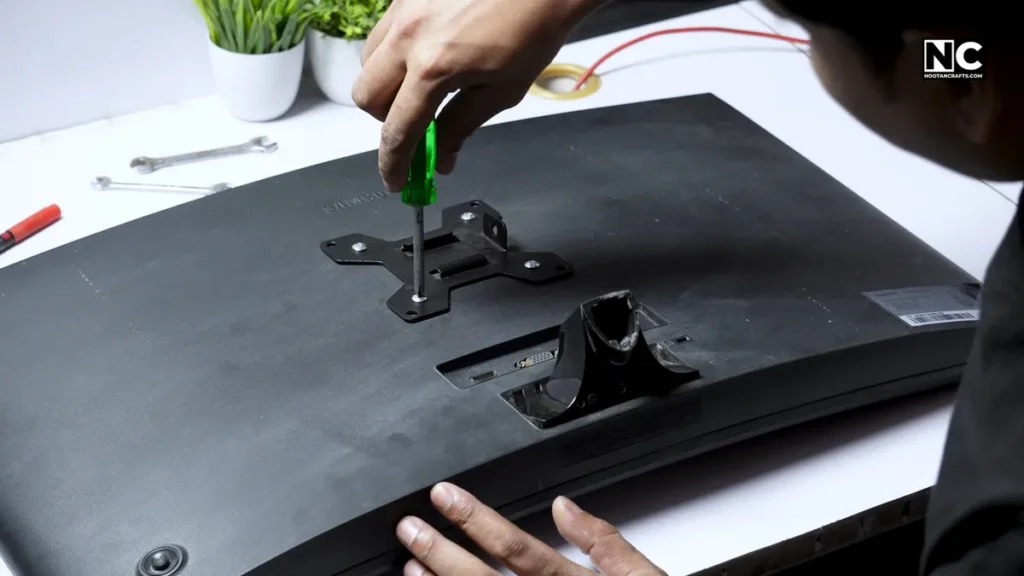
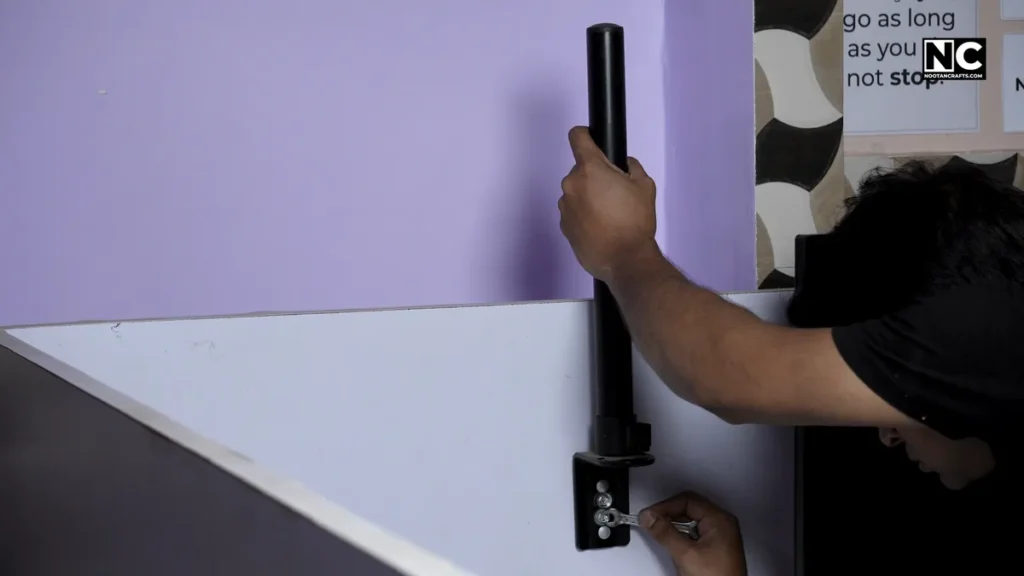
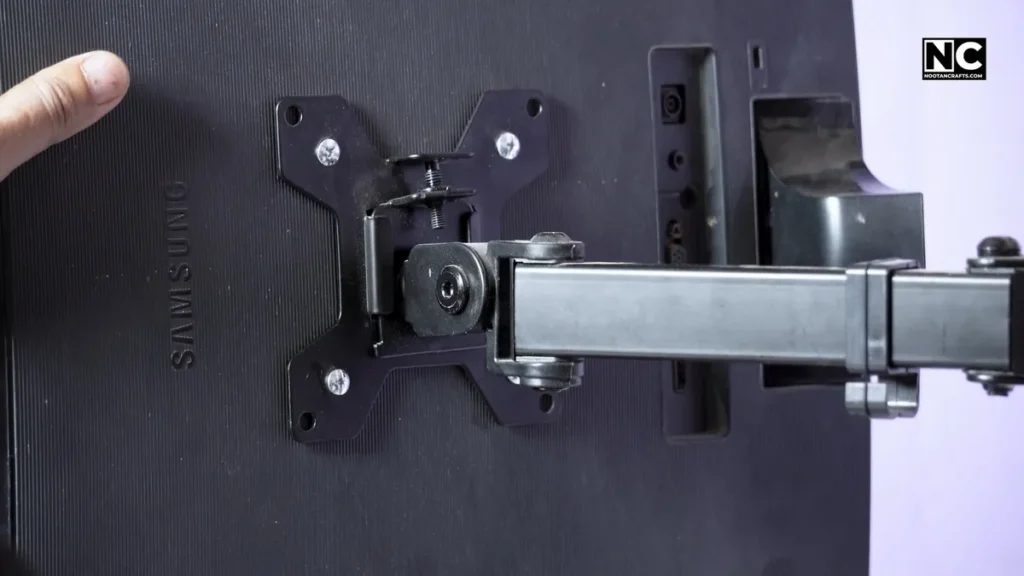
- First, connect the base plate to your monitor. Align the base plate with the four holes on the monitor and secure it in place with screws.
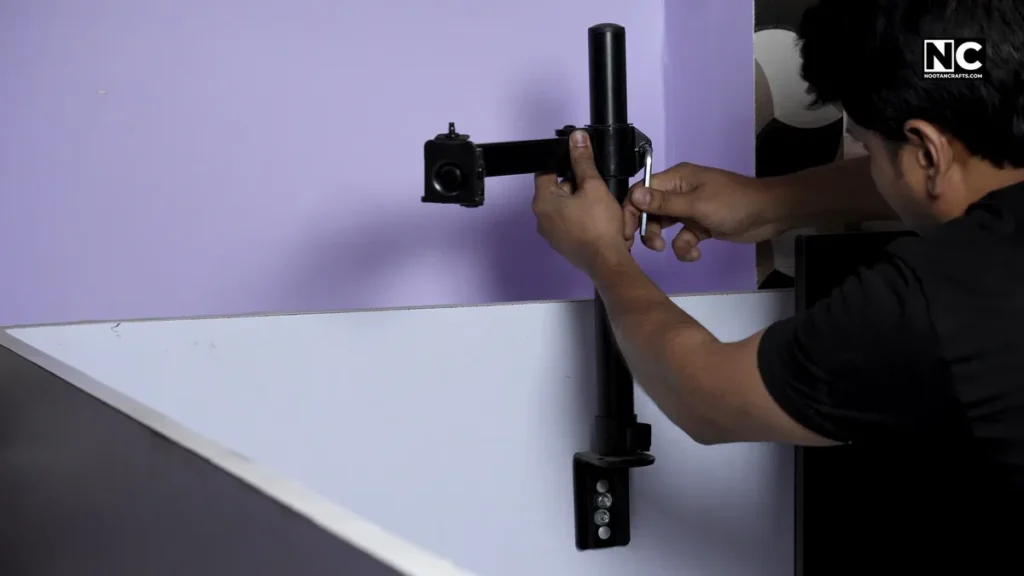
- Now, assemble the stand and mount it on your desk or wall using the provided screws and clamps. In my setup, I don’t need a clamp, since my desk has privacy panels; therefore, I mounted the stand directly on it.
- Finally, attach your monitor to the arm and secure it with the provided nut, which will lock the monitor to the arm, allowing you to turn it in any direction and position.
Now, you can change your monitor orientation and position.
Step 2: Connect the Monitor to the PC
A monitor typically requires two cables to function: a power cable and a display cable.
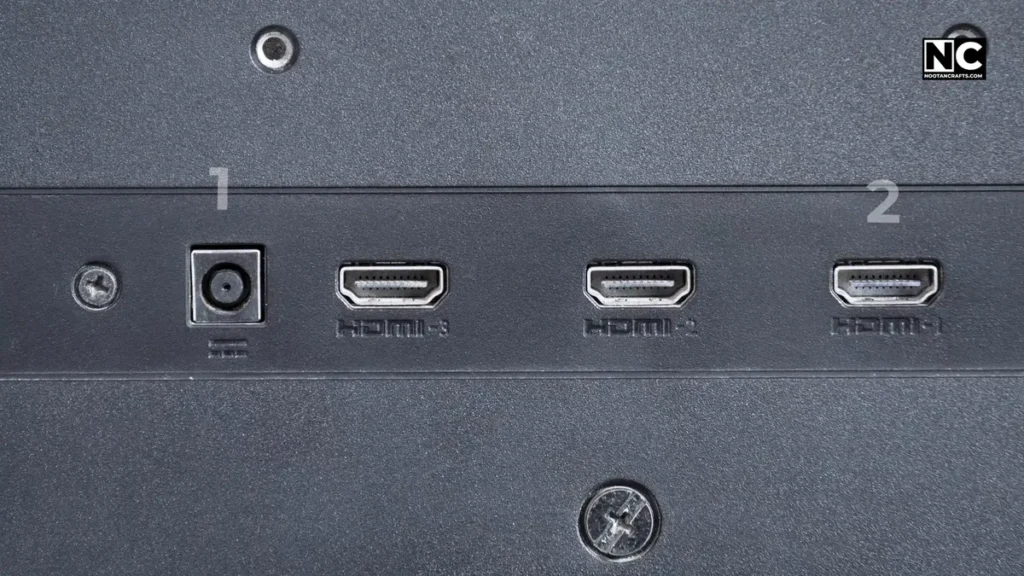
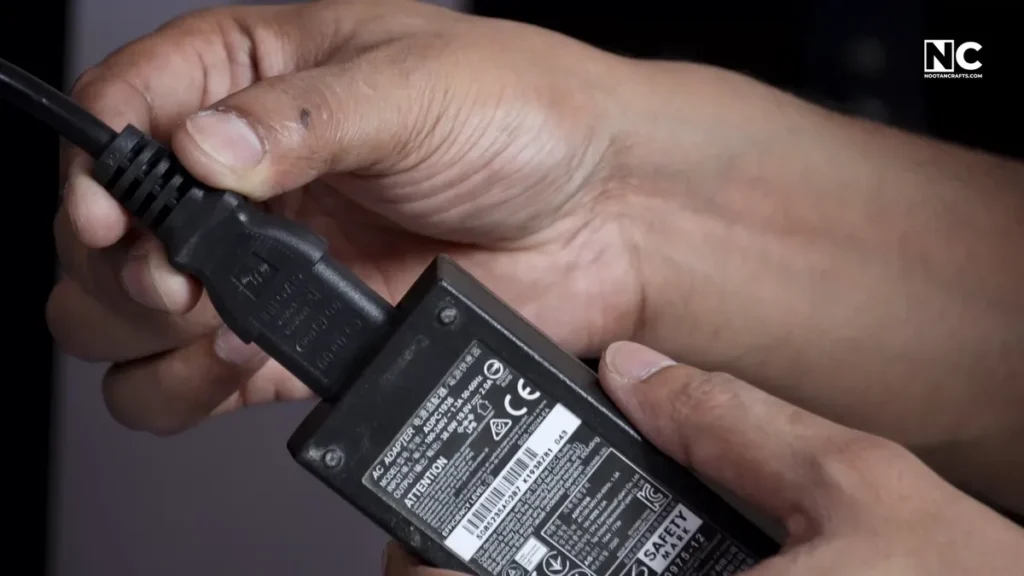
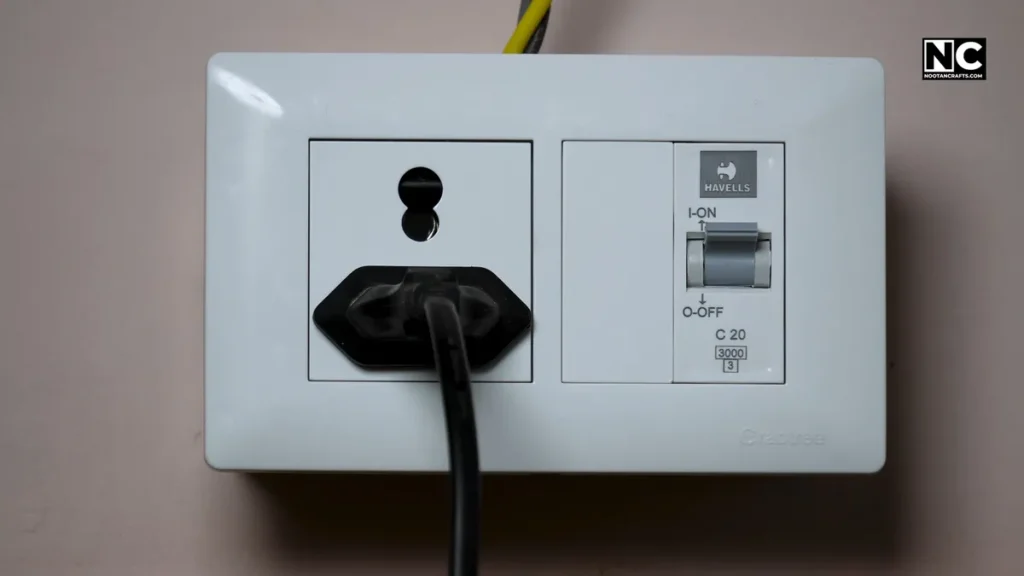
Power Cable: There are mainly two types of power options.
- A direct cable that goes to your wall from your monitor.
- Second, the cable connects to an adapter, which in turn connects to the monitor. Either way, you have to provide juice to the monitor.
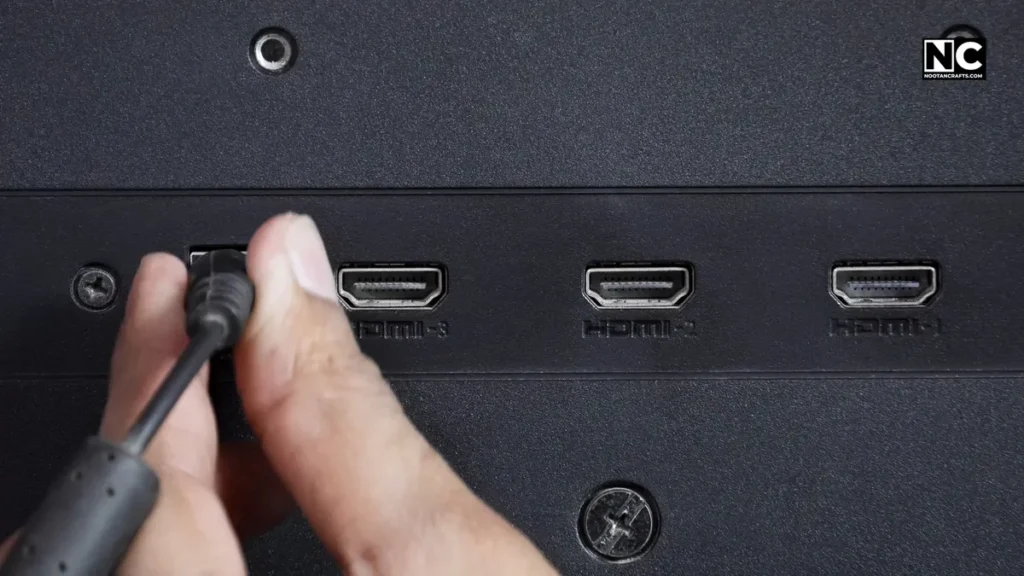
Display Cable: There are many types of cable, and which one should you use?
Let’s clear this clutter and understand which cable would be the best.
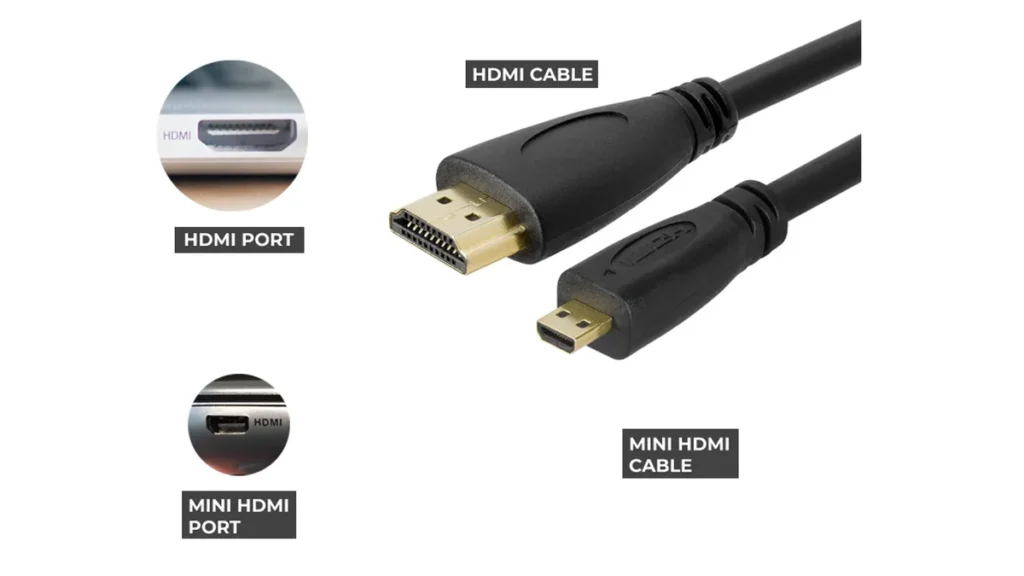
- HDMI – Most common and widely supported, it’s usually found in most monitors and PCs. Easy to use.
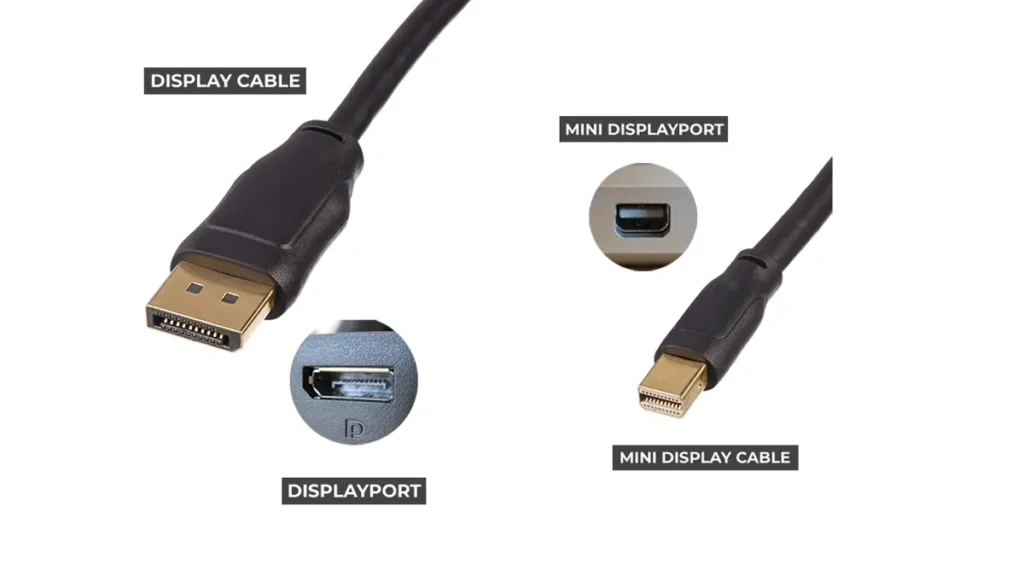
- DisplayPort – Ideal for high refresh rate or 4K monitors. If you’re gaming or editing, use this.
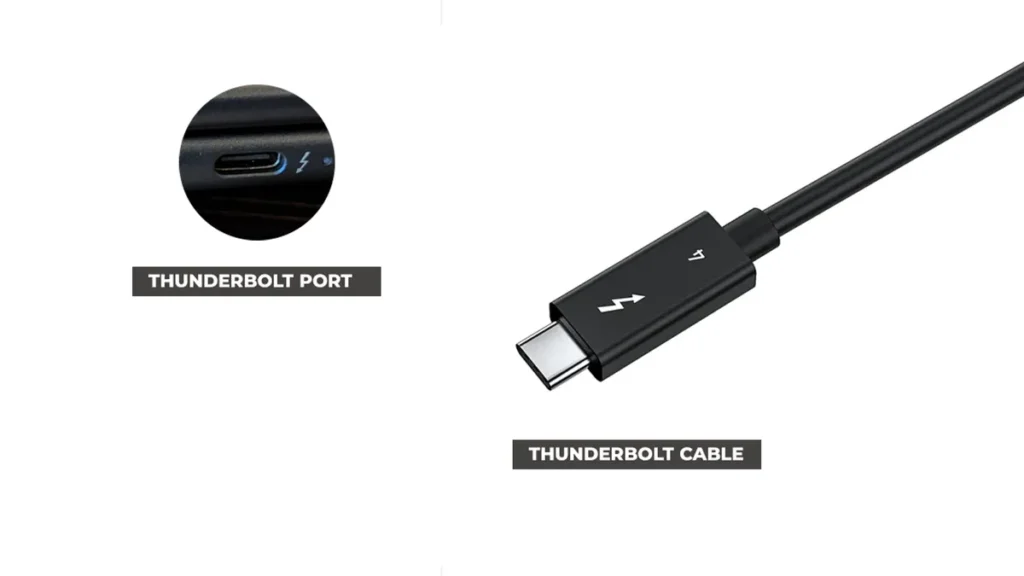
- USB-C – For newer monitors/laptops. It is the cleanest option—one cable handles power + video. It means you don’t need to connect your monitor to the wall; it will run from a single cable connected to the computer.
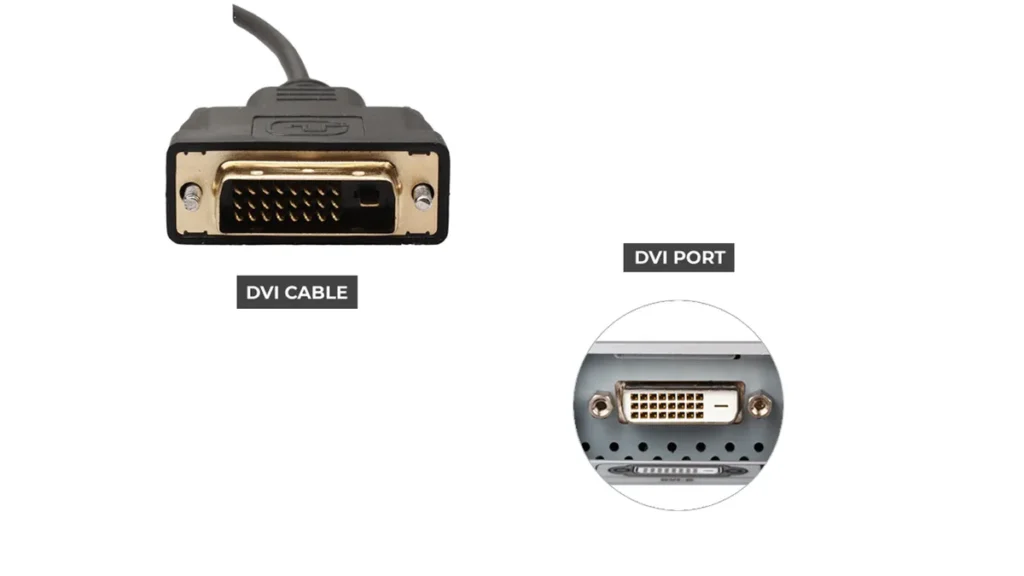
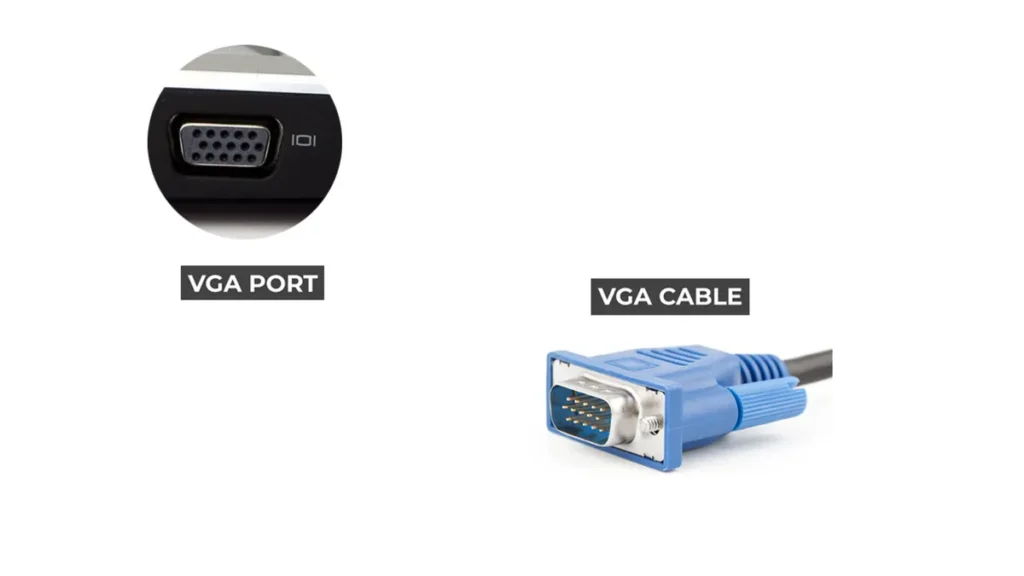
Remember: Avoid VGA/DVI cables unless you’re reviving a fossil from the early 2000s. They cap resolution and look terrible.
Pro Tip: Check ports on both your monitor and PC. Use the best cable that both support. A cheap HDMI 1.4 cable might limit your 1440p monitor to 60Hz—been there, done that.
Step 3: Configuring Display Settings in Windows & macOS
Okay, the hardware is done, now let’s tweak the few system settings to make it work.
For Windows:
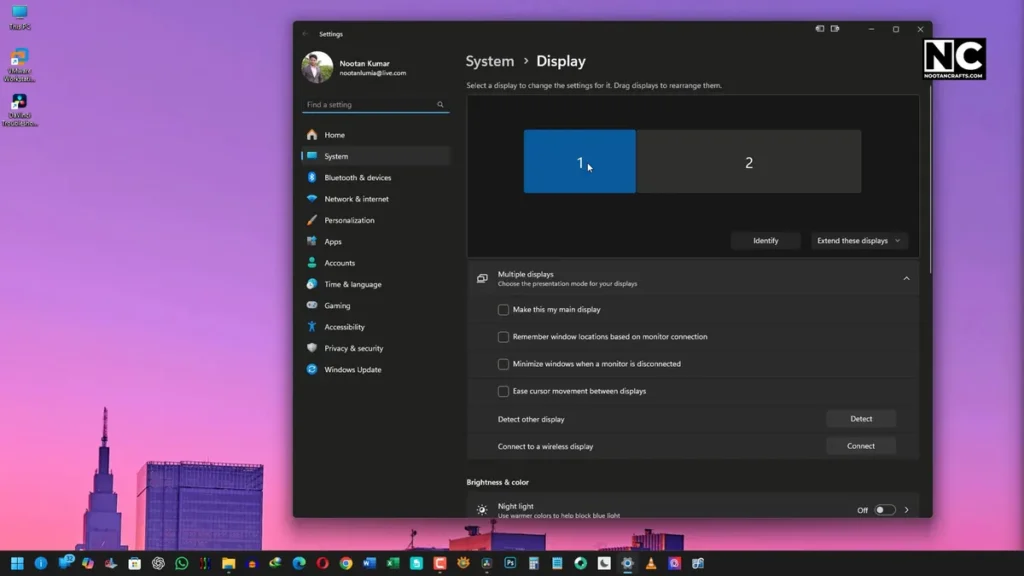
- Right-click your desktop → Choose Display Settings.
- Select your rotated monitor (use Identify if you’re not sure which one)
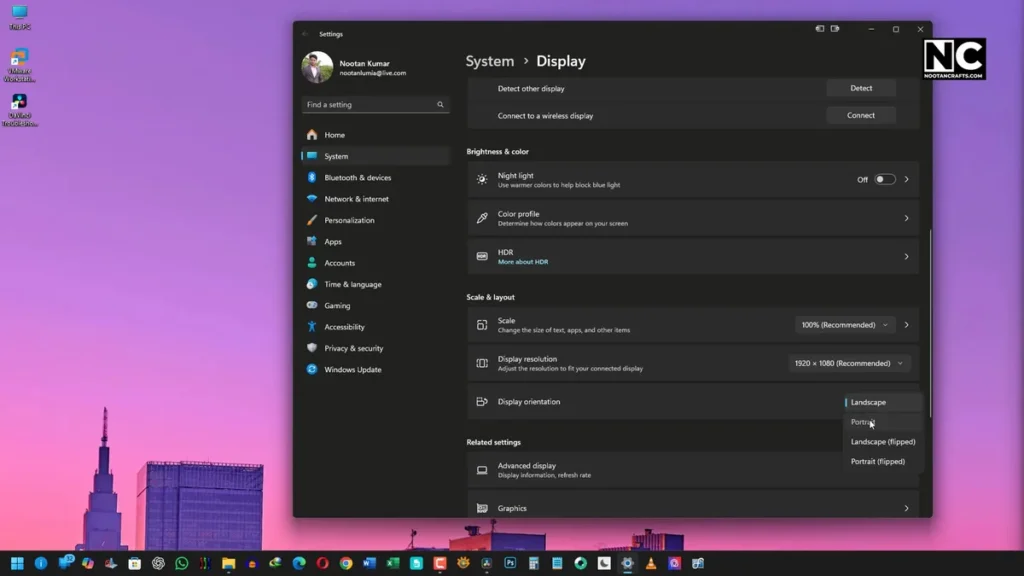
- Scroll to Display orientation
- Set it to Portrait
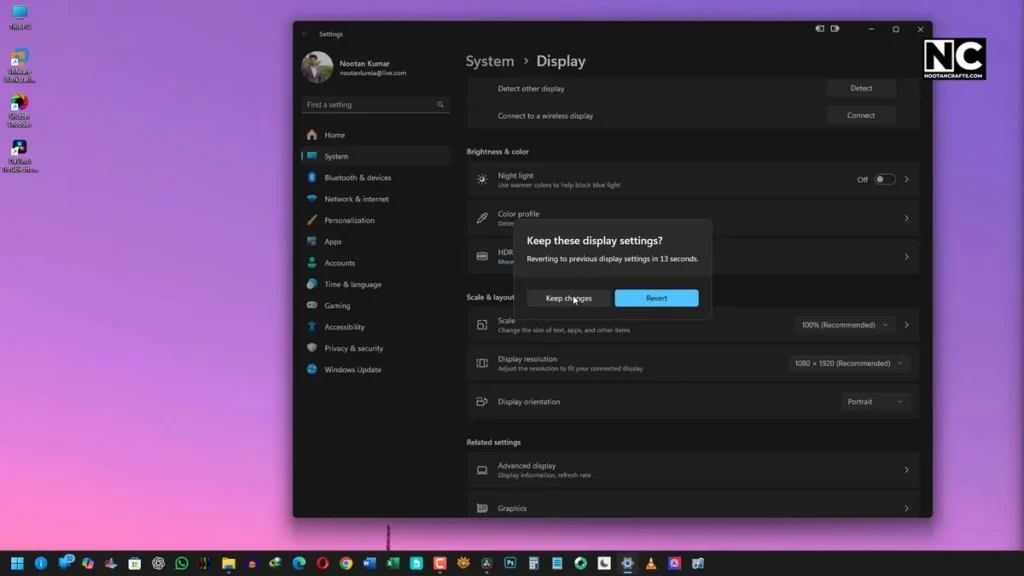
- Click Keep Changes
- Boom. You’re done.
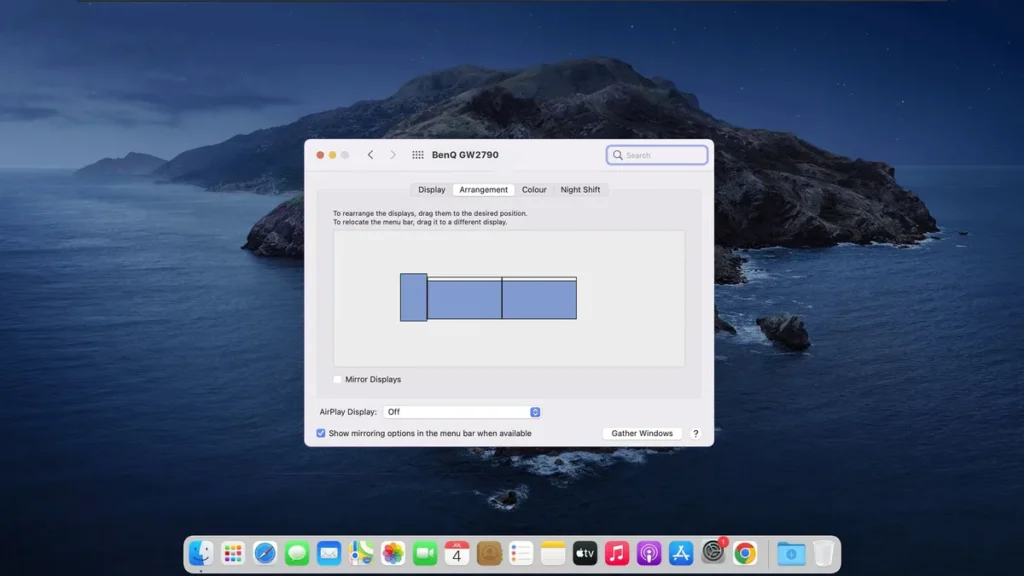
For macOS:
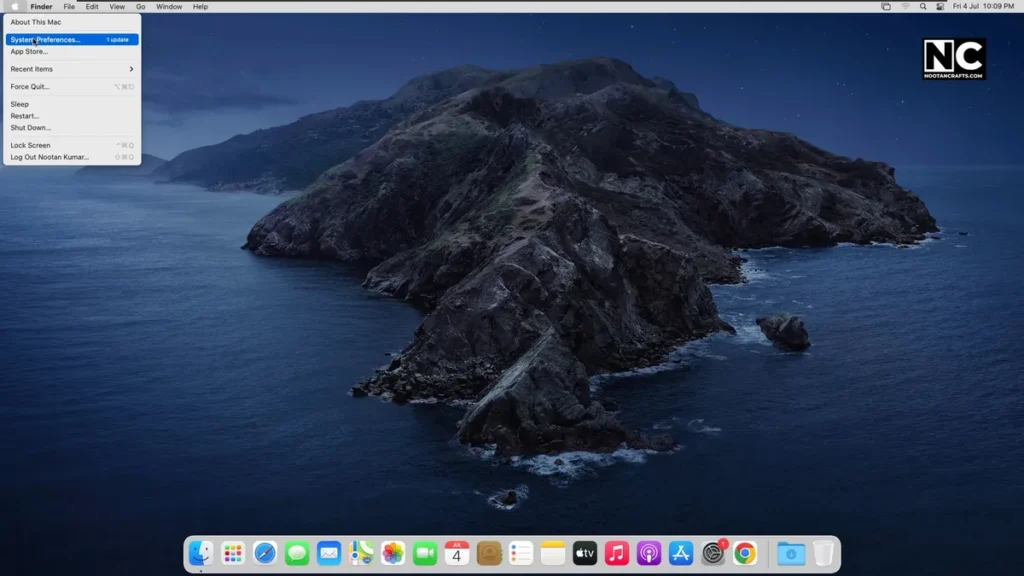
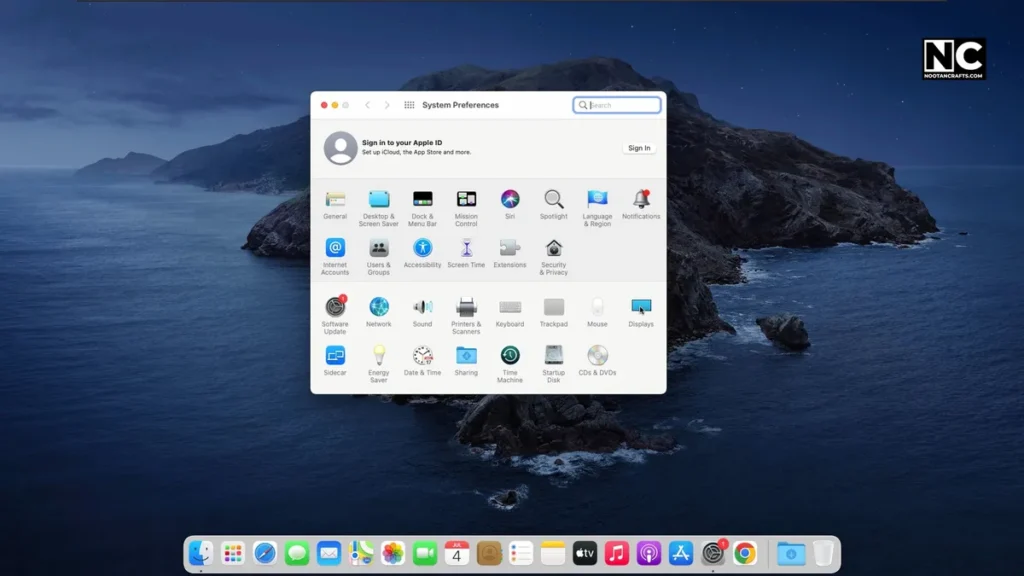
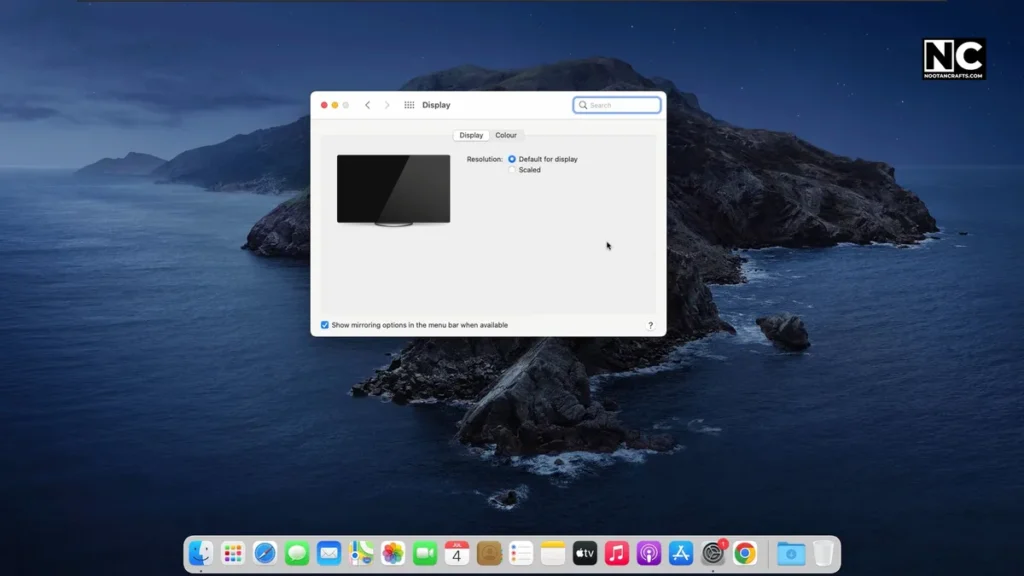
- Go to System Settings → Displays
- Hold down the Option key and click on Scaled
- Select Rotate Display
- Choose 90° or 270° depending on your setup
- Confirm
Not all Macs display this by default—rotation only appears for supported displays or when the Option key is held.
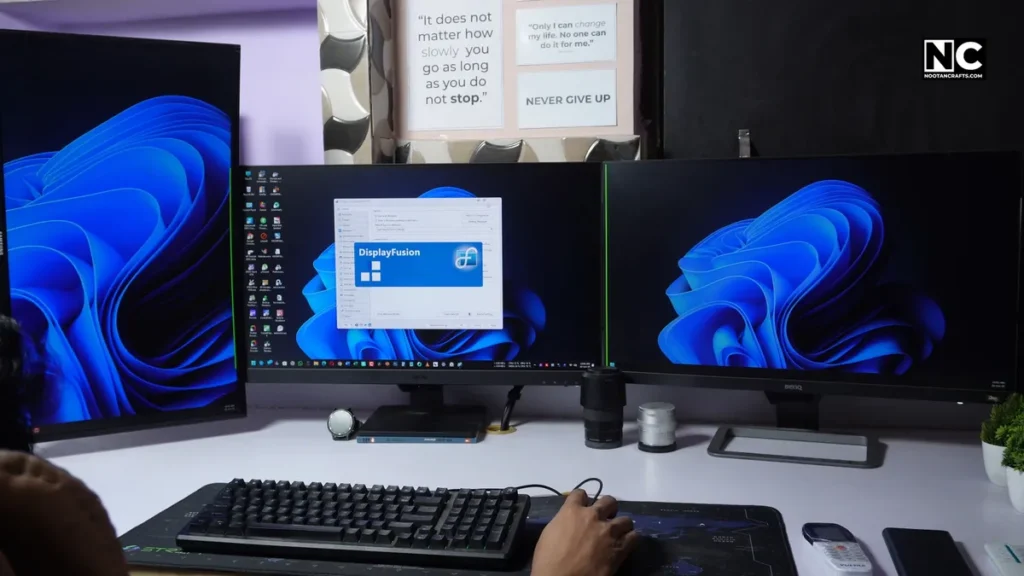
Extra tip: Download Display Fusion (for Windows) to snap windows, automate layout, and quickly switch screen modes. It’s a game-changer if you have multiple monitors. I use it.
Vertical Monitor with Multi-Monitor Setup
Now, we’re talking about serious productivity. Here’s how you can build a dream monitor layout.
Step 1: Decide on the Layout
Possibilities are endless and depend on your needs. Here are some common layouts to consider.


Double Monitor Setup – Combine your vertical monitor with a horizontal monitor for balanced workflow. You can place your vertical monitor either left or right, as per your convenience.
Alternatively, you can use both monitors vertically, especially if you primarily work with long-form content, such as coding and reading.
Triple Monitor Setup – With three monitors, there are more combinations. Here are some examples.
Scenario 1: You can use two monitors vertically on both sides with a horizontal one in the middle.
Scenario 2: You can use a single vertical monitor, positioned either on the left or right, in conjunction with two horizontal monitors. I am also using this setup because it allows me to work with both long-form content, whether it’s vertical (reading a longer document) or horizontal (like working on a longer video editing timeline).
Quad Monitor Setup – You can also opt for a higher setup, such as hooking up four monitors, if your work is more demanding. The combinations are more diverse here. You can use two verticals and two horizontals. It entirely depends on your situation, such as the types of content you work with and what you want to achieve.
Step 2: Cable It Up
Just repeat the earlier cable setup for each monitor. Provide power to all monitors and connect them using the best cable supported by both the monitors and the PC. Ensure that you avoid overlapping ports on your GPU. Use a slim cable or a right-angle adapter if the space is tight.
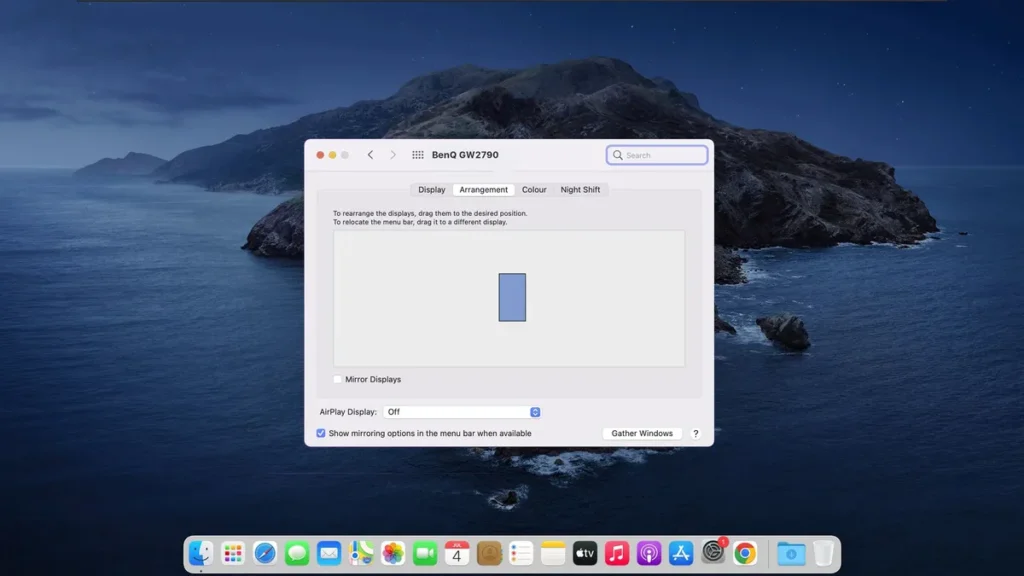
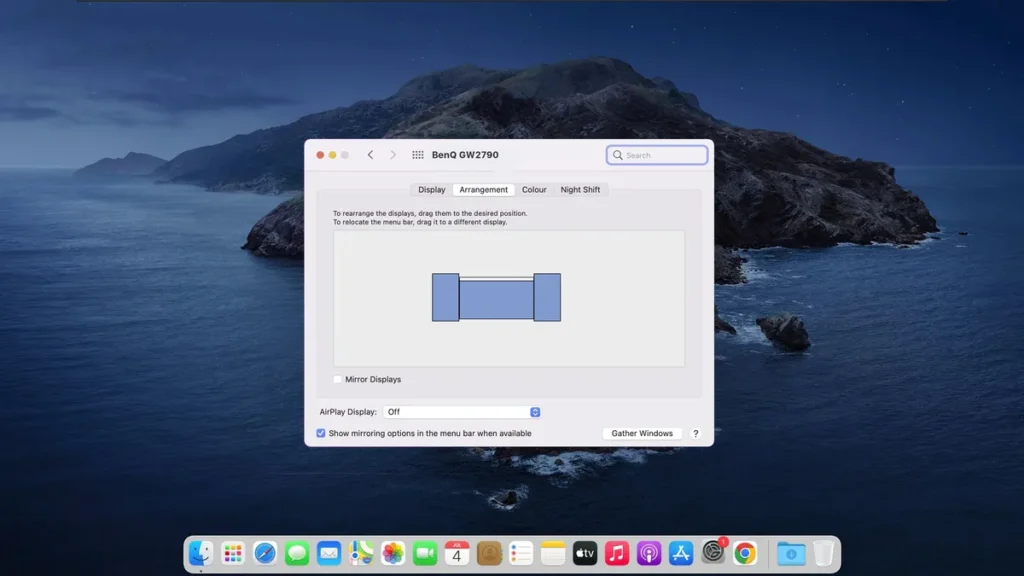
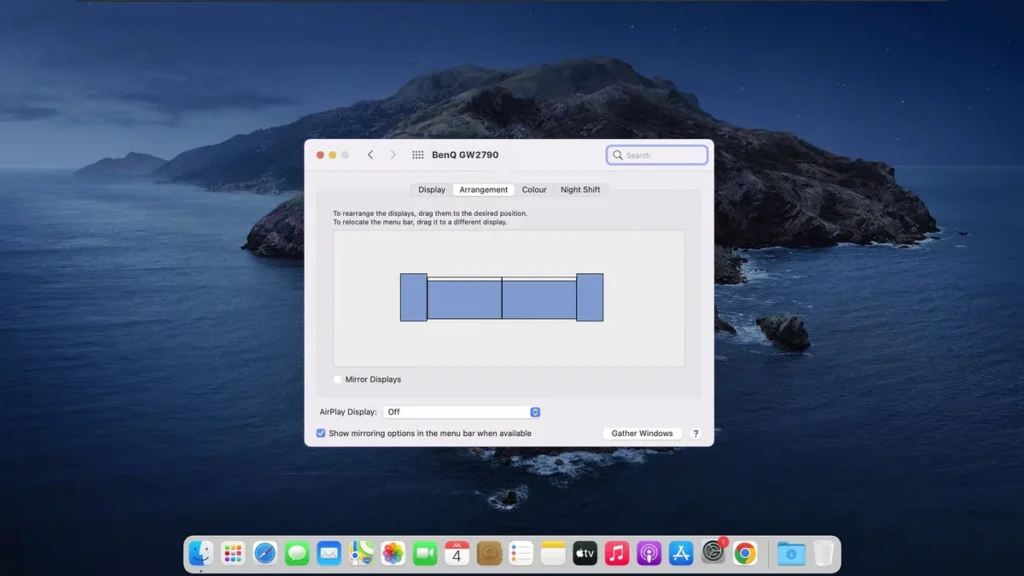
Step 3: Arrange Display Settings

Windows: Right-click → Display Settings → Identify + drag the monitors to match physical layout.
Set your vertically placed screen to Portrait, and set the rest to Landscape.
macOS: Same process, just use the Scaled + Rotate options
If your screens aren’t lining up smoothly, adjust the resolution and scale settings until everything aligns properly.
General FAQs About Vertical Monitor Setup
Q1: Can any monitor be used vertically?
Yes, as long as it has a built-in rotating mechanism or has VESA holes. Because you also need to set your monitor vertically, physically.
Q2: Is a vertical monitor good for gaming?
For most games, not really. A vertical monitor is typically recommended for monitoring chat, statistics, code, or a Twitch stream on the side.
Q3: Will rotating my monitor damage it?
Nope, as long as you don’t force anything and use the right mount or arm.
Q4: Which side should the vertical monitor go on?
It’s totally up to you; if you feel comfortable with either side, go for it. There’s no right or wrong.
Q5: What’s the best orientation setting in Windows?
Usually “Portrait.” If the display looks upside-down, if you rotated it counter-clockwise, then try “Portrait (flipped).”
Q6: Can I use different resolutions or refresh rates on vertical monitors?
Yes. Just ensure the monitor supports the refresh rate and resolution you have applied. Don’t worry if one is 60Hz and another is 144Hz—they’ll still work fine.
Conclusion on Vertical Monitor Setup
Once you go vertical, you’ll wonder how you lived without it.
Whether you’re editing, coding, reading, or researching, a vertical monitor setup can significantly enhance your workflow. You need to scroll less and see more; it will ensure a smoother workflow.
Take your time to make your dream setup. Use the best tools and cables. Test your orientation and tweak the layout until it feels good to you.
If you’ve any questions or want to share your setup you’re proud of? Drop it in the comments or tag me—I’d love to see how you’ve levelled up your space. Thanks for reading.