I was excited, and why not be? I was about to spray paint my long-awaited project – a wooden almirah, which took me a month to build. I took out my spray gun, which I was about to use for the second time. I filled the gun container with my favorite paint – gloves, user manual, and proper thinning.
Everything was checked, but as soon as I pressed the trigger, nothing happened. I pushed again, still, nothing, just a few drops of disappointment. I was worried that my spray gun broke. It’s not even a year, and I haven’t used this damn thing twice, and it already failed, I said to myself.
Then I searched online before filing for a warranty claim, it turned out it wasn’t the gun, it was me, who doesn’t even know how to use a spray gun. Well, I cleaned my jammed gun, and it worked as it should have, but I learned the lesson. In this post, I will share my experience and tell you how to clean a spray gun after use, so you don’t end up disappointed like me. So, let’s get started.
What’s Inside!
How to Clean a Spray Gun After Use — My Video
Why Cleaning Your Spray Gun Matters

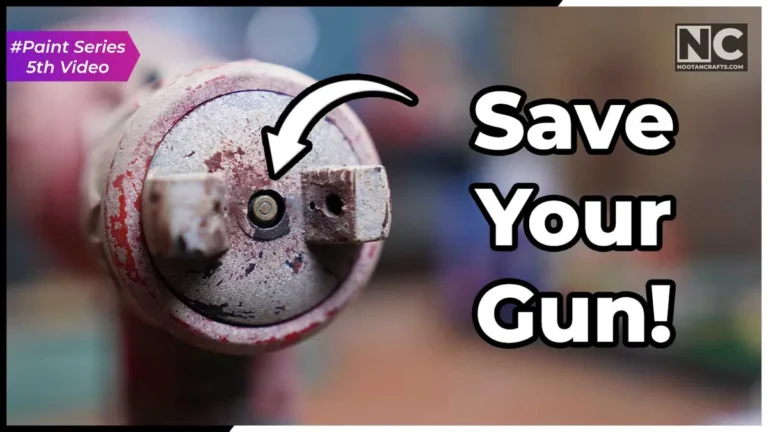
You have understood that the spray gun nozzle is like an artery, narrow, and when it clogs, it could be lethal for the gun. A small amount of dry paint is enough to cause it a heart attack and can mess up your gun’s whole system. It can affect:
- Spray pattern
- Coverage
- Pressure
When you forget to clean the gun after use, the leftover paint in the gun, container, tube, and nozzle hardens, and it can affect the next painting experience. If you’re switching colors, then the old paint can also cause weird color formation.
So, whether you’re storing the gun or switching between colors, cleaning isn’t optional. Now, let’s talk about what you’ll need to properly clean a spray gun.
What You’ll Need
Here is the item required to perform spray gun cleaning, nothing fancy, you already have everything.
- Paper towels or clean rags
- Warm water (for water-based paint)
- Thinner/solvent (for oil-based paint)
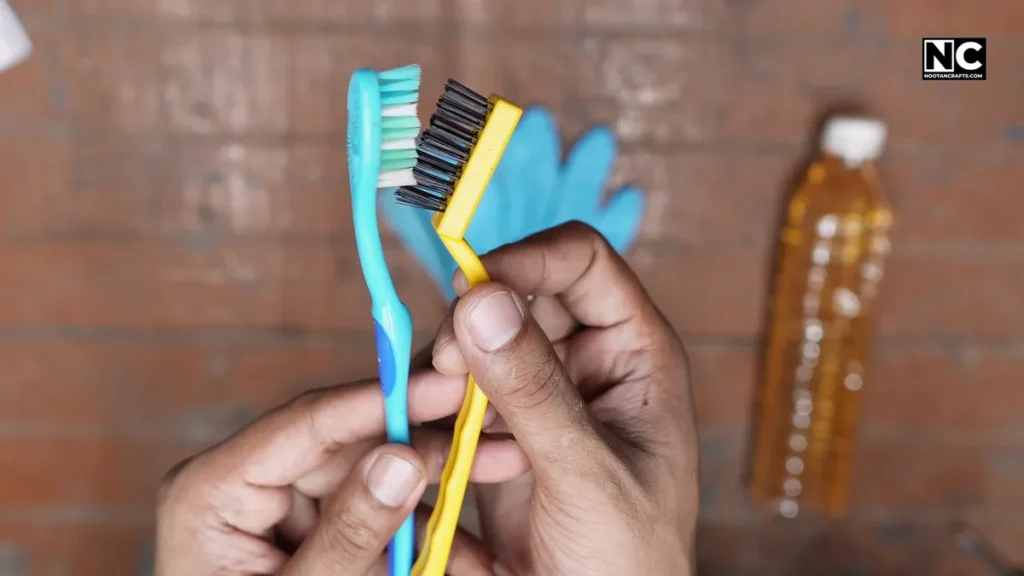
- Spray gun, cleaning brush, or an old toothbrush
- Gun disassembling tool (depending on the gun model)
- Gloves to protect hands from color and paint thinner
How to Clean a Spray Gun After Use — Step-by-Step
Step 1: Empty the Cup
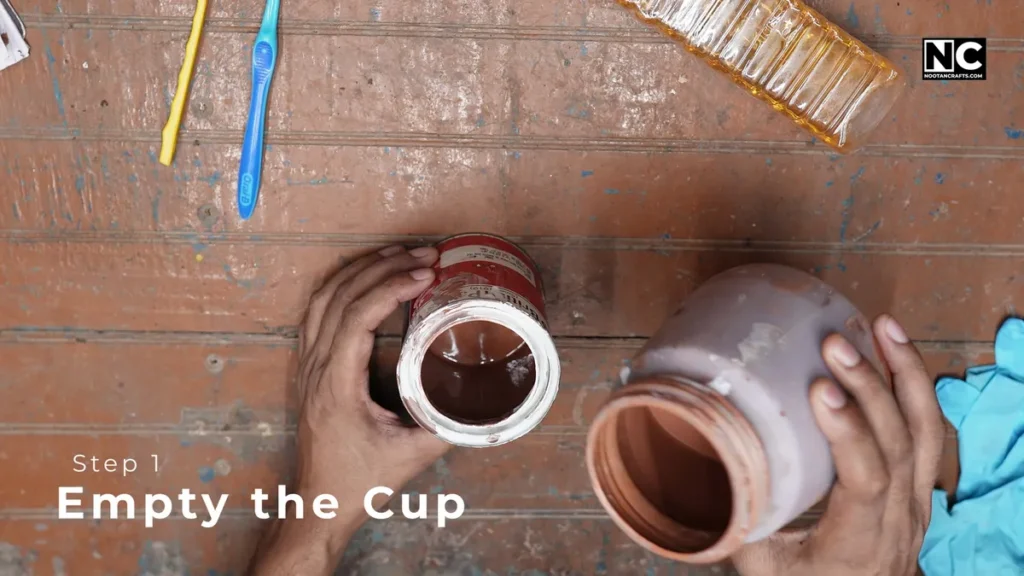
After completing the paint job, pour out any leftover paint; don’t leave it “for later.”
The remaining paint inside the container thickens quickly, which will require more muscle power to clean it up, so it’s easier now.
Also Read: How to use a spray gun
Step 2: Rinse the Paint Cup
After pouring the excess paint from the container, fill it halfway with the proper cleaning solution. For water-based paint, use warm water; for oil-based paint, use paint thinner/lacquer, whichever is applicable.
Now, shake it and swirl it until the inside paint dissolves. Now put the container back in the gun and hit the trigger. It will clean the whole gun, its tube, container, and nozzle. The cleaning solution will follow the same path as the paint did, thoroughly cleaning the entire gun internally.
Step 3: Disassemble the Spray Gun
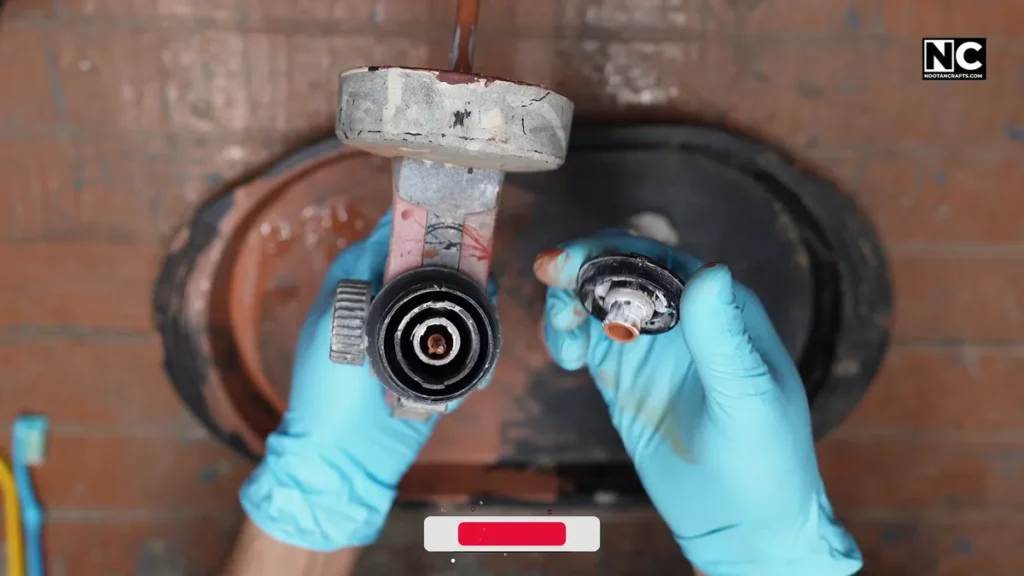
After spraying the entire cleaning solution, it’s time to check the internals and clean any remaining paint or debris that might have gotten stuck.
- What you need to remove:
- Paint container
- Nozzle part
- A needle is provided with the gun
You can also refer to the gun manual if anything doesn’t make sense.
Now, lay everything on the tray.
Step 4: Scrub Every Part

Use a brush to scrub each part individually, then put it aside.
Use a needle to clean the nozzle hole.
Please don’t use a too-hard brush to clean the parts, as it may damage them. Also, don’t use a metal part to clean the nozzle, as it may affect the paint flow and pattern.
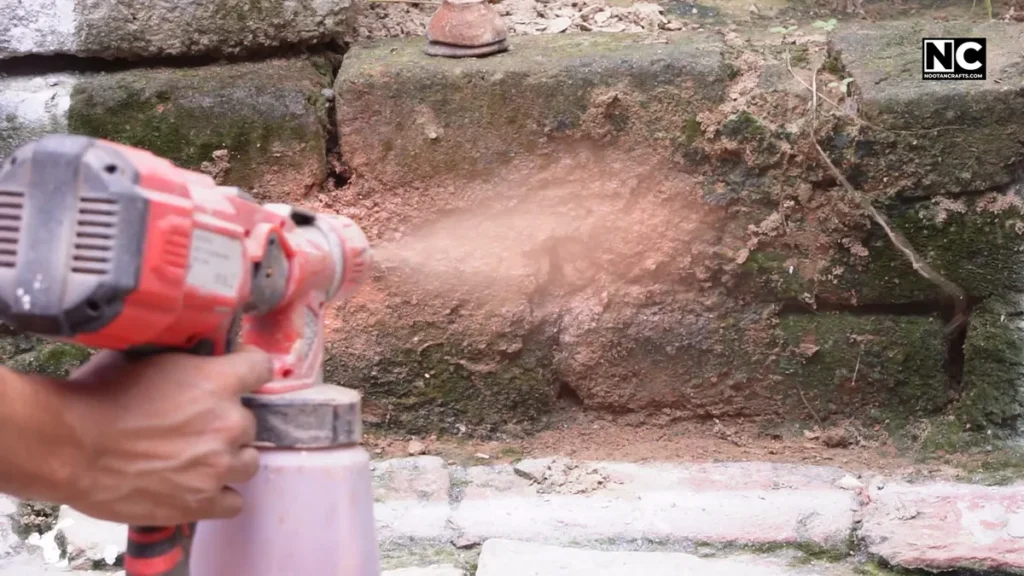
Step 5: Final Flush
Assemble the gun again and fill it slightly with the cleaning solution (discussed earlier). Now, on a test surface spray again, and look for a clear mist. If it’s still foggy or tinted, then you need to clean more.
If your gun sprays clear cleaning solution with no color, it’s cleaned, and you’re good to go.
Step 6: Dry and Store Properly
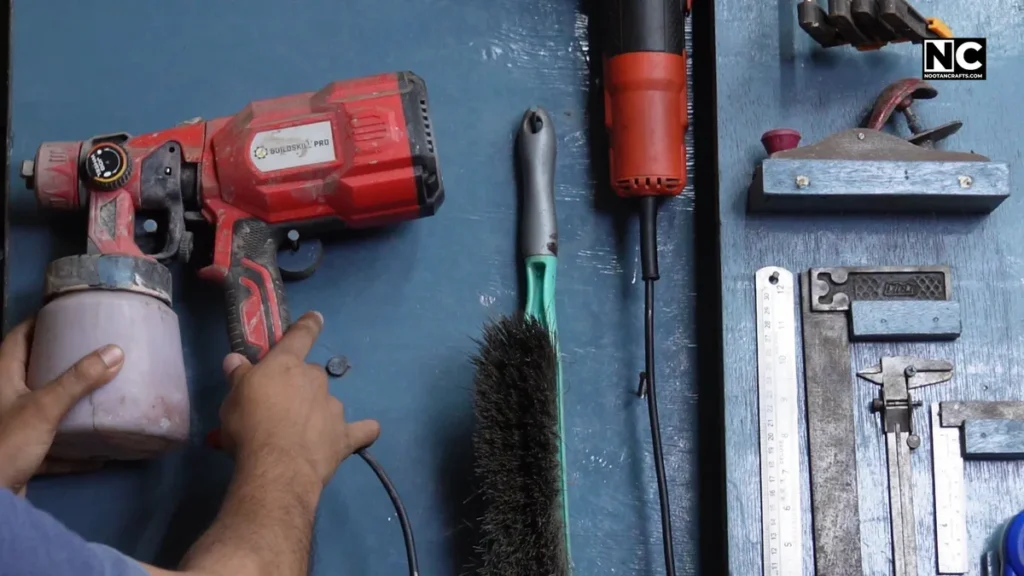
Don’t store the gun immediately after cleaning; make sure to dry it first. Moisture can cause rust and corrosion, leading to gun malfunctions or, in some cases, permanent damage.
Make sure to store the gun in a dry place away from spiders and dust. Also, make sure the device is in an upright position.
General FAQs
1. Can you clean a spray gun without taking it apart?
You can do a quick flush, but deep cleaning requires partial disassembly.
2. What solvent should I use?
Use hot water for water-based paints and thinner for oil-based paints.
3. How often should you clean a spray gun?
Every single time you use it. Yes, every time.
4. Can dried paint be removed from a spray gun?
Yes, but it takes more soaking, scraping, and muscle power. It must be avoided at all costs.
5. Should I lubricate the spray gun after cleaning?
A light needle lubrication helps prevent sticking, but avoid oil in airflow paths.
Conclusion
Cleaning your spray gun might feel like a daunting task, but it’s the 5-minute habit that saves you hours of troubleshooting and part replacements.
A clean gun ensures a smooth finish, perfect patterns, and potentially longer gun life.
If you’ve ever ruined a perfect coat or your gun isn’t spraying at all after pressing the trigger, you already know why cleaning matters.
Thanks for reading — and until next time, keep crafting.