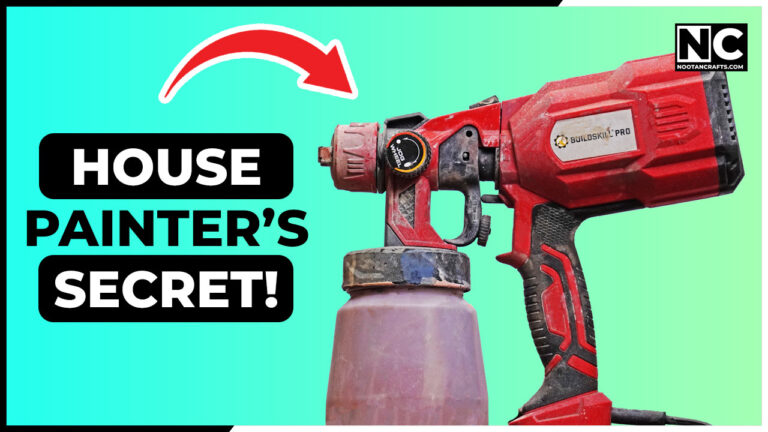
Use an HVLP spray gun by thinning your material to the viscosity the gun’s own cup chart calls for, filling and mounting the cup with the suction tube angled correctly for your spray direction, dialing in the pattern and flow rate on a test surface first, then spraying in steady, overlapping passes about a foot from the surface without flexing your wrist mid-stroke. HVLP stands for high volume, low pressure—it trades the higher pressure of an air-powered gun for a wider, gentler stream, giving you an even coat with very little overspray. Read your specific gun’s manual before you start — the parts and their names vary more between models than the technique does.
- HVLP spray gun (electric or air-powered)
- The material you’re spraying, plus thinner if your manual calls for it
- The gun’s viscosity cup or funnel
- Eye protection and a respirator rated for spray finishes
- A scrap or waste surface to test on
- Masking materials for anything nearby you’re not painting
Atomized finish is airborne finish
An HVLP gun turns your material into a fine mist by design, and that mist carries the same solvents and pigments as the liquid in the cup. Spray in a ventilated space, wear a respirator rated for spray finishes (not just a dust mask), and mask off anything nearby — overspray settles well past where you’d expect it to.
What’s Inside!
How to Use a High Volume Low Pressure Spray Gun — Video
Spray Gun, Brush, or Roller — Picking Your Applicator
An HVLP gun isn’t always the right call. It earns its setup and cleanup time on cabinets, furniture, and metalwork where a flawless, brush-mark-free finish is the point — not on a single wall or a quick touch-up, where a brush or roller gets you done before the gun would even be assembled.
| Job | Best applicator | Why |
|---|---|---|
| Cabinets, furniture, metalwork | HVLP spray gun | No brush marks or roller texture — the smoothest finish of the three when it’s set up right |
| Walls, ceilings, big flat surfaces | Roller | Covers a large area fast with almost no learning curve |
| Trim, edges, detail work | Brush | Real control over exactly where the paint goes — a sprayer can’t target a tight edge the way bristles can |
| A single small touch-up | Brush | Masking and cleanup for a sprayer can take longer than the whole job would with a brush |
For the full breakdown with a category-by-category verdict, see paint brush vs. paint sprayer or, with a roller added to the comparison, paint brush vs. roller vs. spray. And before any of the three touches the surface, confirm you don’t need a coat of primer first — see do you really need primer before painting.
How an HVLP Gun Actually Works
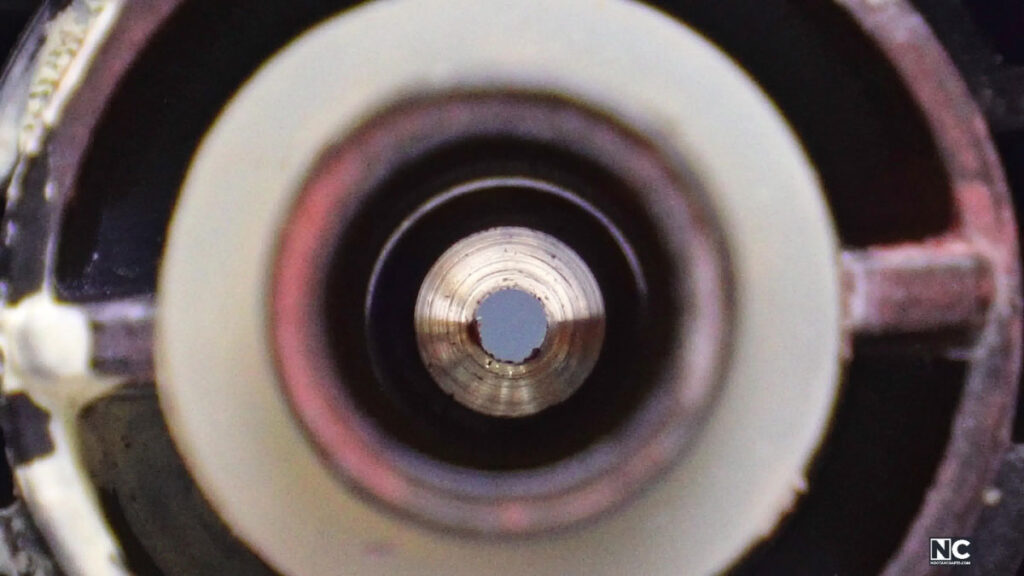
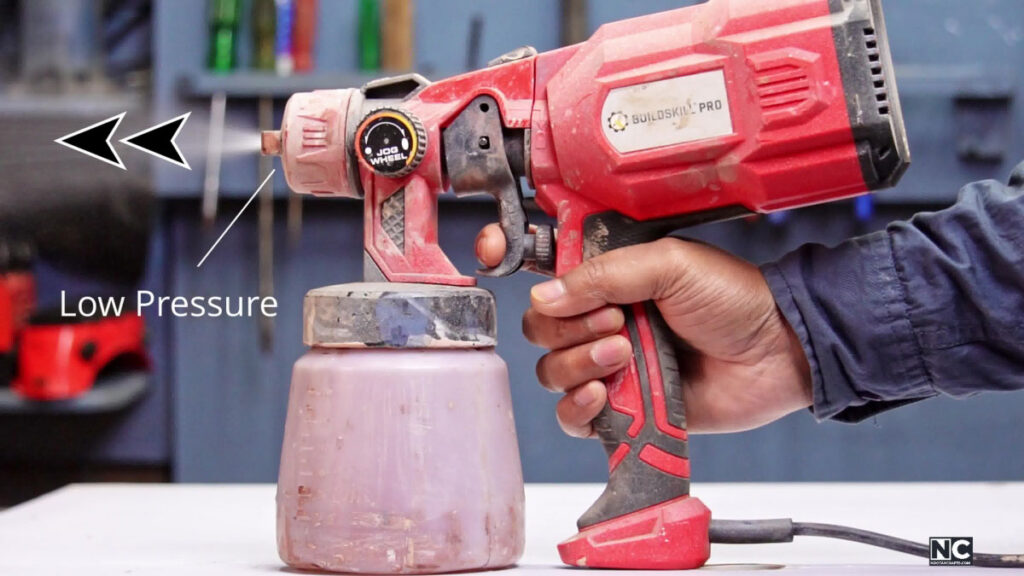
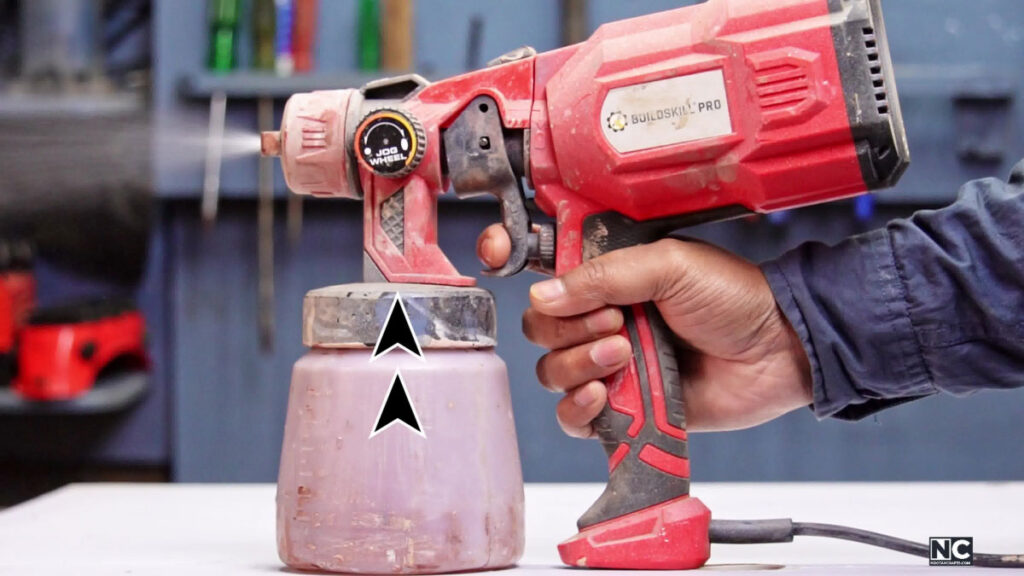
Pull the trigger and air passes through a small nozzle opening. Because the opening is narrow, the air speeds up as it escapes, and that speed increase drops the pressure at the nozzle tip—the same pressure-drop-with-speed effect described by Bernoulli’s principle. That pressure difference is what pulls the liquid up from the cup and pushes it out as an atomized spray. It’s a “high volume, low pressure” system because it moves a large volume of air at low pressure, rather than a small volume at high pressure like a traditional air gun does —which is exactly why it lays down a gentler, more even coat with less overspray.
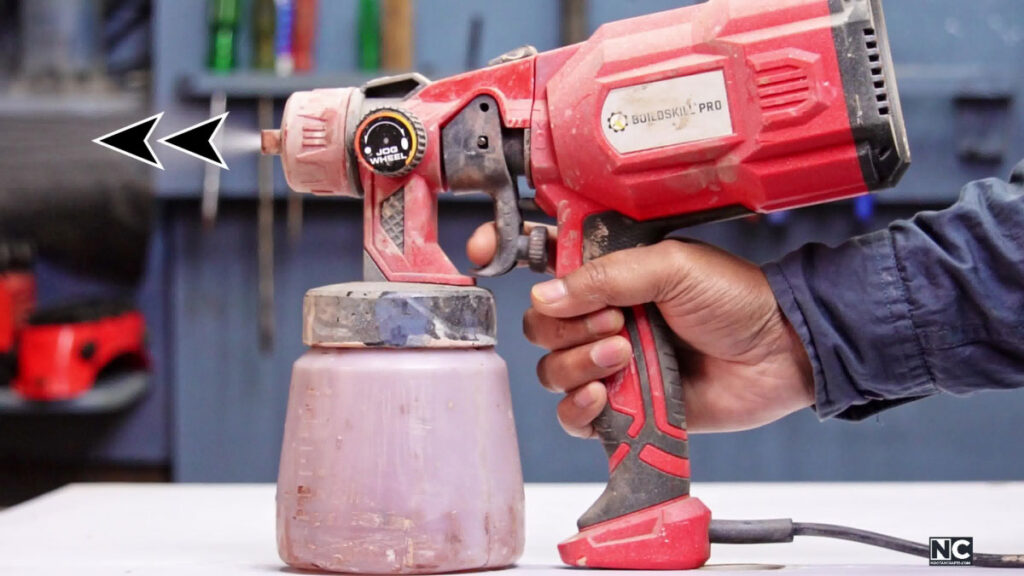
Most HVLP guns also let you adjust the spray shape itself —circle, horizontal ellipse, or vertical ellipse—and the flow screw, which sets how much material the trigger lets through. Both come up again in the steps below, but they’re built into the gun’s basic design, not an accessory.
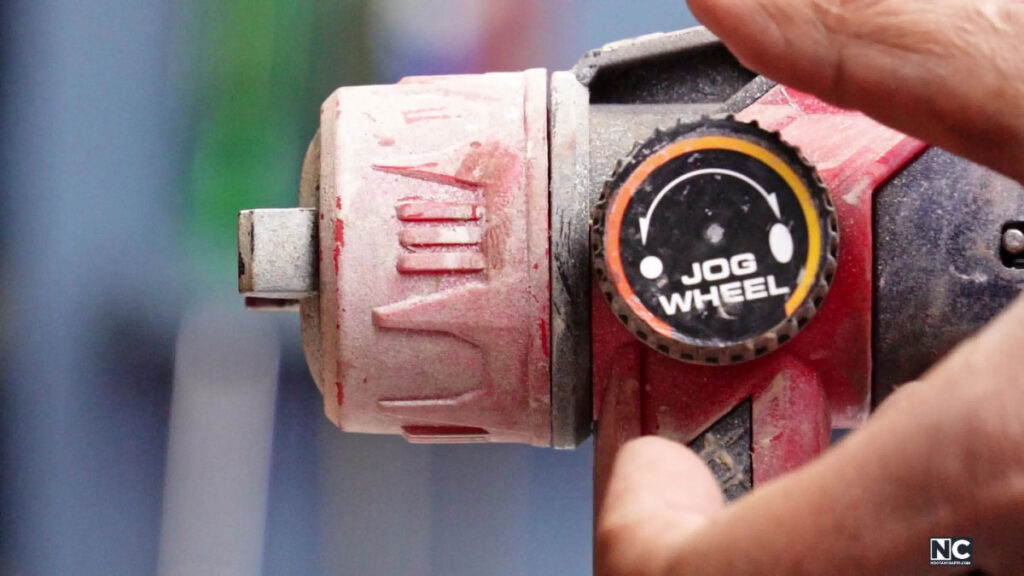
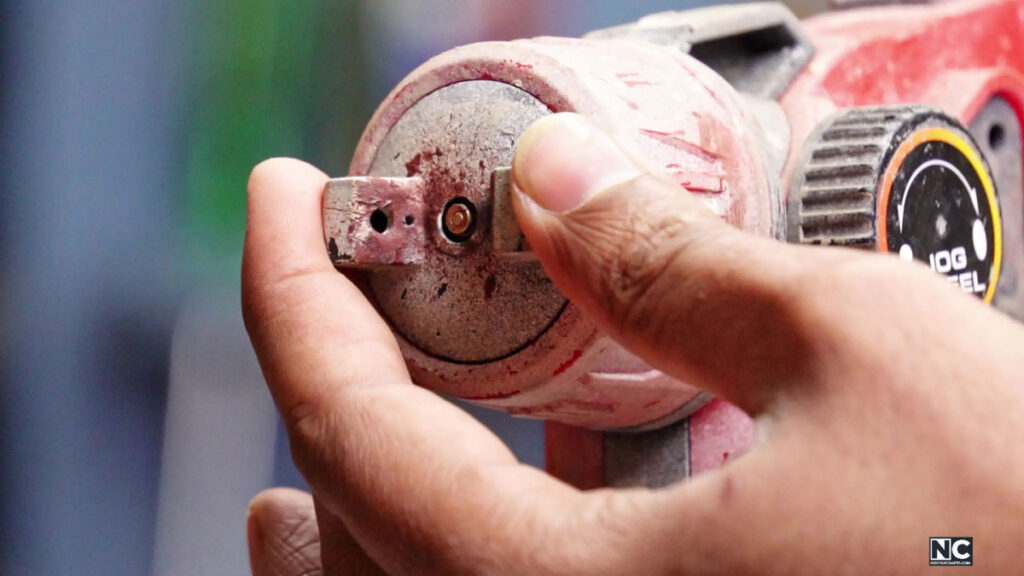
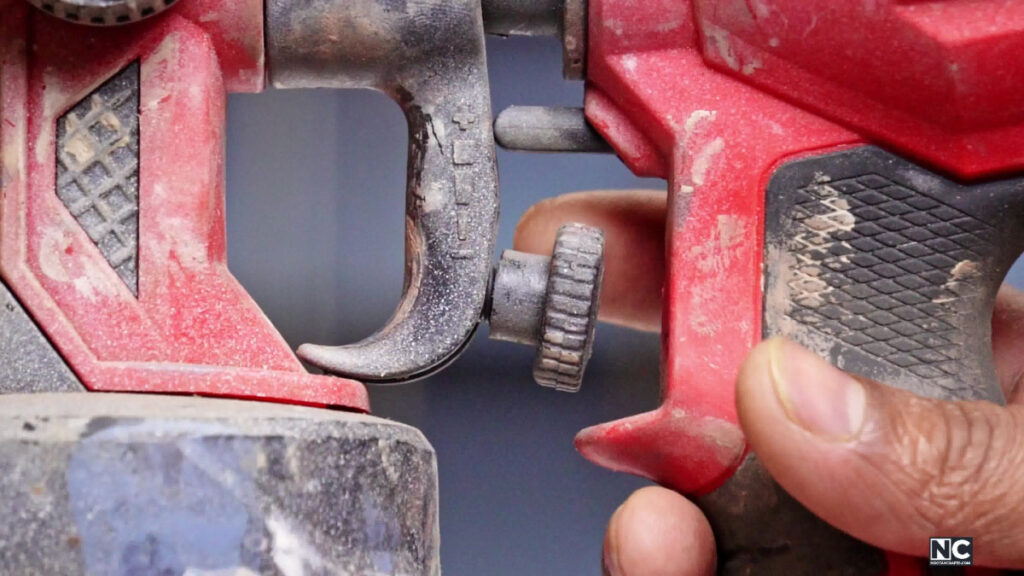
Using an HVLP Spray Gun, Step by Step
1. Check your material’s viscosity
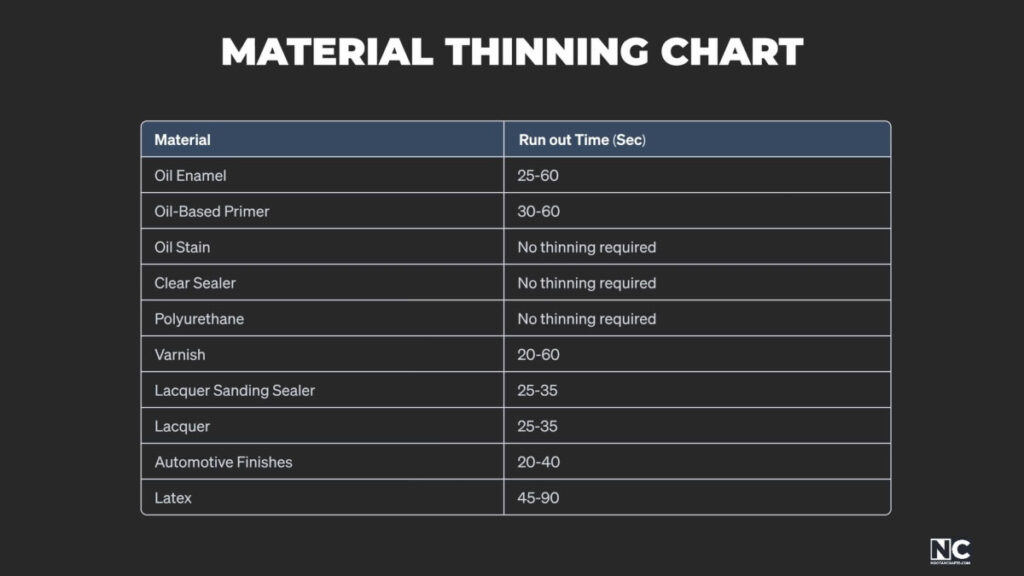
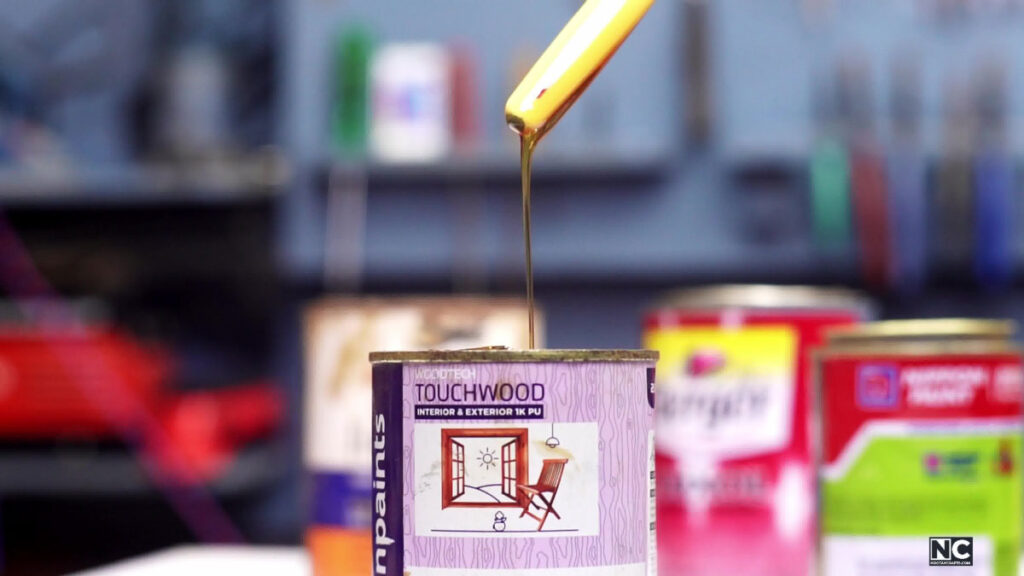
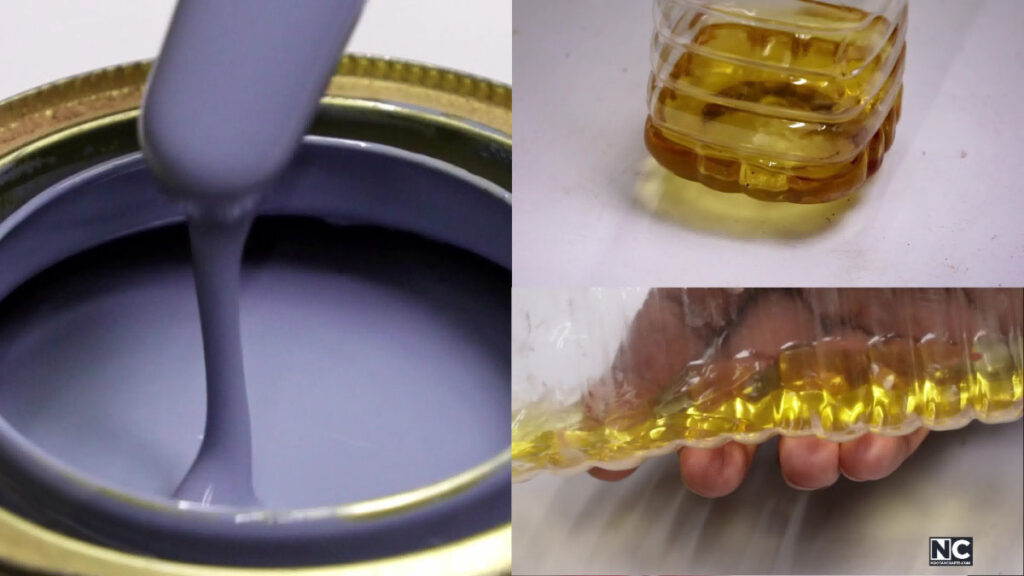
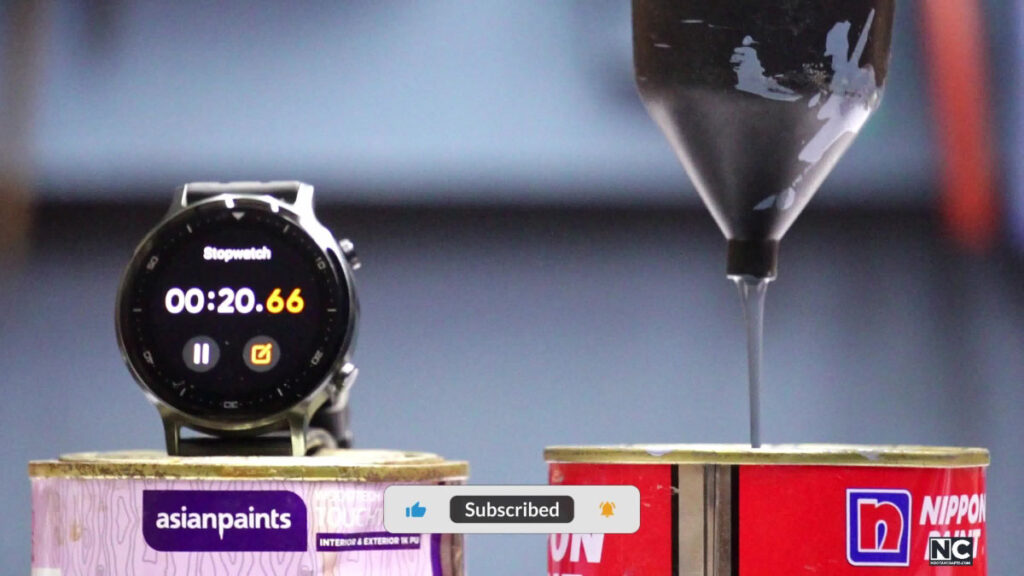
Read the gun’s manual for the recommended range — some finishes like polyurethane and clear sealer usually need no thinning, while heavier ones like varnish, oil enamel, or automotive finishes often do. Run the material through the gun’s viscosity cup and time it against the chart before you load anything.
2. Fill the container
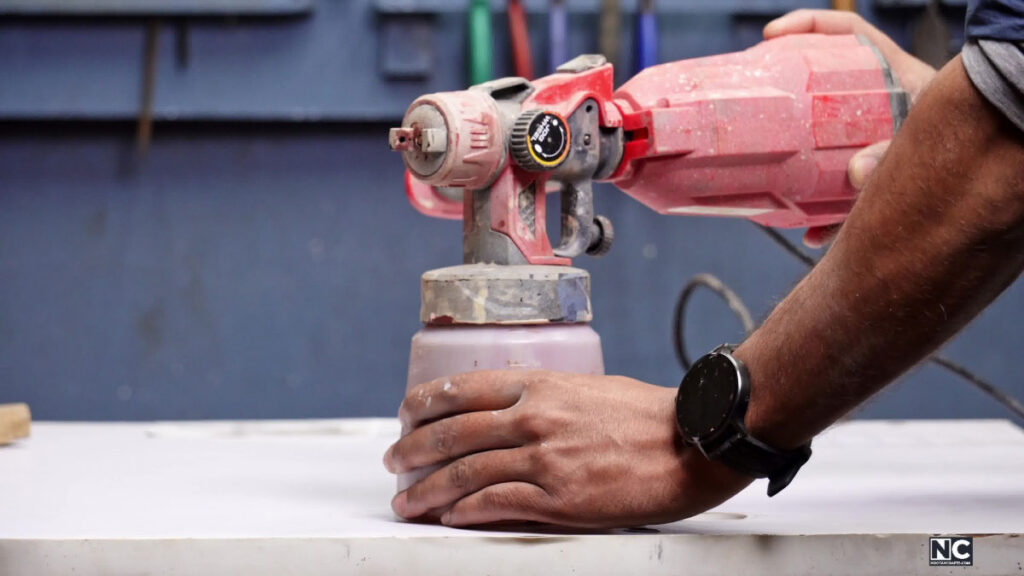
Remove the motor from the gun body first — it makes handling a full, heavier container much easier.
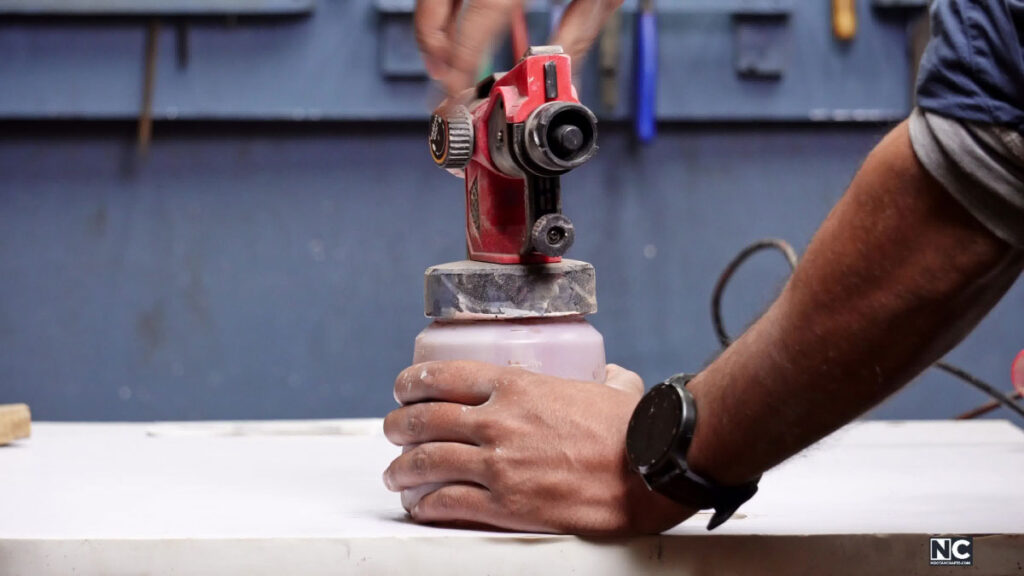
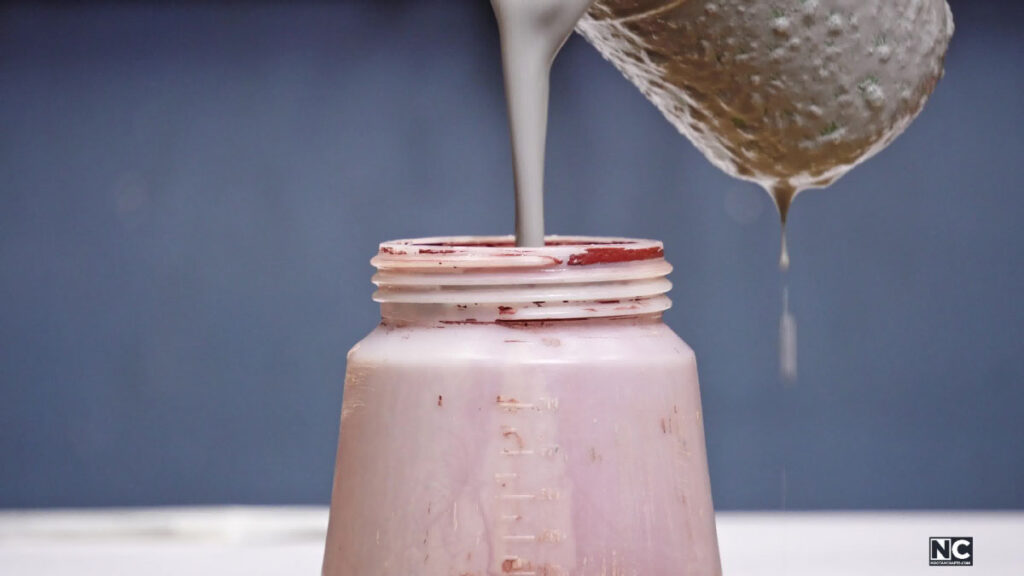
Then unscrew the paint container and pour in your prepared material, staying under the fill line your model specifies.
3. Set the suction tube angle
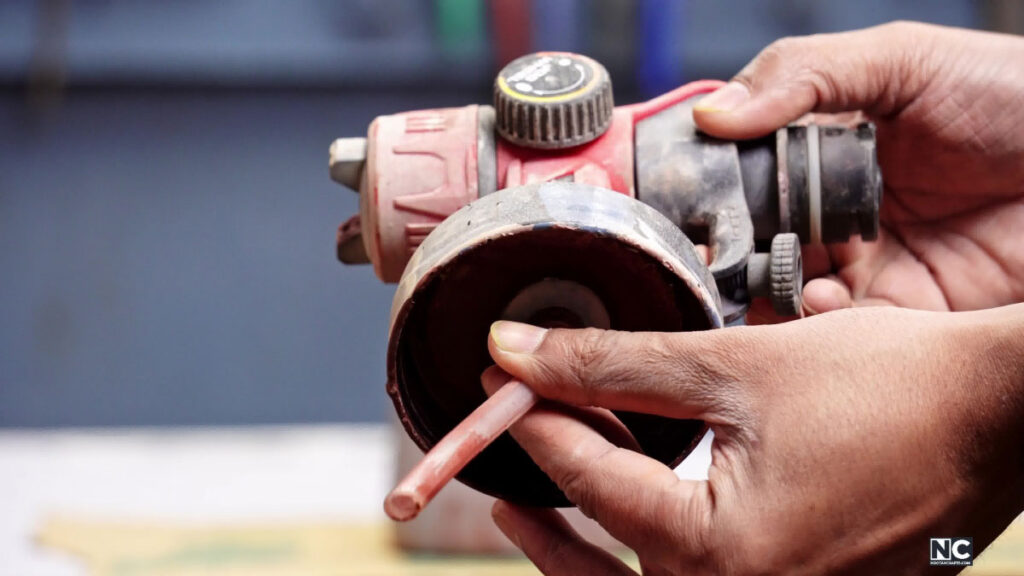
If you’ll be spraying upward, angle the tube’s open end toward the rear of the gun; spraying downward, angle it toward the front. Either way, keep the end of the tube submerged in the liquid, or your spray will sputter mid-pass.
4. Reassemble the gun
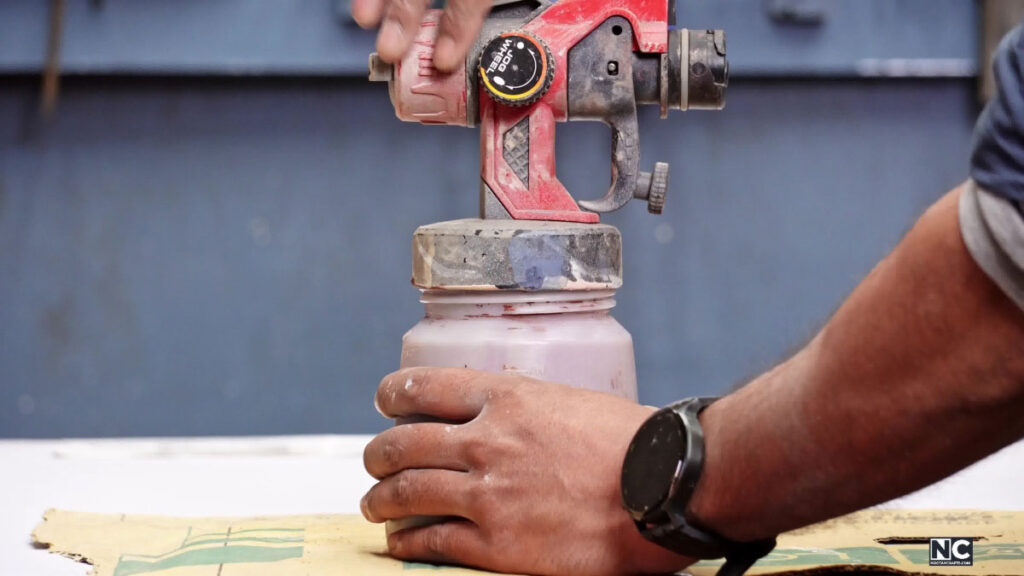
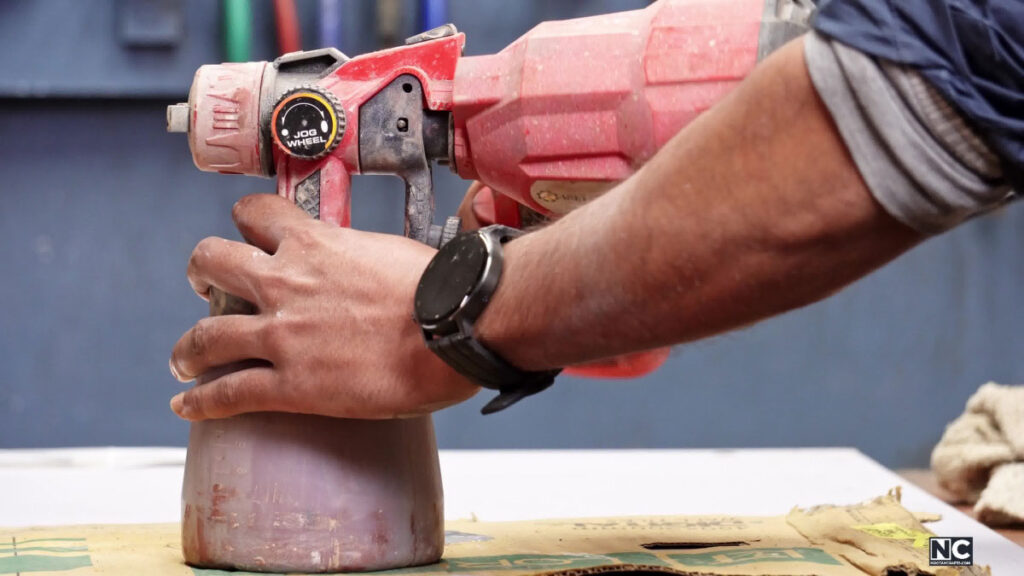
Screw the filled container back on by twisting the gun body rather than the container itself, then align the motor’s slot with the gun body, insert it, and rotate it a quarter turn until it clicks and locks in place.
5. Set your flow rate and pattern
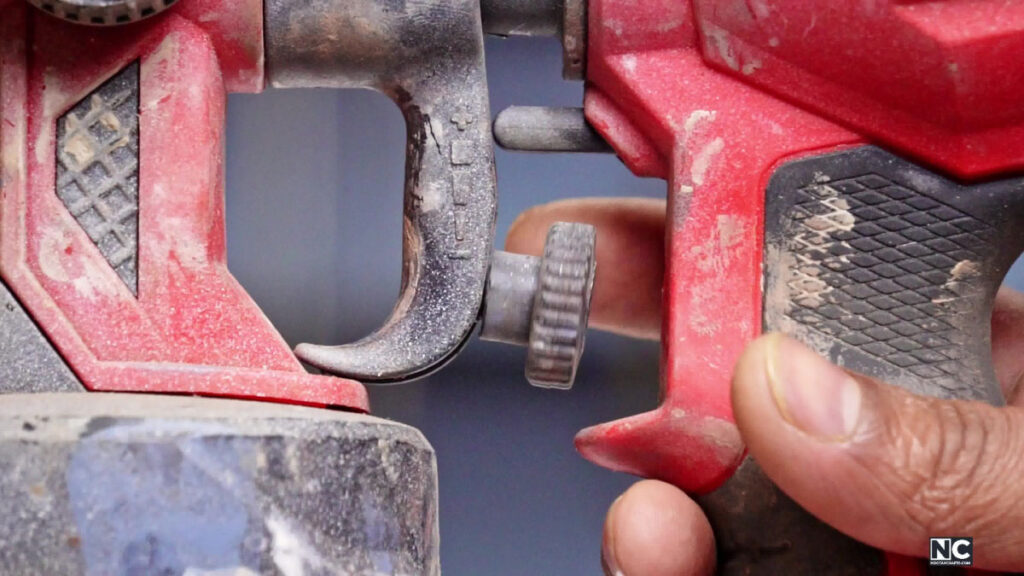
The flow screw on the gun body controls how far the trigger can travel, which controls how much material comes out — tighten it for less, loosen it for more.
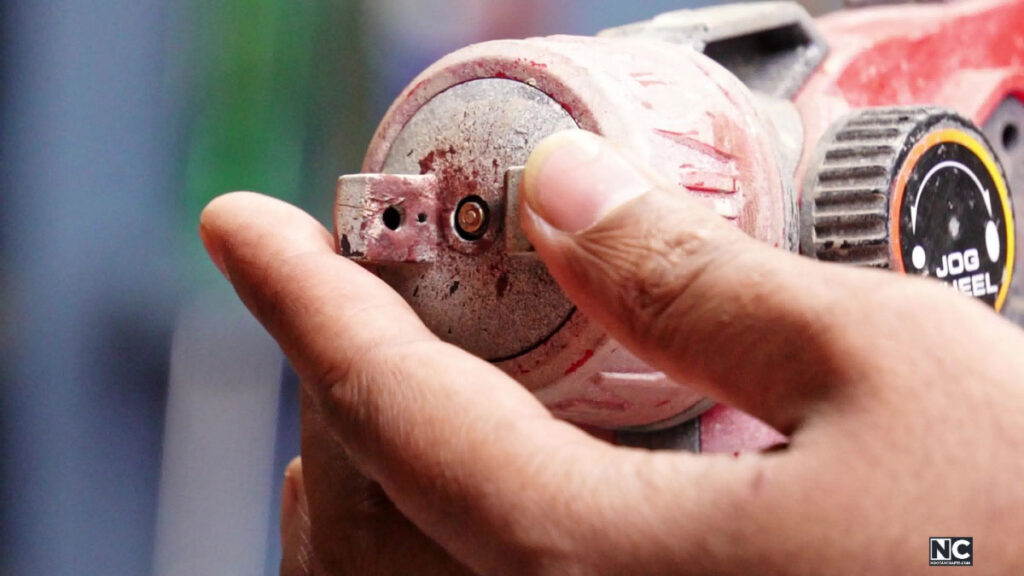
Set the pattern to match your surface: horizontal or vertical ellipse for flat areas depending on orientation, or a circle pattern for narrow spots where you want to avoid waste.
6. Test on scrap first
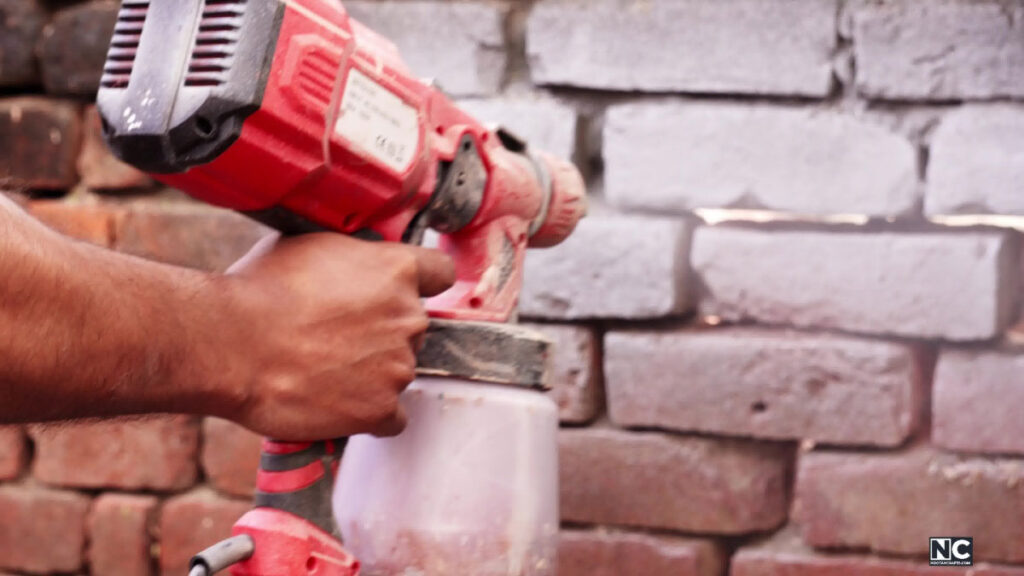
Spray a pass on a waste surface before touching your actual project — this is where you catch a pattern or flow setting that’s off, not partway through the piece you care about.
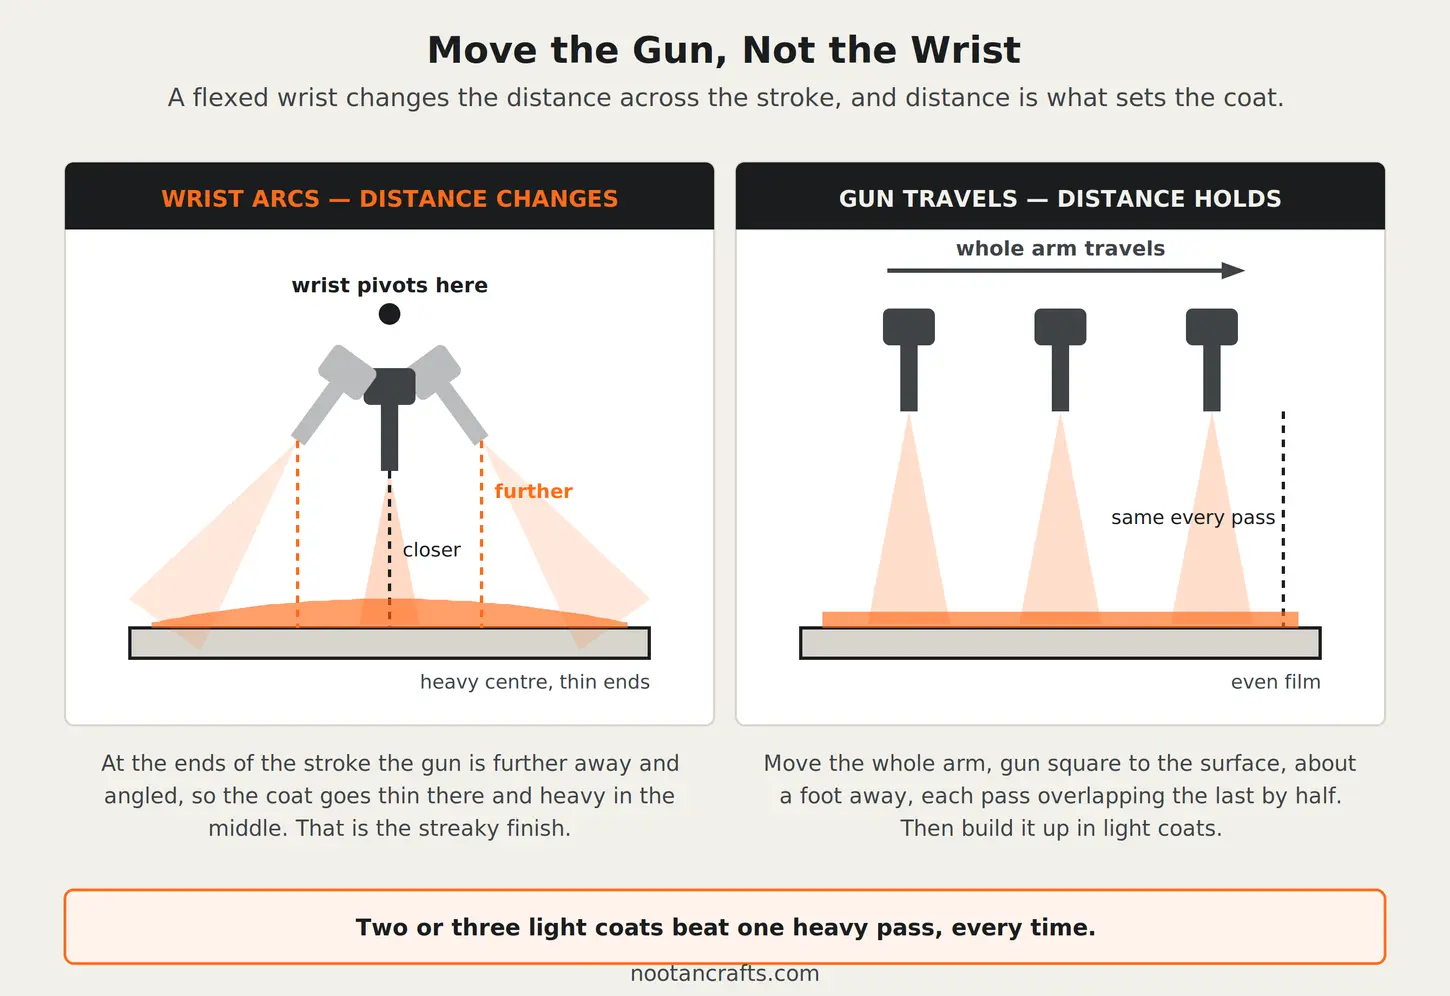
7. Spray in steady, overlapping passes
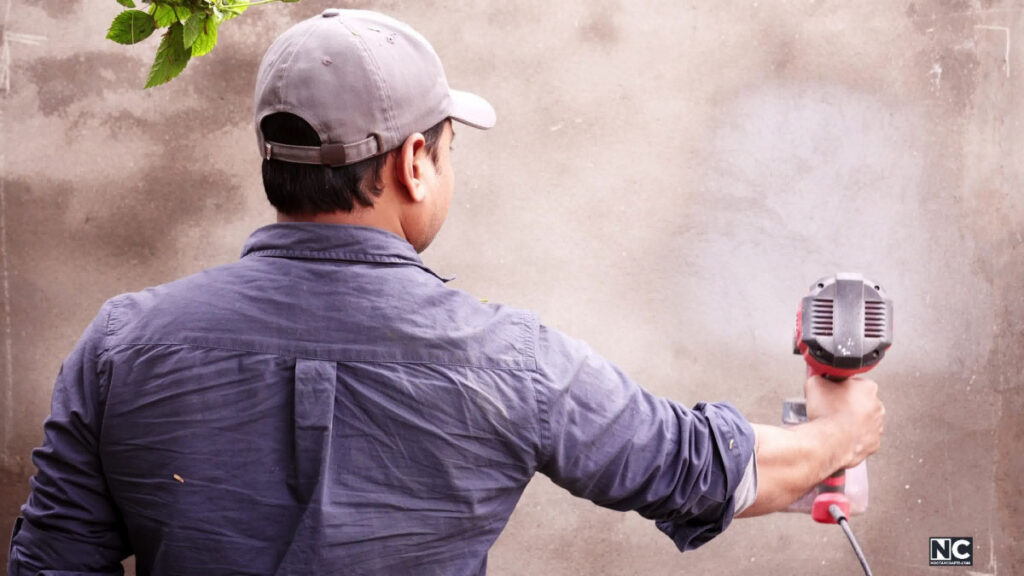
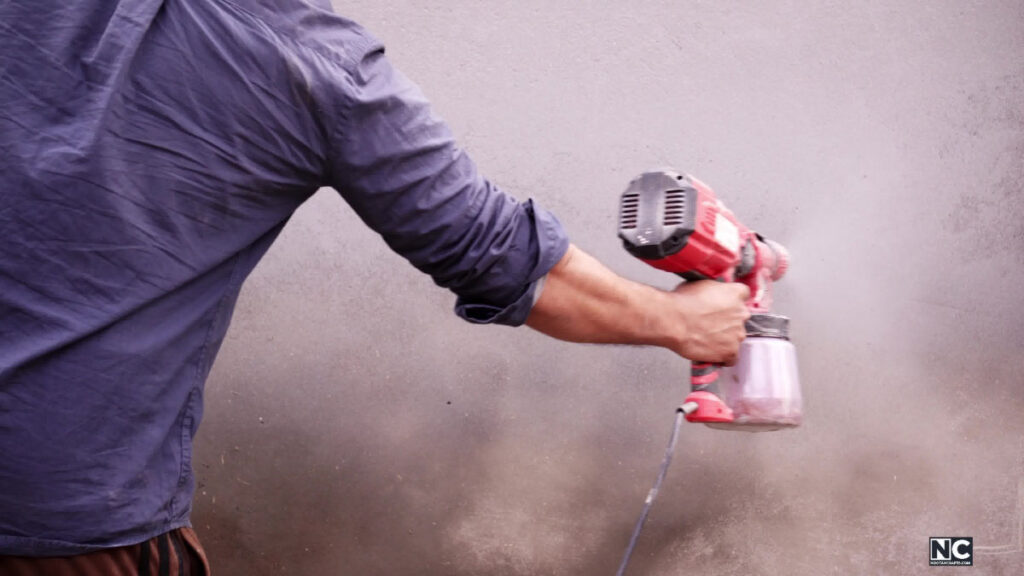
Keep the gun about a foot from the surface and move it at a consistent speed, left to right or right to left.
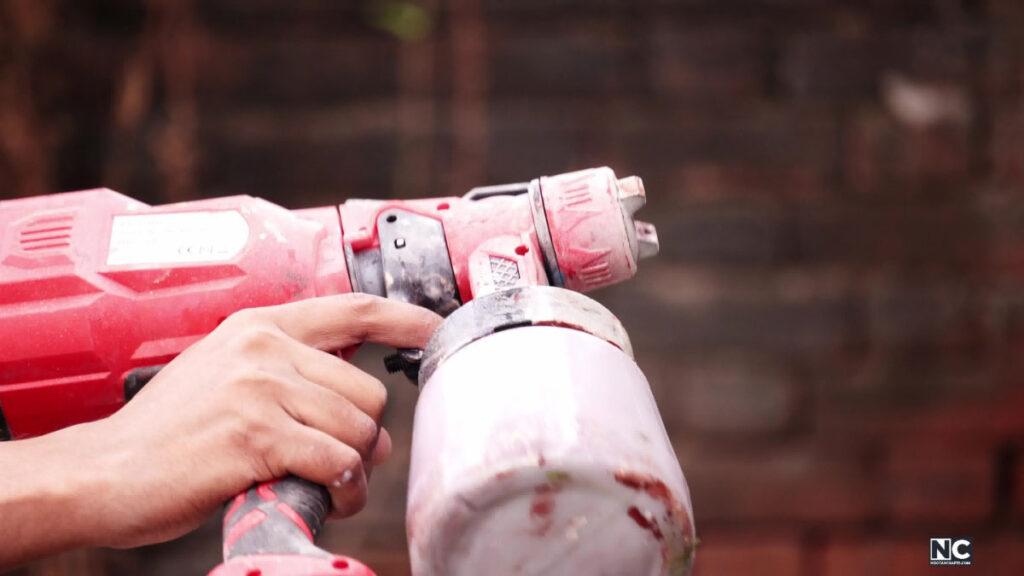
Keep your wrist stable rather than flexing or rotating it through the stroke — a flexed wrist is what turns an even coat into a streaky one.
8. Build up in multiple light coats
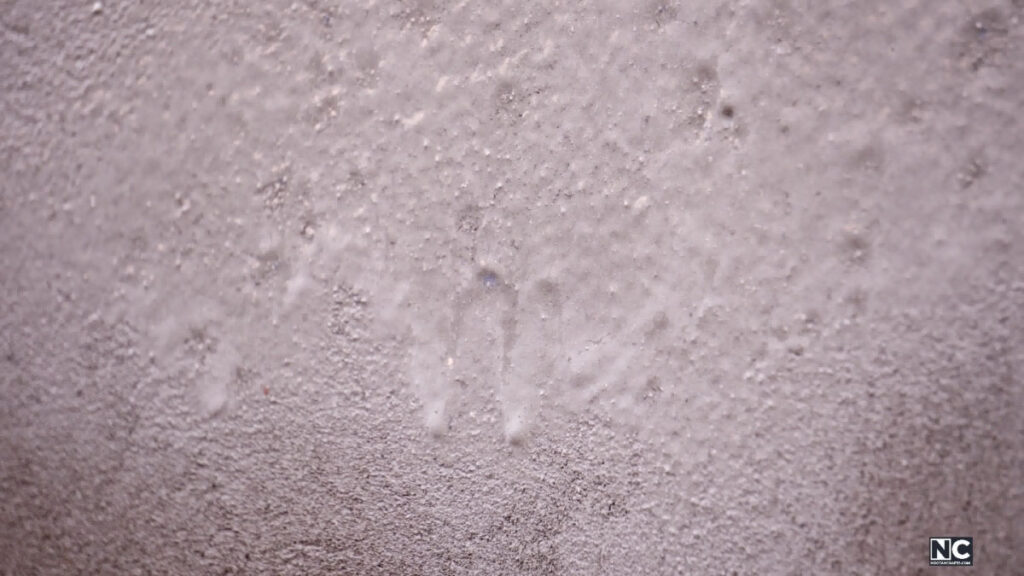
Spraying everything in one heavy pass is what causes drips and runs, like the one above. Two or three light coats, with a short pause between them, lay down a smoother finish than one thick one ever will.
Once the Coat’s On
A few things come up right after you put the gun down. If the coat needs to cure faster than it’s going, see how to make spray paint dry faster — thin coats, the right temperature, and airflow do more for drying time than anything you do after the fact. If the room still smells strongly hours later, that’s the VOCs, not just an odor — how to get rid of spray paint smell covers real removal versus masking. And if you or someone nearby ends up with overspray on their clothes, catch it wet if you can — how to get spray paint out of clothes has the wet and dry removal steps.
What I’d buy for this job



Last update on 2026-10-21 / Affiliate links / Images from Amazon Product Advertising API
HVLP Spray Gun Questions People Actually Ask
Do I always need to thin my material for an HVLP gun?
No. Thinner finishes like polyurethane and clear sealers usually run fine as-is. Thicker materials — varnish, oil enamel, automotive finishes — often need thinning to hit the viscosity range your gun’s chart calls for.
How far should the gun be from the surface?
About a foot, kept consistent through the pass. Closer tends to pool material; farther tends to leave a dry, gritty texture.
Why is my finish coming out streaky?
Almost always a wrist that’s flexing mid-stroke instead of staying stable, or passes that aren’t overlapping evenly. Keep your whole arm moving at a steady speed rather than pivoting from the wrist.
Can I spray thick materials like automotive finishes?
Yes, but they typically need thinning first — check your gun’s viscosity chart rather than guessing, since too thick a material can strain the motor and clog the nozzle.
What’s the difference between an electric and air-powered HVLP gun?
An electric gun has its own turbine built in, so it’s self-contained; an air-powered gun runs off a separate air compressor. Both work on the same high-volume, low-pressure principle — the setup steps differ slightly, so check your specific gun’s manual.
Get the viscosity and flow settings right before you start, and the spraying is the easy part — a steady pass at a foot’s distance, in light coats, is what separates a smooth finish from a streaky one. Clean the gun as soon as you’re done — the spray gun cleaning guide covers it — and it’ll be ready to go again next time instead of fighting you.