I burned out an angle grinder on this railing. It was a 650W Black+Decker small grinder, clamped to a cutting stand, and I didn’t think about what an angled cut does. A 45-degree cut makes the disc travel through far more metal than a straight cut, and it has to do it 232 times. The grinder gave up. I ordered a proper metal cutting saw the same day.
That was one of three things that cost me time on this project. It took two and a half months in all: 320 feet of pipe, 232 miter cuts, 29 welded squares, around 150 welded joints and 19 posts. I designed it in SketchUp because I couldn’t find a railing I liked.
The full cut list is below. I put it in a table this time because the numbers were scattered through my notes, and it took me a while to work them out.
I used iron rather than stainless steel. It is cheaper, it is easier to weld, and you can paint it to match the house.
What’s Inside!
- 1 – What This Railing Took
- 2 – Before You Start: Safety and the Rules
- 3 – The Design
- 4 – Cutting the Arms to Length
- 5 – The Miter Cuts and the Angle Grinder I Killed
- 6 – Welding and Cleaning Up 29 Squares
- 7 – Joining the Squares into Panels
- 8 – Posts and Base Plates
- 9 – Setting the Frame into the Floor
- 10 – Hanging the Panels to Weld Them
- 11 – Grinding and Painting
- 12 – The Tools I Used
- 13 – Three Things That Cost Me the Most Time
- 14 – What I Learned from This Project
- 15 – Metal Railing Questions People Actually Ask
- 16 – If You Are Going to Build One
What This Railing Took
These are my actual figures for a ten-panel railing with a turn in the middle. Your run will be a different length, so treat the pipe totals as a ratio, not a shopping list. The piece counts per panel are the useful part.
| Material | Size | How much | Used for |
|---|---|---|---|
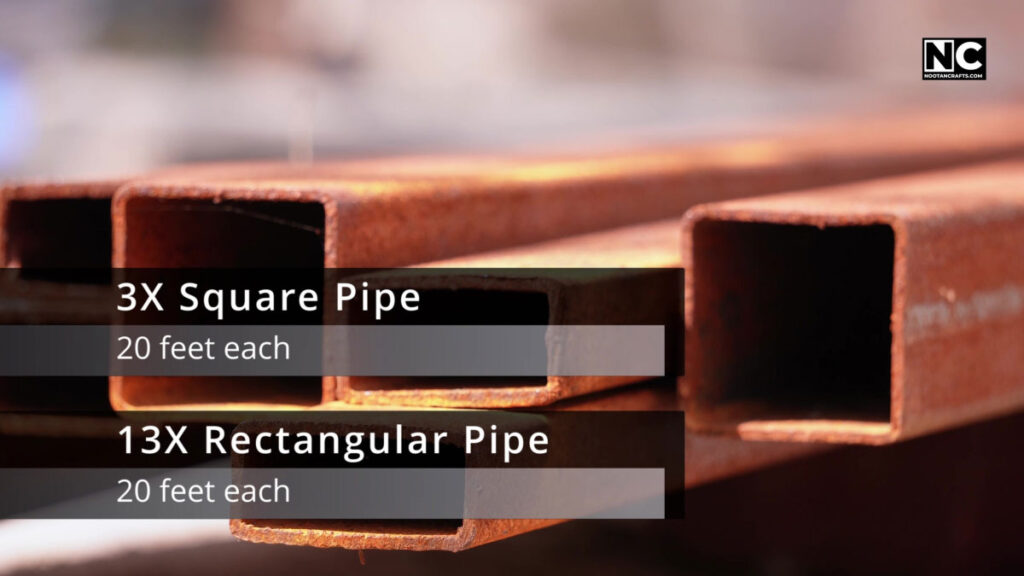
| Rectangular iron pipe | 2 x 1 in | 13 lengths of 20 ft, about 260 ft | Square arms, joining pieces, top and bottom rails |
| Square iron pipe | 2 x 2 in | 3 lengths of 20 ft, about 60 ft | The 19 posts |
| Steel plate | Cut to small squares | 19 pieces | Base plates, one per post. I recycled mine from an old iron beam |
| Anchor bolts | Masonry anchors | One per post, plus heavy-duty anchors at both ends | Fixing the base plates to the floor |
| Cement mix | — | Enough for 19 holes | Setting the posts |
| Primer and paint | — | One coat of each, brushed | Finishing |
| Cut-off blades | To suit the saw | Buy spares. See the note below | 232 miter cuts plus the straight cuts |
| Flap discs and a wire cup | 80 grit flap disc | Several | Dressing welds and taking rust off |
| Part | Cut to | How many | Notes |
|---|---|---|---|
| Square arms | 11 in, 21 in and 31 in | 116 pieces in total | Four arms per square, mitered 45 degrees at both ends. That is where the 232 cuts come from |
| Welded squares | — | 29 | Three nested sizes, so each panel holds a small, a medium and a large square |
| Joining pieces | Short offcuts, same pipe | 63 | These hold the three squares together inside a panel |
| Finished panels | — | 10 sets | About 16 welds per panel, four per joining piece counting both sides |
| Posts | To your railing height | 19 | 2 x 2 in square pipe with a plate welded to the bottom |
The blade thing, which I still find hard to believe. The blade that came with the saw stopped reaching the full depth of a 1 x 2 inch pipe after about 100 cuts. A cheap blade from my local market lasted roughly three times longer than the original. I am not saying every cheap blade is better. I am saying do not assume the bundled one is good, and buy a spare before you start, because you will run out mid-job.
Before You Start: Safety and the Rules
Two of these hurt you hours later, not at the time
I did this alone over two and a half months, and the risks that matter are the ones that do not announce themselves. Arc eye is the main one. Looking at a weld arc without a proper shade burns the surface of the eye, and you do not feel it until several hours afterwards, usually in the middle of the night. It feels like sand under the eyelids and it lasts a day or two.
- A proper welding helmet, and nothing less. Sunglasses are not a shade. An auto-darkening helmet is the sensible buy if you are doing 150 joints.
- Check whether your pipe is galvanized before you strike an arc. Welding galvanized steel gives off zinc oxide fume, which causes metal fume fever — chills and aching some hours later, like flu. Grind the coating back from the joint, work outdoors, and keep your head out of the plume.
- Use the guard on the grinder. A disc that shatters at full speed sends pieces out at the cut line. Let it come up to speed before it touches metal, and stand to the side of the disc, not in line with it.
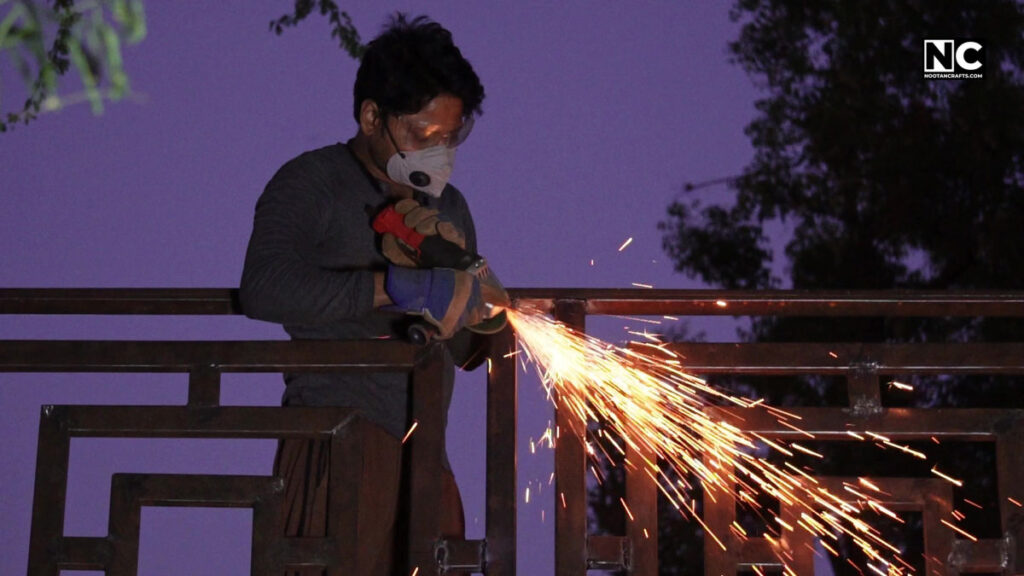
- Face shield over glasses for grinding. Sparks from a flap disc come back at your face, and hot swarf sticks to skin.
- Assume everything is hot. Freshly cut and welded steel looks exactly like cold steel. I learned to put cut pieces in one place and only pick them up from the other end of the pile.
- Work on the balcony last and tie yourself off if the drop is real. Welding while leaning over an open edge is the part of this job with the worst consequences.
- Fire. Grinding and welding both throw sparks a surprising distance. Move anything that burns and keep water nearby.
A balcony railing is not decoration. It’s what stops a fall, so it has to meet certain requirements. These are the residential figures from the International Residential Code, which is what applies in the US. Check your own local rules, because they vary.
| Requirement | The number | What it means for your build |
|---|---|---|
| When a guard is needed | Any drop over 30 in | Below that it is a choice. Above it, it is required |
| Minimum height | 36 in from the floor to the top of the rail | Measure from the finished walking surface, not from the slab |
| Load it must take | 200 lb concentrated at the top, in any direction | This applies to the guard and its fixings. Anchors are part of the requirement, not an afterthought |
| Gaps in the infill | No opening may pass a 4 in sphere | Worth thinking about before you settle a decorative design. My square pattern has gaps wider than this |
Being straight about my own design. The gaps between my squares are wider than 4 inches. That is fine for my house, and it would not be fine in a home with a toddler, and it may not pass inspection where you live. If children will use the balcony, either tighten the pattern or add a mesh or glass panel behind it. Decide that at the design stage, because it is almost impossible to fix once 29 squares are welded.
The Design
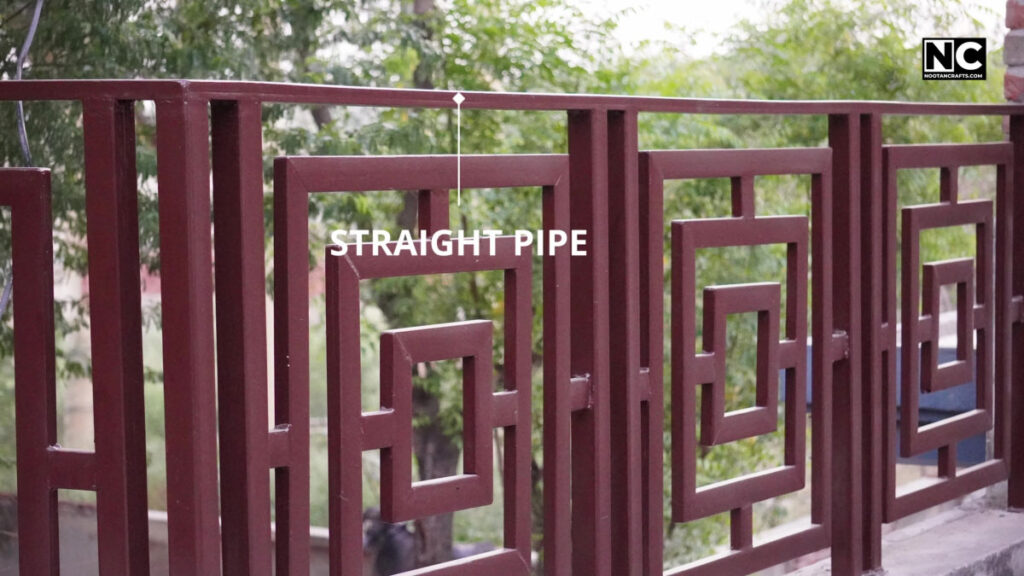
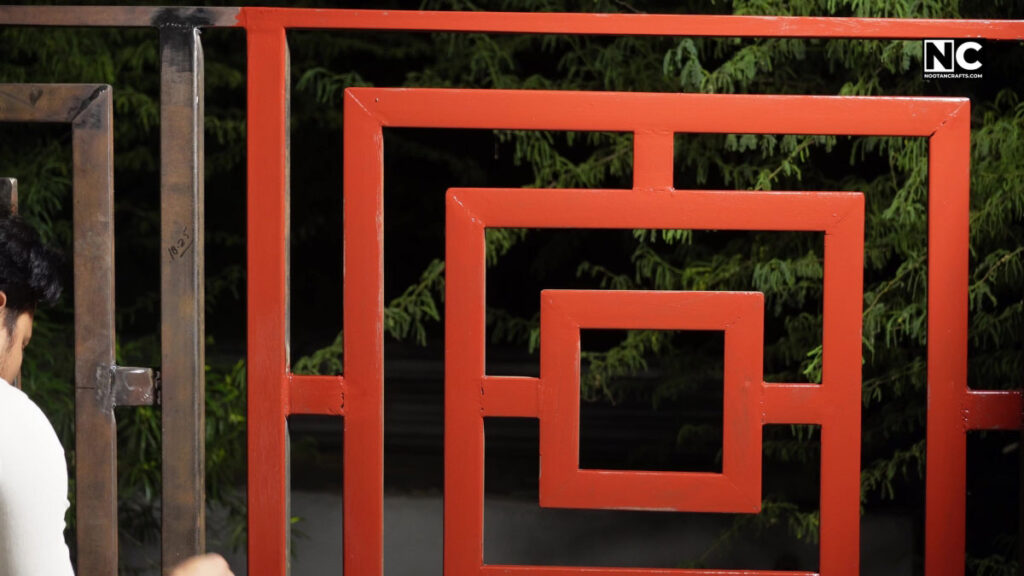
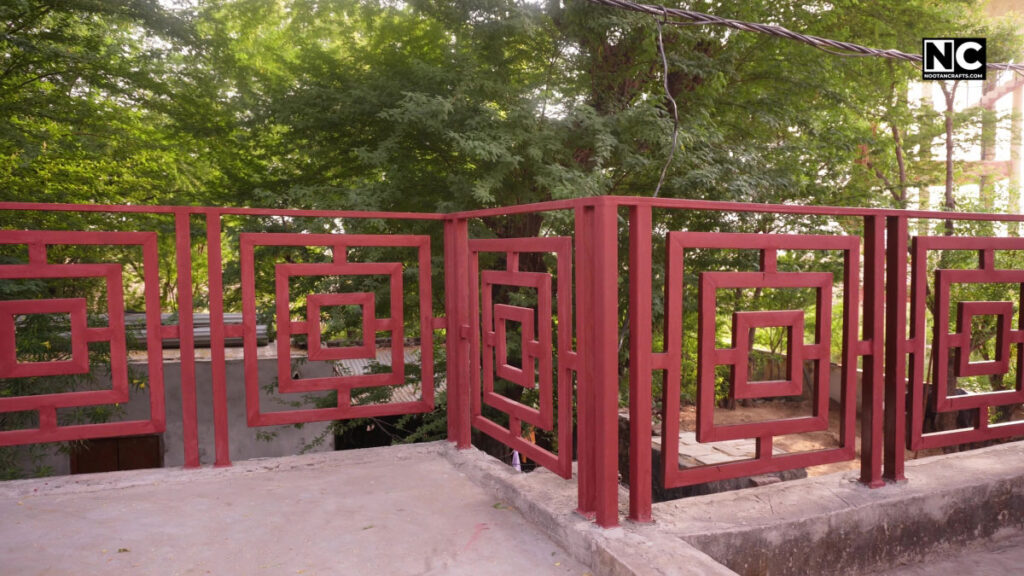
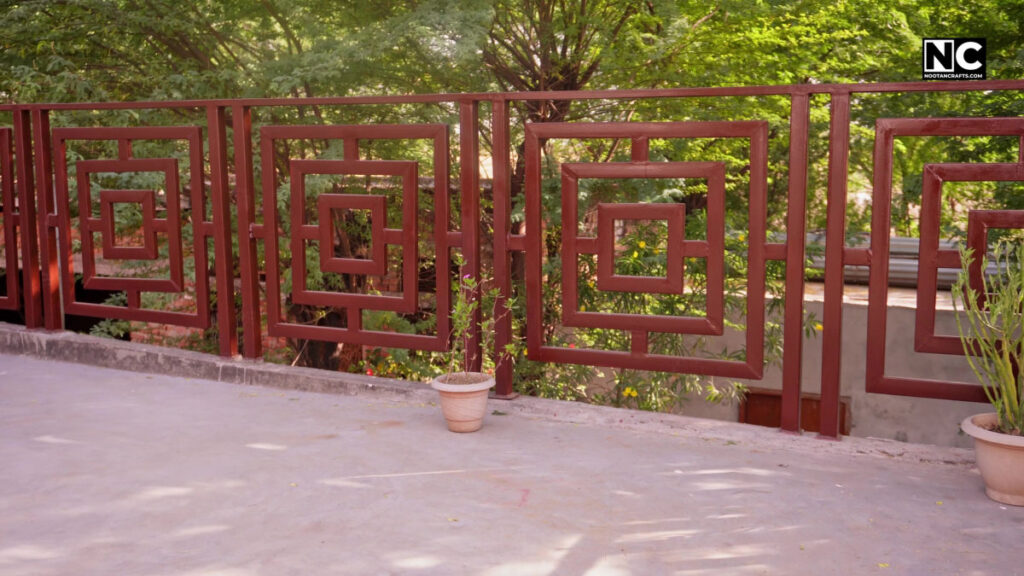
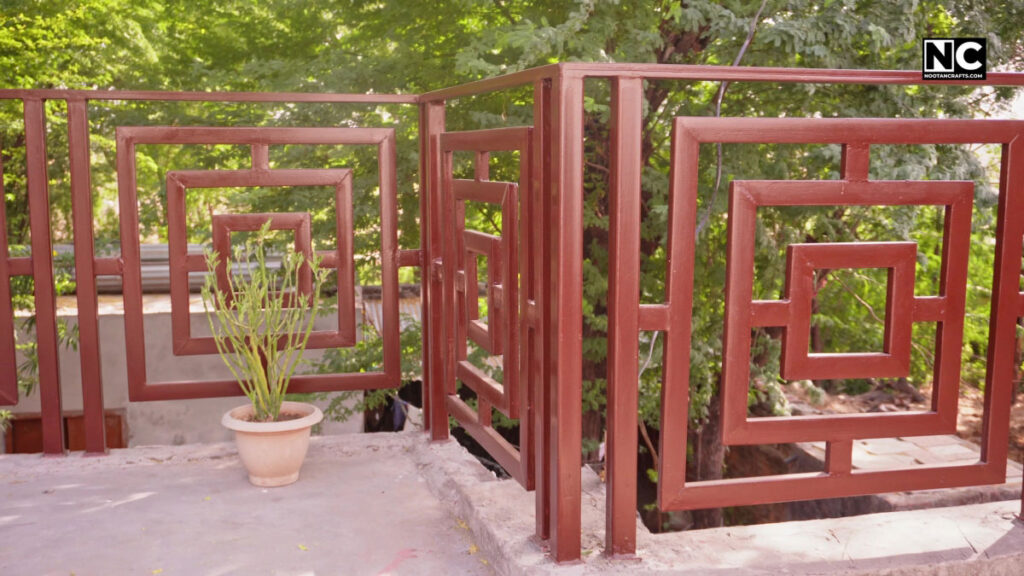
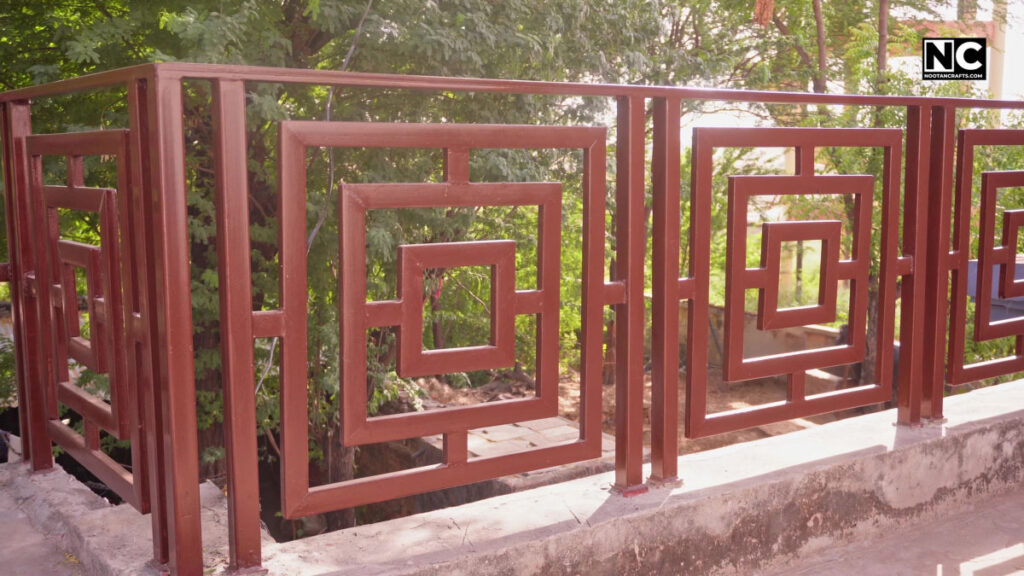
I wanted something simple that wouldn’t look dated in ten years, and I couldn’t find a design I liked, so I drew my own in SketchUp. It is three squares of different sizes, nested inside each other, repeated along the run.
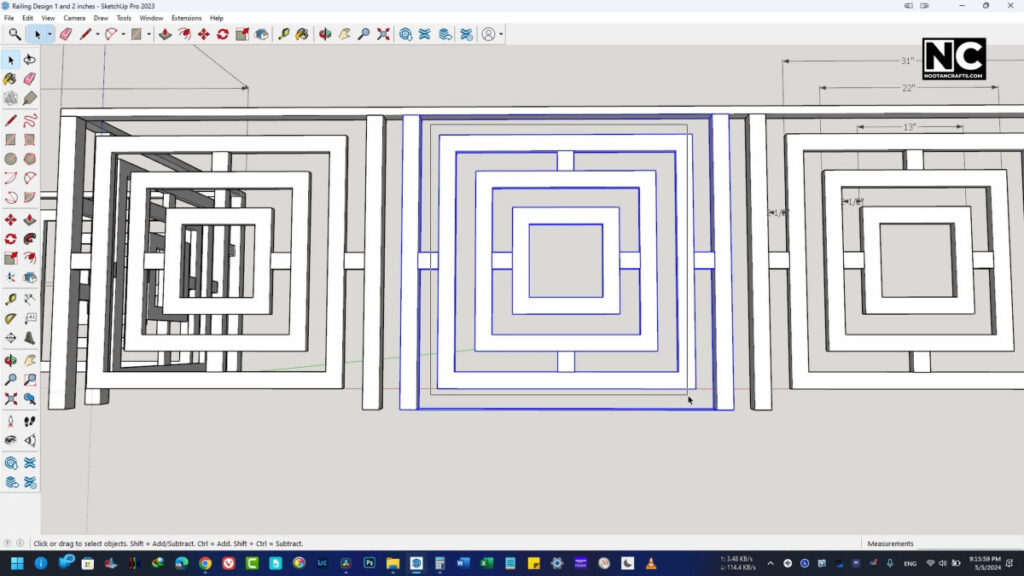
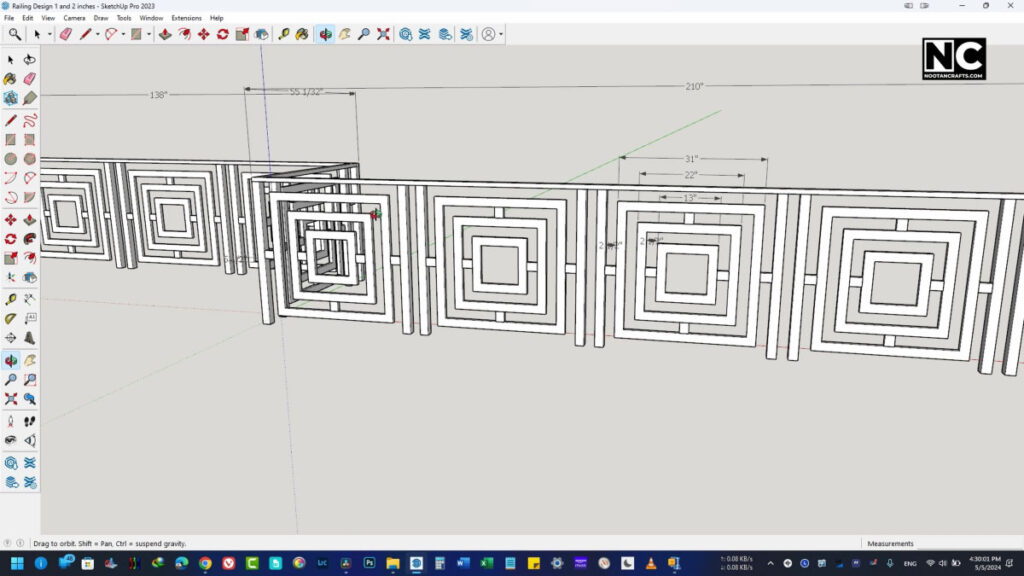
Drawing it first is worth the evening it costs. It gave me the arm lengths, the piece counts, and the pipe order, and I bought the steel once instead of going back three times. If you do not use SketchUp, squared paper and a scale drawing do the same job.
I used 2 x 2 inch square pipe for the posts and 2 x 1 inch rectangular pipe for everything else. The posts carry the load, so they are the heavier section.
Cutting the Arms to Length
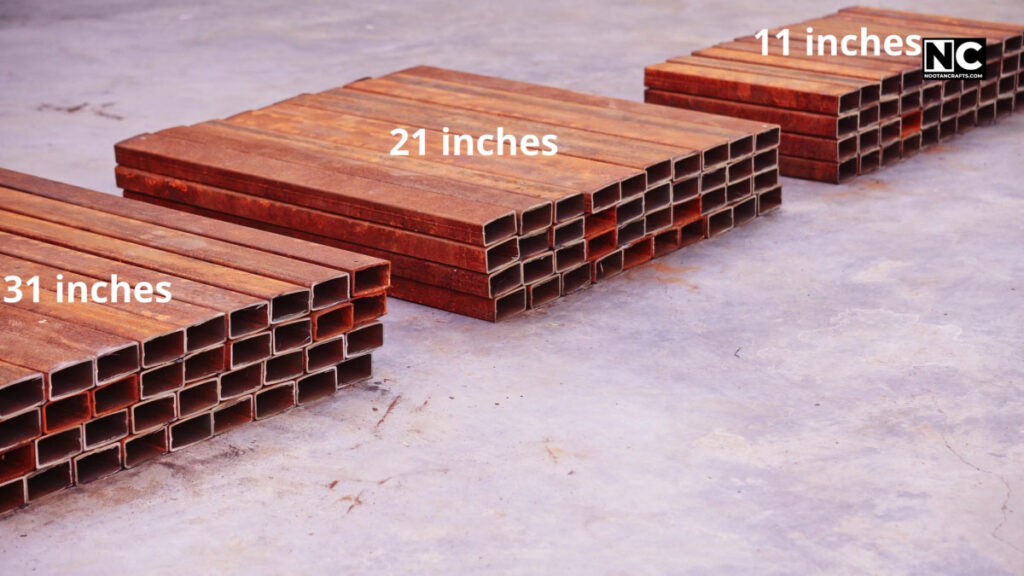
I cut the rectangular pipe into three lengths: 11 inches, 21 inches, and 31 inches. Those make the three square sizes. 116 pieces in total.
The hard part was not the cutting. It was handling a 20-foot length of iron pipe on my own, over and over. If you can get someone to hold the far end for an hour, that hour is the best help you will get on the whole job. Otherwise, set up a roller stand or a stack of blocks at the far end, and cut the long pipes down to rough lengths first so you are only moving manageable pieces after that.
The Miter Cuts and the Angle Grinder I Killed
Now the 45-degree cuts, two per arm, so 232 of them. I thought this was the easy part.
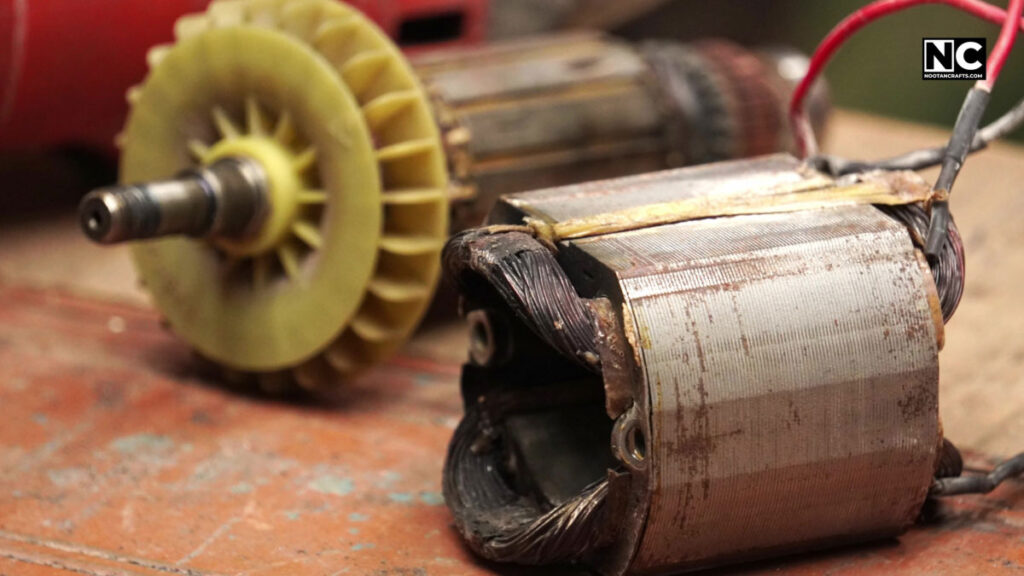
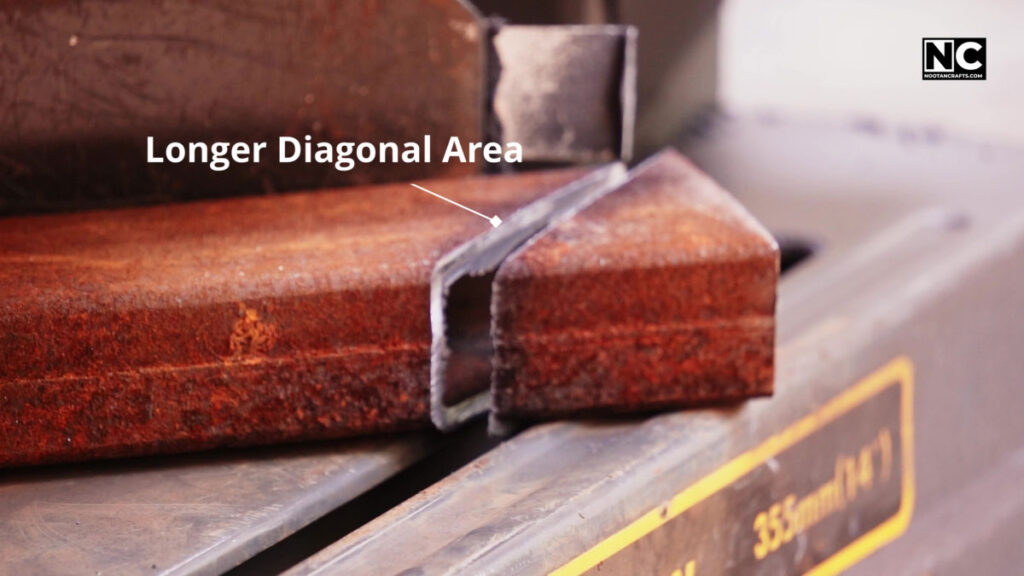
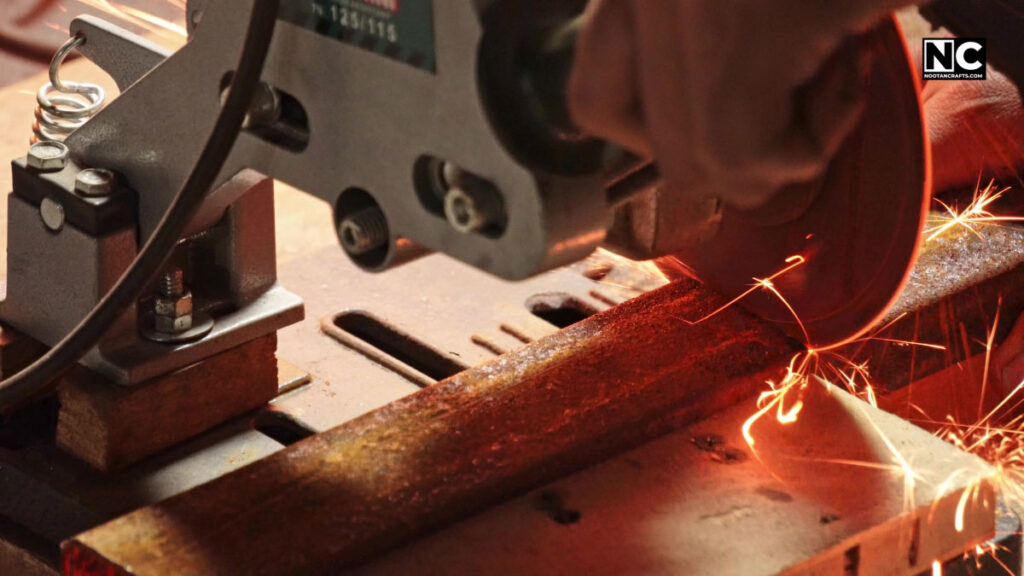
I was using an angle grinder in a cutting stand. That works for occasional straight cuts. It doesn’t work for this, and here’s why I missed it: on a 45-degree cut through a rectangular section, the disc has to travel a much longer path through steel than on a square cut. Multiply that by 232 and the motor is doing many times the work it was built for. Mine burned out.
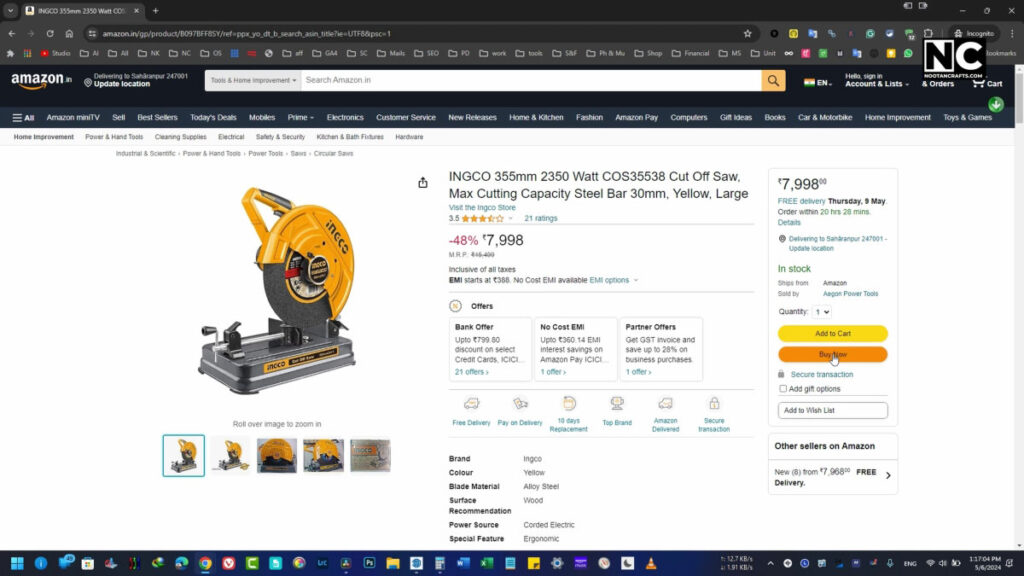
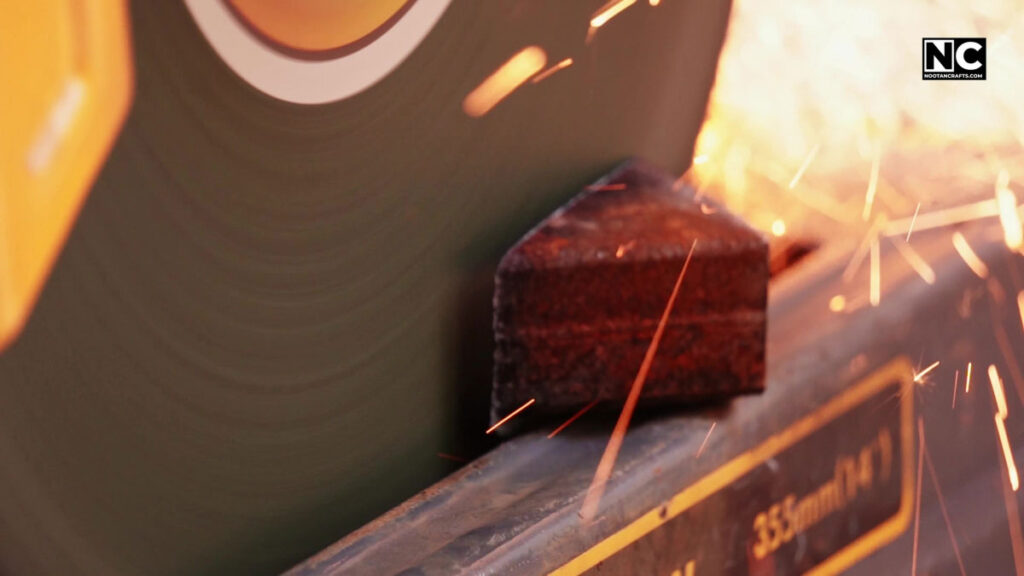
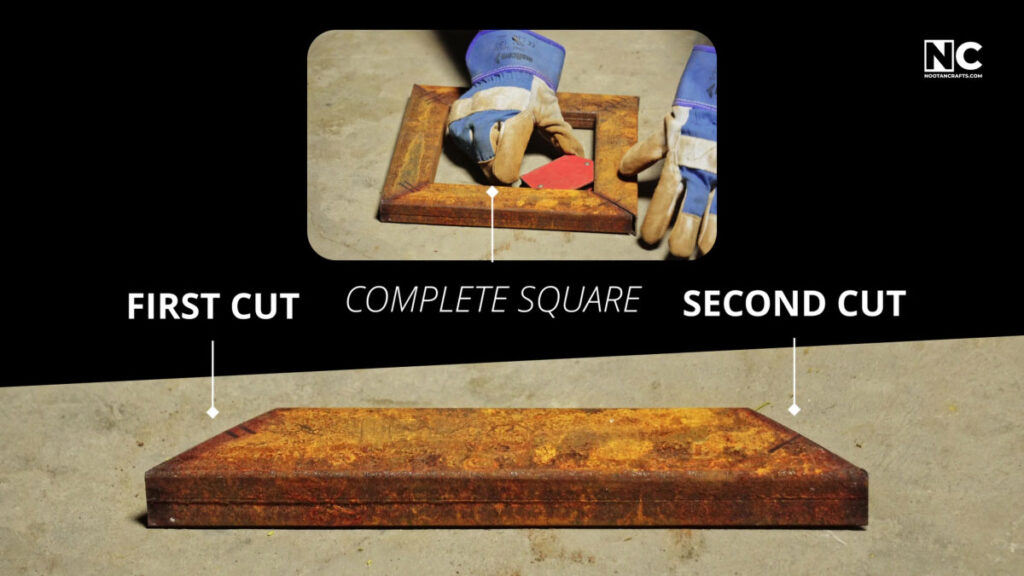
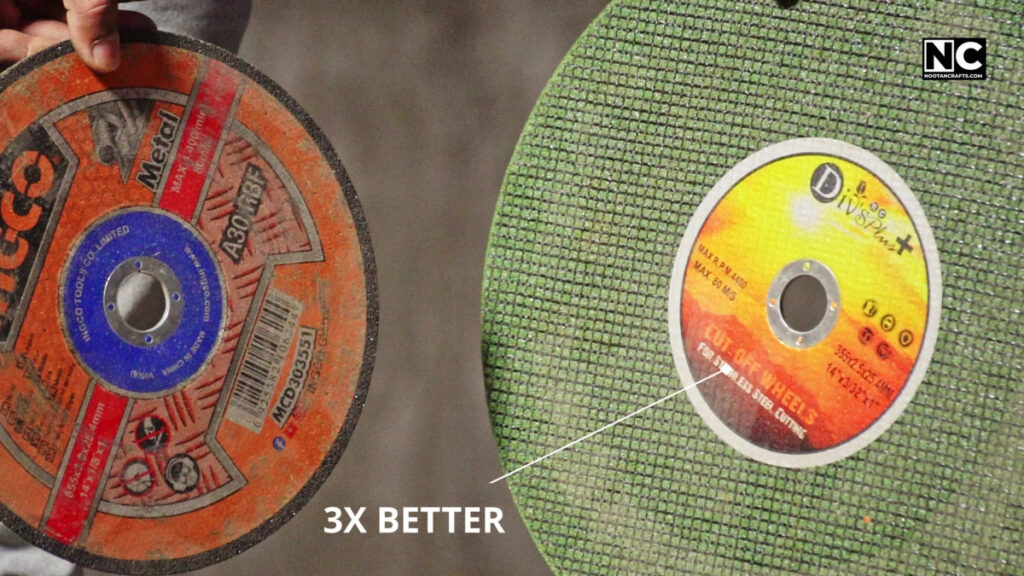
I ordered a proper metal cutting saw — an INGCO 355 mm, 2350 W — and it changed the job completely. It cuts square without wandering, the stop holds the angle, and it does not mind being run for an hour. If you are making more than about thirty miter cuts, use a cut-off saw. Do not do what I did.
One small thing that saves a lot of measuring: set the stop once and cut every piece of that length in one run, rather than measuring each piece. The parts come out identical, and identical parts are what make the squares close up properly at the corners.
Welding and Cleaning Up 29 Squares
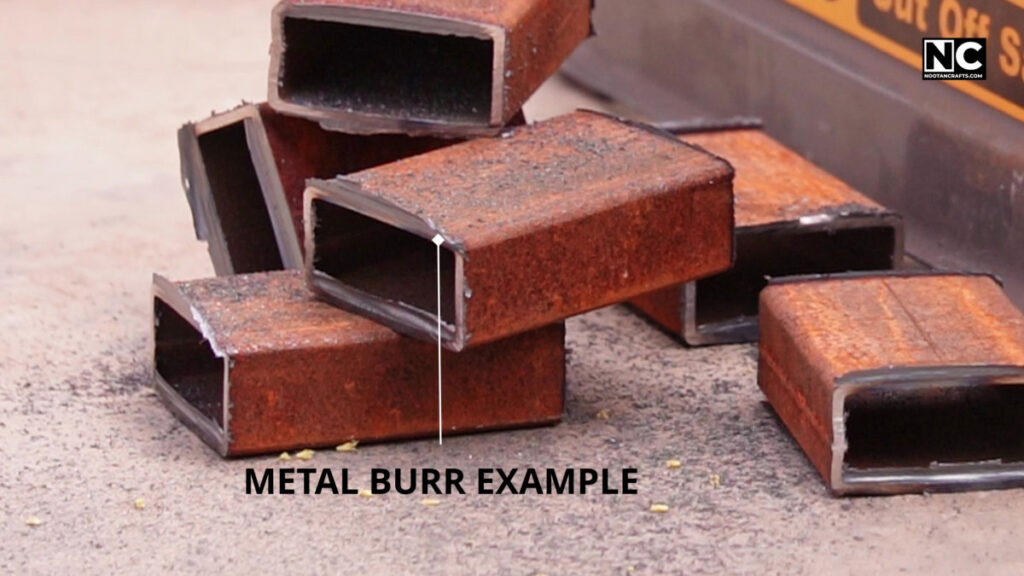
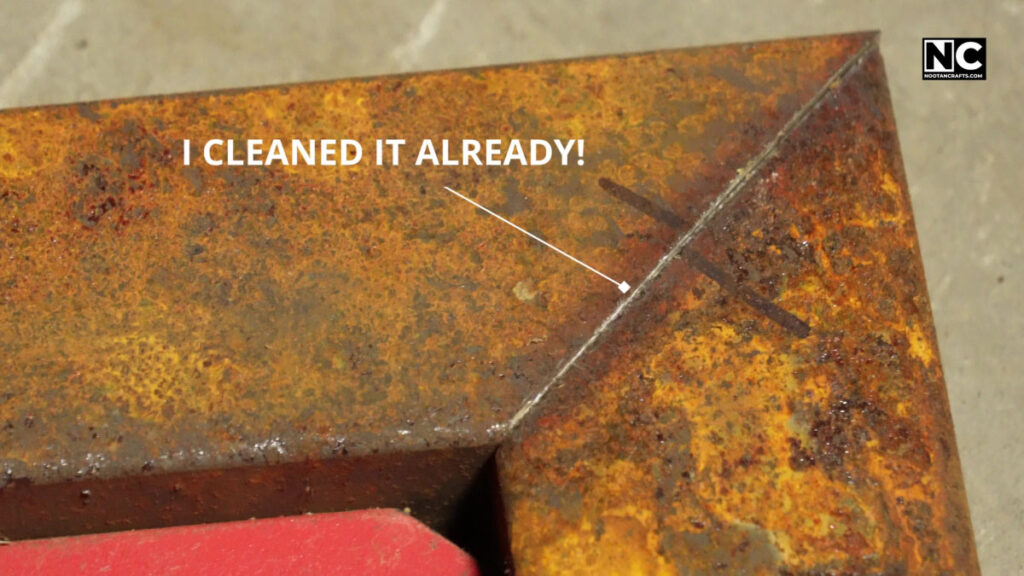
Before any welding, the cut edges need to be deburred. I did it all with an angle grinder, and it took a few hours—I didn’t film that part, and it is the step people forget to budget for. A burr holds the two pieces apart, and you end up chasing a gap that should not be there.
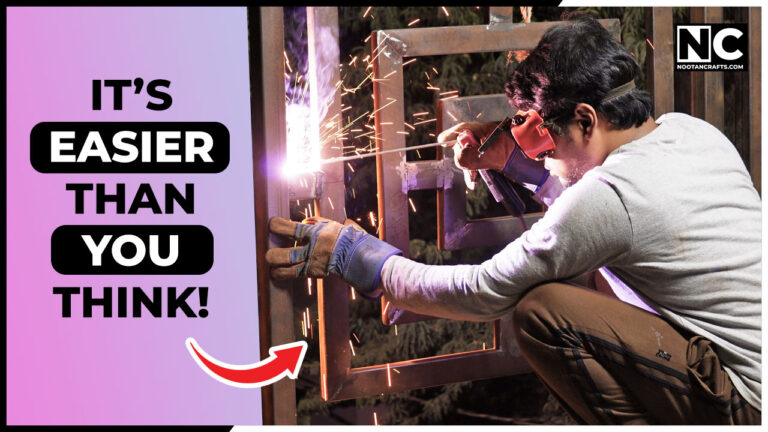
I welded with an iBELL 220 A inverter arc machine, which is a basic setup and plenty for this. I used a welding magnet at each corner to hold the 90 degrees while I tacked it, plus C clamps and F clamps to stop anything shifting. Then I ground the weld back, particularly on the outside corners, so the square reads as one piece rather than four.
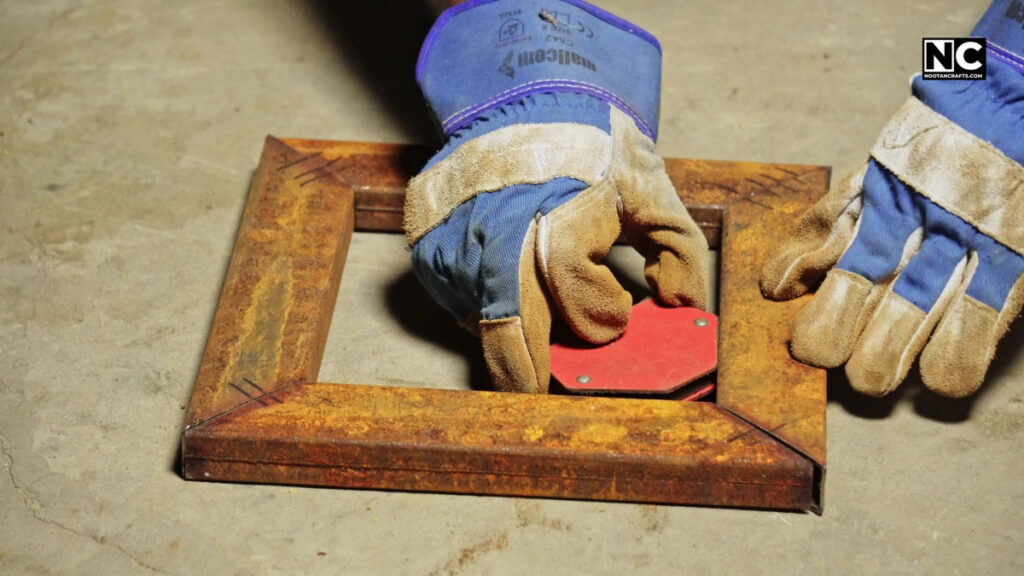
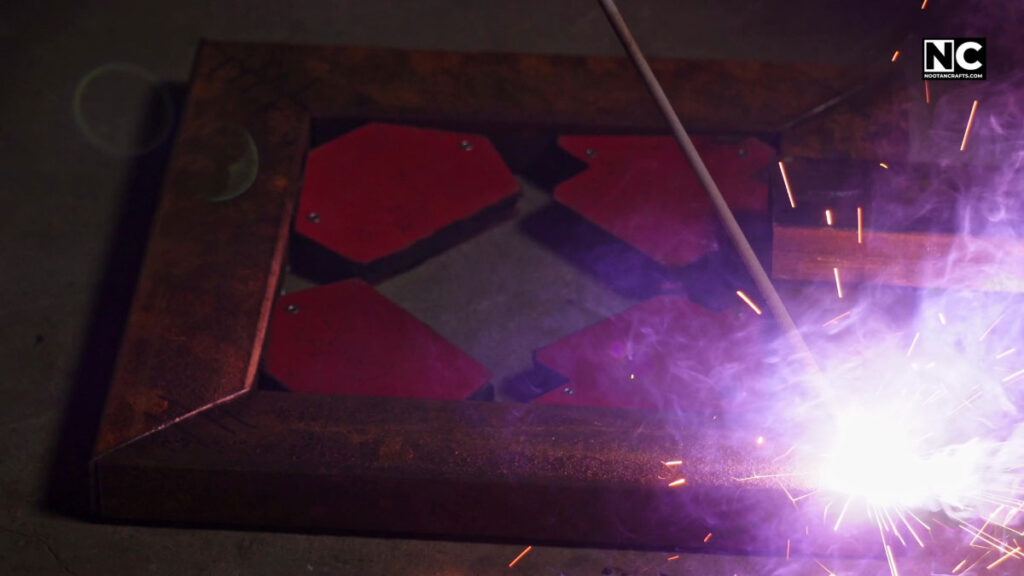
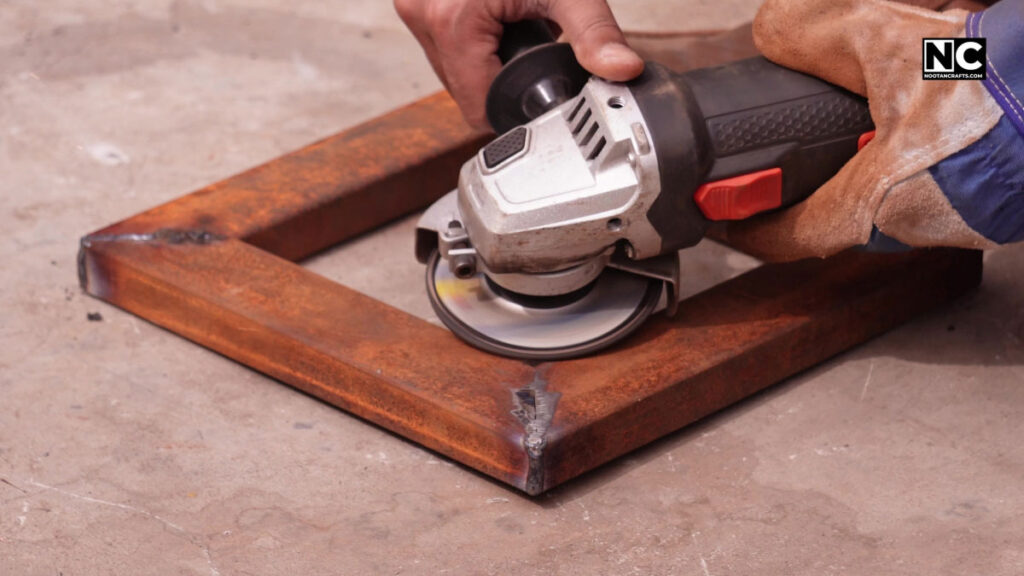
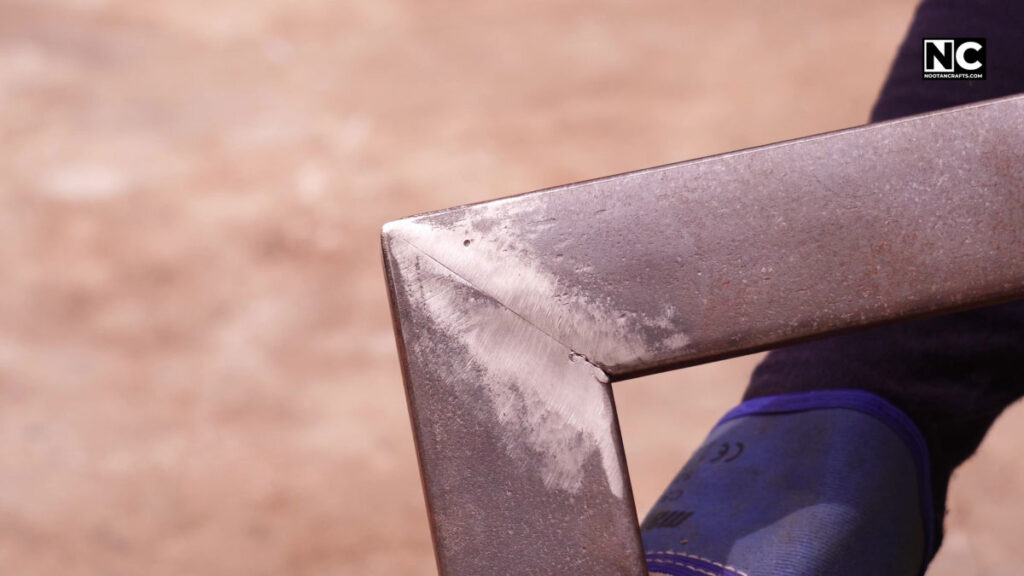
Do the grinding now, while the square is still loose. Once the three squares are joined into a panel, the grinder cannot reach inside the tight corners. I found that out on the first panel.
I tried an 80-grit flap disc on the first frame, and it left a noticeably better surface. I stopped using it on the joints, though, because I worried about removing too much metal from the weld and weakening it. I settled on a flap disc on the flats and a standard wheel on the joints.
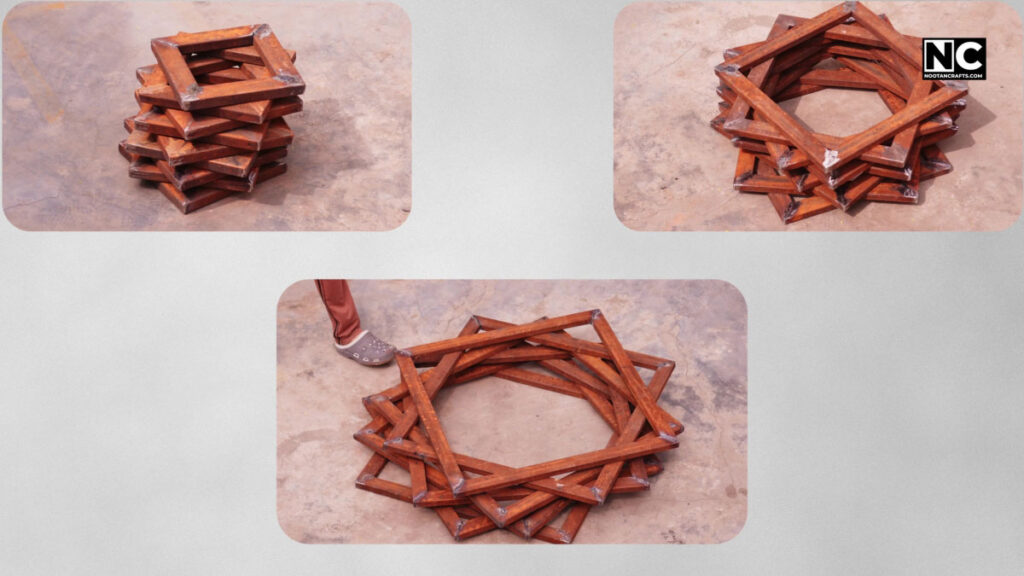
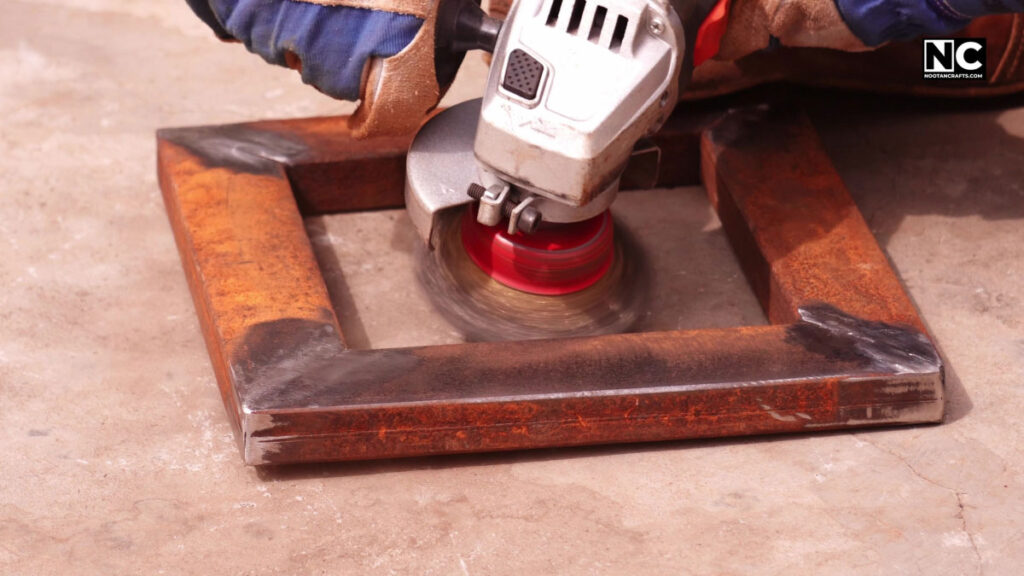
Last came the rust-removing wire cup, which left a clean surface ready for primer. All 29 squares took me a few days, because every single piece goes through the same five steps: cut, deburr, weld, grind, de-rust. Working alone, a lot of that time is spent fetching a tool and moving metal around. Filming it breaks the rhythm, too.
Batch the steps, do not finish one square at a time. This is the biggest time-saving available on this project, and I only half did it. Cut all 116 arms. Then deburr all of them. Then set up the clamps and weld every square. Then grind everything. Then de-rust everything. Changing tools 29 times costs more than the welding does.
Joining the Squares into Panels
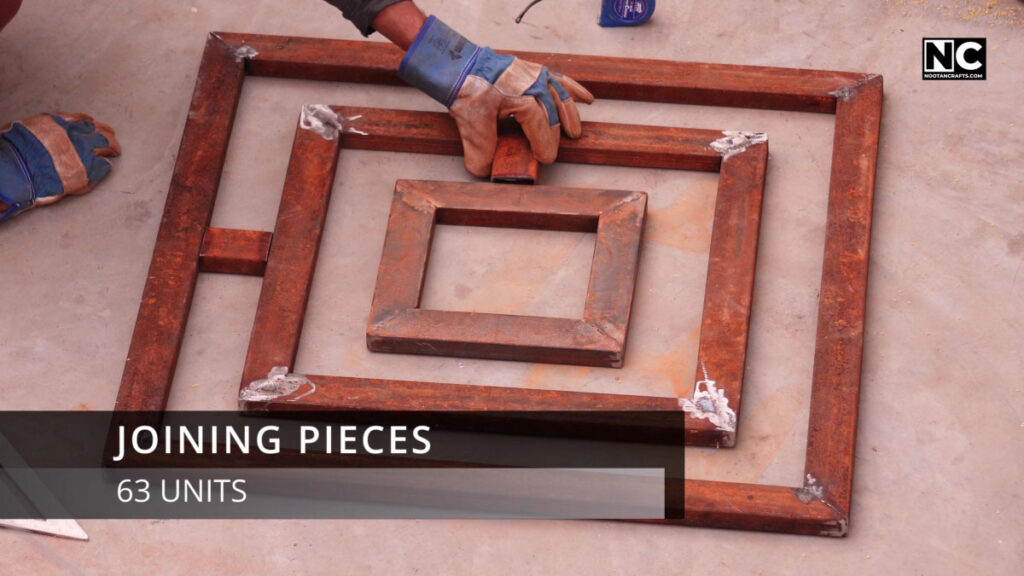
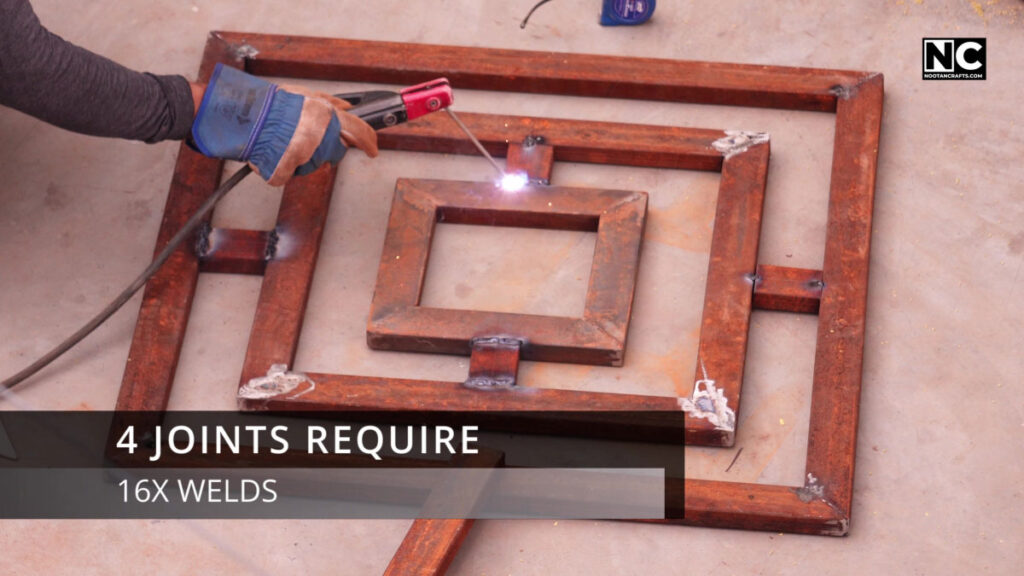
I cut 63 short joining pieces from the same rectangular pipe. These hold the three nested squares together. The layout is simple: lay out the three squares, space them evenly, and bridge them with the short pieces.
Then the welding count catches up with you. Each joining piece needs four welds, counting both sides of the joint, so a single panel is about 16 welds. Ten panels came to roughly 150 joints, and that was a few days of work.
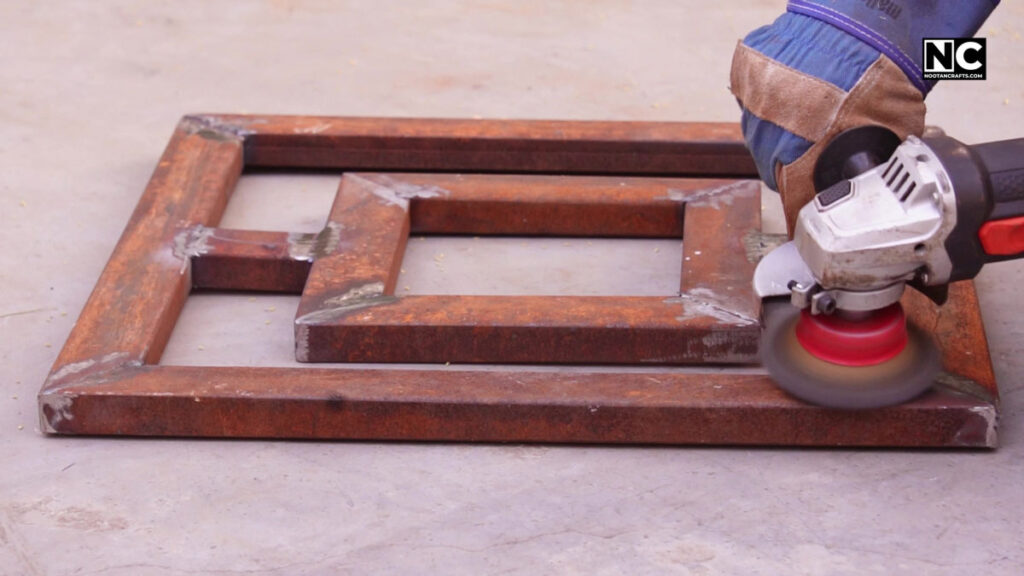
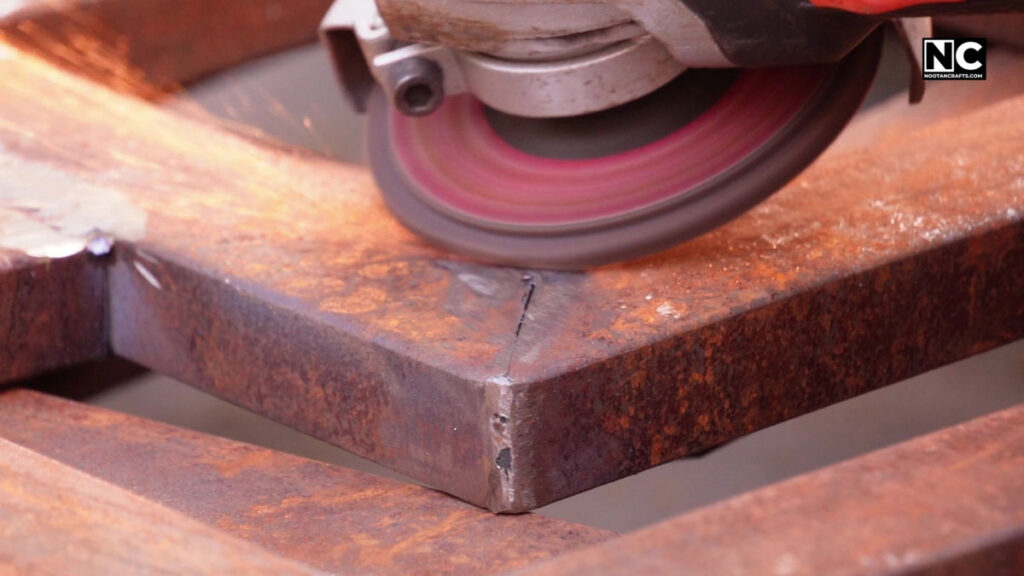
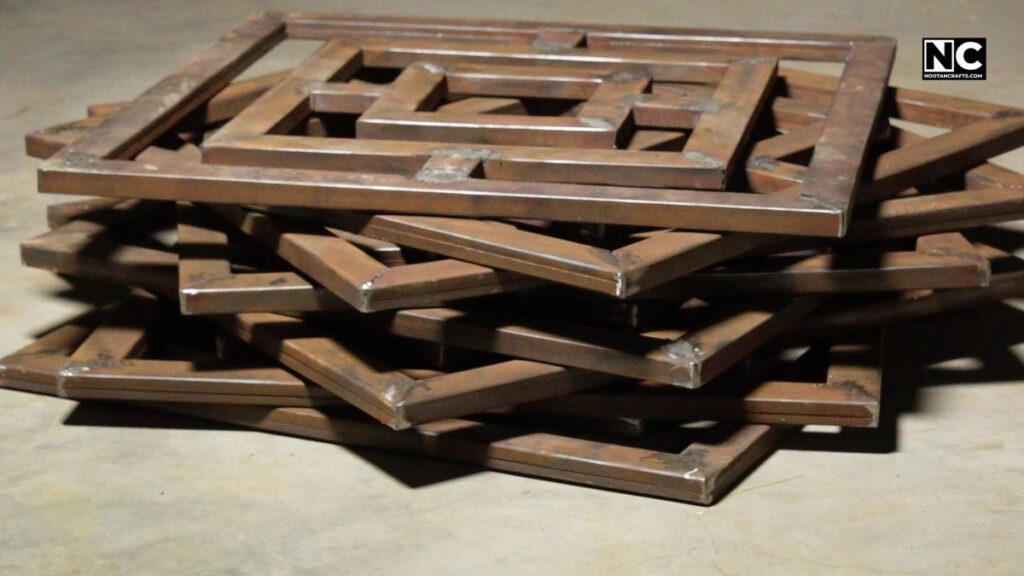
Grinding and rust removal on the finished panels was worse than the welding. The panels are heavy, and every side needs attention, so you are flipping and repositioning a heavy, awkward object for days. This is the point where I thought the hard part was behind me. It was not.
Posts and Base Plates
I needed brackets to fix the posts to the floor, and my hardware shop did not stock anything suitable, so I made them. I made the plate from an old iron beam I had lying around.
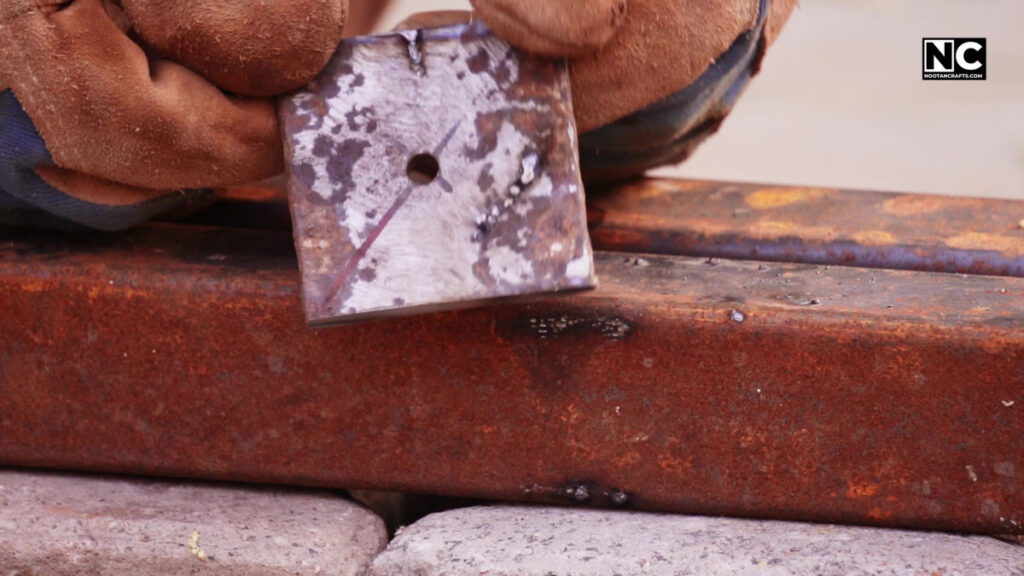
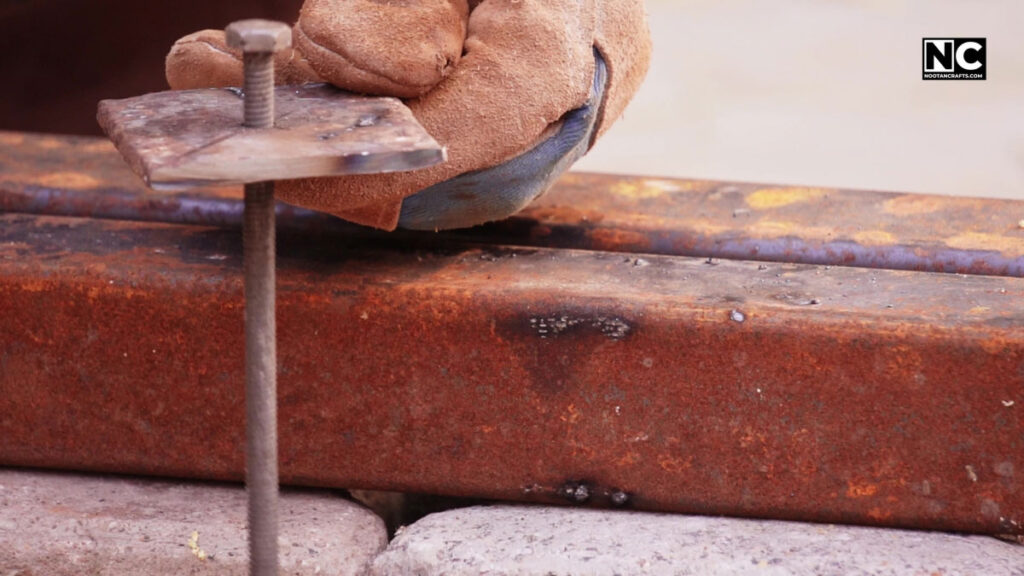
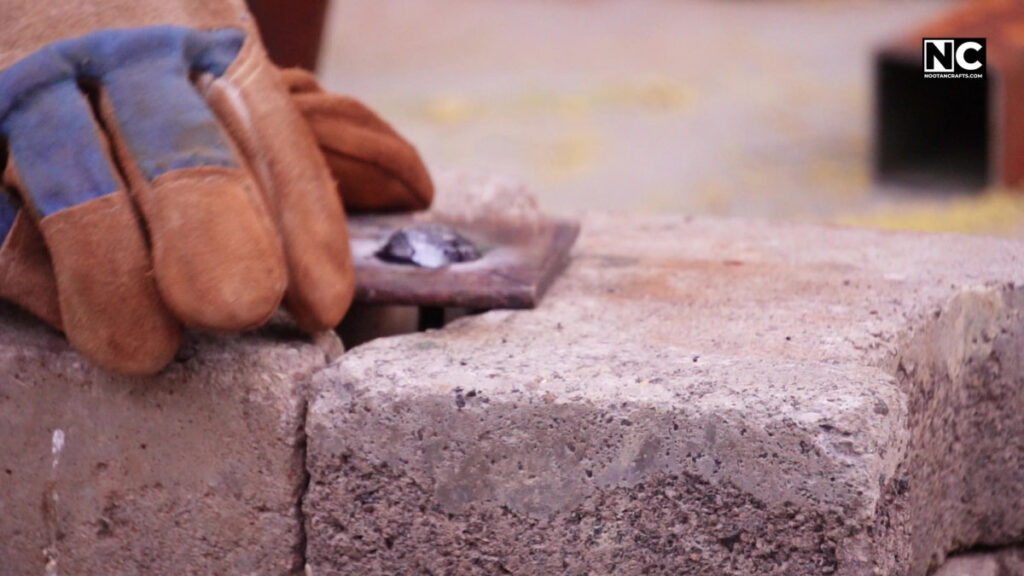
I cut squares from the plate and drilled a hole in the center of each for the anchor bolt.
One bolt per post looks light, so here is the reasoning. The railing is not nineteen separate posts. The top rail is welded continuously along the whole run, so the posts and the rail act as one frame. Both ends are anchored with heavy-duty bolts, and there is a turn in the middle that braces the run against sideways movement. I cannot shake it by hand.
If you copy this, copy the whole arrangement and not just the single bolt. The code puts a 200-pound load on the top of a guard in any direction, and that load goes into the anchors. A short straight run of three or four posts has none of the bracing described above, so use at least two bolts per base plate. Mine works because of the ends and the turn, not because one bolt is enough.
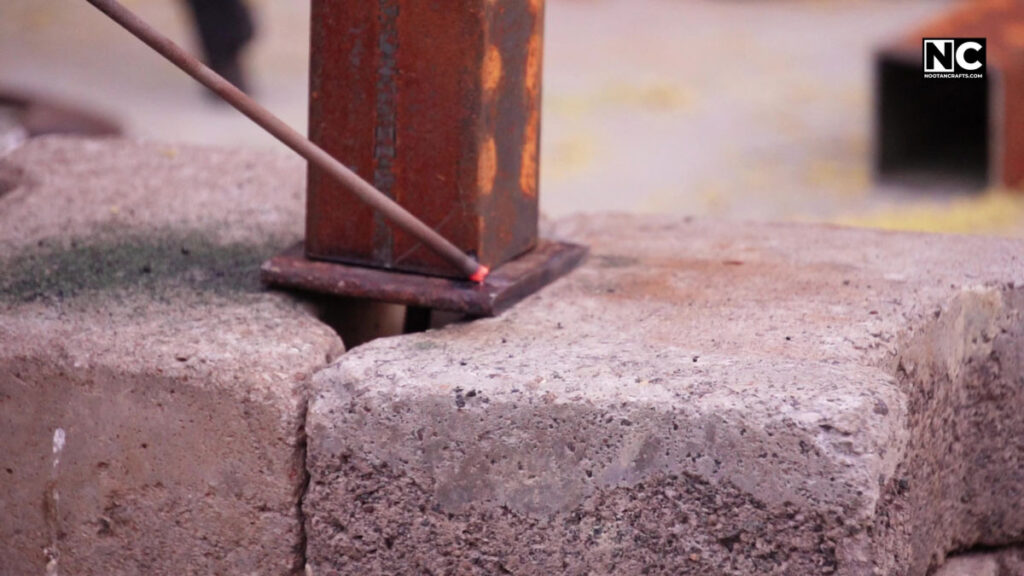
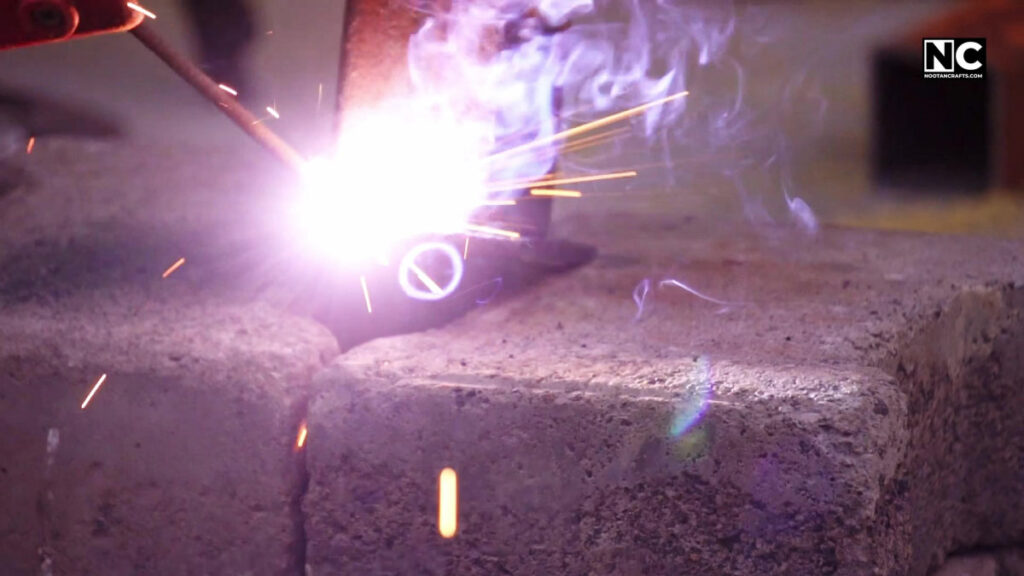
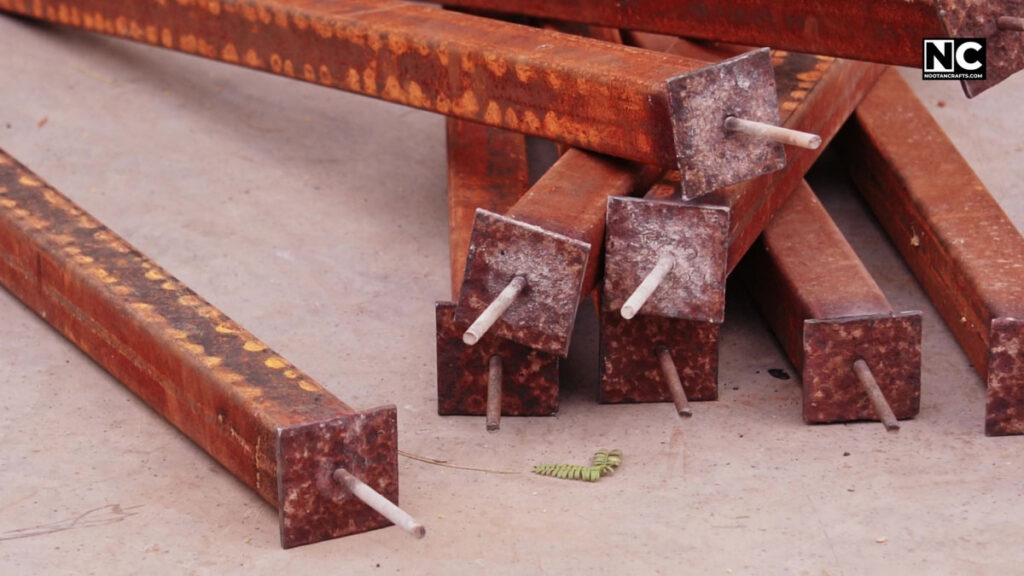
I cut all 19 posts from the square pipe and welded a plate to the bottom of each. I took more care with these welds than any others on the project, because they hold the whole structure up.
Then I de-rusted the posts while they were still loose on the ground, which is far easier than doing it once they are bolted down and vertical. I cleaned up the remaining rectangular pipe for the rails at the same time.
Setting the Frame into the Floor
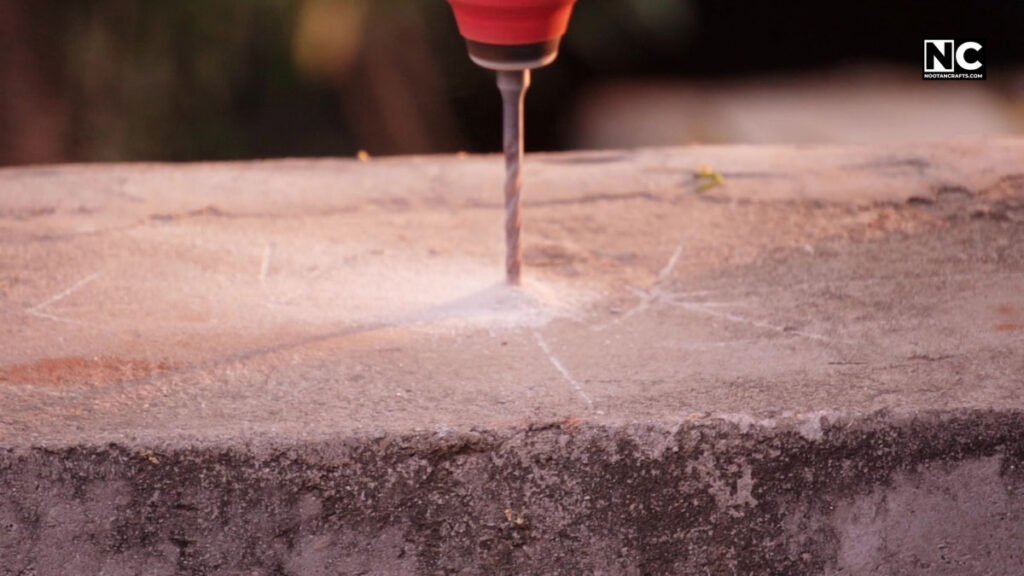
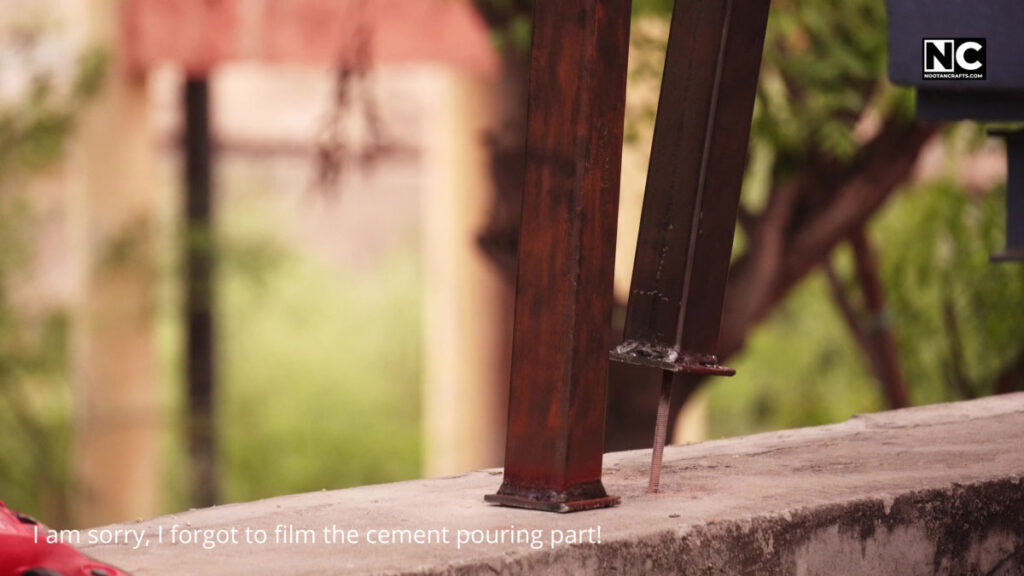
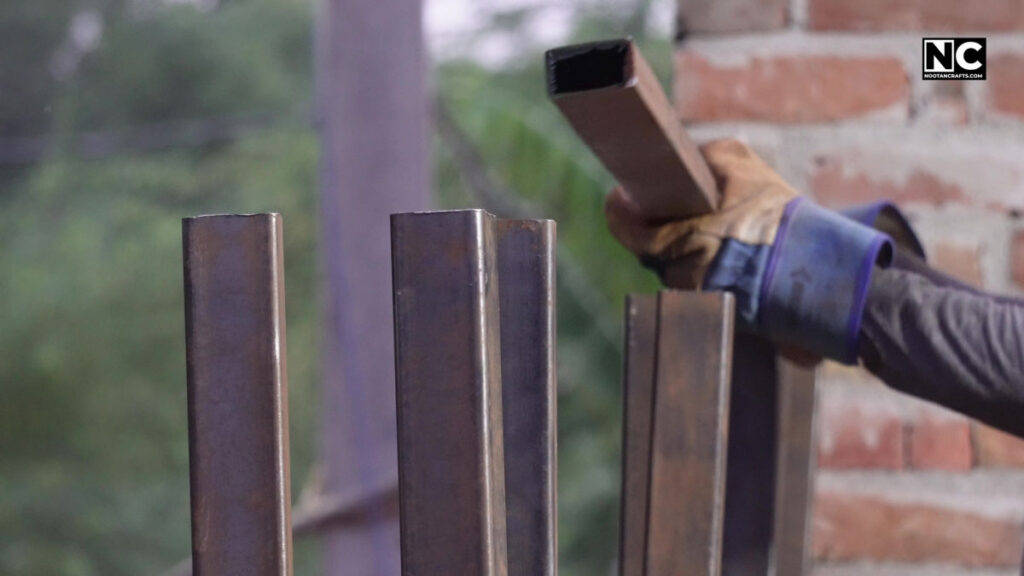
I drilled the floor with a hammer drill and a masonry bit slightly smaller than the anchor bolt, filled the holes with cement mix, and set the posts in one at a time. Then I laid the top rail across them.
At this stage, the posts look wrong. They wobble, aren’t in line, and it feels like the whole thing is going to be crooked. It comes out well when the top rail is welded on, because the rail is straight and it pulls the posts into line with it.
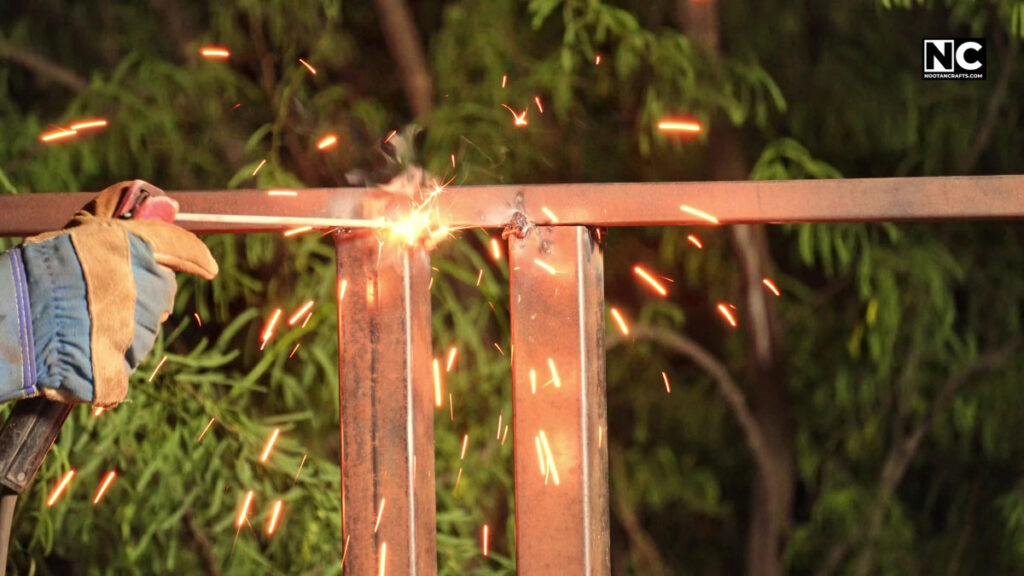
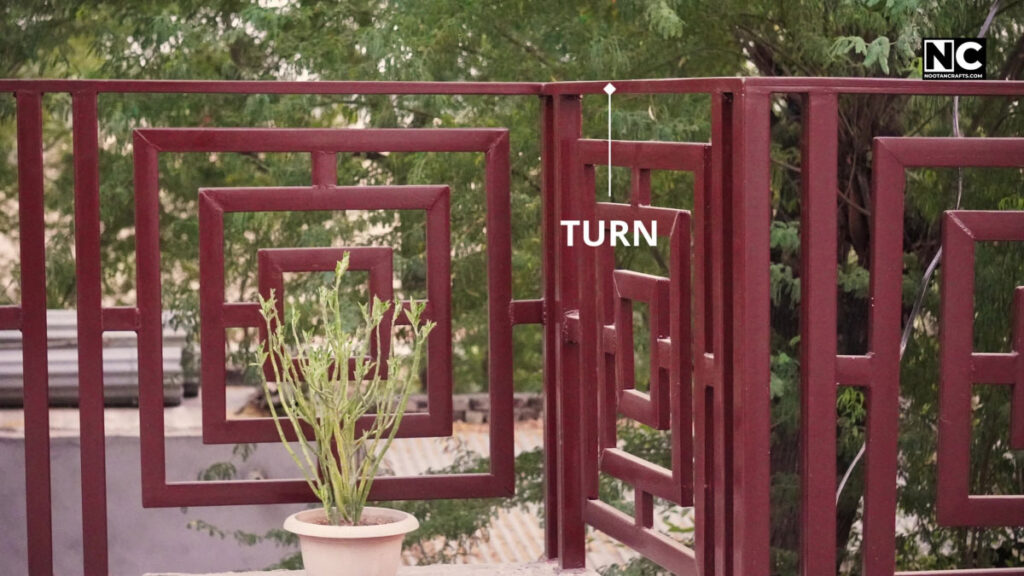
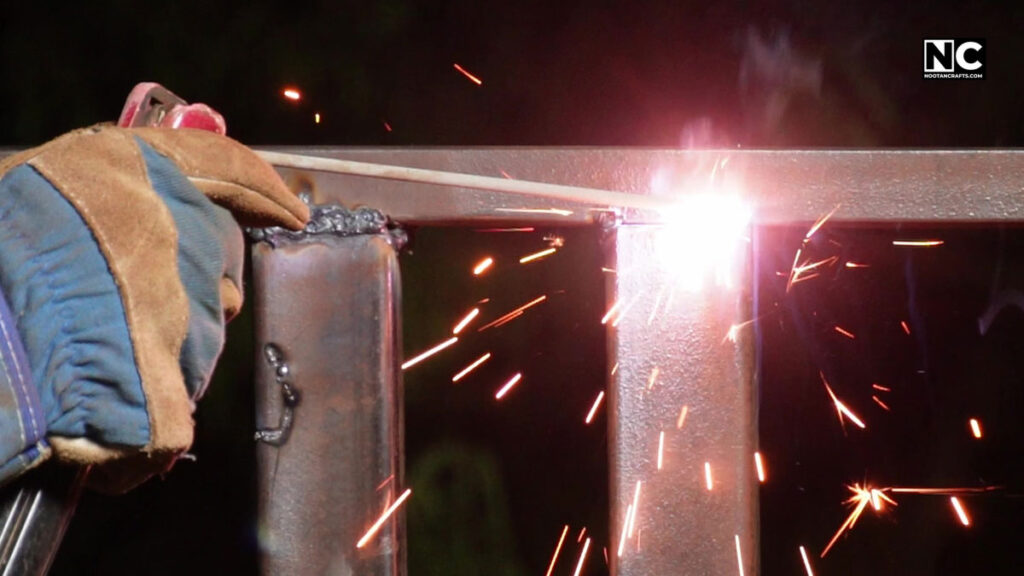
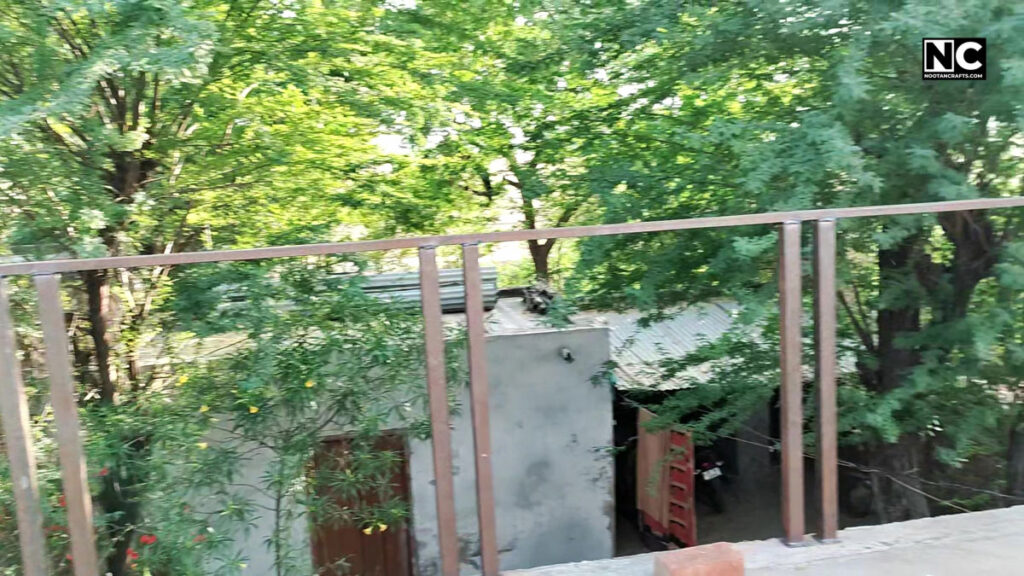
I welded the end post first, checking level as I went, then worked along the run using the straight top rail as the reference. Same on the other side. The turn in the middle of my railing is not only a design feature — it stiffens the whole run considerably.
Weld the ends first, then the middle. Start from an end post and let the top rail set the line. If you weld the middle posts first you lock in whatever error they had, and there is nothing left to pull them straight. Tack everything before you run a full bead, so you can still knock a post into line with a hammer.
Hanging the Panels to Weld Them
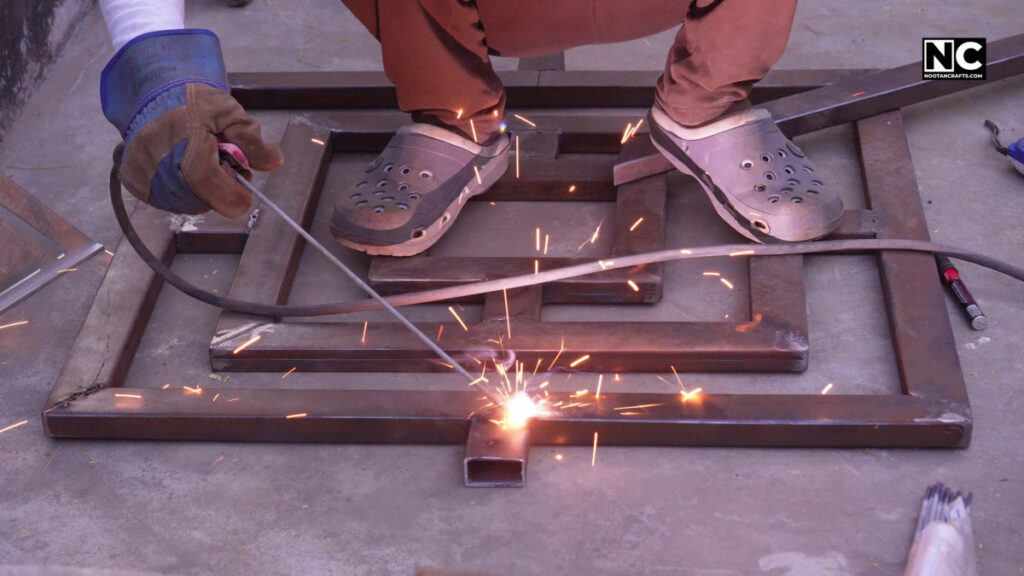
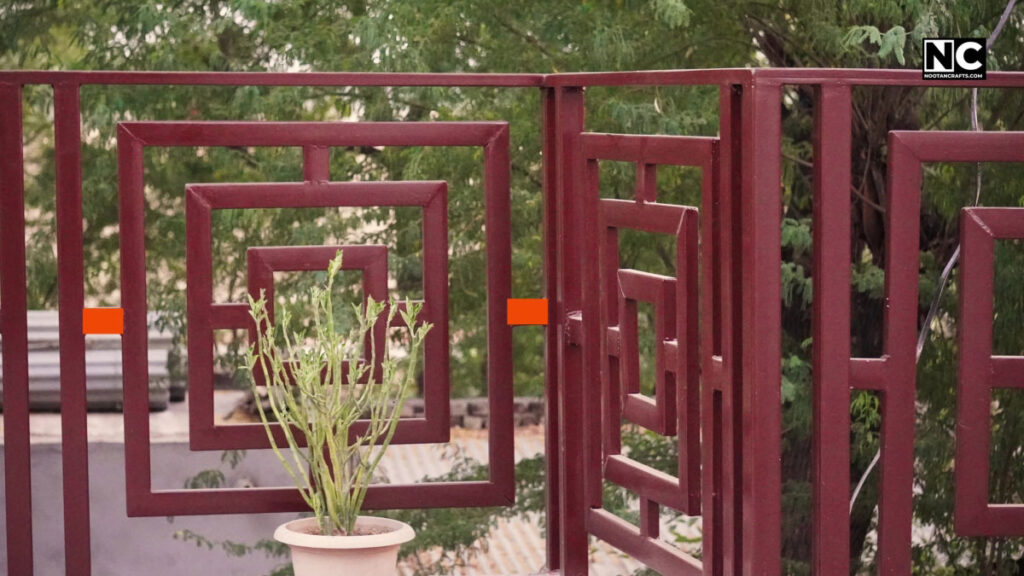
I added two connecting pieces to each side of a panel, which are what actually get welded to the frame. I was not sure two points would hold a panel properly, but after the first one, I stopped worrying about it.
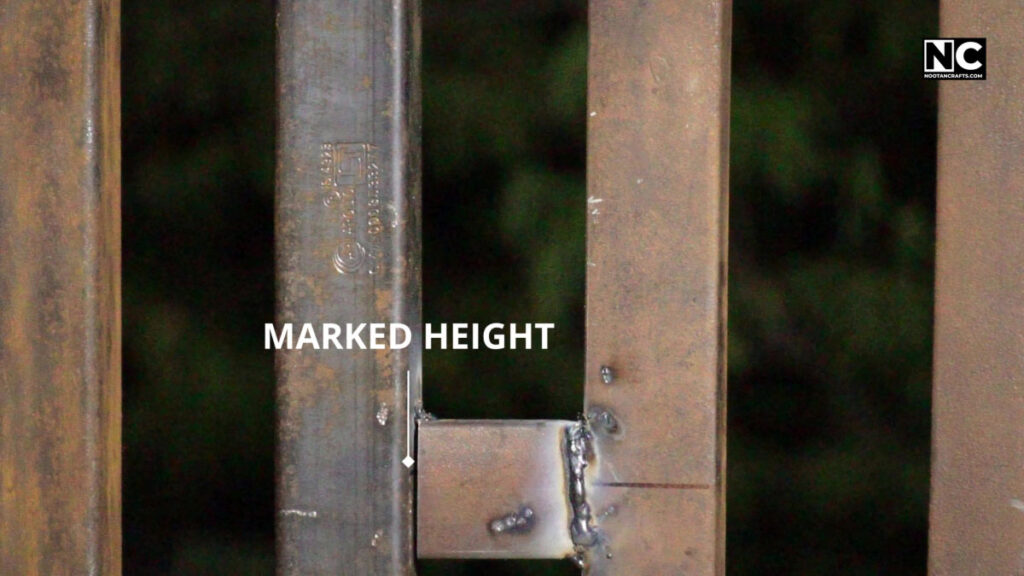
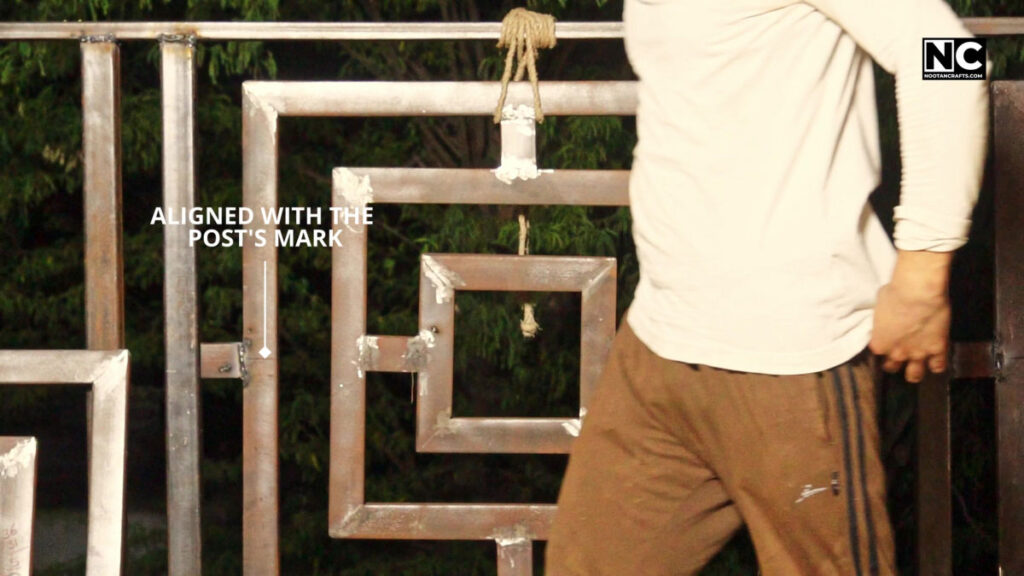
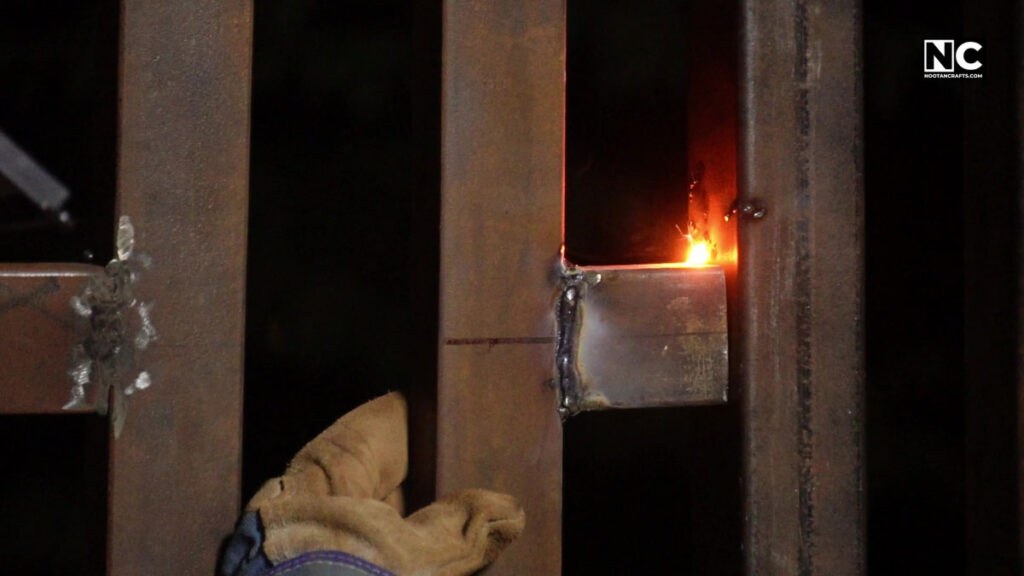
Then the real problem. A finished panel is heavy; you cannot hold it one-handed, and you need both hands to weld. I tried several things, and what worked was rope.
Mark the height on the post first. Then hang the panel from a rope and take up the slack until it sits at that mark. The good part is that a rope lets you nudge it: tack it lightly, check vertical, check horizontal, check the gap to the frame, adjust, and only then weld it properly.
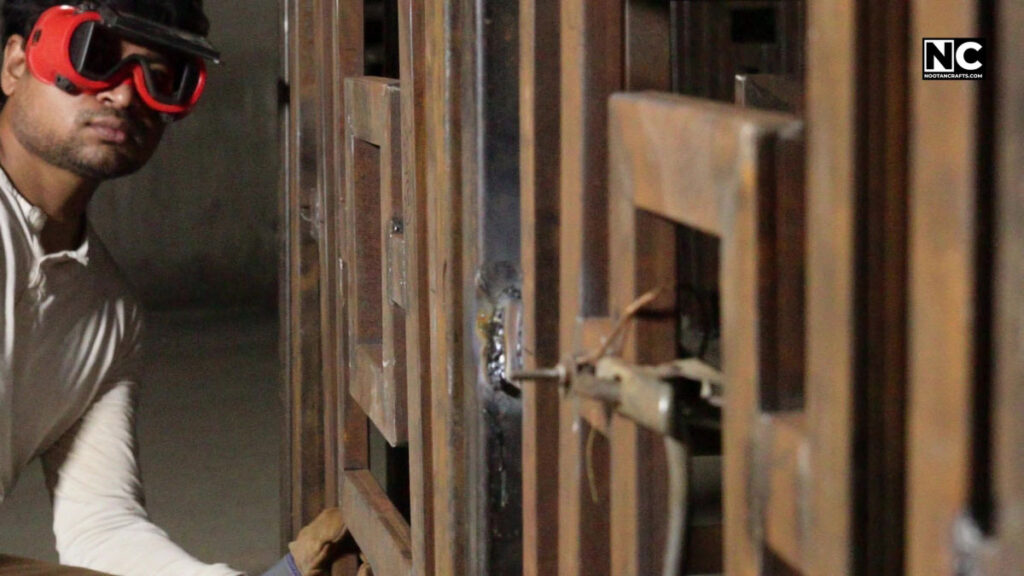
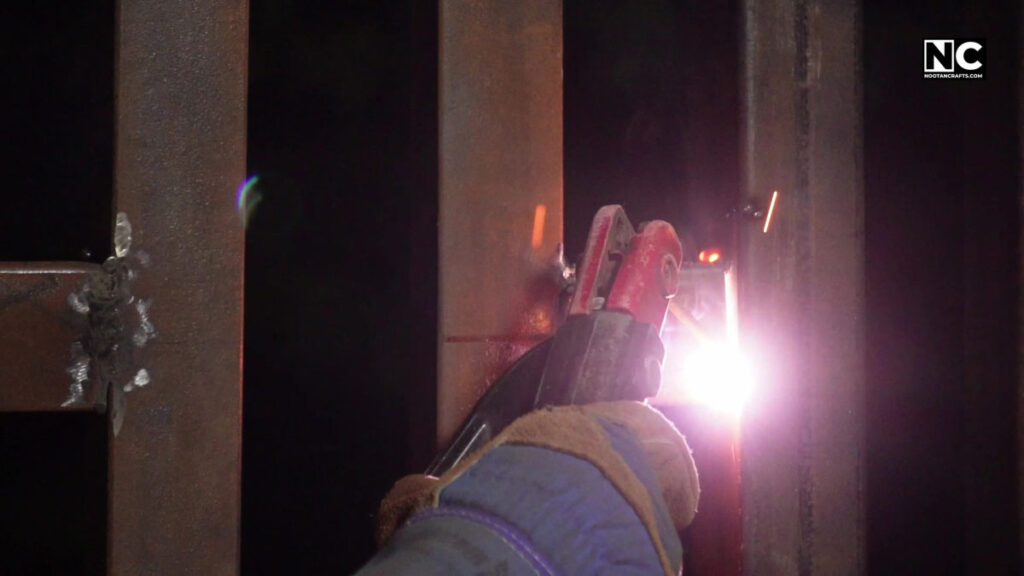
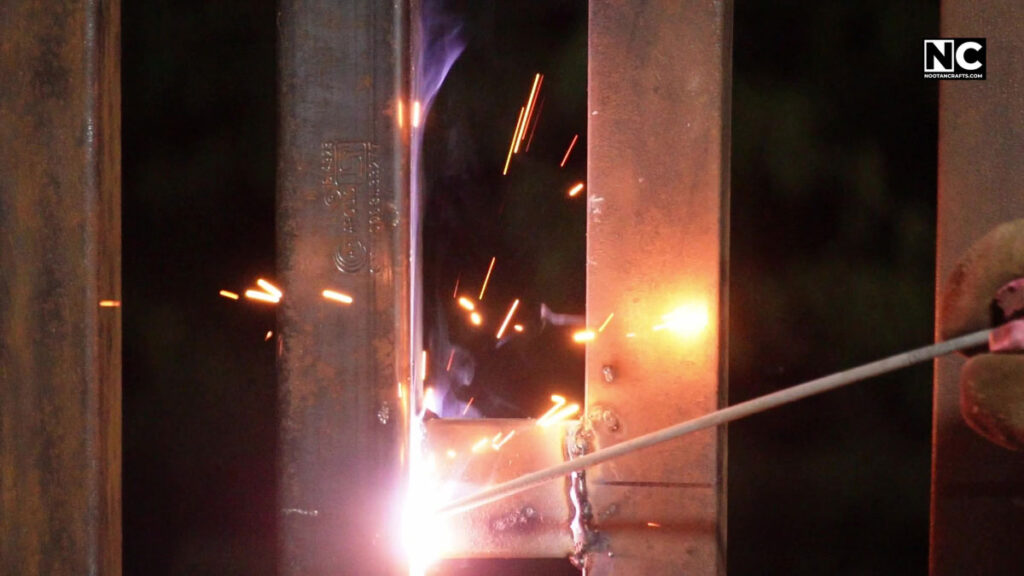
All ten panels were ready before I started, and attaching them still took two days. It does not matter how accurately you cut the parts. Real walls and real floors aren’t square, so every panel needs a small adjustment, and that’s where the time goes.
Grinding and Painting
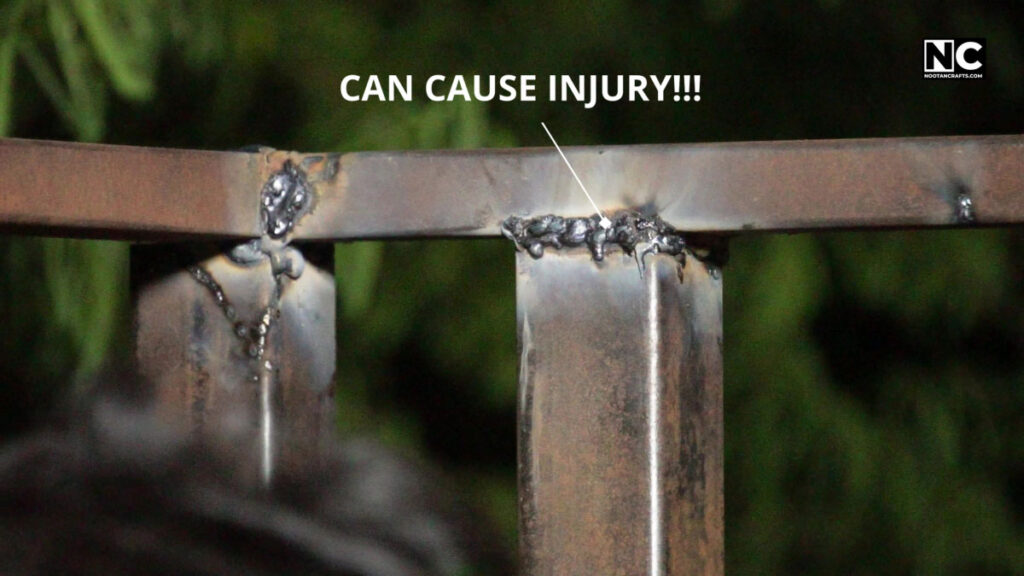
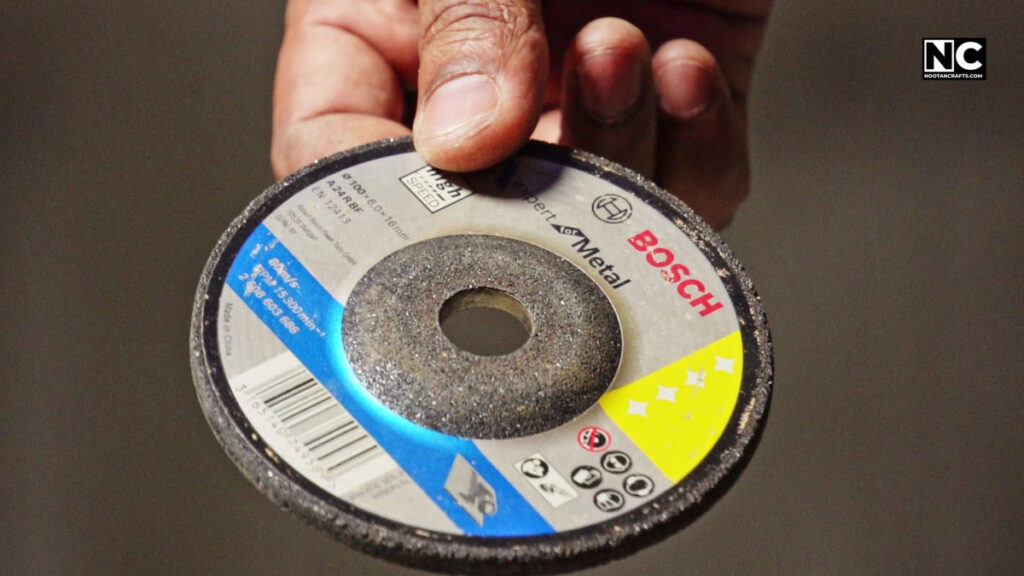
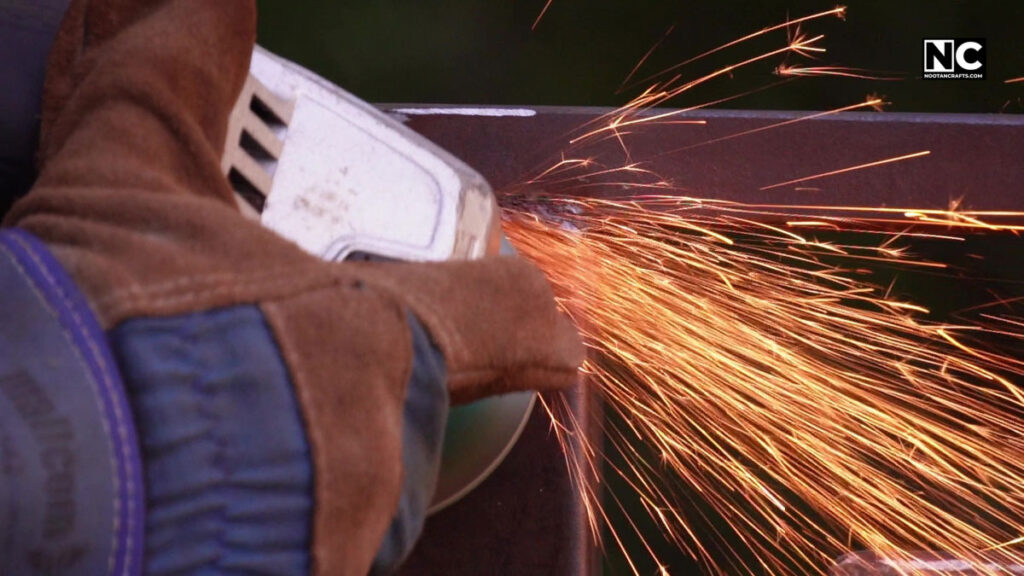
All the welds get dressed before paint. I spent the most time on the top rail and the post joints, because that is where a hand goes, and a sharp weld edge or a missed burr there will cut somebody. Those got the 80-grit flap disc. The rest of the railing got a standard grinding wheel, which was smooth enough.
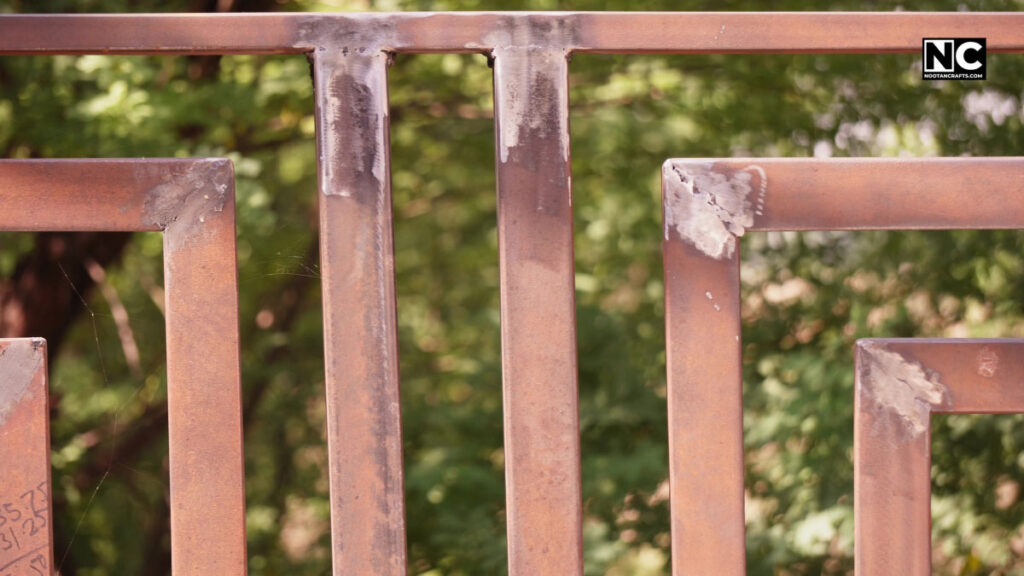
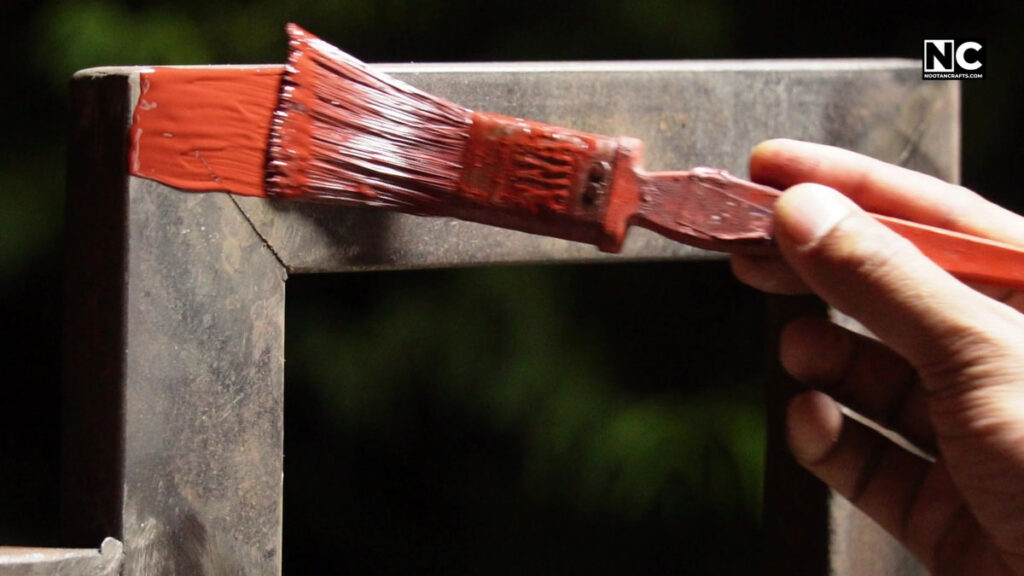
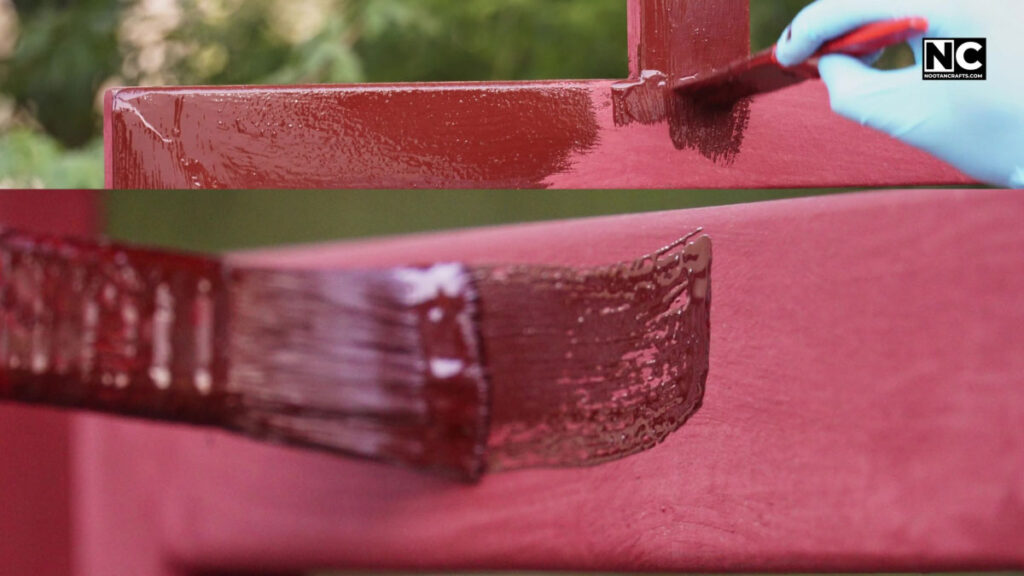
Then primer, brushed on. This is the part that makes it worth it, because the railing suddenly looks finished. Paint hides many small imperfections and evens out the surface.
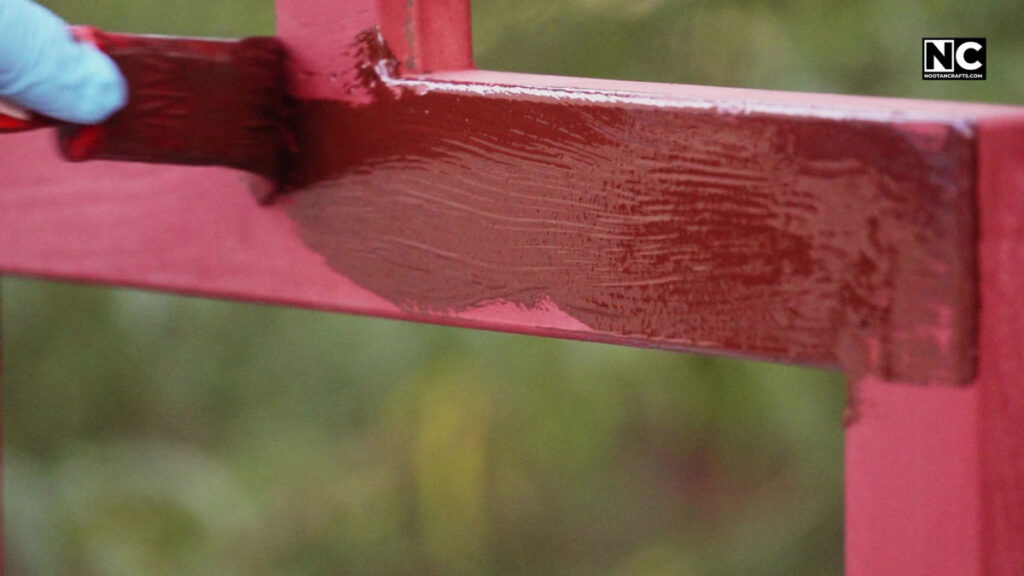
After the primer dried, I brushed on the color coat, and that took another two days. Brushing takes longer than spraying, but it puts a thicker film on, and on outdoor ironwork the film thickness is what keeps rust away.
The Tools I Used
My workshop is stocked with Indian brands, so some of what I own is not sold outside India. Below I have listed what I actually used, and the products in the box are the closest equivalents I could find that ship in the US — not the exact models in my hands.
| Job | What I used | What matters when you buy |
|---|---|---|
| Miter and straight cuts | INGCO 355 mm, 2350 W cut-off saw | A 14 in (355 mm) metal saw with a miter stop. This is the one tool you should not improvise |
| Welding | iBELL 220 A inverter arc machine | An inverter arc welder is inexpensive and does this job. You do not need MIG for a railing |
| Grinding, deburring, de-rusting | Black+Decker 650 W and 820 W small angle grinders | Two is better than one, so you are not swapping between a cutting disc, a flap disc and a wire cup all day |
| Holding square while tacking | Welding magnets, Taparia C clamps, INGCO F clamps | Magnets for the corners, clamps for everything the magnets cannot hold. 29 squares is a lot of corners |
| Cleaning up welds and rust | Bosch cutting and grinding discs, 80-grit flap discs, wire cup | Buy these in quantity before you start. Running out mid-job stops everything |
| Drilling the floor | Buildskill rotary hammer with a masonry bit | A rotary hammer, not a normal drill. Nineteen holes in concrete will destroy a hammer-drill setting |
Similar tools for this job
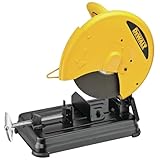

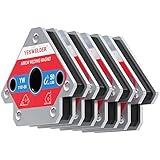

Last update on 2026-10-25 / Affiliate links / Images from Amazon Product Advertising API
About the angle grinder in that box. You do need one for this project — deburring 116 pieces, dressing 150 welds, and the wire cup work all run on a grinder. What you must not do is what I did and put it in a cutting stand for 232 miter cuts. It is a grinding tool. Buy one, and buy the saw separately.
Three Things That Cost Me the Most Time
| What happened | What it cost | What to do instead |
|---|---|---|
| Angle grinder in a cutting stand for 232 miter cuts | The grinder, and the days waiting for a replacement | Buy or borrow a metal cutting saw before you start if you have more than about thirty miter cuts |
| Finishing one square at a time | Days, in tool changes and walking about | Batch every step across all the parts: cut all, deburr all, weld all, grind all |
| Grinding after assembly | Corners I could not reach, and rework | Dress the welds while the pieces are still loose and the grinder can get in |
Two and a half months in all. I didn’t have much welding experience when I started, and I filmed every stage, which took a surprising amount of extra time.
What I Learned from This Project
Do not chase perfection on your first one. My welding, cutting, and finishing have flaws. It serves its purpose, looks decent, and has held up for two and a half years. That is enough. The railing you actually build beats the one you are still planning.
Metal Railing Questions People Actually Ask
How long does it take to make a metal balcony railing?
Mine took two and a half months of working alone, in whatever time I had, while filming it. Without the filming and with some welding experience, a ten-panel railing with a decorative pattern is perhaps three to five weeks of evenings. A plain railing with no pattern is a fraction of that, because the 232 miter cuts and 150 welds are almost all pattern work.
Is iron or stainless steel better for a balcony railing?
Iron is cheaper, easier to weld with a basic machine, and you can paint it any color. It rusts if the paint fails, so it needs the odd touch-up. Stainless does not rust and needs no paint, but it costs considerably more and welding it properly is harder. For a painted railing on a house, iron is the sensible choice.
How high should a balcony railing be?
36 inches from the walking surface to the top of the rail, for a home, under the IRC. A guard is required once the drop is more than 30 inches. Measure from the finished floor, and check your local rules, which can be stricter.
How many bolts per post do I need?
Use at least two per base plate unless the whole run is braced the way mine is. The code figure is a 200 pound load at the top of the guard in any direction, and that load ends up in the anchors. I used one bolt per post, but my run is welded into a continuous frame, heavily anchored at both ends, and it turns a corner in the middle. A short straight run has none of that.
Do I need a welder, or can I bolt it together?
You can bolt a railing together, and plenty of kit railings work that way. For a pattern like mine, welding is what makes it look like one object rather than an assembly. A basic inverter arc welder is inexpensive now and this project is a good way to learn on something forgiving — just practice on offcuts until your beads hold before you weld anything structural.
What size pipe should I use?
I used 2 x 2 inch square pipe for the posts and 2 x 1 inch rectangular for everything else, and that has been solid. Keep the posts heavier than the infill, because the posts carry the load. If your posts are further apart than mine were, go heavier rather than lighter.
Do I have to paint it, and how often?
Yes, if it is iron and it is outside. Primer then a top coat, and brushing puts on a thicker film than spraying, which is what you want outdoors. Look at it once a year, especially the bottom of the posts and anywhere water sits, and touch up any chip before it spreads.
Can a beginner really build this?
I was a beginner at welding when I started this. What it takes is not skill so much as patience with repetition, and a willingness to redo the first one badly. Start with the squares, because they are small, identical and forgiving, and by square ten your welds will look different from square one.
If You Are Going to Build One
Draw it first, then batch every step, and get a proper cut-off saw before you make the first miter cut.
There are better ways to do this project than mine. I am telling you what I actually did, including the grinder I destroyed and the two days I lost to panels that wouldn’t sit square against a wall that wasn’t square. It still came out well, and it is on my house.
If a beginner can do it, so can you.