The first shelf I put up with one of these brackets nearly came down on me. The bracket was not the problem. It was the fourth design on this page, glued and screwed, and it was solid.
I hung it with a plastic wall plug and an ordinary drywall screw. It held fine for a few weeks. Then I put an 11 lb (5 kg) can of plywood glue on the shelf, and the whole thing sagged. The wall plugs were still in there, hanging on by their feet, trying to save their dignity. They had started pulling out of the wall.
I took it down and refixed it with a proper heavy-duty anchor and a bolt. It now holds my own weight.
That is the thing nobody tells you. A wooden shelf bracket almost never breaks. The fixing holding it to the wall pulls out instead. So before you pick one of the four methods below, two things matter more than the joinery: what the shelf has to carry, and what your wall is made of.
Here are four brackets, from the ten-minute one to the strong one, with what each will hold and how to mount it so it stays up.
What’s Inside!
- 1 – Which of the Four to Build
- 2 – Method 1: A Single Piece of Wood
- 3 – Method 2: The Butt Joint Bracket
- 4 – Method 3: Rabbet and Overlap, the Strong One
- 5 – Method 4: The Designer Support Bracket
- 6 – How Big, and How Far Apart
- 7 – Fixing It to the Wall
- 8 – What I Would Buy for This Job
- 9 – Wooden Shelf Bracket Questions People Actually Ask
- 10 – The Part That Actually Matters
Which of the Four to Build
| Method | Pieces | Effort | Best for |
|---|---|---|---|
| 1. Single piece, cut diagonally | 1 | Ten minutes | Light shelves. Picture ledges, a few small plants, spice jars. Weakest of the four and the reason is grain, explained below |
| 2. Butt joint | 3 | An hour | Everyday shelves. Simple to cut, no joinery skill needed, and glue plus screws carry it |
| 3. Rabbet and overlap | 3 | An afternoon | The strong one. The joints interlock, so the wood carries the load instead of the screws. Books, tools, heavy things |
| 4. Designer support | 3 | Two hours | Shelves on show. Thicker stock, a decorative cut, and a flat lip on each side that makes it easy to screw to a wall |
All four are made from scrap. Mine came out of the offcut pile, which is why the finish on some of them is rough.
The dangerous cuts on this project are the small ones, not the big ones
Every bracket here is made from short offcuts. A short piece is the hardest thing to hold safely, because there is nowhere to put your hands that is far from the blade, and there is nowhere for the offcut to go when it comes free. I cut one of the rabbets with a circular saw and I should not have. A hand saw would have done it in the same time with none of the risk.
- Clamp the work, always. If a piece is too small to clamp, it is too small to cut with a power tool. Cut it from a longer piece and trim after.
- Use a hand saw for short straight joints. A tenon saw cuts a rabbet or a shoulder cleanly and cannot kick back at you.
- Chisel away from your body, never toward your other hand. The hand holding the work goes behind the edge, not in front of it.
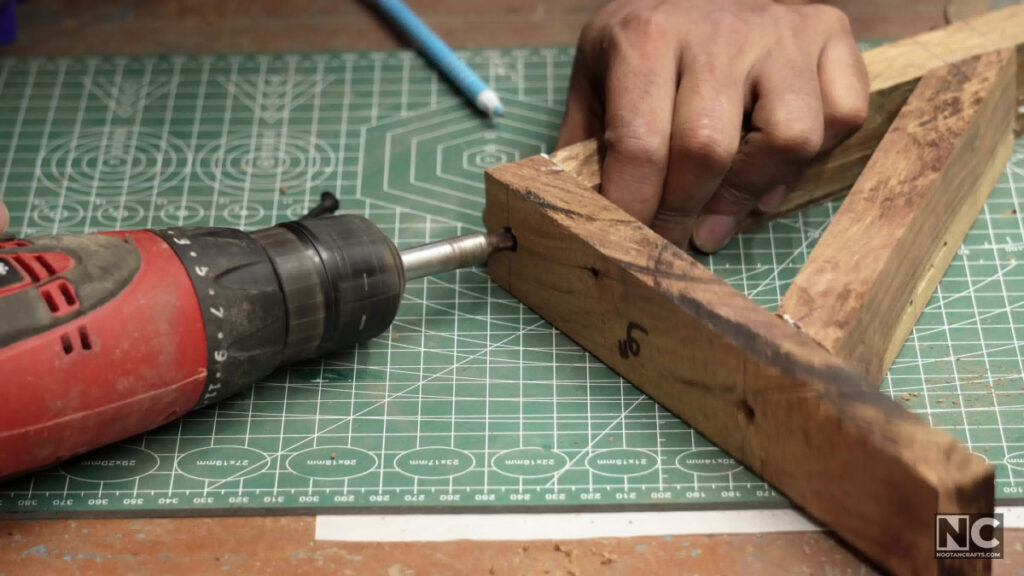
- Drill the pilot hole with the piece clamped down. A bit that grabs will spin a small piece of wood, and your fingers are what stops it.
- Glasses for every cut and every sanding pass.
- Test the finished shelf with your hands before you trust it with anything. Push down hard on the front edge. It is better for it to fail while you are expecting it to.
Method 1: A Single Piece of Wood
Cut a square in half corner to corner, and you have two triangular brackets. This is the fastest bracket, and it suits a light shelf.
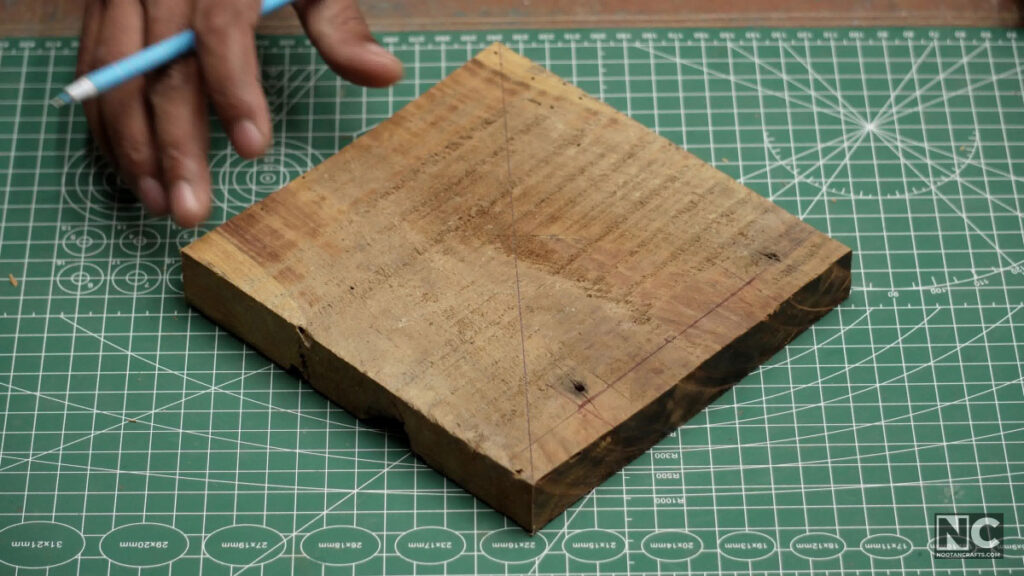
Cut a square from a plank, then cut it diagonally. One square gives you two brackets. Size it to your shelf: the bracket has to be shorter than the shelf depth, or it sticks out past the front edge and looks wrong.
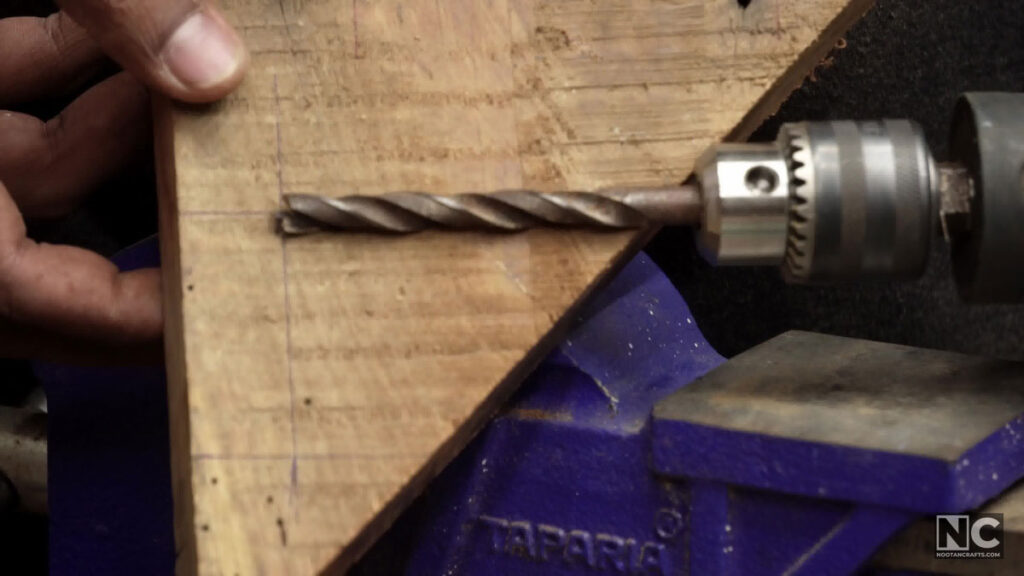
This is the weakest one, and it is not the thickness. When you cut a square diagonally, the two sharp points of the triangle are short grain — the wood fibers run out at the tip rather than along it. Wood is strong along the grain and weak across it, so a load on the shelf tries to split the bracket along the fibers instead of bending it. That is why single-piece triangles fail suddenly rather than sagging first. Keep this one for light loads, and if you can, cut it so the grain runs along the long diagonal edge rather than across it.
Countersink, Then Pilot
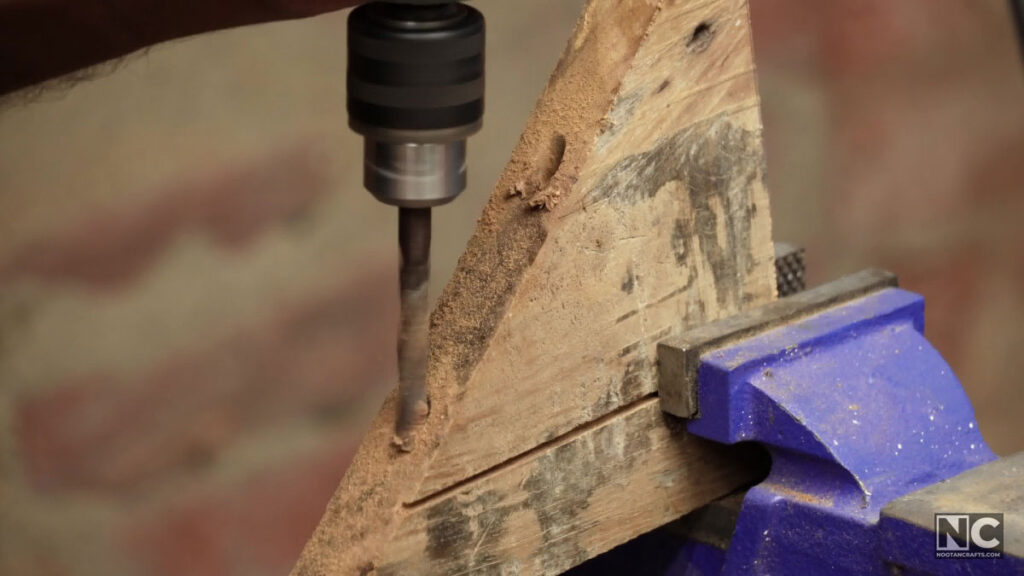
Mark where the screws go, then drill in two stages. First, use the wide bit to cut the countersink the screw head will sit into. Keep it square to the face and do not go deep — you only need the head to finish flush.
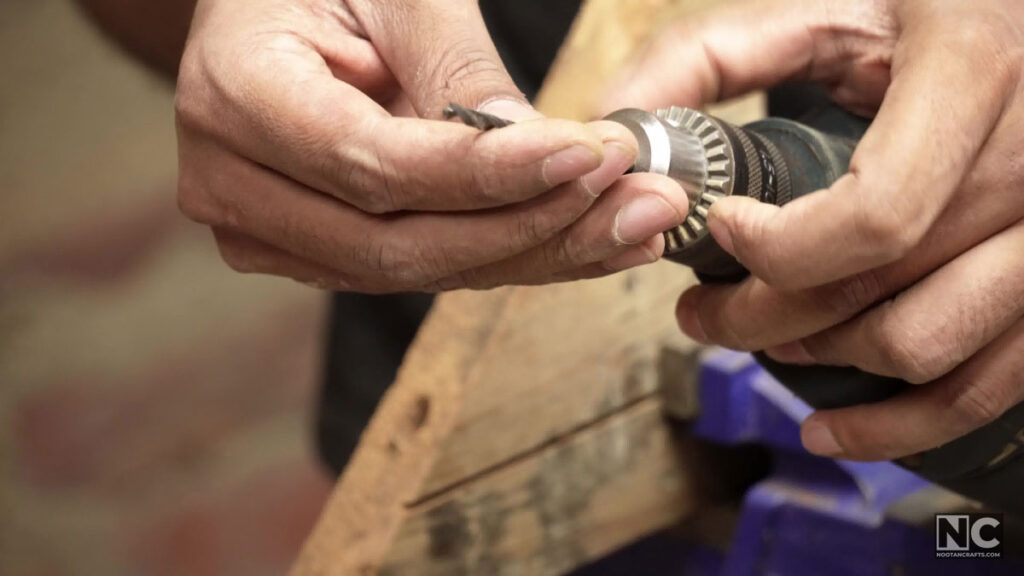
Then swap to the smaller bit and drill the pilot hole all the way through. A countersink bit with an adjustable stop does both in one pass and saves the swap, which matters if you are making several.
Do not skip the pilot hole on a short piece. A screw driven into unpiloted wood acts like a wedge and splits it; on a triangle with short grain, it splits along that grain every time.
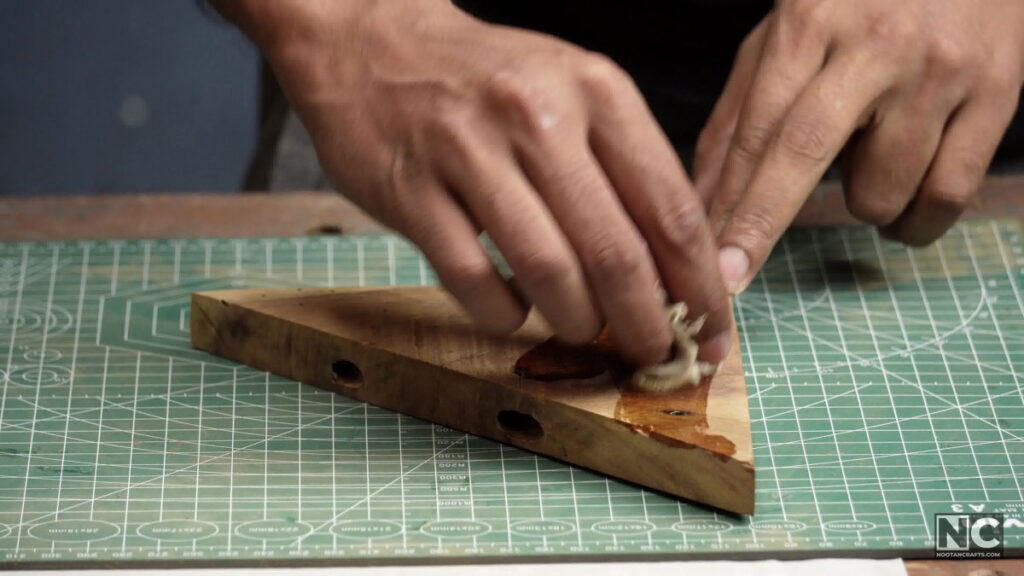
Sand it and apply a finish. I used polyurethane, which brings out the grain and gives a bit of protection.
Method 2: The Butt Joint Bracket
Three pieces. Two meet at a right angle, and the third runs diagonally between them as a brace. This is the bracket most people should build for a normal shelf.
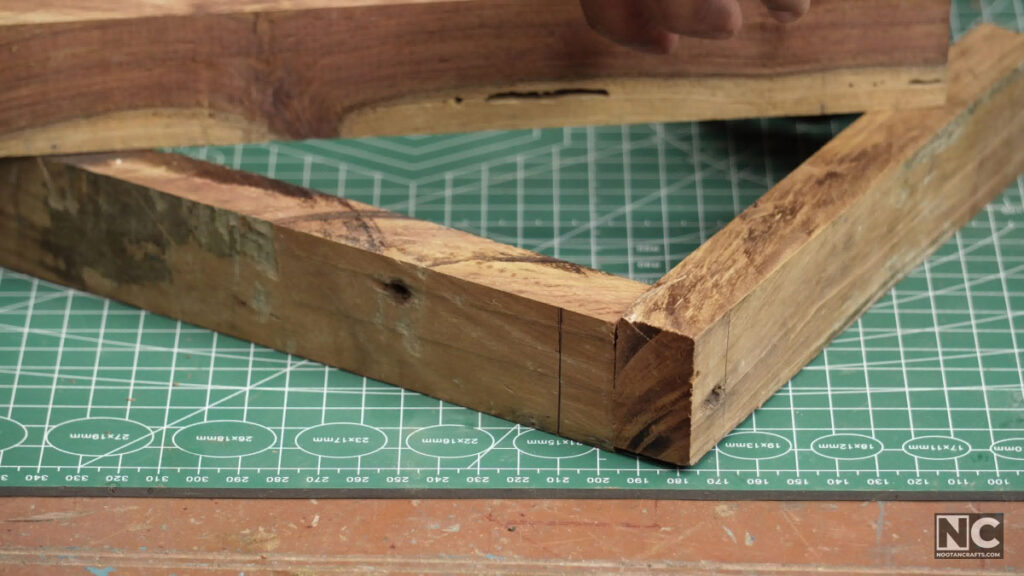
I ripped the scrap down to 1.5 inches wide, then marked the lengths. One arm has to be longer than the other by exactly the stock thickness, so the outside faces finish level. My plank was 1 inch thick, so I cut one arm at 8 inches and the other at 9.
For the diagonal brace, hold the two arms in their finished right angle and lay the third piece across them, then mark it in place. That gives you both the length and the two angles without any arithmetic. If you would rather calculate it, it is the hypotenuse.
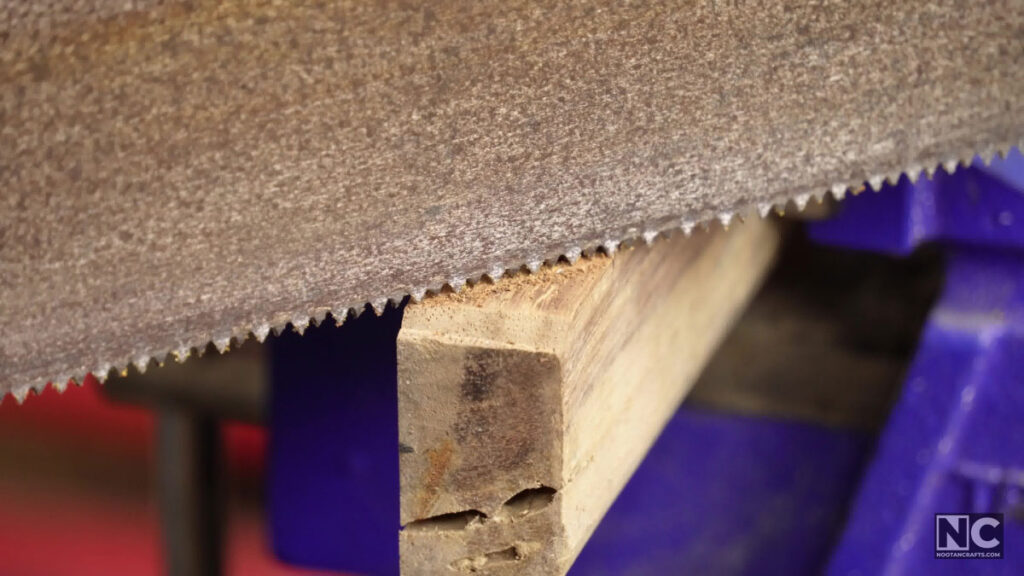
I cut the brace ends with a tenon saw at the marked angle.
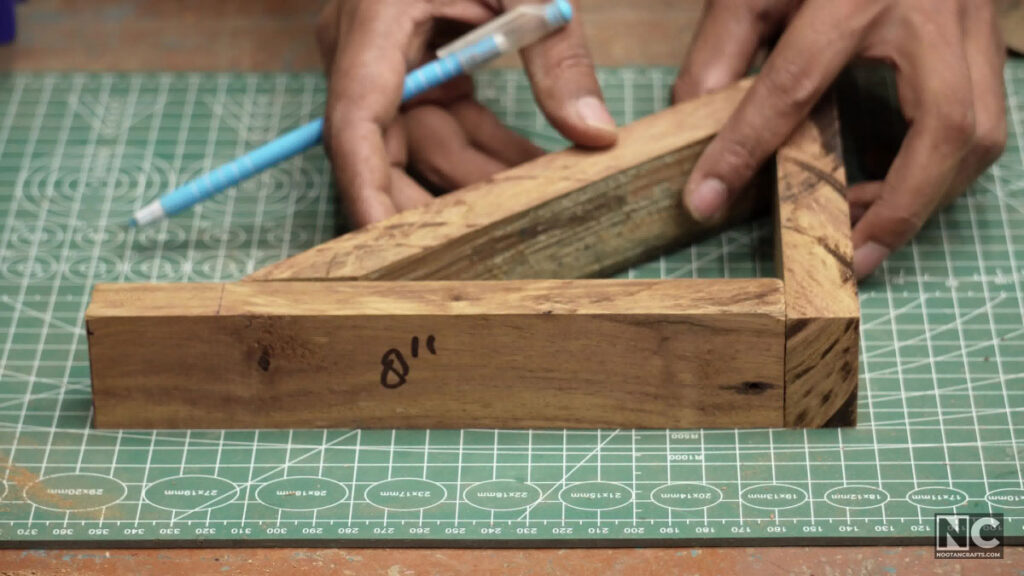
Then drill pilot holes for the screws.
Glue first, then screws. Both, not one or the other. The glue carries the load in a joint like this, and the screws clamp it tight while the glue cures and stop it from opening up later.
Be honest about what a butt joint is. It is the weakest joint in woodworking. Two pieces meet face to end grain, and end grain takes glue badly because it soaks it in like a straw. That is exactly why this bracket needs the diagonal brace and the screws — together they carry what the joint alone would not. It is plenty for a normal shelf. For something heavy, build method 3 instead.
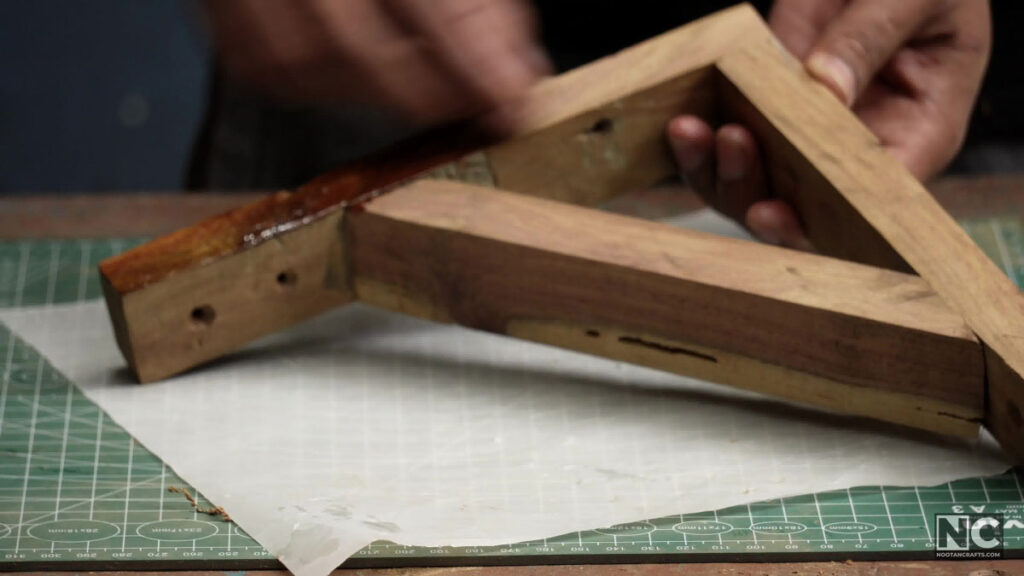
Sand and finish. You can make this bracket a lot stronger without changing anything else by using thicker stock and two screws per joint instead of one.
Method 3: Rabbet and Overlap, the Strong One
This is my favorite, and it is the one to build if the shelf has to carry weight. It looks like the butt joint bracket from across the room, but the pieces interlock instead of simply butting together, so the wood itself carries the load rather than the screws.
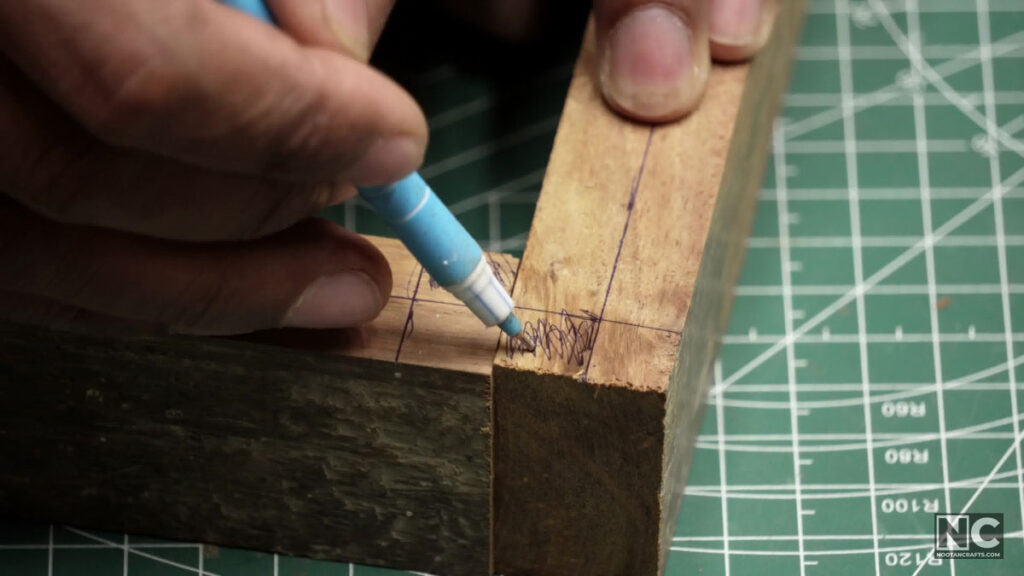
Same start as before: rip to 1.5 inches, mark the lengths, cut them.
Then mark the rabbets. Take half the thickness out of each of the two arms so that, when they overlap, the outside faces sit flush and the joint is square before any glue goes near it.
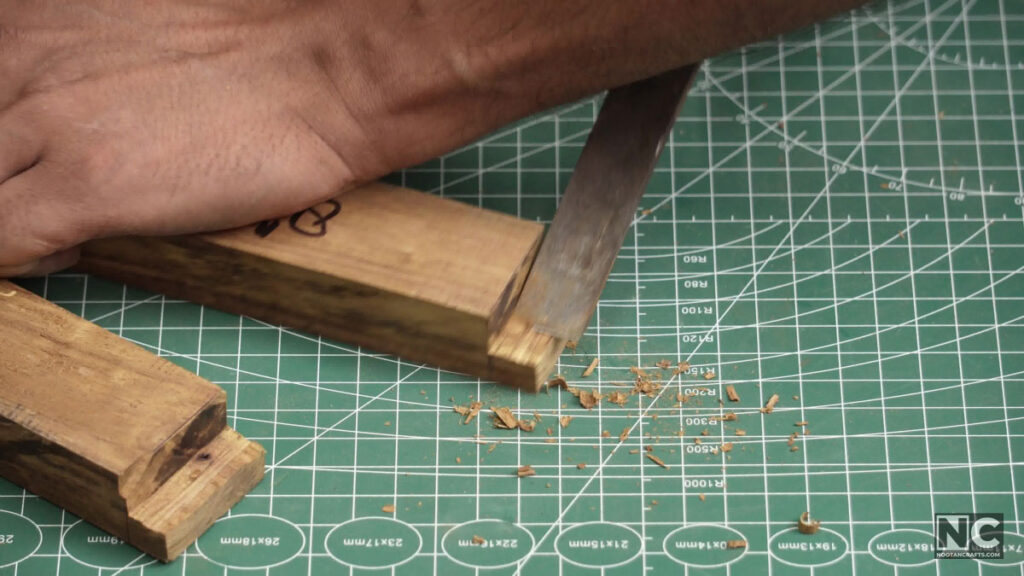
Here is where I made things harder than they needed to be. I cut these straight shoulders with a circular saw. A tenon saw does the same cut in about the same time, with no kickback risk and better control on a short piece. Learn from that one.
Whatever you cut it with, pare the bottom of the rabbet flat with a chisel afterward and dry-fit the two pieces. If they sit square and flush with no gap, carry on. If they rock, fix it now — glue will not fill a gap and hold.
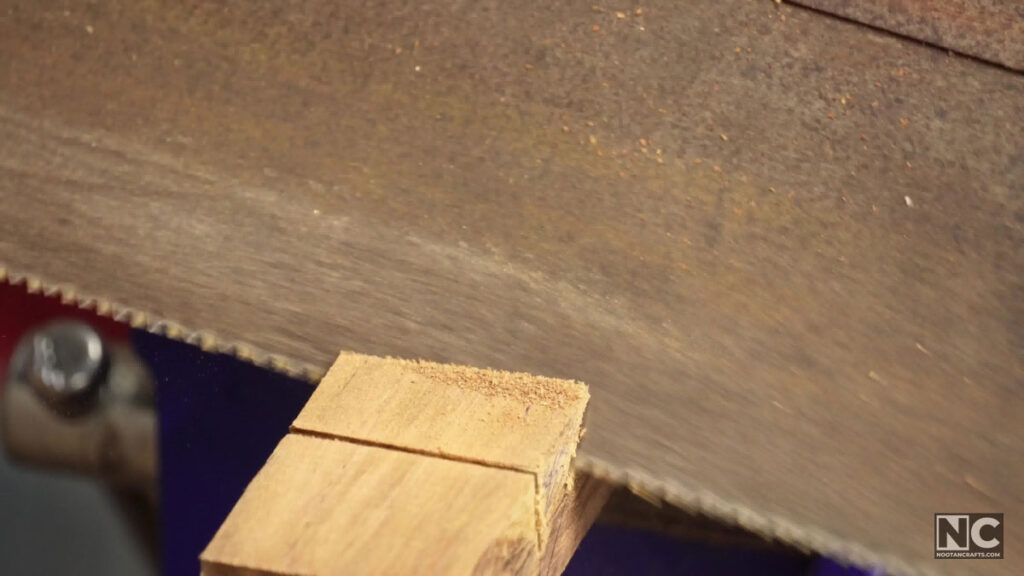
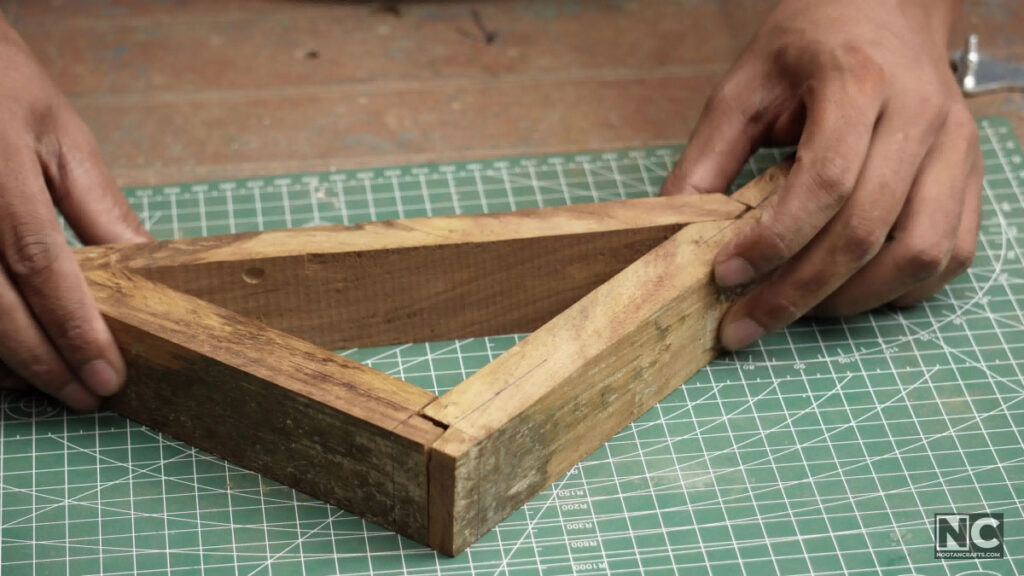
The diagonal brace gets a tenon at each end, and the two arms get matching mortises, so the brace locks into them rather than just resting against them. That’s what makes this bracket strong.
I cut these by hand, mostly with a handsaw, and used a jeweler’s saw to get into the tight corners. Then a chisel to clean the cheeks and shoulders.
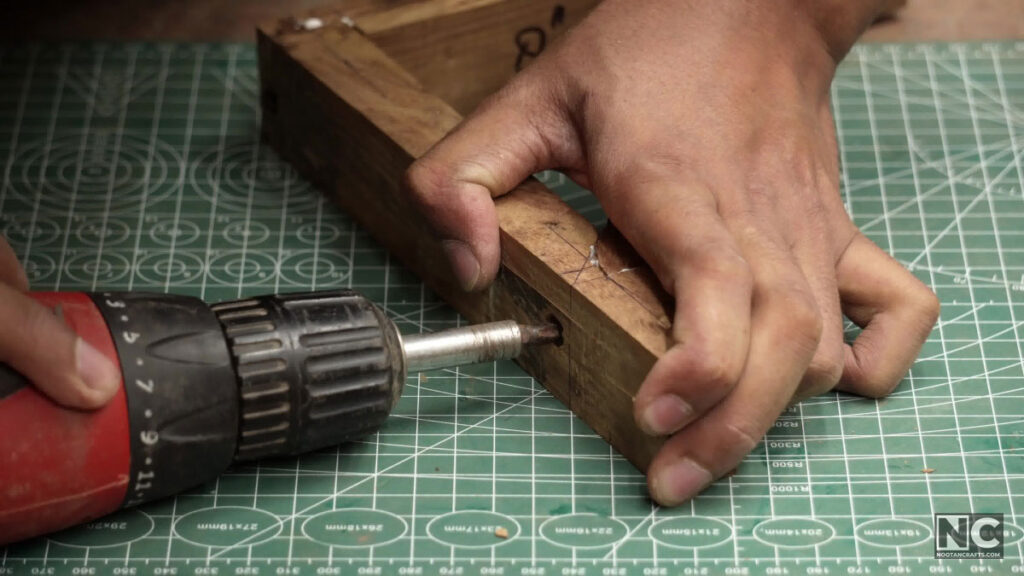
The tenons on the brace are cut at 45 degrees on both faces and both edges, because the brace meets the arms at that angle. Mine are not perfectly accurate, since it is all hand cut, and I dealt with that at the sanding stage.
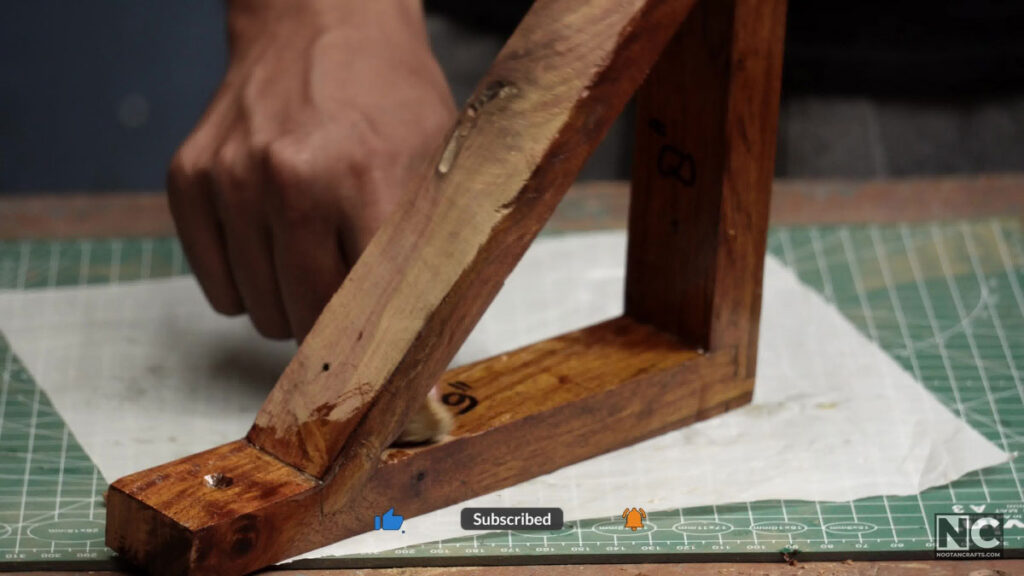
Mark the pilot holes, glue everything, and pull it together with screws.
A trick for a joint that will not quite close. While you are sanding, put a little glue into the open gap and keep sanding over it. The sanding dust is the same wood, so it mixes into the glue and packs the gap with a filler that matches the piece exactly. Do it while the glue is still wet and it disappears.
I sanded with 80 grit and then finished with polyurethane wiped on with a rag. It is not perfect. It is strong, and it looks good on a wall.
Method 4: The Designer Support Bracket
This is the one from my story. Heavier stock, a decorative piece in the corner instead of a plain diagonal, and a flat lip running down each side, which is what makes it easy to screw to a wall.
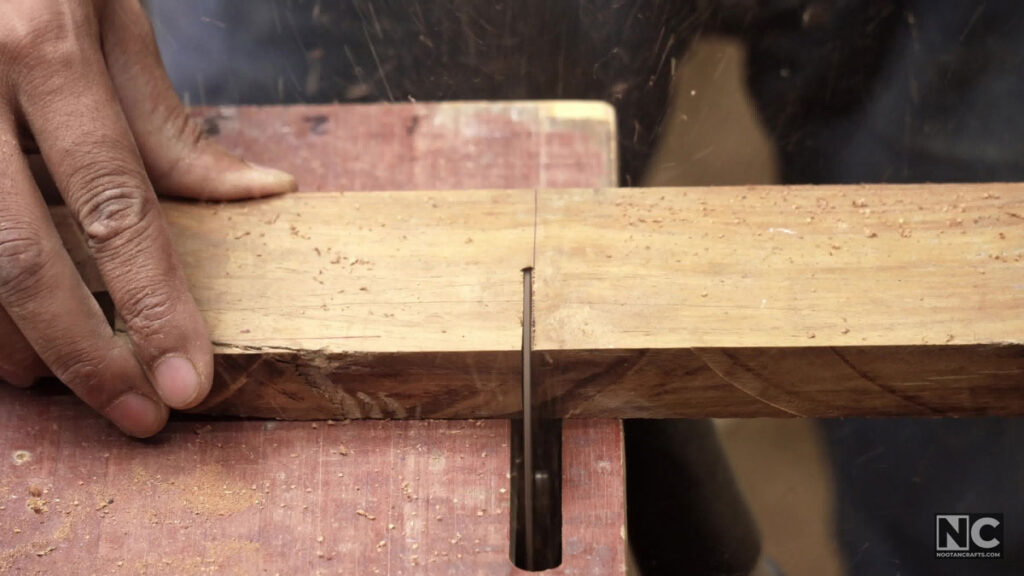
The two arms are thicker than on the other brackets — one about 3 inches wide and the other about 2.5. Mark and cut the lengths the same way as the butt joint bracket, with one arm longer than the other by the thickness of the stock.
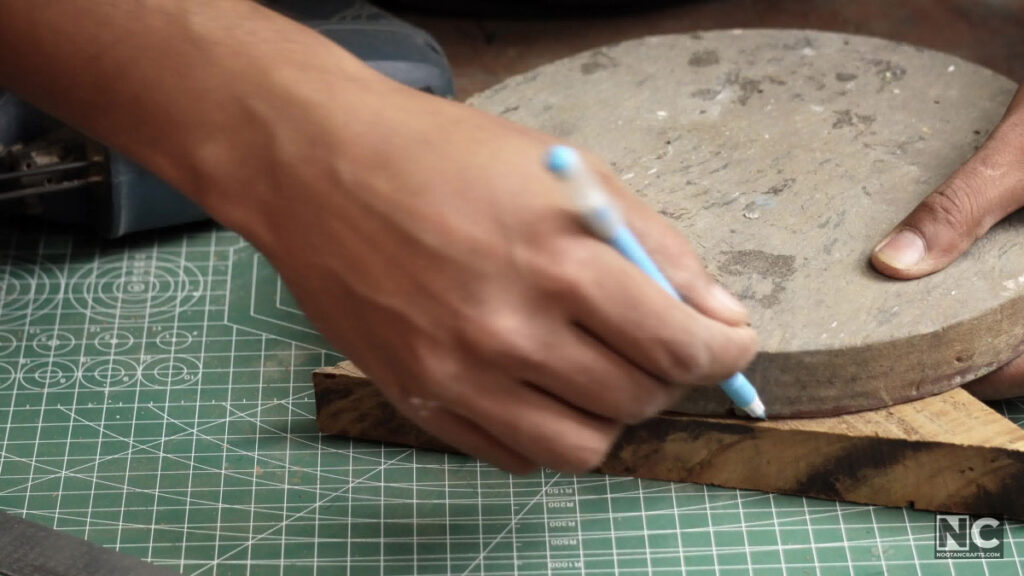
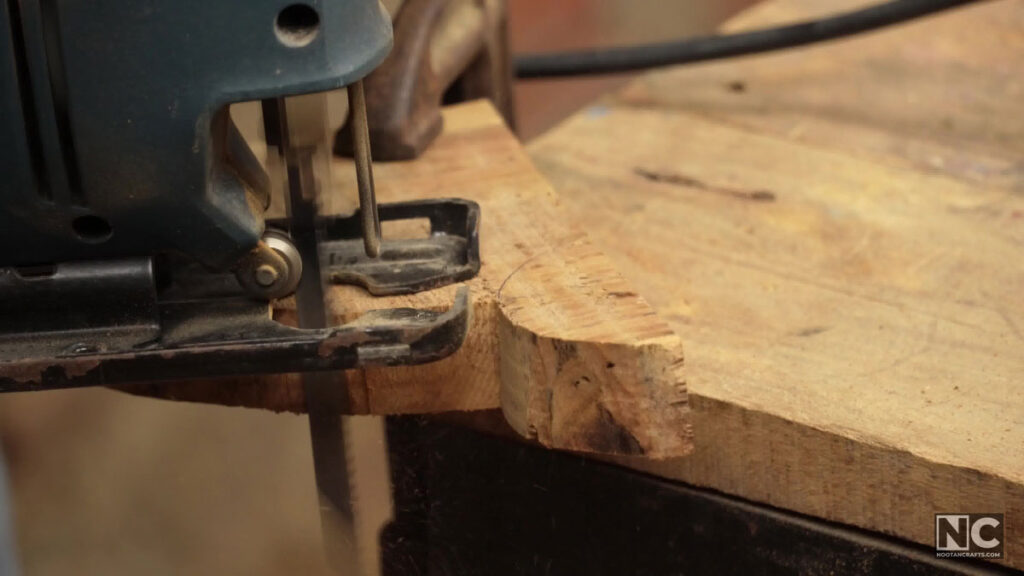
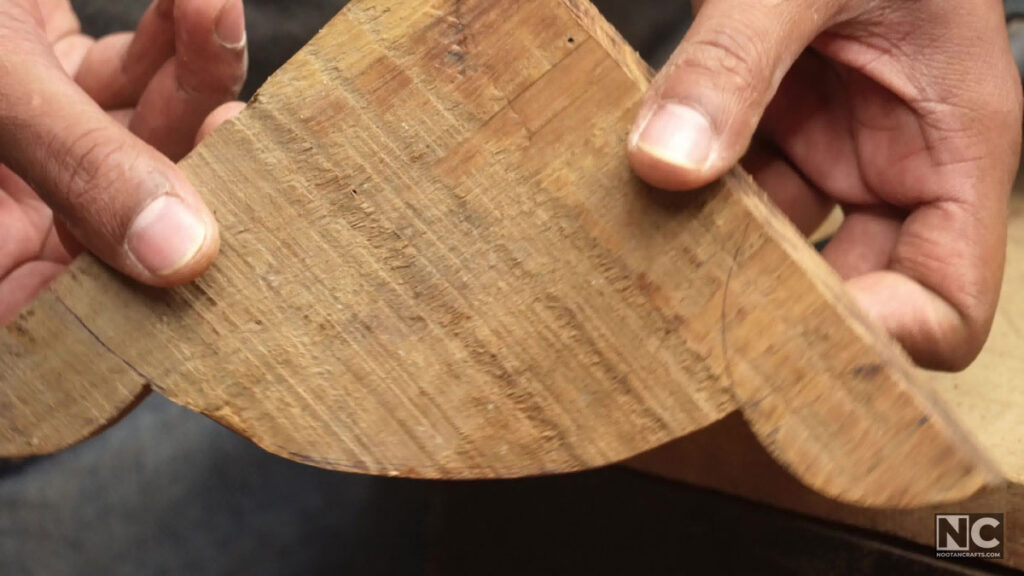
Remember the other half of the square from method 1? That is what the decorative support is cut from. I kept the shape simple. Draw whatever you like on it — a curve, a couple of steps, a cut-out. This is the part of the bracket people actually look at.
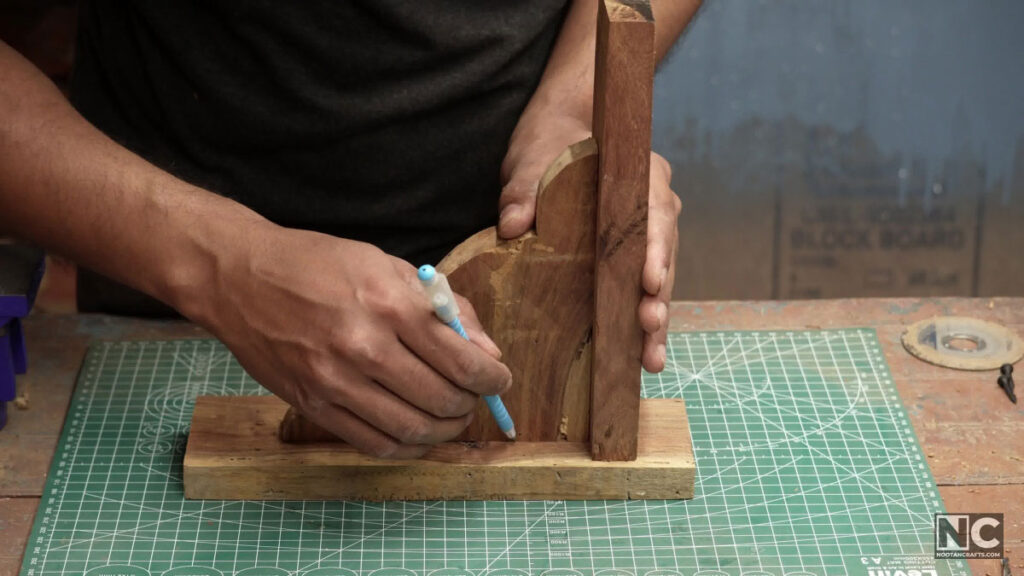
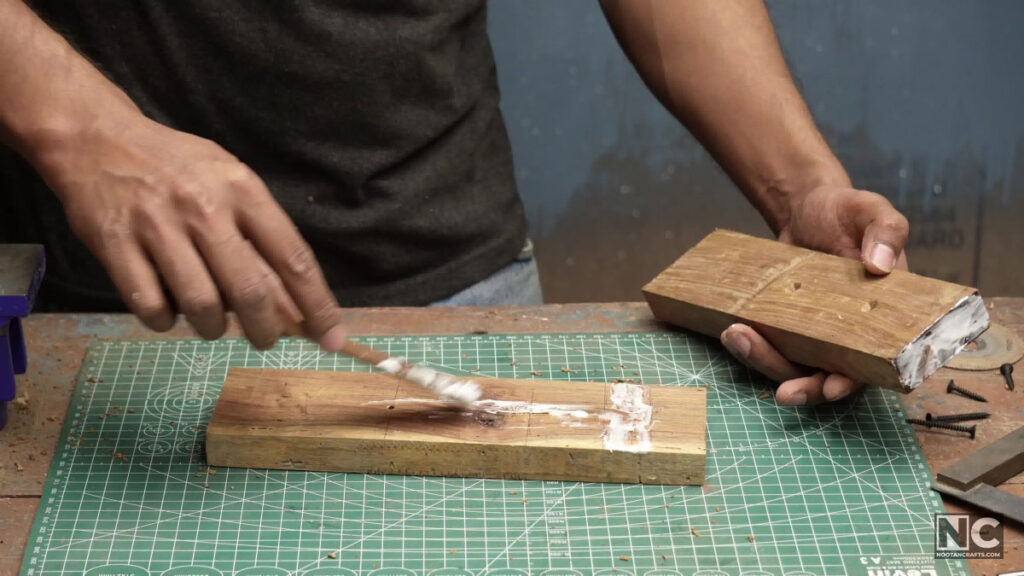
Dry-fit everything and mark the pilot holes before you apply any glue. Then glue and screw it together.
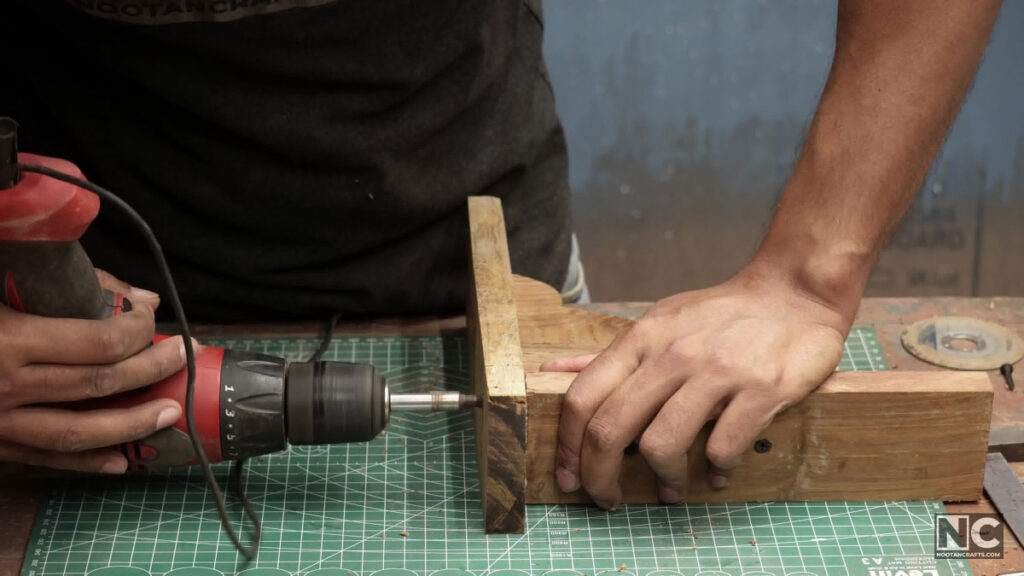
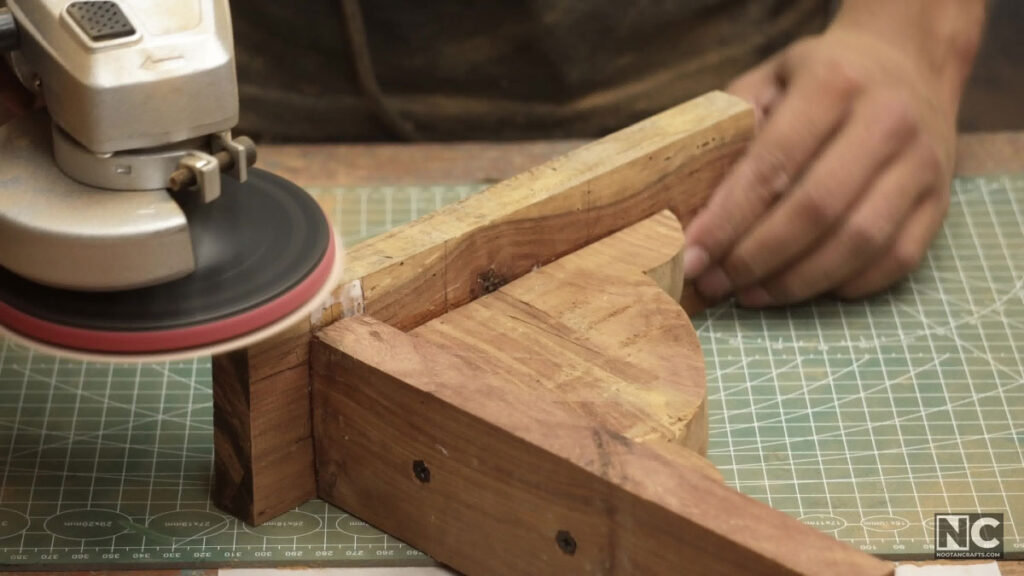
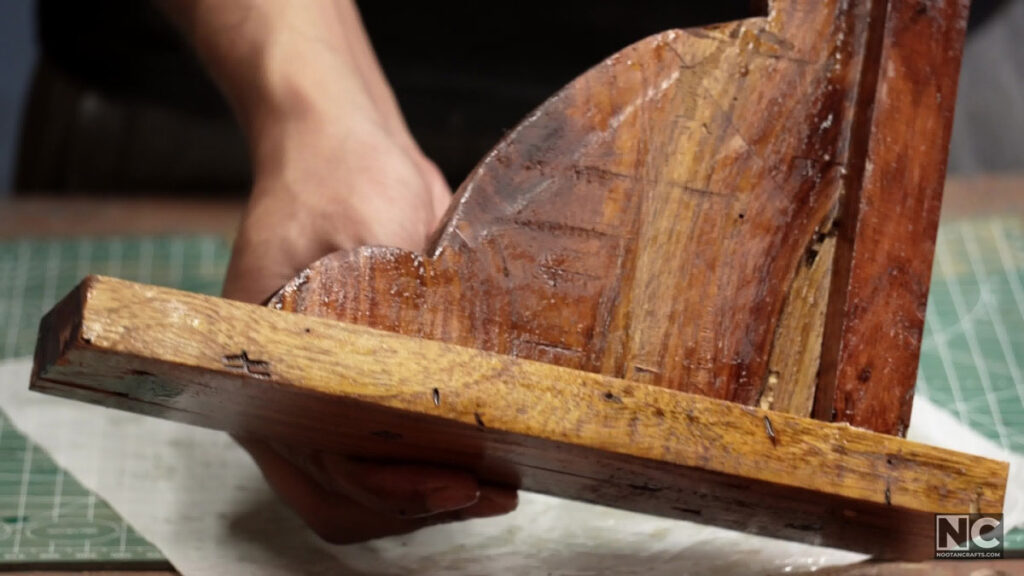
Sand off the rough edges and the burn marks from the saw, then finish it. Mine has plenty of flaws. It is scrap wood and it was a demonstration, and it still held a shelf for weeks — right up until the wall let go, which is the next section.
How Big, and How Far Apart
| Question | Answer | Why |
|---|---|---|
| How deep should the bracket be? | Reaching most of the way under the shelf, and always shorter than the shelf is deep | A short bracket under a deep shelf lets the front edge sag and tip. A bracket that reaches past the front looks wrong and catches on things |
| How far apart? | 36 in maximum for light to medium loads on 3/4 in lumber. 24 in or less for books and heavy items | The shelf bends between the brackets. Span is what makes a shelf sag, more than the shelf thickness does |
| How far can the ends stick out? | 6 to 9 in past the last bracket | Past that the overhang levers the shelf and works the fixings loose |
| Does the shelf material matter? | Yes. Solid hardwood spans furthest, then plywood, then MDF and particleboard | MDF creeps — it keeps bending slowly under a steady load and never comes back. Bring the brackets closer together on it |
| How many brackets? | Two minimum, then one more for every extra 24 to 36 in of length | Work it out from the span, not from how the shelf looks |
Fixing It to the Wall
This is the part I got wrong, and it decides whether your shelf stays up.
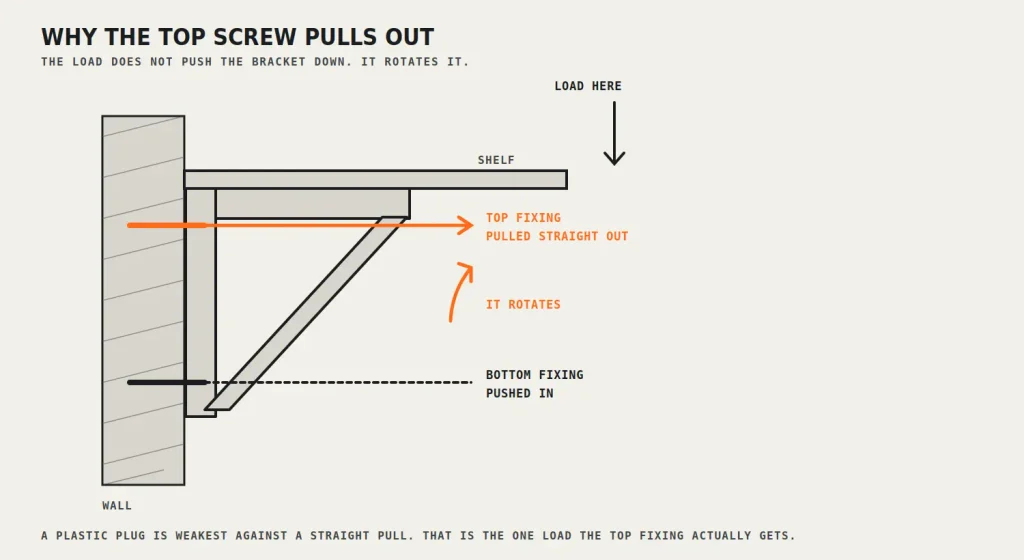
The load on a shelf does not push the bracket down the wall. It levers the top of the bracket away from it. Put a heavy thing on the front edge, and the bracket tries to rotate, pulling the top screw straight out of the wall while the bottom one is pushed in. So the top fixing is under load, and pulling straight out is what a plastic wall plug is worst at.
That is exactly what happened to me. The plug did not snap, and the screw did not shear. The plug slowly dragged itself out of the plaster, and the shelf tilted forward.
| What the wall is | Use this | Do not use |
|---|---|---|
| Solid brick or concrete | A heavy-duty sleeve or wedge anchor with a bolt, into a hole drilled with a hammer drill | A small plastic plug. It has almost no grip against a pulling load |
| Drywall with a stud behind it | A wood screw long enough to go through the board and at least 1.5 in into the stud. This is the strongest option in a stud wall by a long way | Anything that stops in the drywall when a stud is right there |
| Drywall, no stud where you need it | A toggle bolt or a metal self-drilling anchor rated for the load, and move the shelf closer to a stud if you can | The plastic plug that came in the pack. This is the one that failed on me |
| Hollow block | A toggle or a long sleeve anchor that reaches the solid web between the voids | A short anchor that lands in a void and grips nothing |
| Old crumbly plaster | Go through to whatever is solid behind it, and use a longer fixing | Any fixing that relies on the plaster itself |
- Find out what your wall actually is firstTap it. A hollow sound is drywall, a dull thud is solid. Then find the studs with a stud finder or by tapping and probing with a small nail in a spot that will be hidden.
- Put the brackets on the studs if you have themMove the shelf a few inches rather than fixing into hollow board. Stud spacing decides bracket spacing more often than the shelf does.
- Mark the top hole, drill it, and hang the bracket on one screwLeave it slightly loose so it can pivot.
- Level it, then mark the lower hole through the bracketMarking through the bracket itself means the holes line up, which hand-measuring rarely manages.
- Drill the lower hole and fit both fixings properlyIn masonry, blow or vacuum the dust out of the hole first. Dust left in the hole is the difference between an anchor that grips and one that spins.
- Tighten evenly and check level againAnchors pull the bracket in as they tighten and that can shift it.
- Test it before you load itHang your weight off the front of the bracket for a moment. Do it before the shelf goes on, not after your glue can does.
Before you drill, know what is behind the wall. Cables usually run vertically and horizontally from sockets and switches, and pipes run to taps and radiators. Do not drill directly above or below either one. A cheap detector is worth the money, and if you are unsure, move along the wall rather than hope.
What I Would Buy for This Job
You can build every bracket here with a saw, a drill, and some scrap. Three things make the job easier and the result better.
What I’d buy for this job


Last update on 2026-10-19 / Affiliate links / Images from Amazon Product Advertising API
| What | Why it earns a place |
|---|---|
| Adjustable countersink bit set | Cuts the pilot hole and the countersink in one pass with a stop collar, so you are not swapping bits twice per screw. On a short piece, a proper pilot hole is also what stops the wood splitting |
| Wood glue | The glue carries the joint, not the screws. Use it on every joint on every bracket here, including the ones you are also screwing |
| Wood screws | For assembling the brackets. Long enough to reach well into the second piece, and always into a pilot hole |
The fixings that go into the wall are a separate buy, and they depend on your wall. There is no single anchor that suits brick, drywall and hollow block, so use the table above to work out which type you need and buy that one. This is the part worth spending on. Everything else on this list makes the bracket nicer. The anchor is what keeps it on the wall.
Wooden Shelf Bracket Questions People Actually Ask
How much weight can a wooden shelf bracket hold?
Far more than the wall fixing will, which is why the question is usually the wrong one. A bracket made from 1 inch stock with a glued and screwed brace is stronger than a plastic wall plug in drywall by a wide margin. Work out your fixing first, then the bracket. Mine sagged with 11 lb on the shelf and the bracket was untouched.
Which of these four is strongest?
Method 3, the rabbet and overlap with a mortised brace. The pieces interlock, so the load passes through the wood rather than through the screws. Method 2 is close behind and much quicker. Method 1 is the weakest because of the short grain at the points.
What wood should I use?
Anything you have. Pine and scrap softwood are fine for normal shelves. Hardwood is stiffer and worth it for a heavy shelf or a thin elegant bracket. Avoid MDF and particleboard for brackets — they have no grain strength and screws strip out of the edges.
Do I need screws, or is glue enough?
Use both. Glue carries the joint, screws clamp it while it cures and hold it if the glue ever fails. On end grain, which is most of these joints, glue on its own is not enough because end grain absorbs it instead of bonding.
Why did my shelf sag in the middle?
The brackets are too far apart, or the shelf is a material that creeps. Keep the span under 36 inches for light loads and under 24 for books. MDF keeps bending slowly under a steady load and does not spring back, so it needs closer support than plywood or solid wood.
Can I fix a shelf bracket without hitting a stud?
Yes, with the right anchor — a toggle bolt or a metal self-drilling anchor rated for your load, not the plastic plug from the pack. But if a stud is within a few inches, move the shelf. A screw into a stud beats any hollow-wall anchor.
How high should I mount a shelf?
Whatever suits the room, with one practical rule: leave enough clearance above it to actually put things on and take them off. And if it is above a desk or a bed, fix it as though it will be loaded heavily one day, because eventually it will.
What finish should I use?
Polyurethane if you want a hard-wearing sheen that shows the grain, which is what I used. Oil for a flatter, more natural look that is easy to touch up. Paint if the bracket is meant to disappear against the wall. Finish it before you mount it, while you can still turn it over easily.
The Part That Actually Matters
Build whichever bracket suits your shelf, then focus on the fixing.
My bracket was solid and my shelf still nearly came down, because I put a good bracket on a bad fixing. A heavy-duty anchor and ten minutes fixed it, and now the same shelf holds my weight.
Push down hard on the front edge before you trust it with anything you care about.