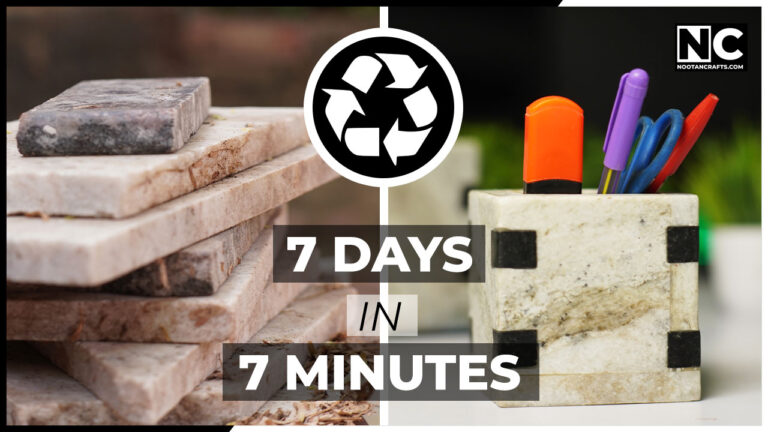
There was scrap marble lying around after my home construction, so I turned it into a pen and cutlery holder. It took seven days, mostly because epoxy has to cure overnight and the polishing runs through seven grits. I am happy with how it came out, and I made a few mistakes worth knowing about before you start.
Before any of it, one warning that applies to every stone project and does not get said often enough: cutting and grinding stone dry throws out a dust that damages lungs permanently. Set that up properly before you start.
Dry-cutting marble and granite releases silica dust that scars lungs permanently
Stone dust is not sawdust. Cutting, grinding and polishing stone releases respirable crystalline silica — particles OSHA describes as at least a hundred times smaller than ordinary sand, fine enough to reach deep into the lungs and stay there. It causes silicosis, which is incurable, along with lung cancer, COPD and kidney disease. OSHA names powered hand tools — saws, grinders and high-speed polishers, which is exactly this project — as producing some of the highest exposures of any work.
- Granite is the dangerous one here. Granite runs 10 to 50 percent crystalline silica. Marble is under 5 percent. The granite accents are the part to be most careful with, and quartz or engineered stone would be worse again.
- Cut wet, not dry. The single biggest control, and the difference is not small. OSHA reports dry-method exposures from under 40 up to 770 µg/m³, with wet methods bringing the same work down to under 20 to 100 — one shop measured a 440 µg/m³ drop simply from switching to water-fed tools. The permissible limit is 50 µg/m³ averaged over eight hours.
- A paper dust mask is not enough for dry stone work. At high dust levels OSHA requires more than even a half-face respirator. If you cannot run water, change the method rather than making up the difference with a mask from the hardware aisle.
- Work outdoors, and keep other people away. The dust hangs in the air long after the tool stops.
- Never sweep stone dust up dry. Sweeping puts settled dust straight back into the air. Hose it down, or vacuum with a suitable filter.
- Eye and ear protection. A diamond blade throws chips hard, and the noise is constant.
What’s Inside!
- 1 – How to Make a Pencil Holder from Recycled Materials
- 2 – Step 1: Cutting the Pieces
- 3 – Step 2: Epoxy Adhesive Application
- 4 – Step 3: Refining the Structure
- 5 – Step 4: Adding Granite Accents
- 6 – Step 5: Creating a Slots Cutting Rig
- 7 – Step 6: Gluing Granite Pieces
- 8 – Step 7: Smoothing and Shaping
- 9 – Step 8: Wet Polishing
- 10 – The Finished Holders
How to Make a Pencil Holder from Recycled Materials
- Scrap marble — offcuts from a countertop or construction job, usually free if you ask
- Scrap granite for the contrasting accents
- Marble cutter, or an angle grinder with a diamond blade
- Small angle grinder for trimming and shaping
- Diamond cup wheel and a stone grinding wheel for edges and chamfers
- Wet diamond polishing pads, a full set of seven grits
- Two-part epoxy, and something to measure it with
- Masking tape to hold parts while the epoxy cures
- Scrap wood for the 45-degree slot jig
- Clamps, a straight metal guide, a marker
- Water supply for wet cutting, plus the PPE above
Step 1: Cutting the Pieces
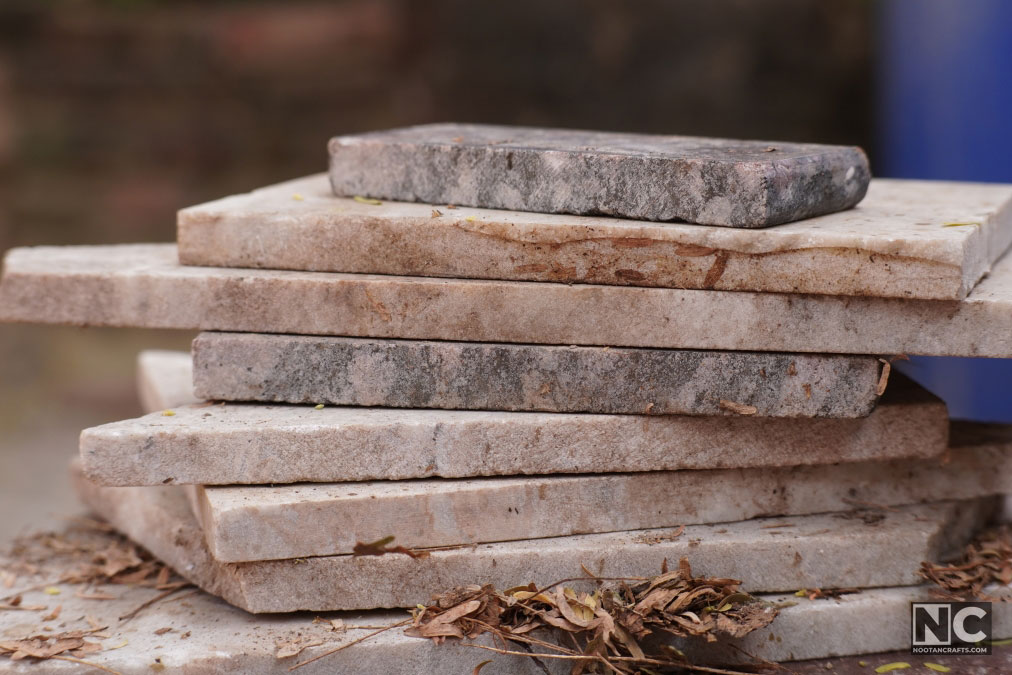
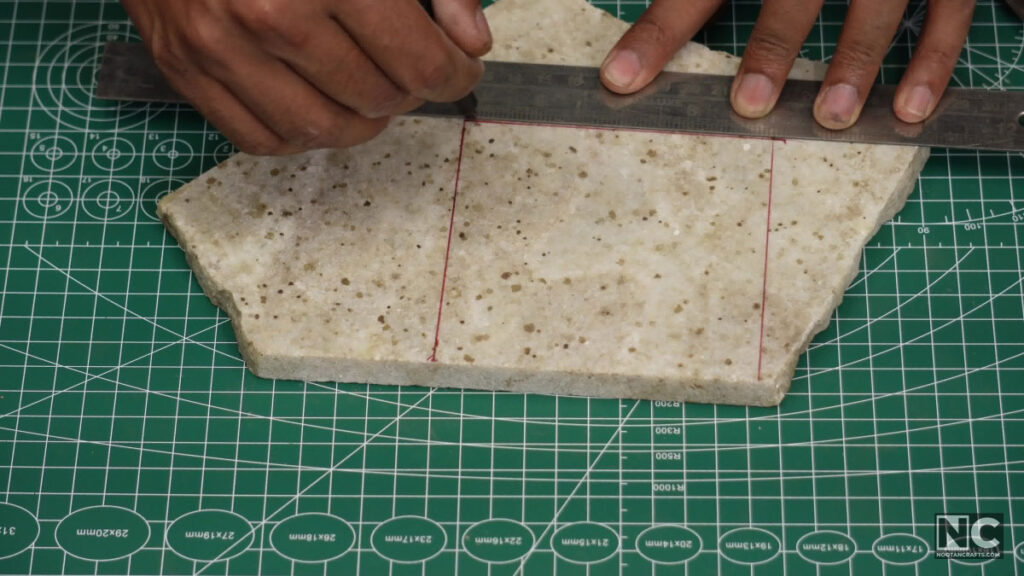
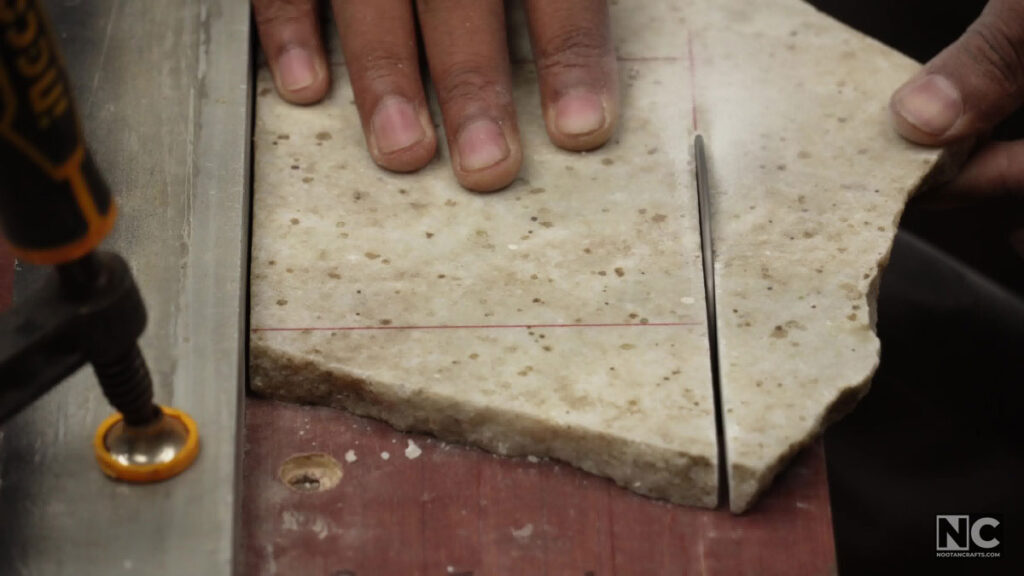
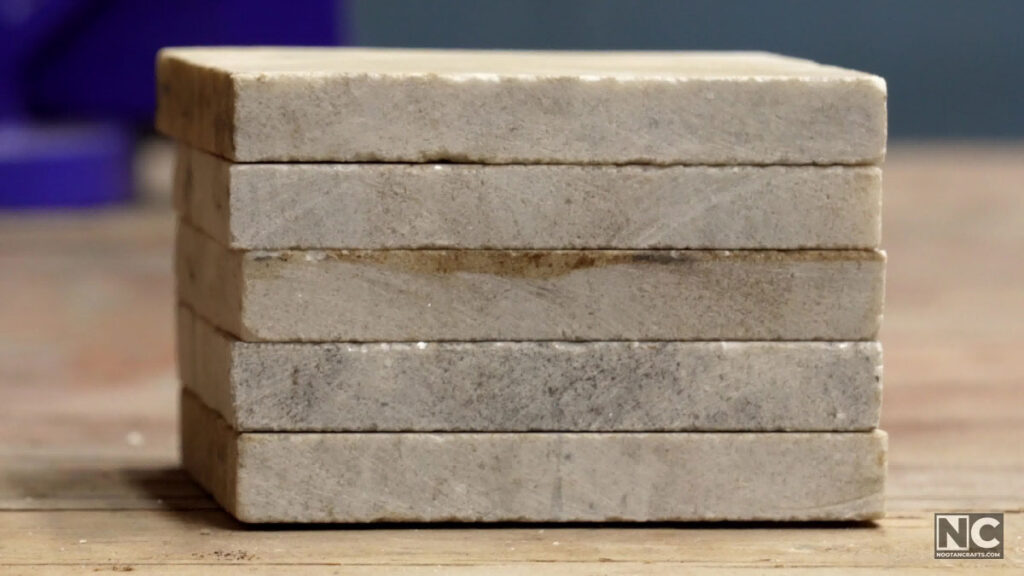
I began by cutting the marble into 4×4-inch pieces using an upside-down marble cutter. I employed a metal guide with a clamp to make straight cuts. The process was so enjoyable that I decided to make another 3×3-inch version. After cutting, the pieces look something like this.
Step 2: Epoxy Adhesive Application
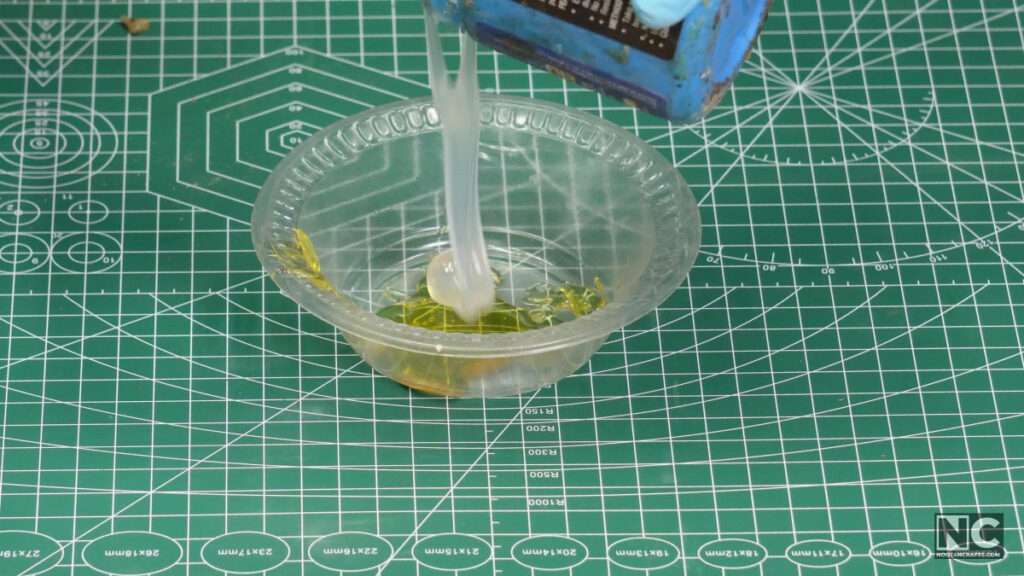
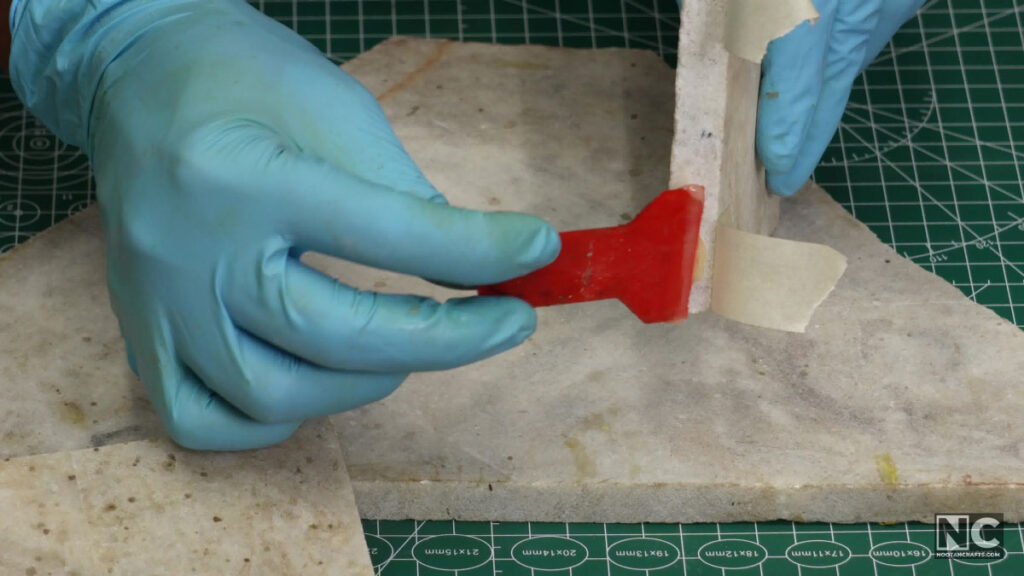
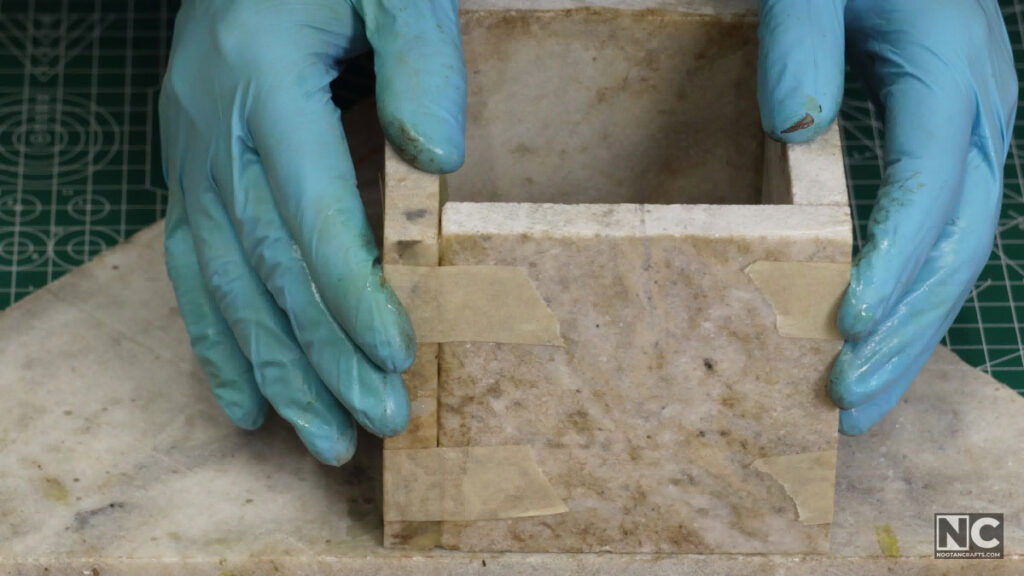
I mixed the epoxy by eye rather than measuring it, and it worked out — but it is worth knowing what you are gambling with. Two-part epoxy cures by chemistry, so a batch well off ratio stays tacky or goes brittle no matter how long you leave it. If you are new to it, measure.
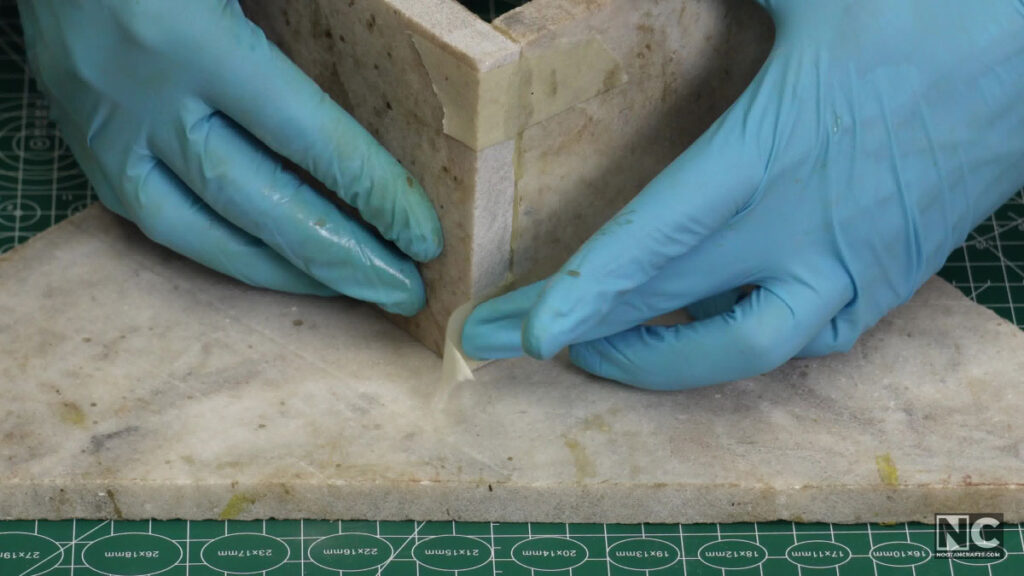
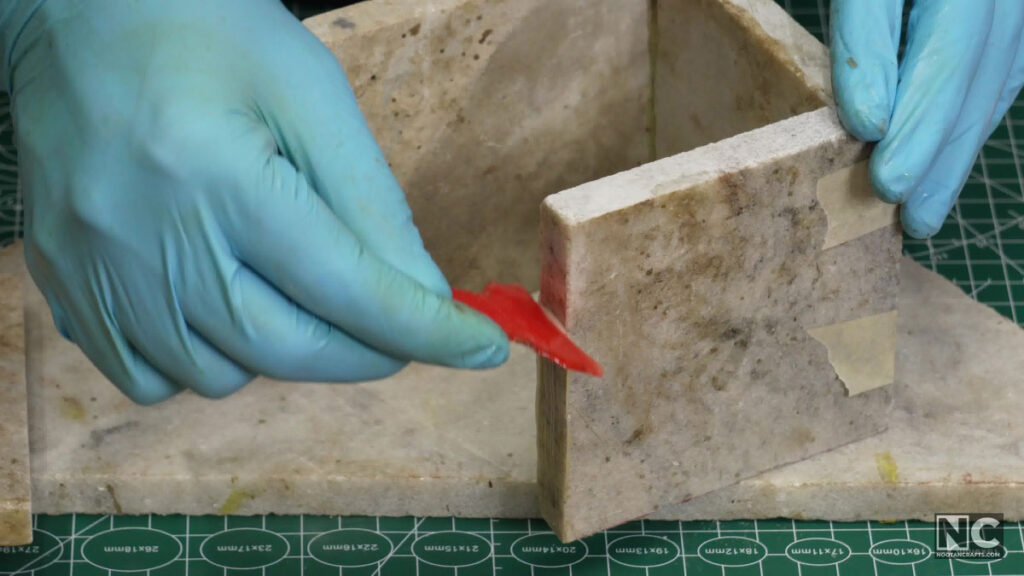
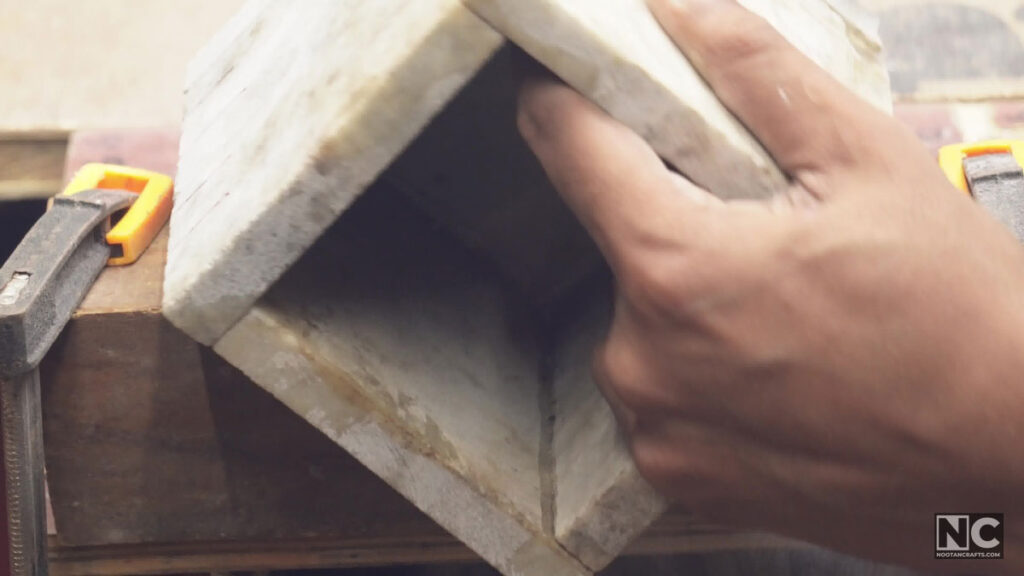
I ran the adhesive along the edges and used a plain butt joint rather than a miter. Marble is brittle, and a miter puts a long feathered edge exactly where the stone is weakest. A butt joint gives more surface for the epoxy and far less to chip. Tape holds everything still overnight.
Then the whole box goes onto an oversized base slab, and gets trimmed back later. A base cut to size still has to be refined to fit once the box is on it, so the work is the same either way — and starting from a larger offcut means you can put the box anywhere on it.
Step 3: Refining the Structure
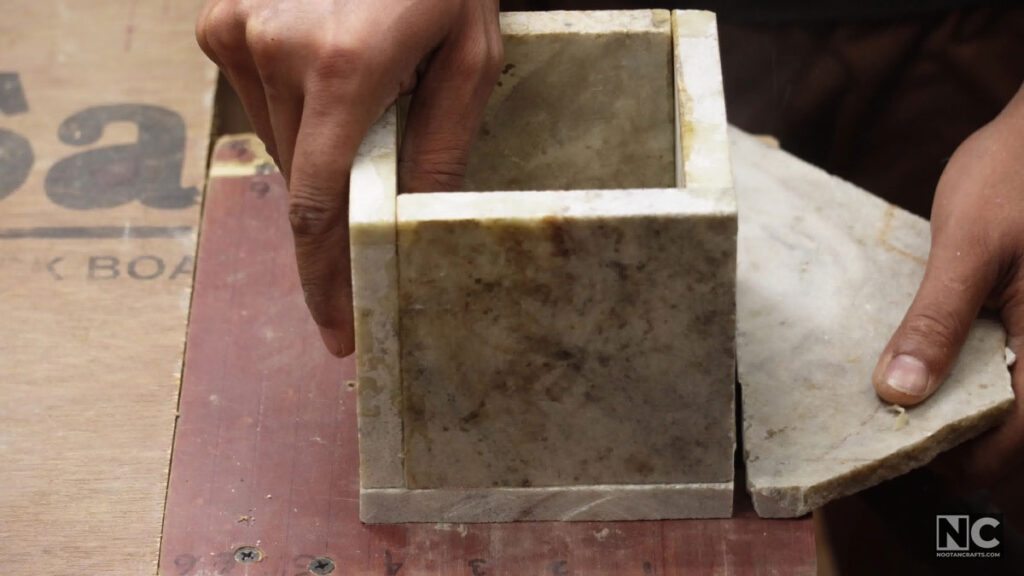
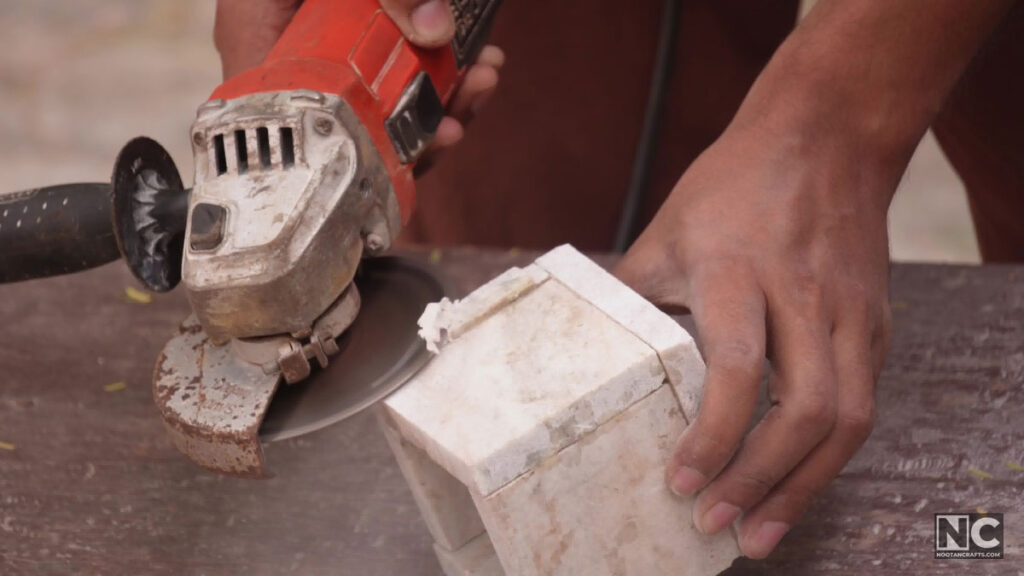
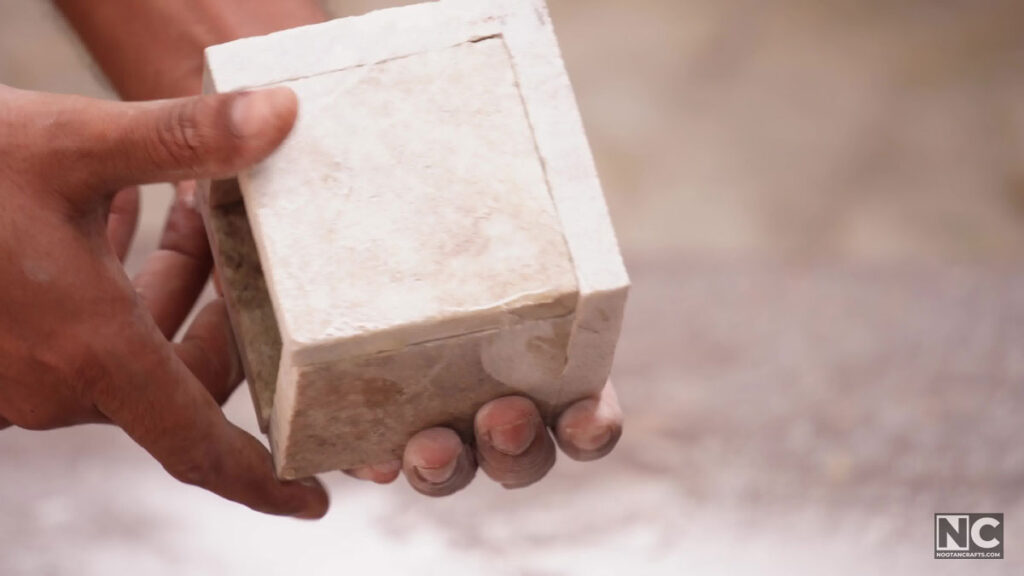
After removing the tape the following day, I used a marble cutter to trim the unwanted base material. I was careful not to cut into the main piece. I attached a diamond blade to a smaller angle grinder to smooth out the rough edges and refined the structure.
Step 4: Adding Granite Accents
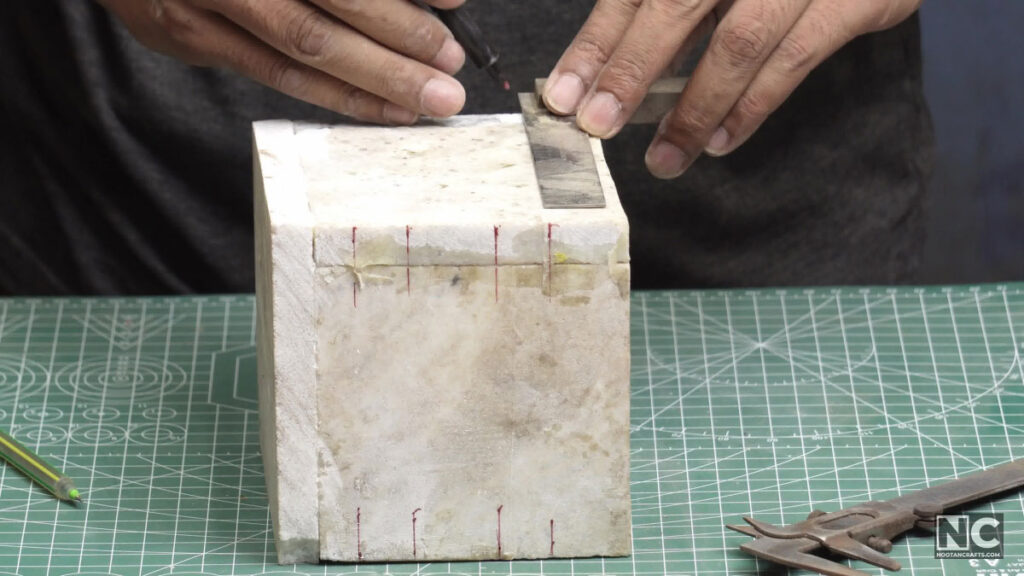
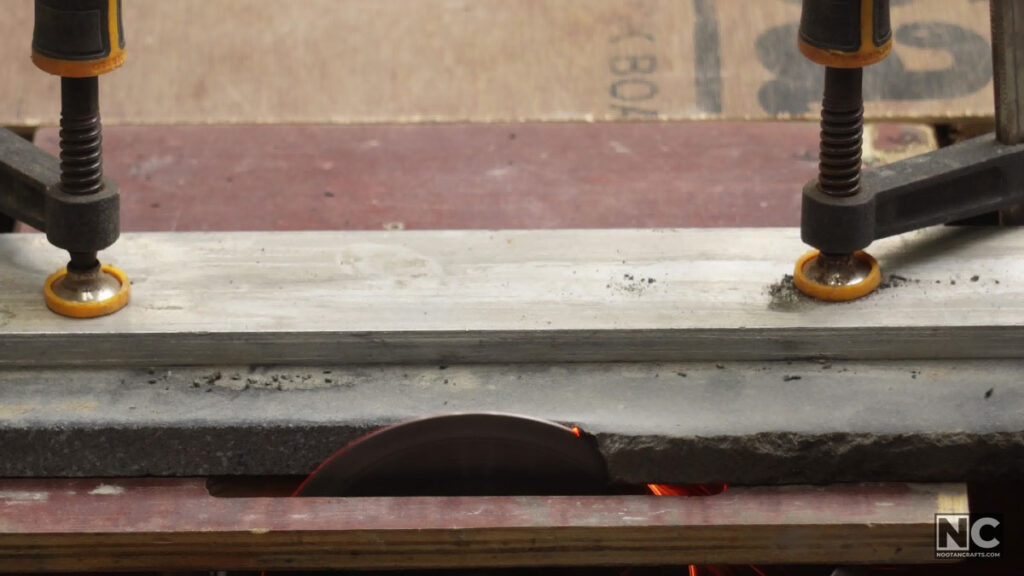
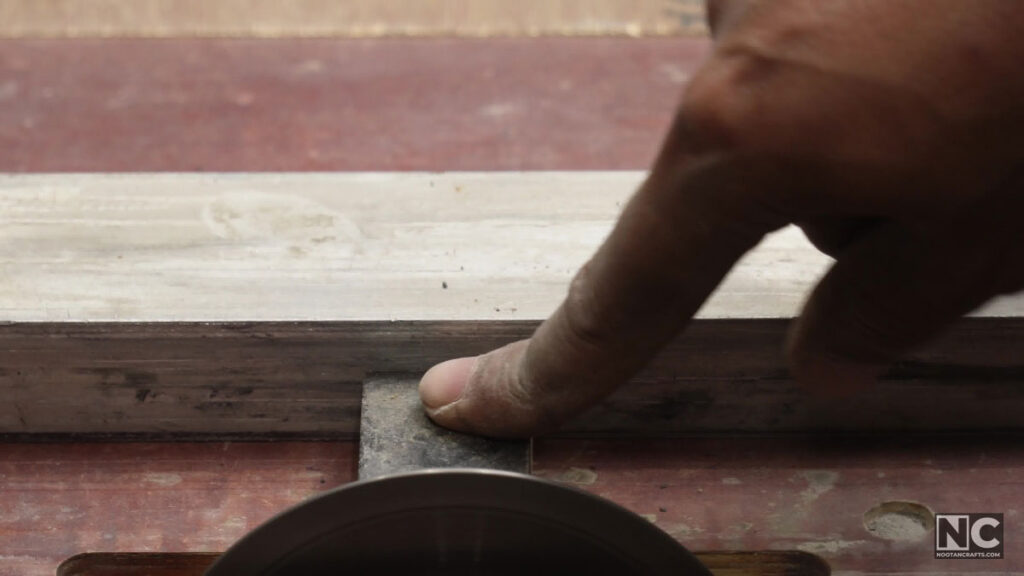
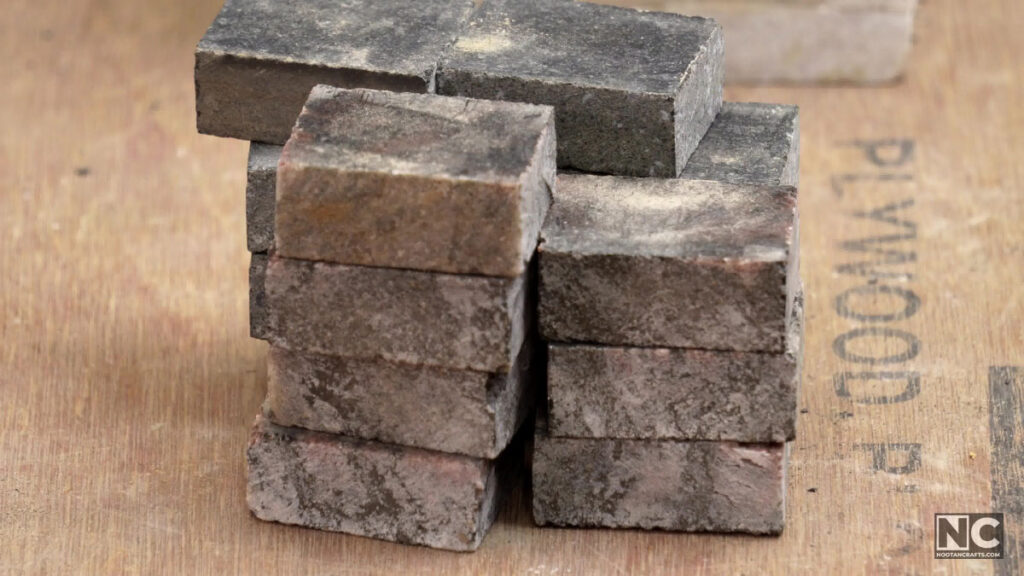
I decided to add contrasting granite pieces to the holder’s corners to enhance the design. I used 11/16 in (1.75 cm) granite on the 4 x 4 in holder and 9/16 in (1.5 cm) on the 3 x 3 in one. I marked the slots cutting area, but it will be tricky to cut.
Step 5: Creating a Slots Cutting Rig
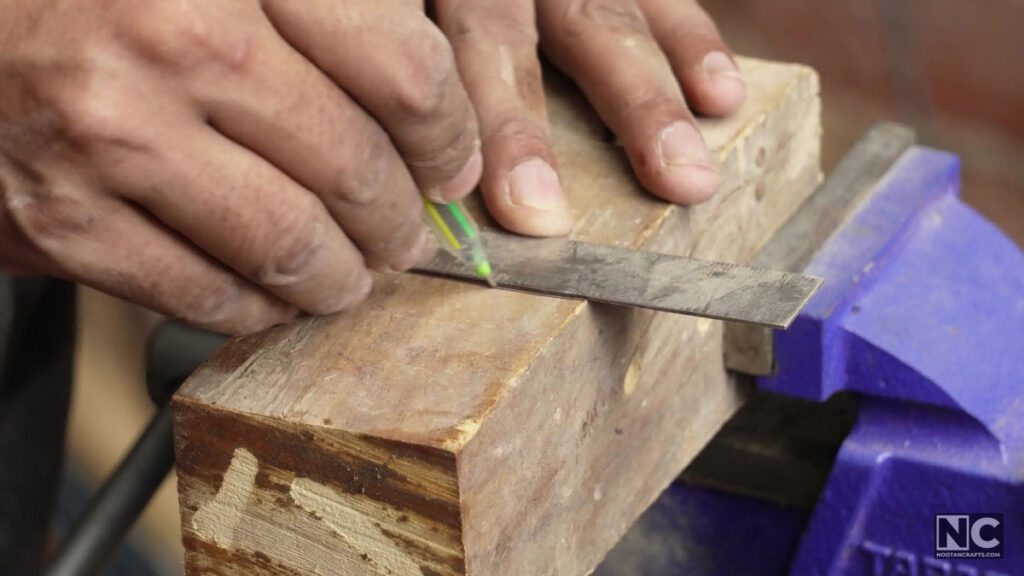
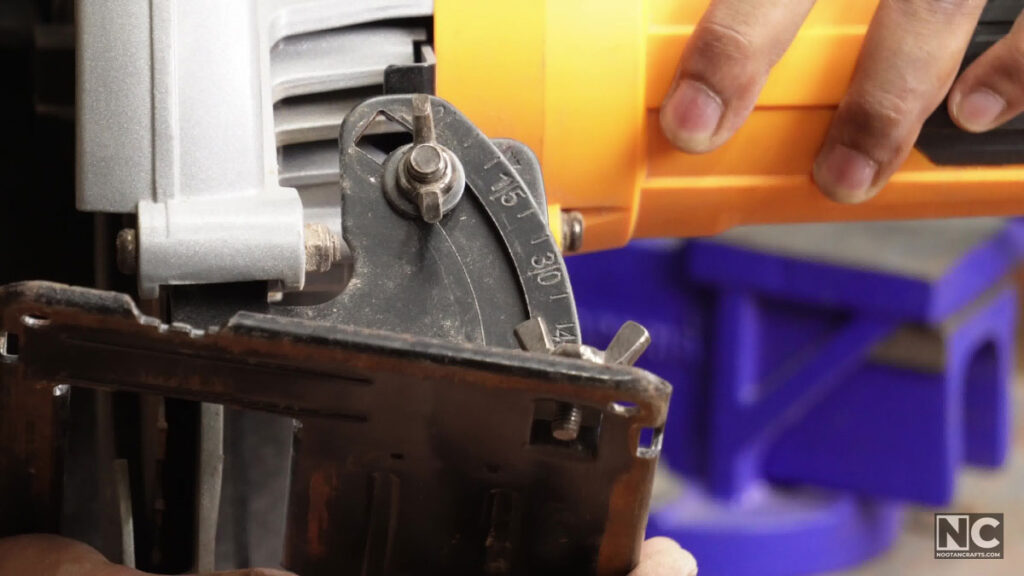
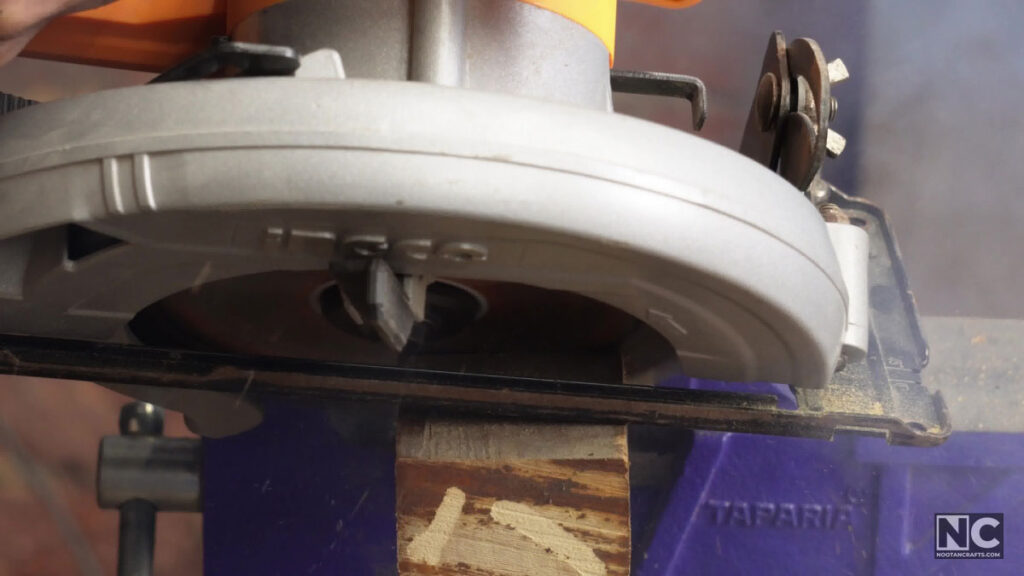
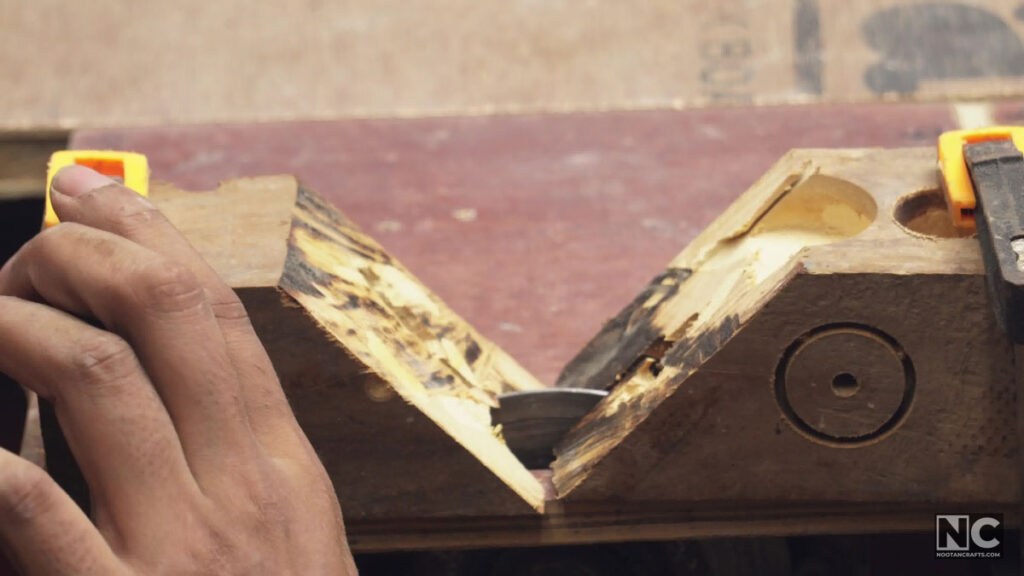
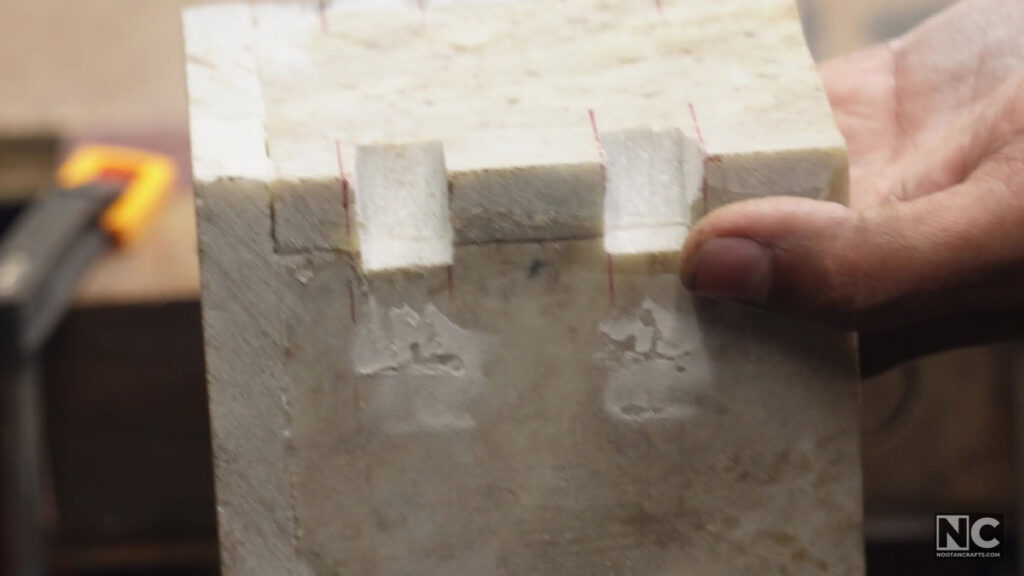
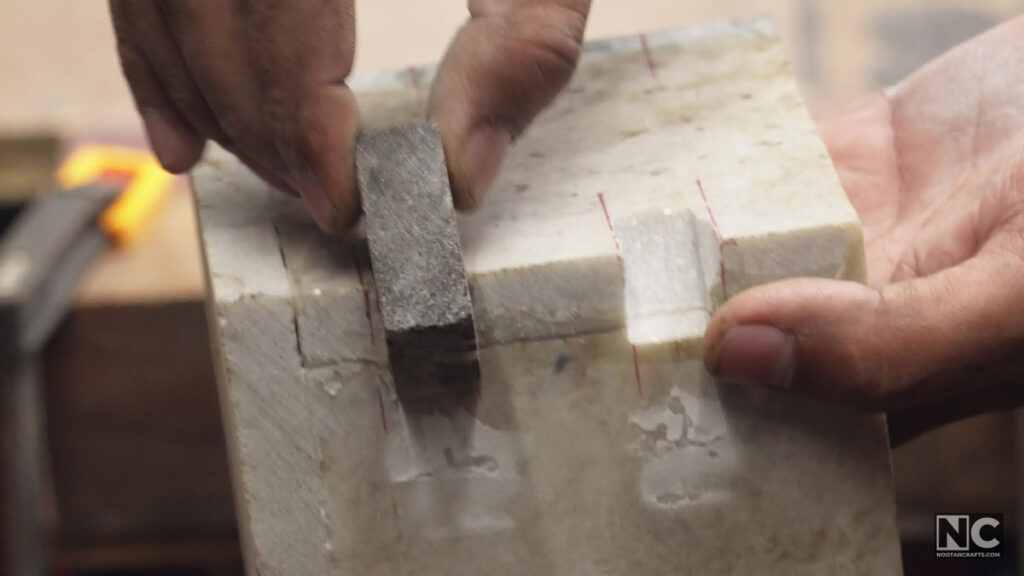
Each slot sits across a corner joint, spanning both pieces, so it does not exist until the box is glued up — there is no way to cut these flat on the bench beforehand. That is what the jig is for. I made a simple one from scrap wood, cut at 45 degrees with a circular saw, then clamped it to the marble cutter to hold the holder at the right angle. From there I cut the slots for the granite.
Step 6: Gluing Granite Pieces
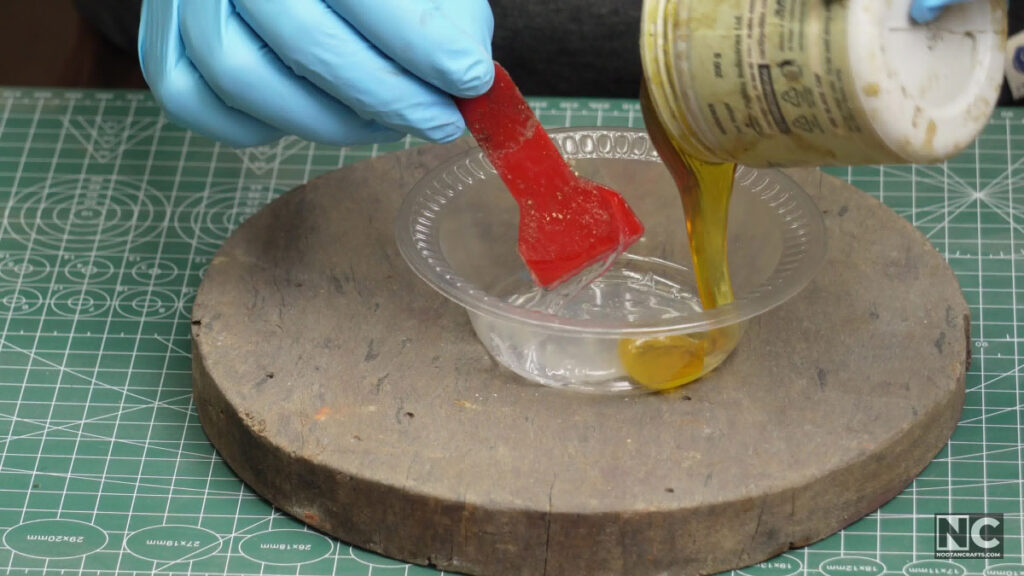
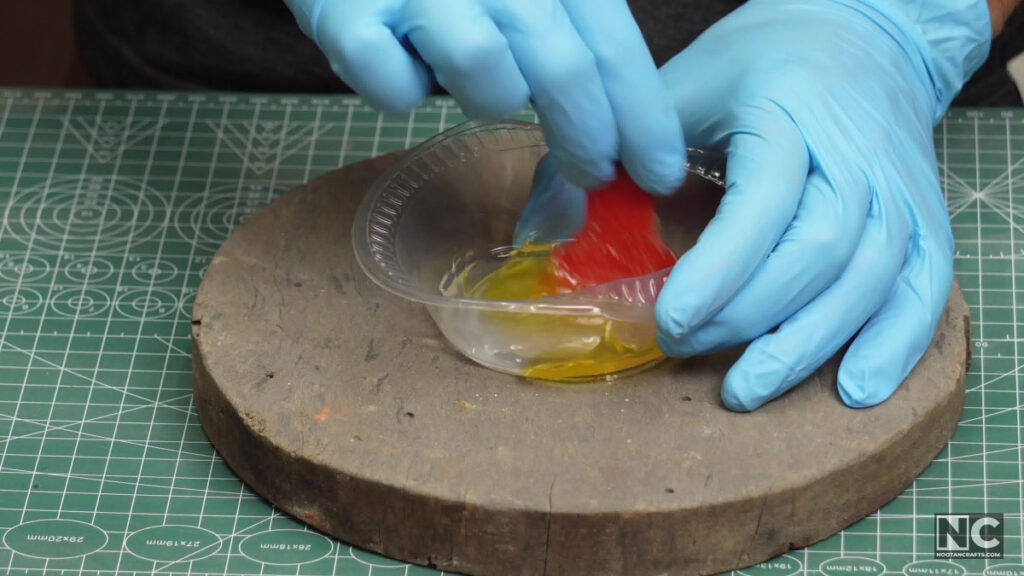
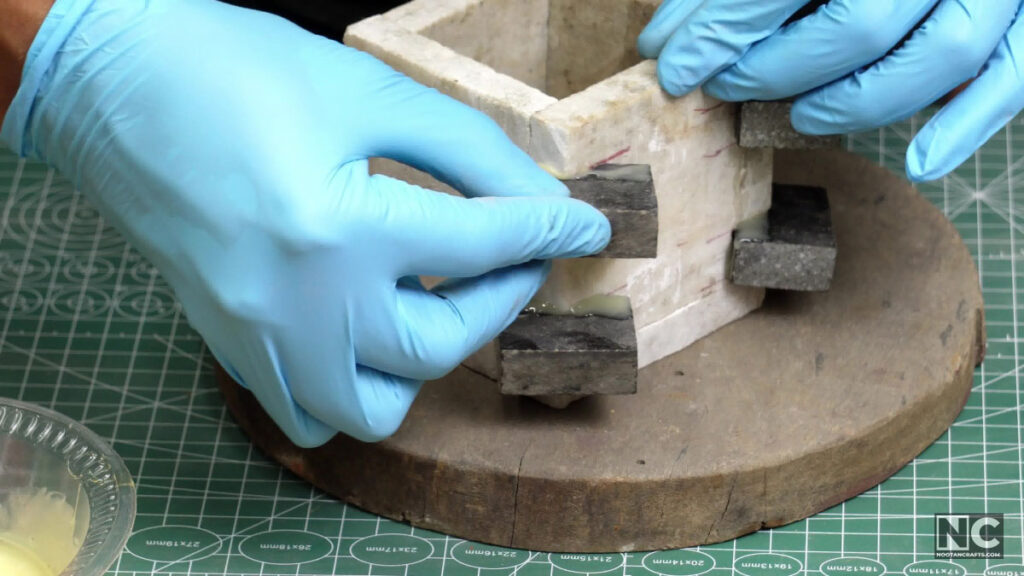
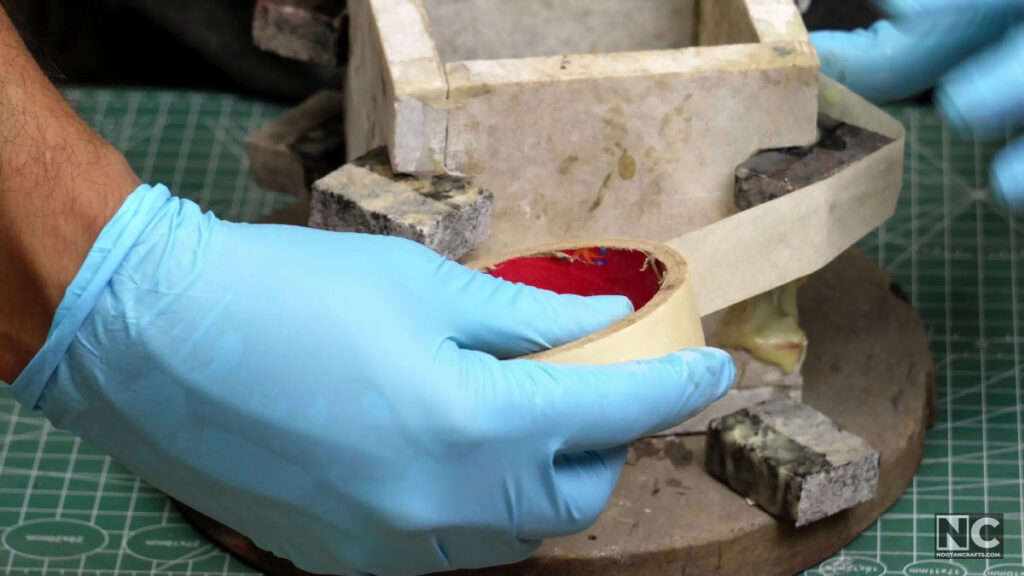
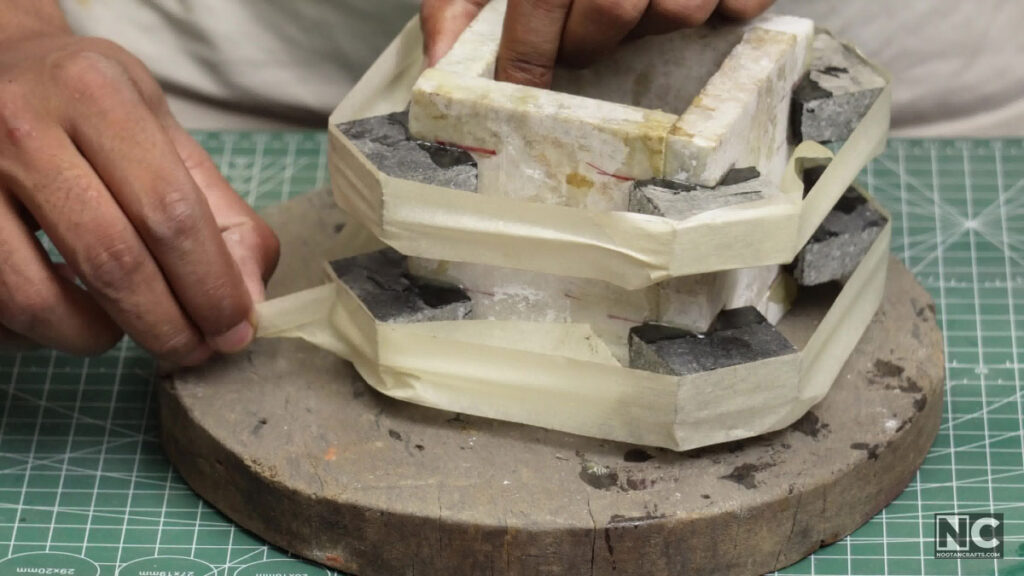
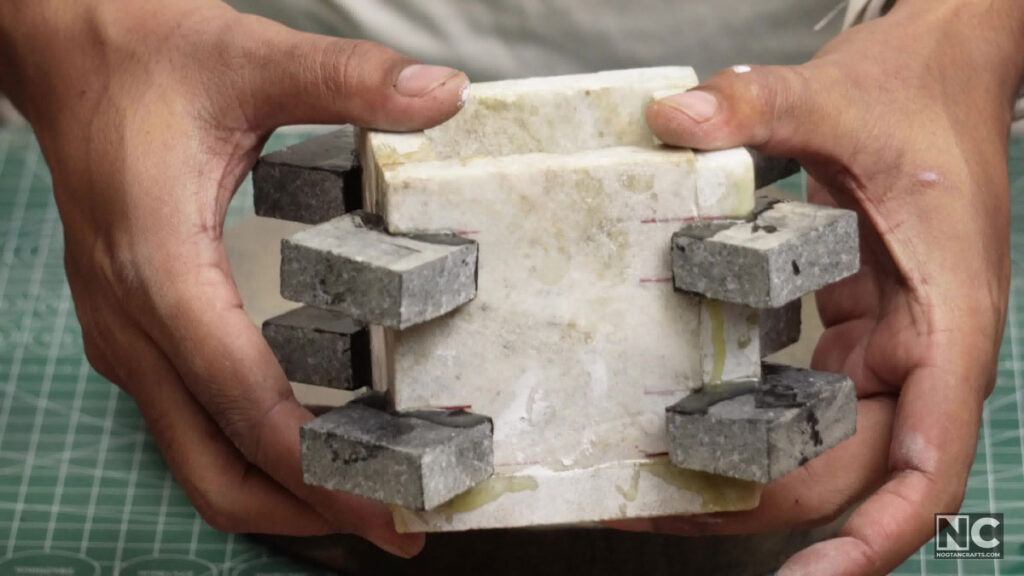
I prepared the epoxy adhesive again and started attaching the granite pieces. Some of them were loose, so I used tape. The process was messy, but it resulted in strongly attached pieces after removing the tape the next day.
Step 7: Smoothing and Shaping
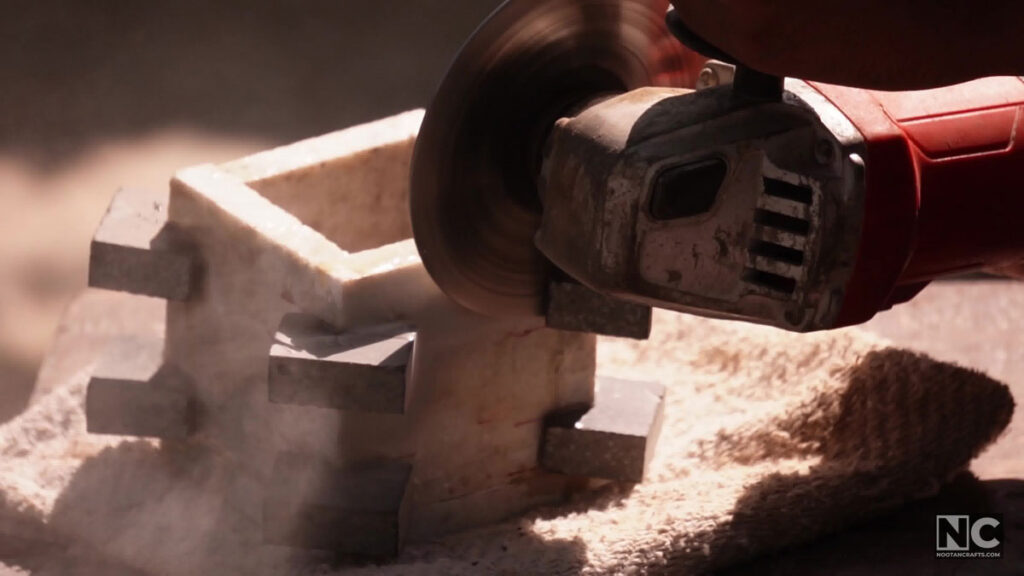
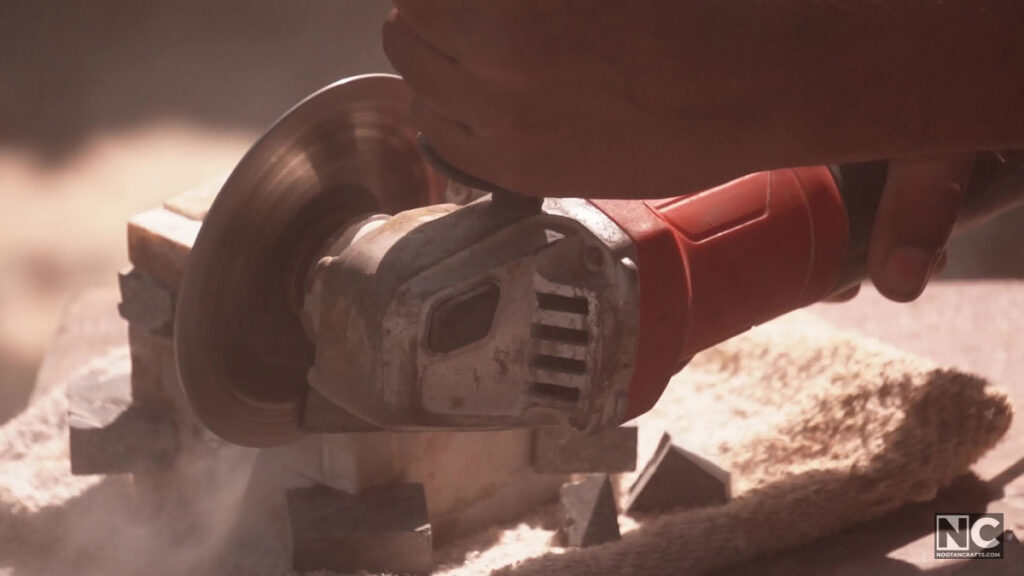
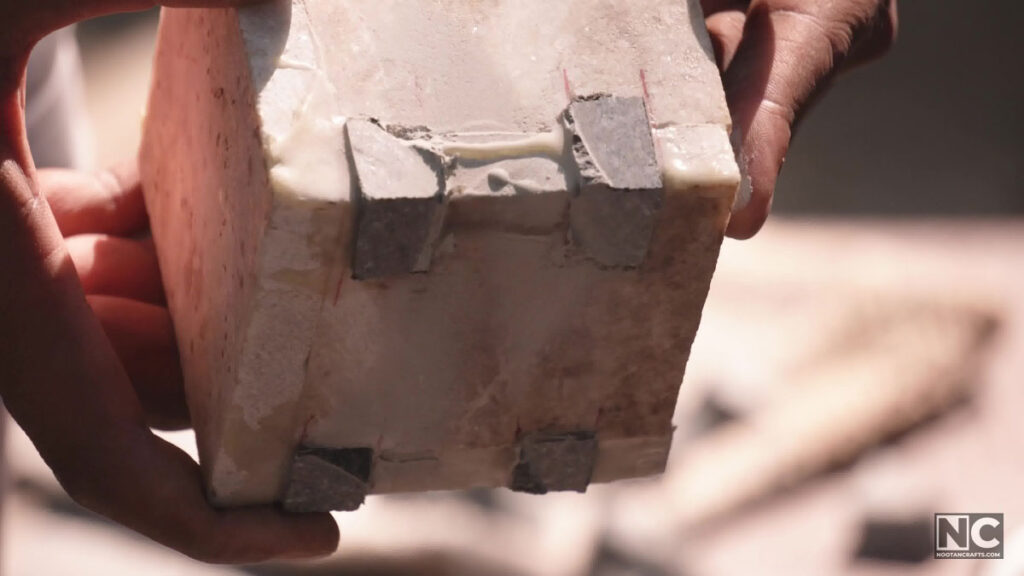
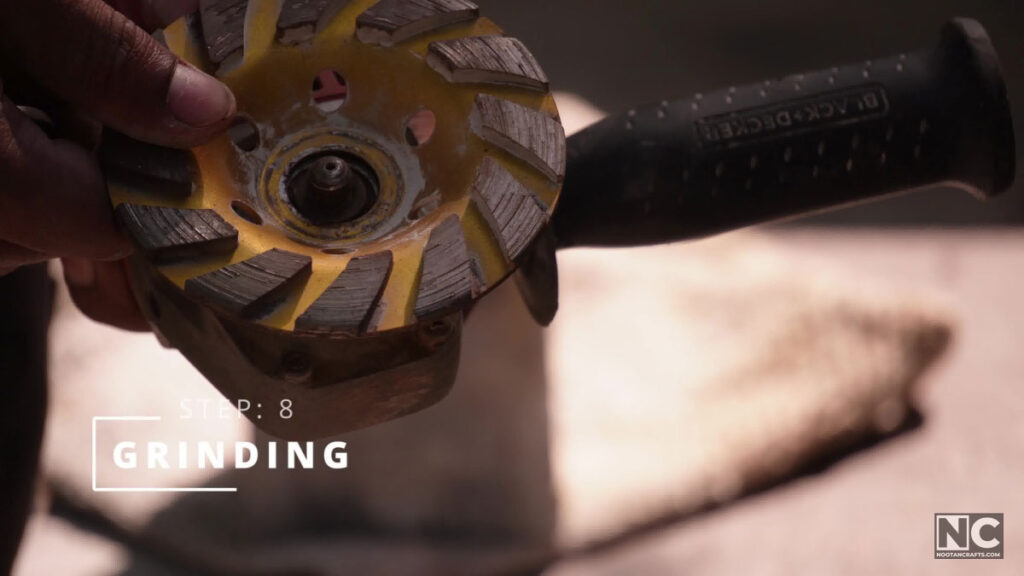
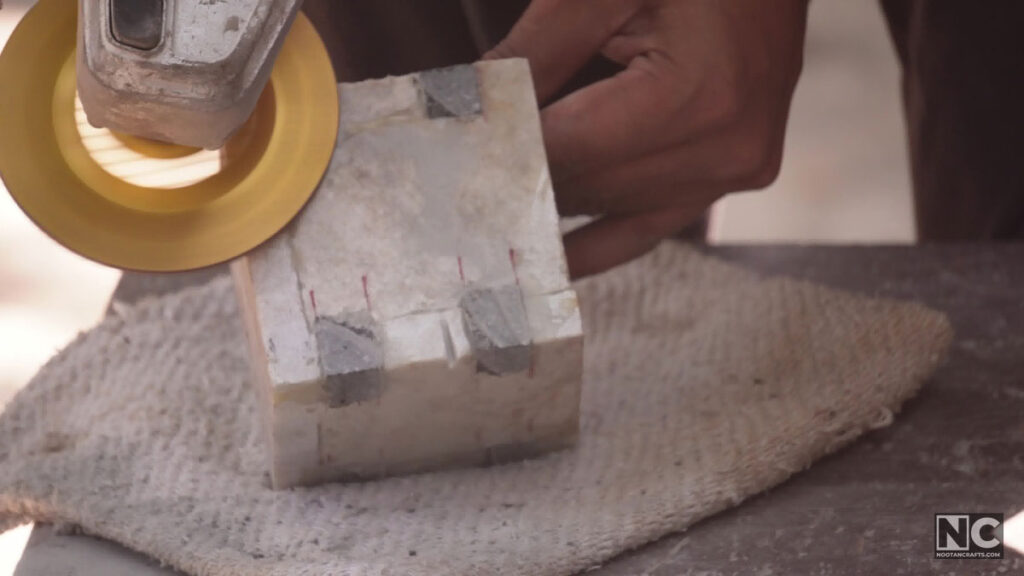
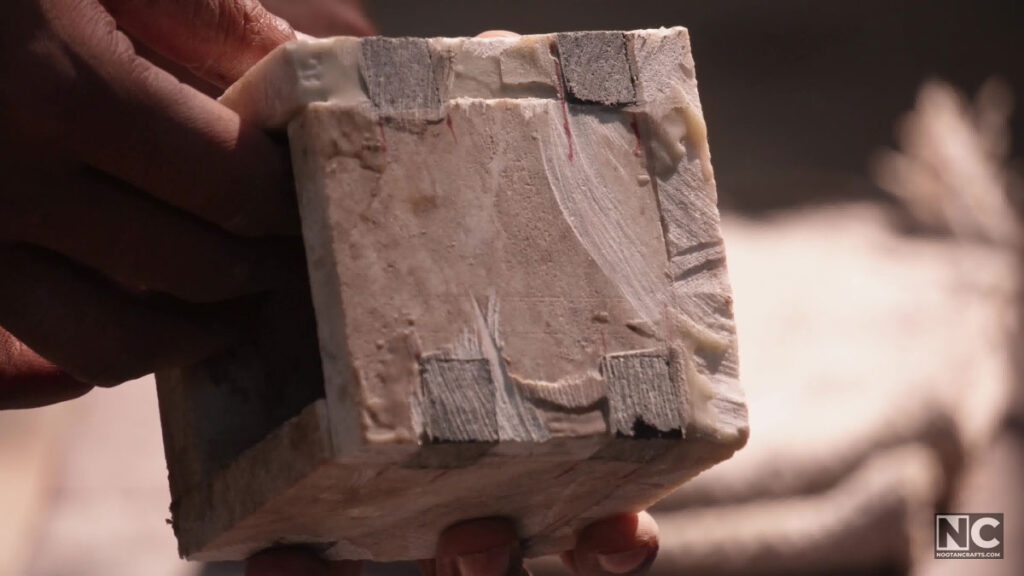
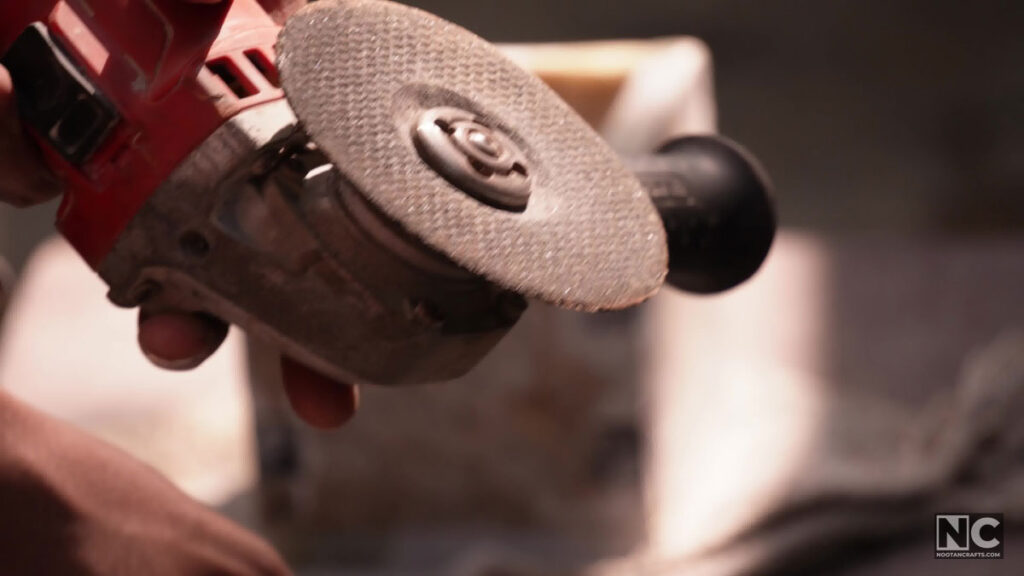
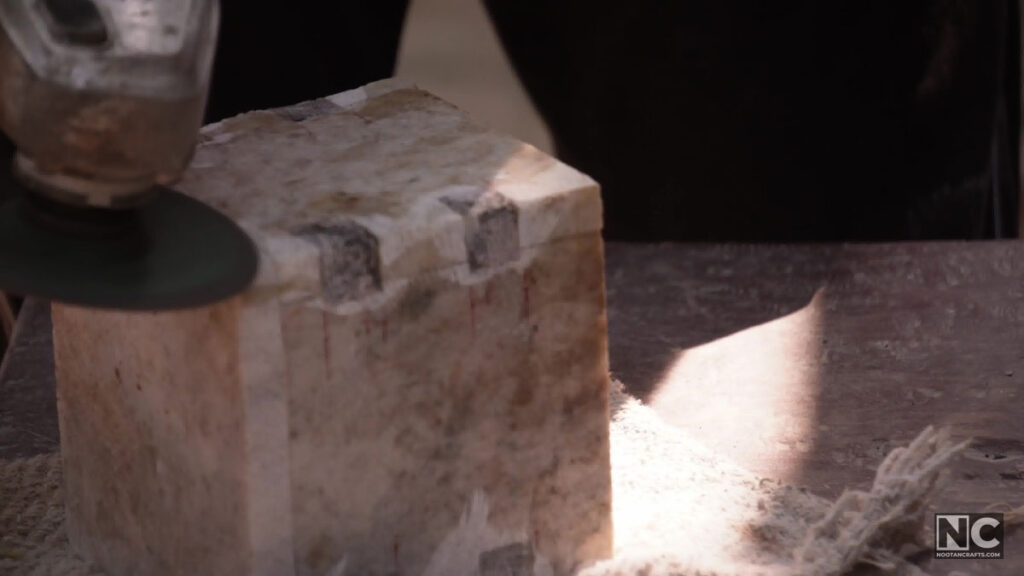
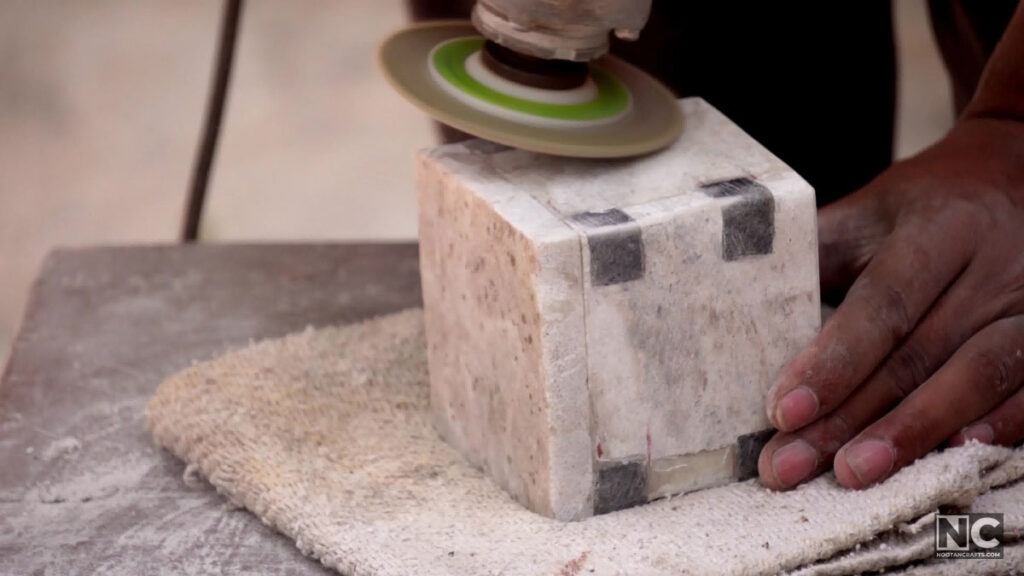
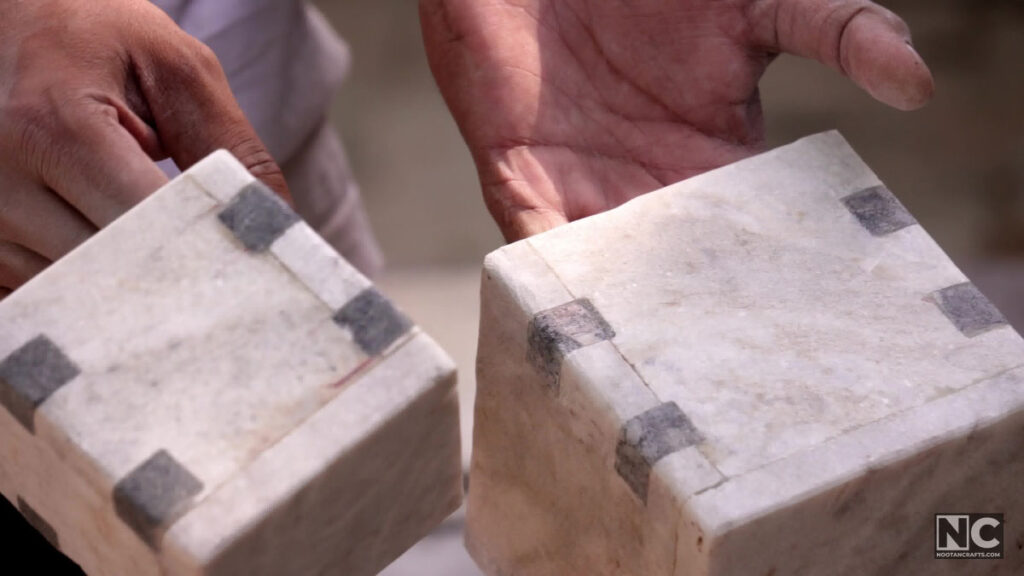
I removed unwanted granite pieces from the edge using an angle grinder with a diamond blade. Further, I refined it using a diamond cup wheel to smooth the rough edge and a marble grinding wheel to round the edges and chamfer the top and bottom parts.
Step 8: Wet Polishing
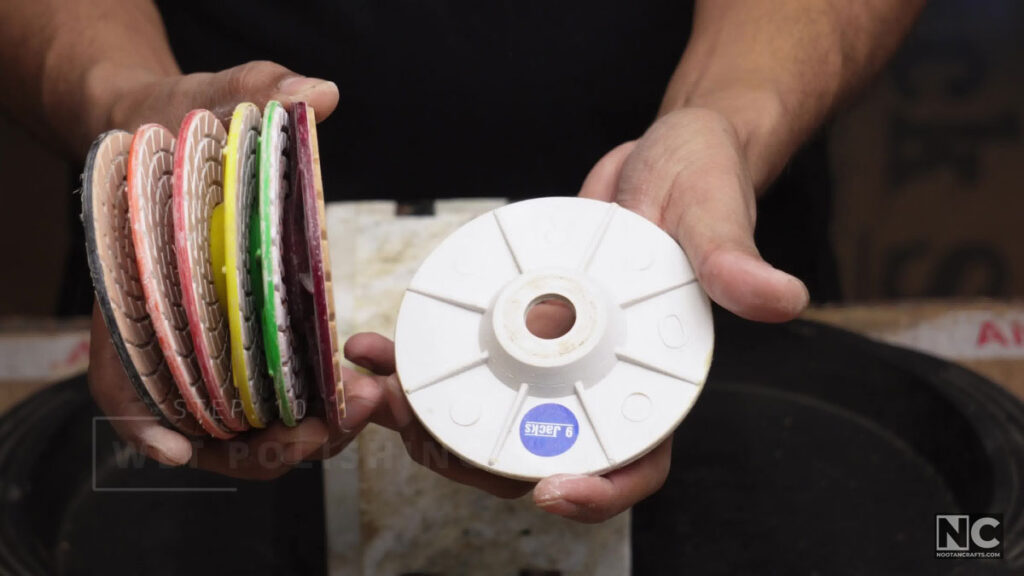
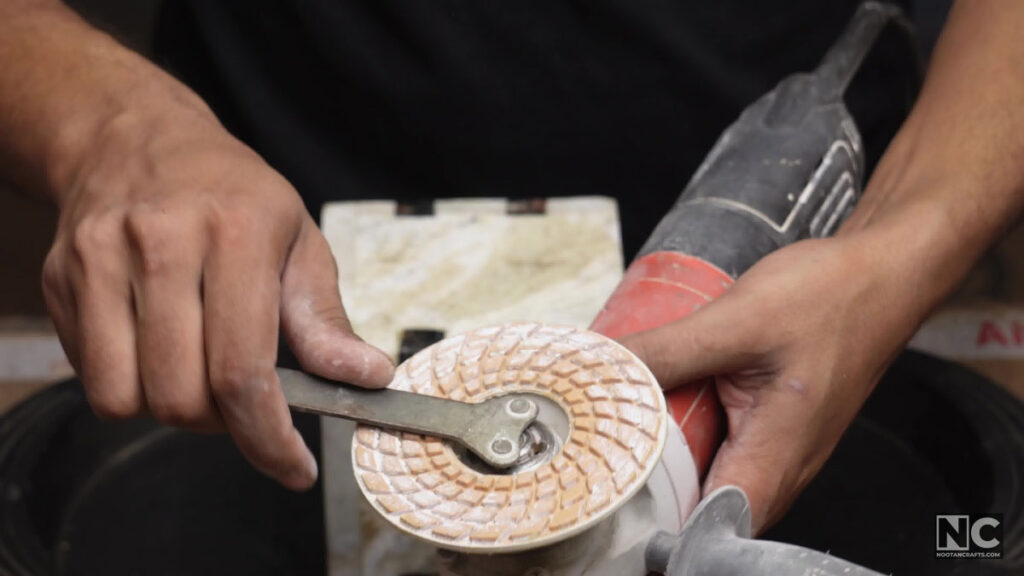
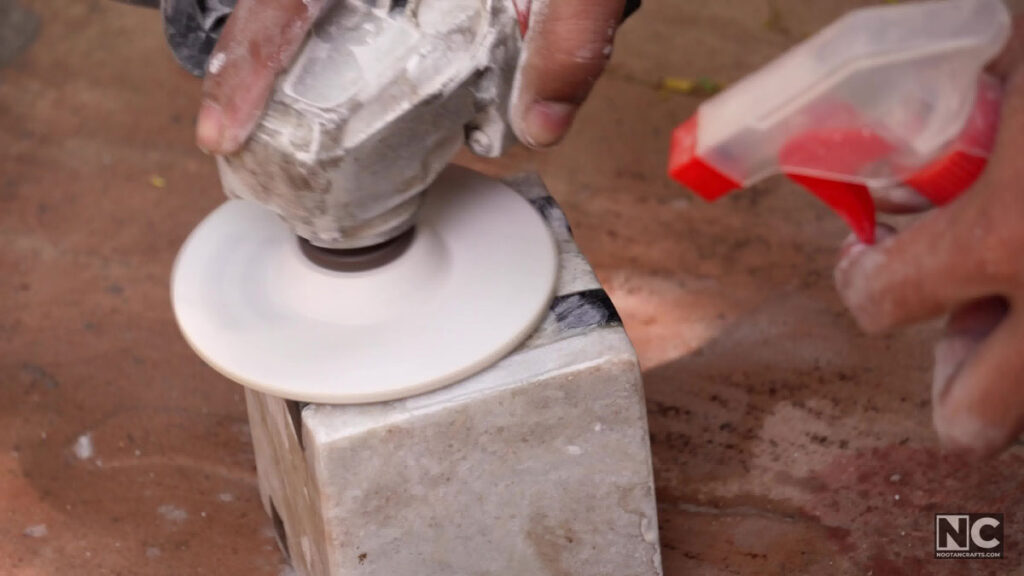
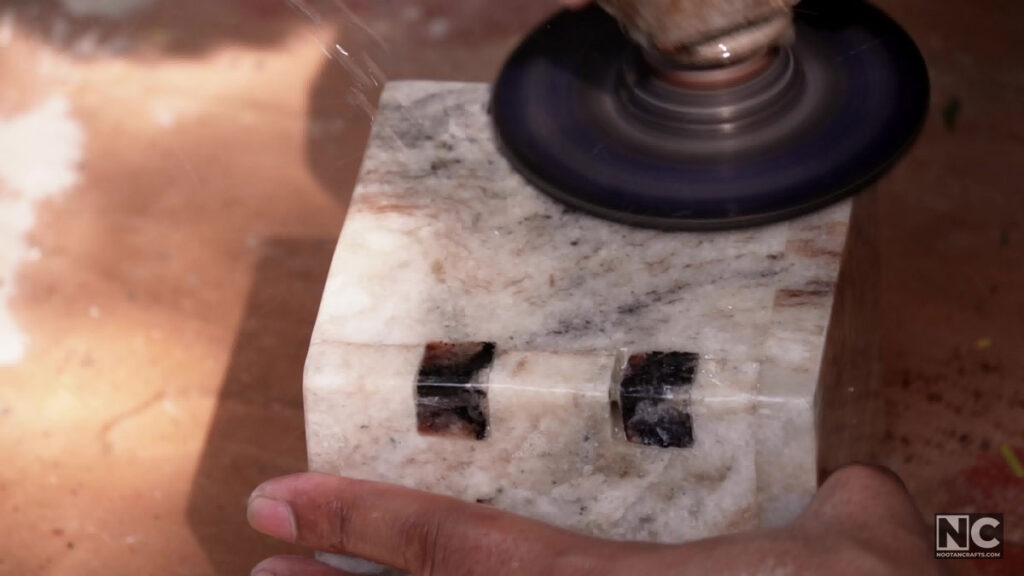
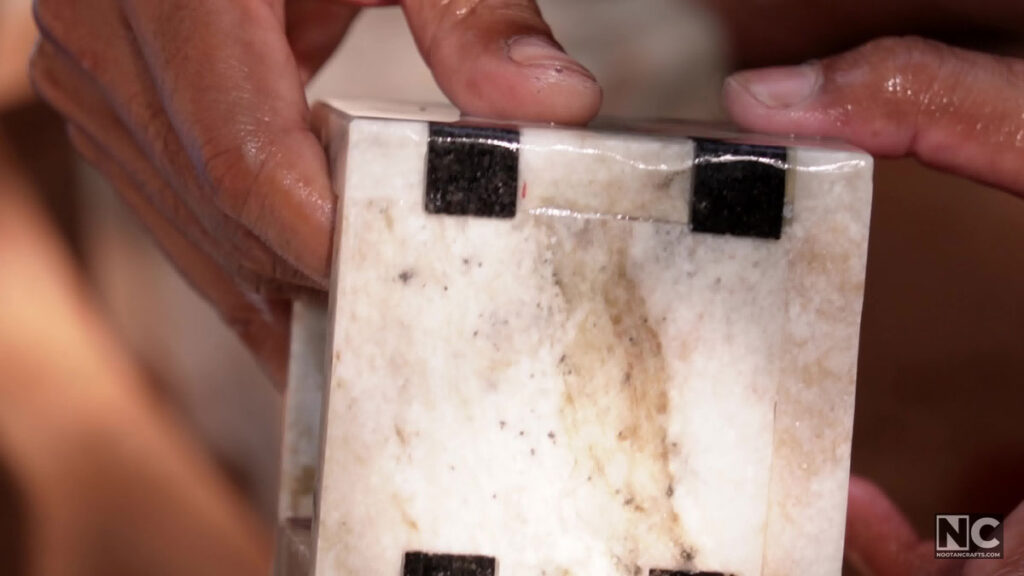
The real magic happened during wet polishing. Using diamond pads ranging from 0 to 6000 grit attached to an angle grinder, I patiently followed all seven diamond polishing pads on both pen/cutlery holders. This time-consuming process produced a polished finish that brought the pieces to life.
The Finished Holders
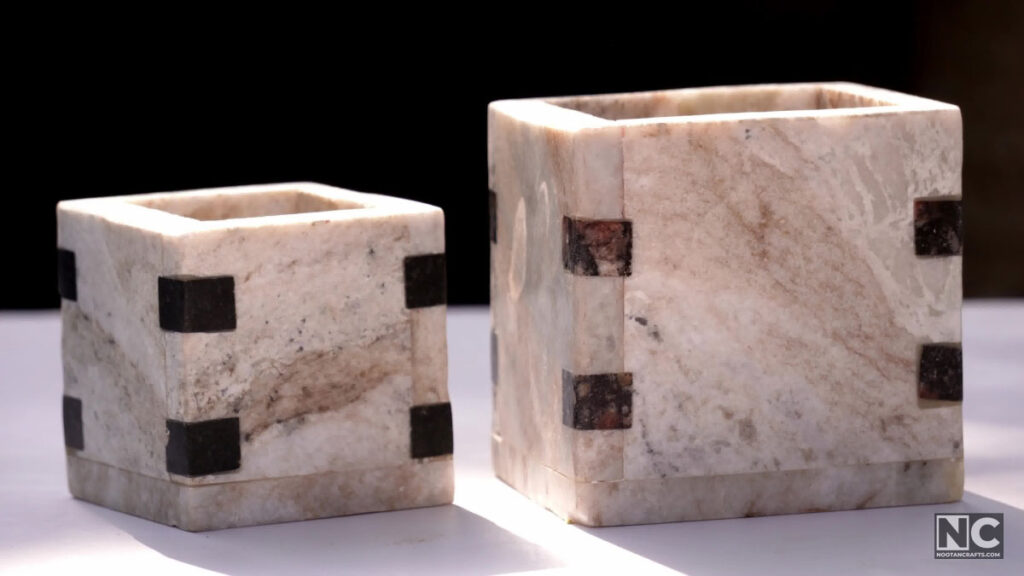
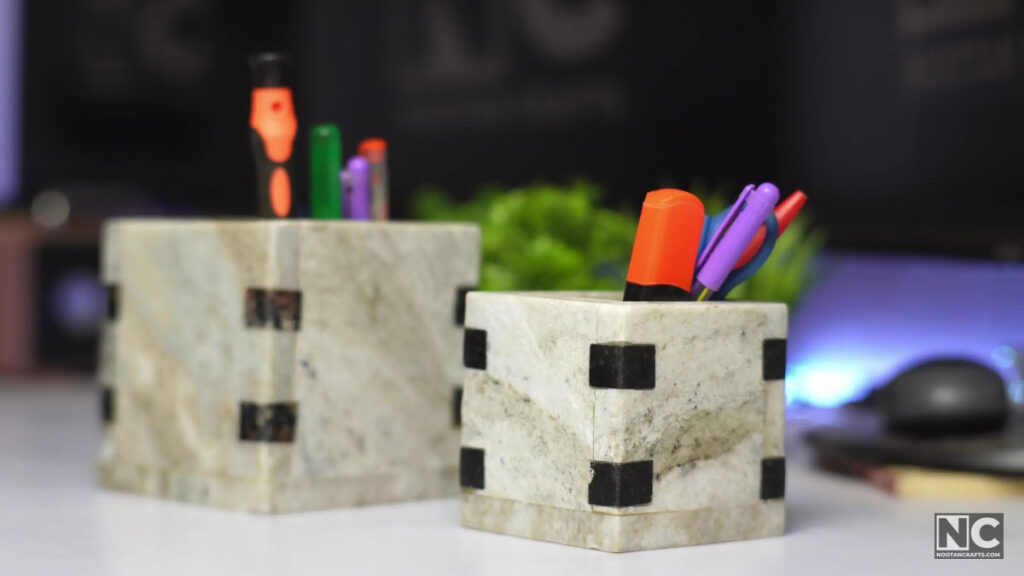
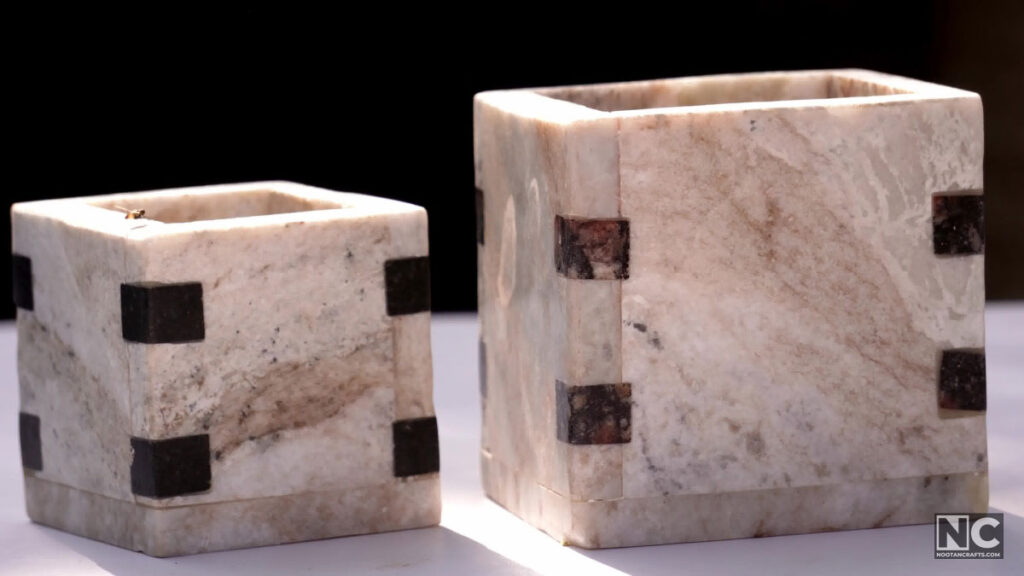
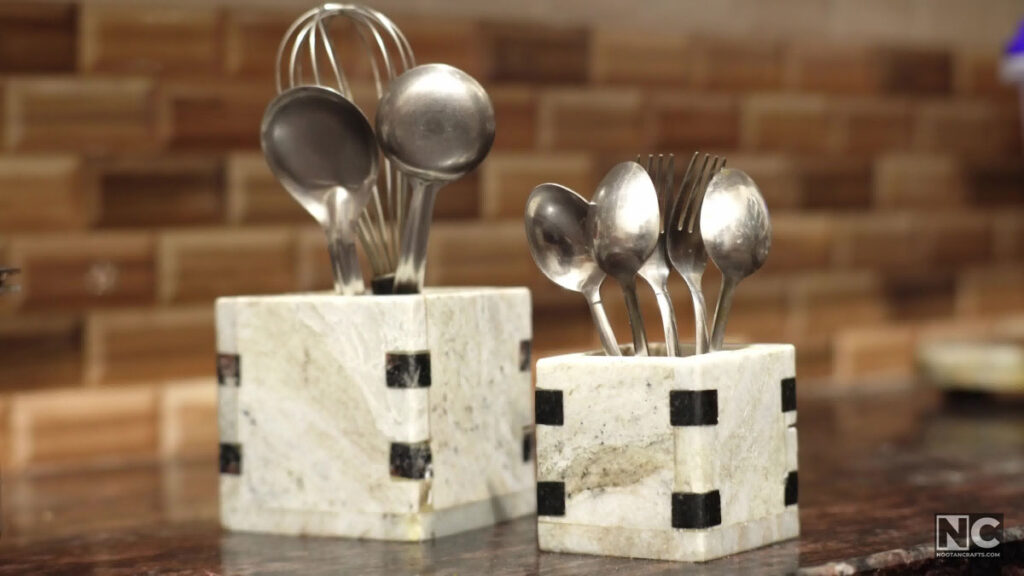
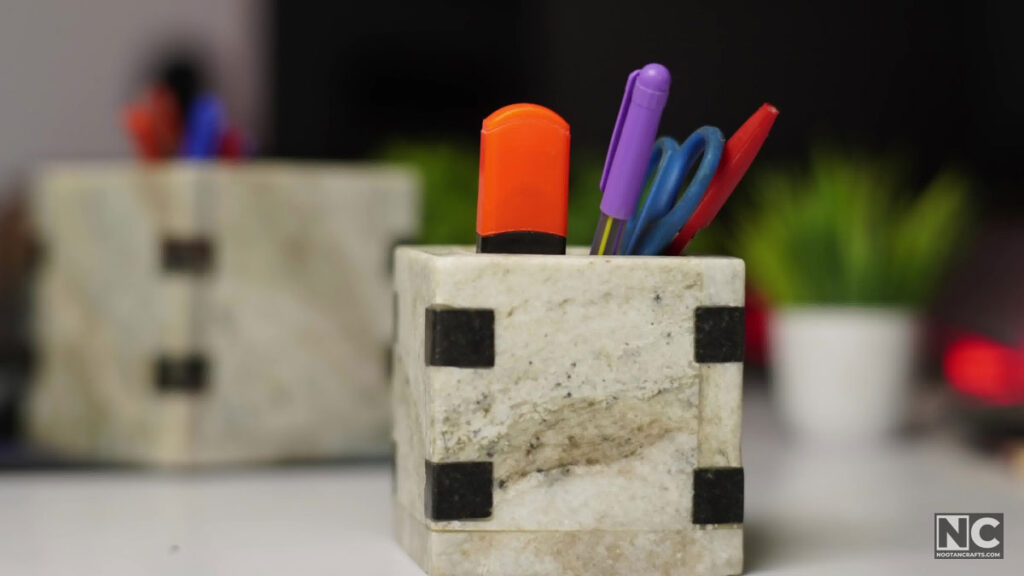
Two to three hours of wet polishing took both holders from rough stone to a finish that looks like it came out of a shop. That stage repays patience more than any other — skipping grits shows, and there is no hiding it later.
Seven days from a pile of offcuts to two finished holders, most of it waiting on epoxy. If you have scrap marble sitting somewhere after building work, this is a good way to use it.