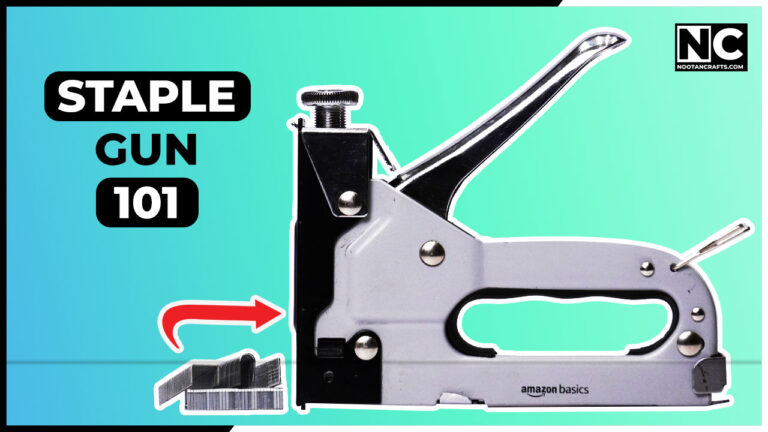
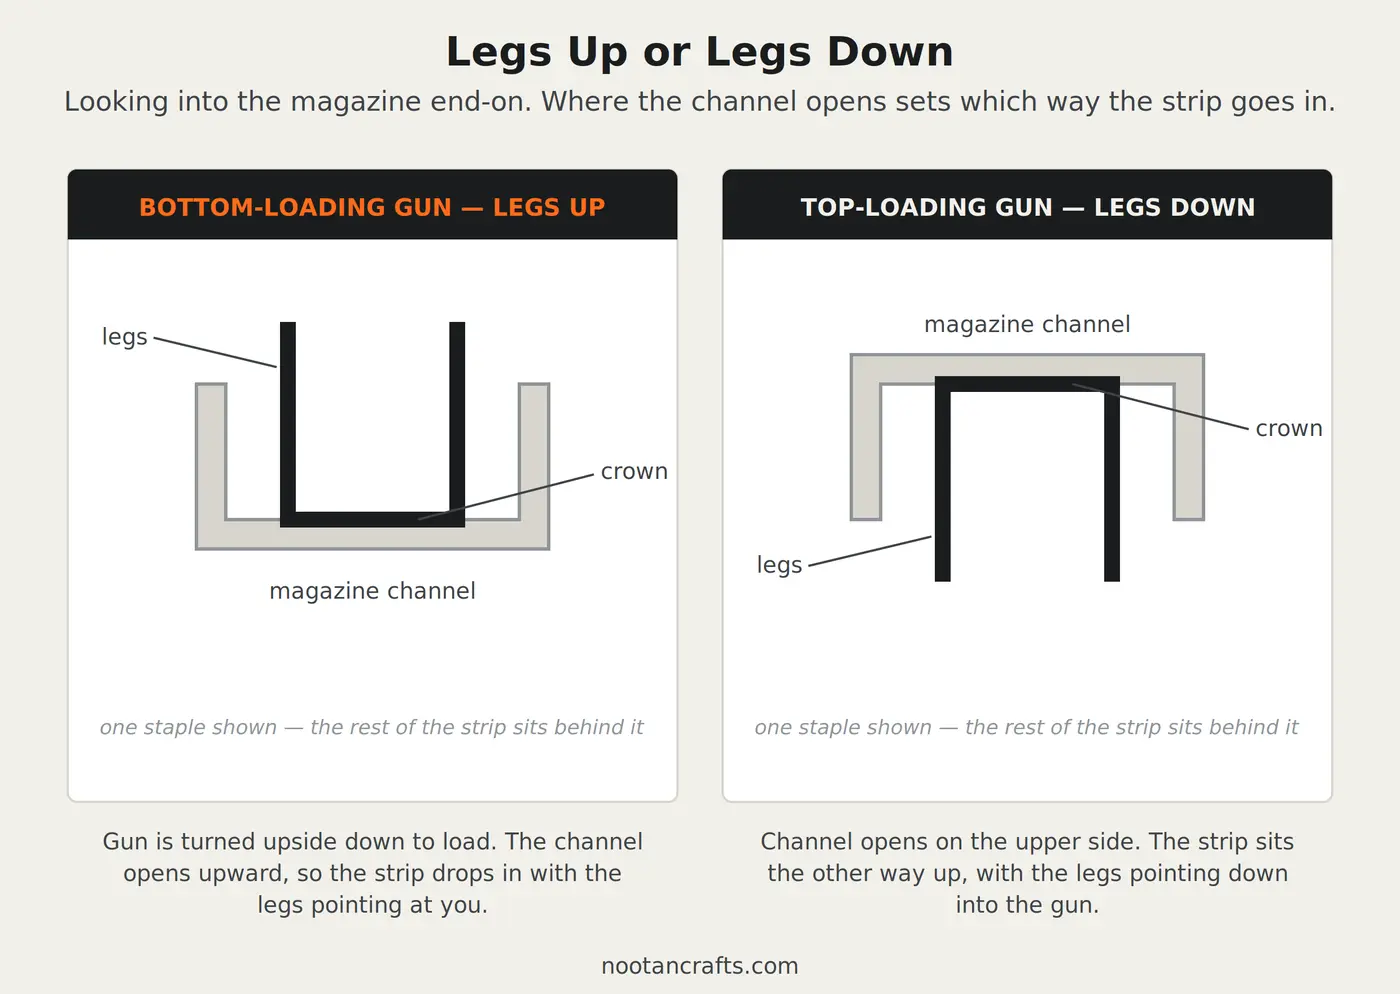
Most staple guns load from the bottom: turn the gun upside down, pinch the latch at the back of the magazine, pull out the pusher rod, drop the staple strip in with the legs pointing up, and push the rod back until it clicks. Older guns load from the top instead — same latch, but the channel opens on the upper side, and the legs point down. That’s the whole job, and it’s the same on a Stanley, an Arrow, a DeWalt, or a Bostitch.
What catches people out isn’t the loading. It’s buying a staple strip the gun was never built to take, which is why the size chart further down matters more than the four steps do.
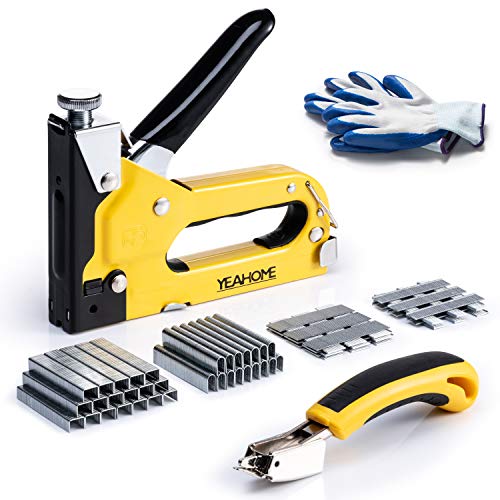
What I’d buy for this job


Last update on 2026-10-20 / Affiliate links / Images from Amazon Product Advertising API
- Your staple gun
- A staple strip in a size the gun accepts
- Safety glasses
- A scrap offcut for test shots
- Long-nose pliers (for clearing a jam)
A staple gun fires whether or not you meant it to
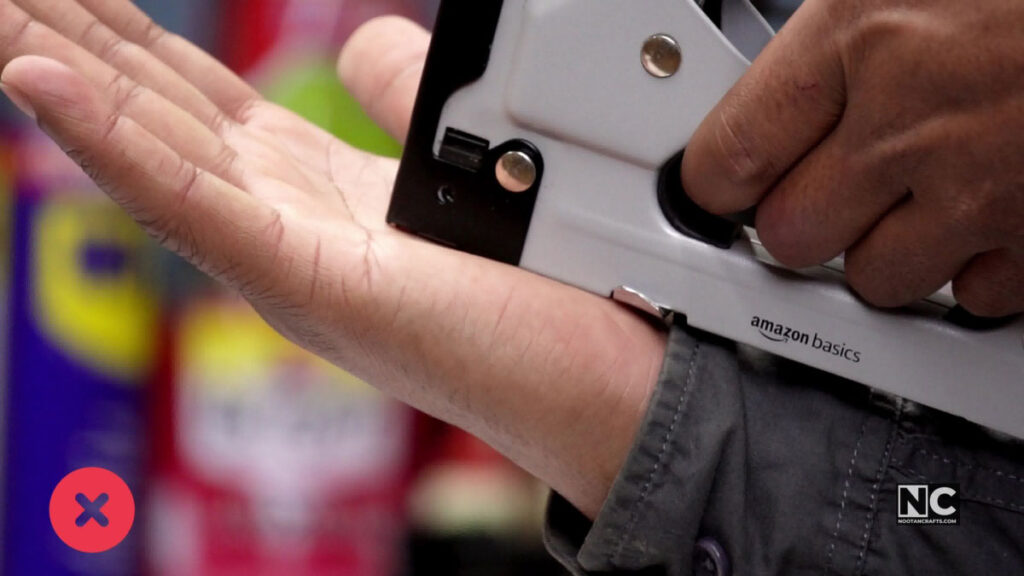
The mechanism is a compressed spring holding a driver blade. It has no idea what’s in front of the nose. Nearly every staple-gun injury comes from one of three moments: clearing a jam with the magazine still loaded, steadying the workpiece with a hand behind the firing line, or resting a finger on the trigger while repositioning. All three are avoidable in the same way — empty it, or point it away.
- Unload before clearing a jam. Take the strip out first. Poking a jammed staple free with a loaded magazine puts a spring-loaded driver directly behind your fingers. On an electric or pneumatic gun, disconnect power or air as well — not just the switch.
- Never put a hand behind the material. A staple that misses the stud or hits a knot can pass straight through thin stock and out the other side.
- Treat it as loaded, always. The magazine looks empty long before the last staple has cleared the channel.
- Safety glasses on. Staples that strike something hard deflect and come back, and they arrive faster than you can blink.
- Never point it at anyone, loaded or not, joking or not. Contact-trip guns fire the instant the nose is pressed.
What’s Inside!
- 1 – Loading a Bottom-Loading Staple Gun
- 2 – Loading a Top-Loading Staple Gun
- 3 – Which Staple Size Goes With What
- 4 – The Three Parts of a Staple, and Why Each One Matters
- 5 – Firing It Without Wrecking the Work
- 6 – Where This Goes Wrong
- 7 – What a Staple Gun Is Actually Good For
- 8 – How the Mechanism Works
- 9 – Staple Gun Questions People Actually Ask
- 10 – The One Thing to Get Right
Loading a Bottom-Loading Staple Gun
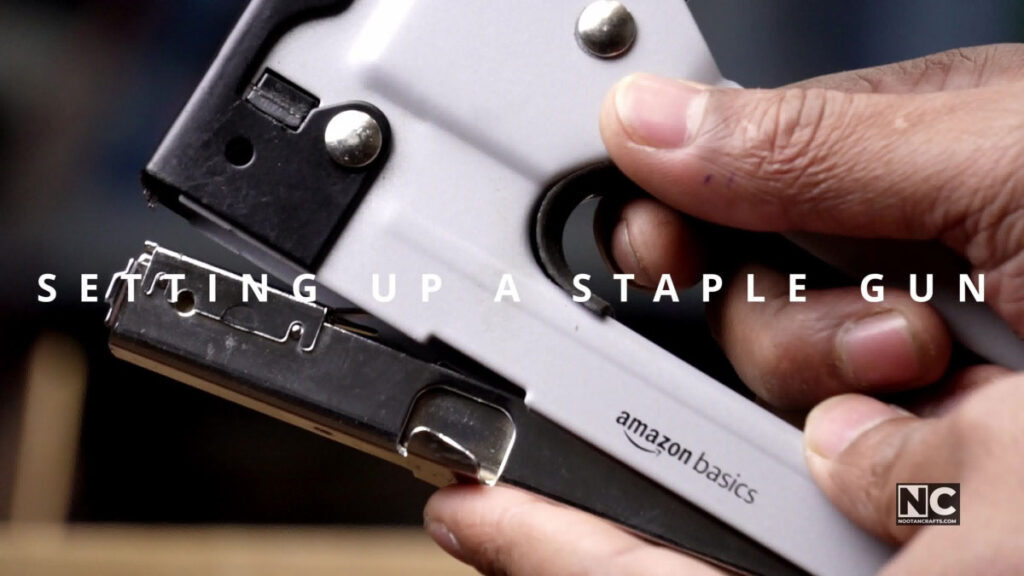
Almost every gun sold today uses this. I reviewed the manuals for Stanley, Arrow, DeWalt, Hart, Powershot, Bostitch, Craftsman, Mastercraft, Rapid, and Blue Ridge while putting this together, and the bottom-loading pattern was nearly universal on current models.
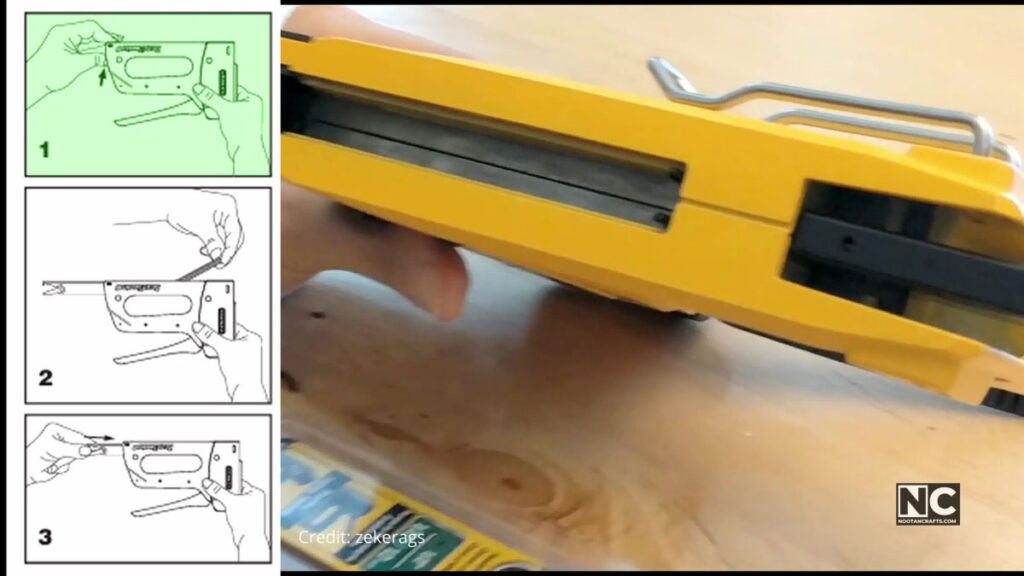
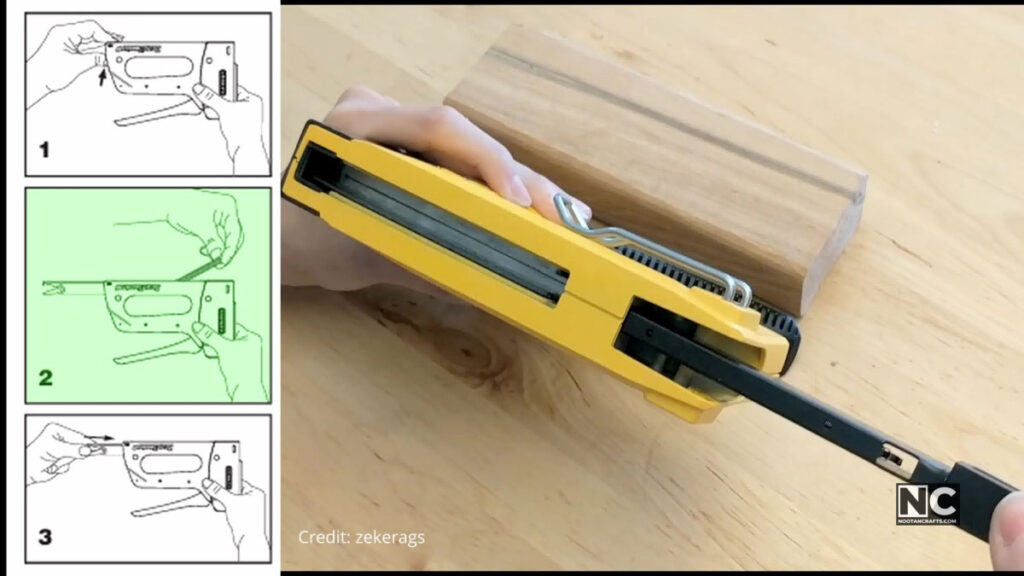
- Turn the gun upside downNose pointing away from you. Gravity is doing half the work in a bottom-loader, and it only works one way up.
- Pinch the latch and draw the pusher rod outThe latch sits at the rear of the magazine. Squeeze both sides and pull — the rod and its spring come out as one piece. Don’t let it fly.
- Drop the strip in with the legs pointing upToward you, since the gun is inverted. The crown — the flat bar joining the legs — sits against the channel floor. If the strip won’t sit flat, it’s the wrong width; stop rather than forcing it.
- Push the rod back until it clicksThe click is the latch engaging. No click means the rod isn’t seated, and the pusher spring won’t feed staples forward.
- Fire one test shot into scrapBefore it touches the actual work. This is where you find out the depth setting is wrong, and scrap forgives that.
Loading a Top-Loading Staple Gun
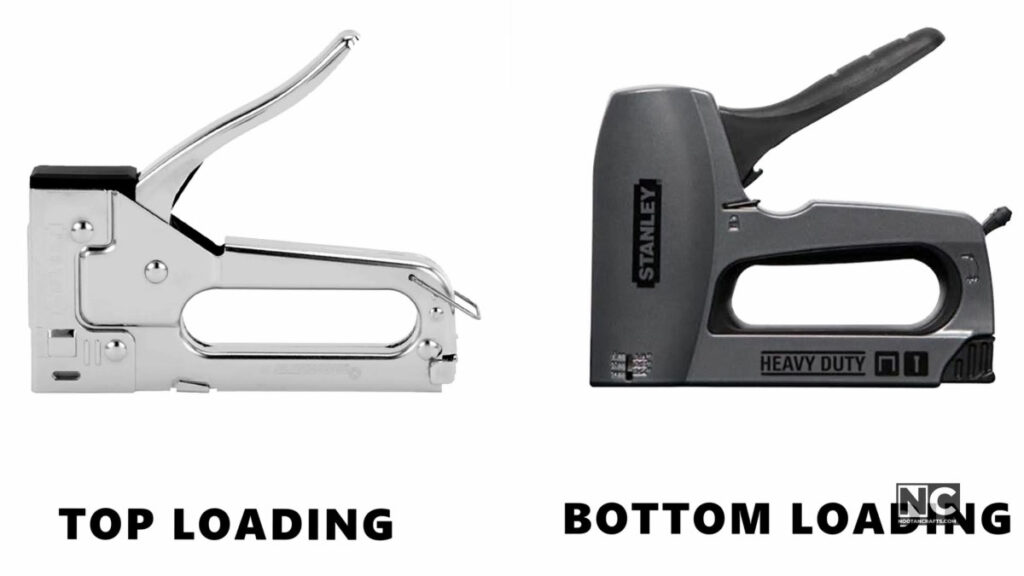
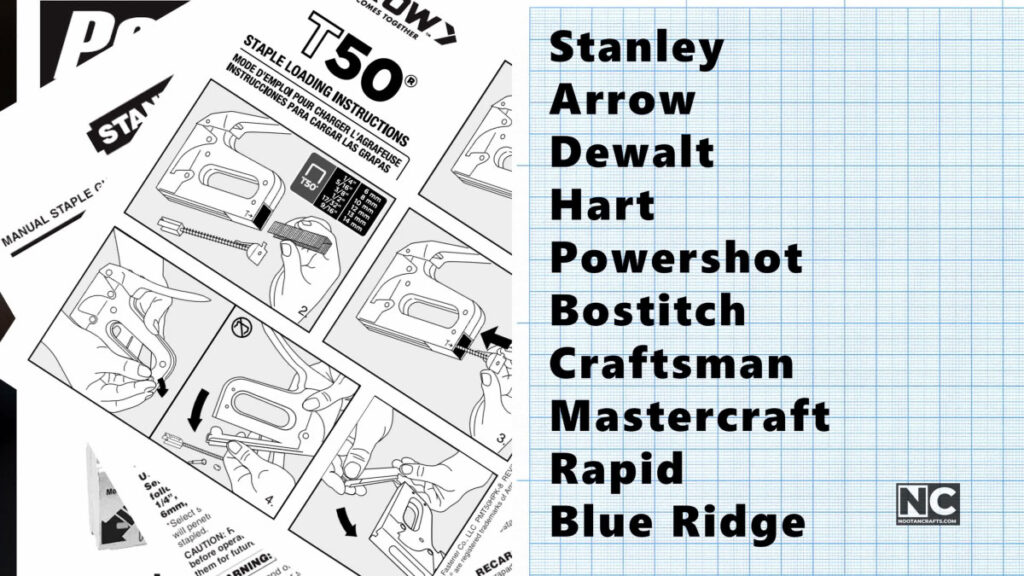
Older guns — and a few current heavy-duty models — open along the top of the magazine instead. The sequence has one extra move because you have to release the latch before it will pull.
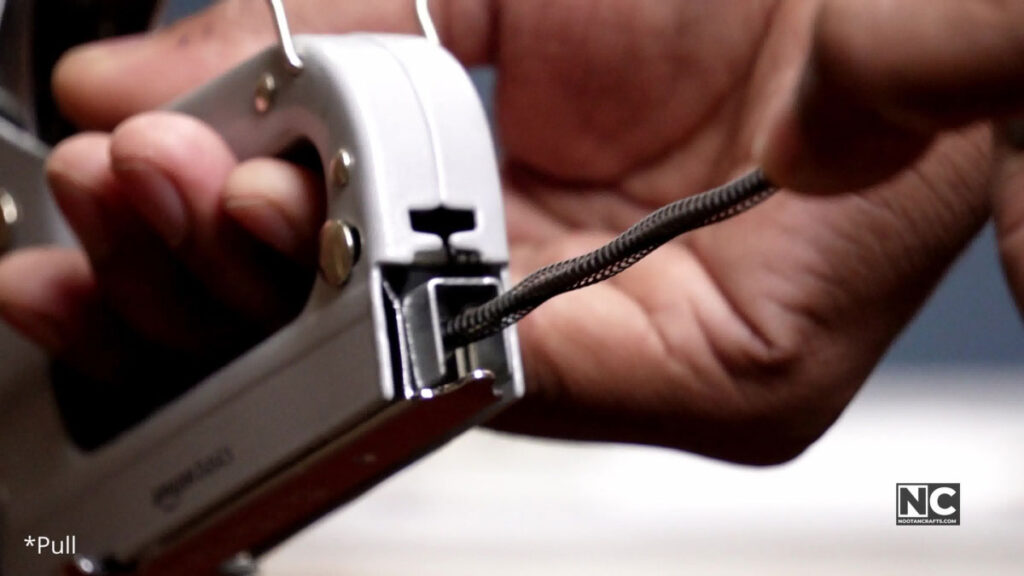
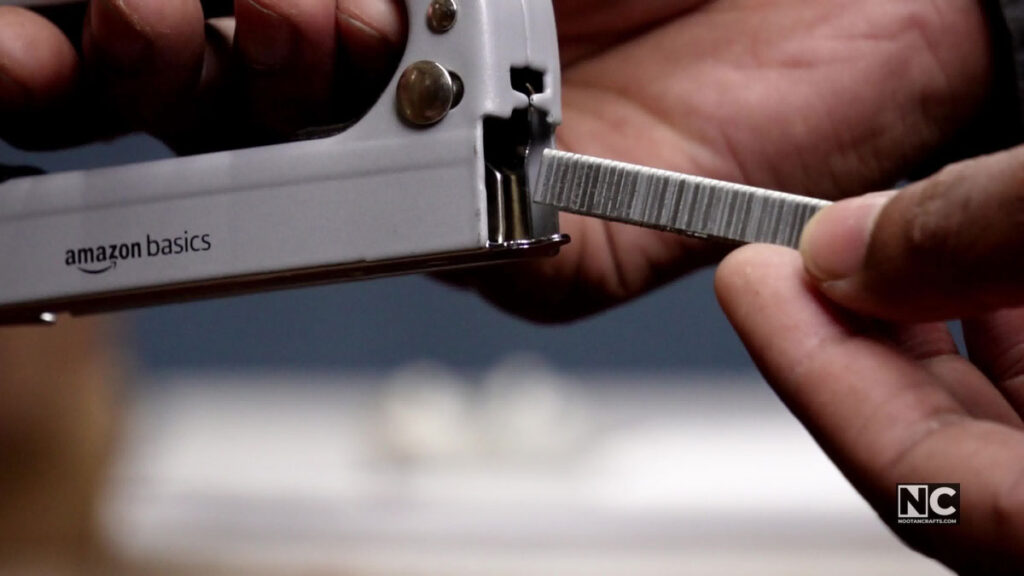
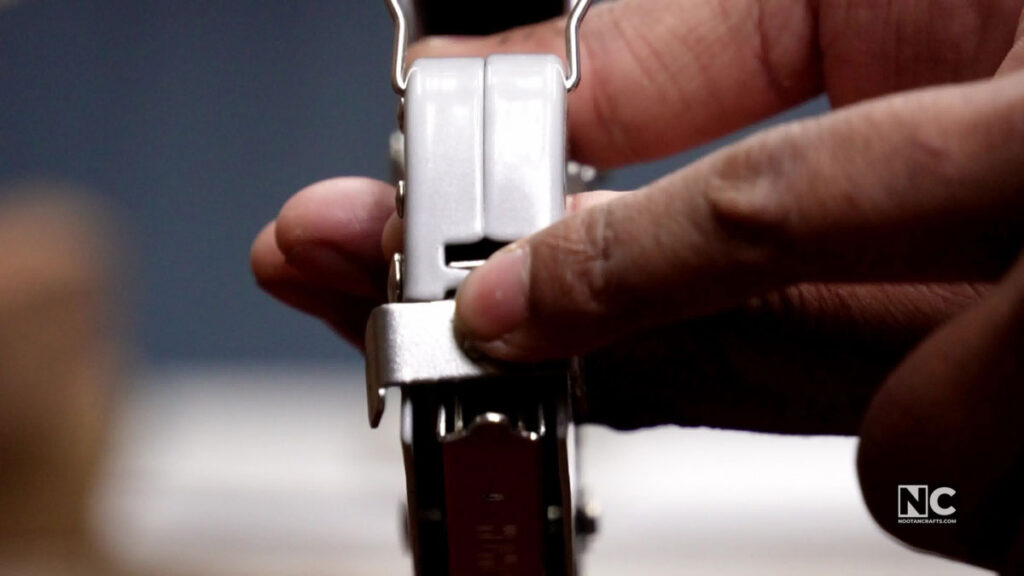
- Find the latch at the back of the gunSame place as on a bottom-loader; it’s the direction it opens that differs.
- Press it, slide it down, releaseThat unlocks it. Trying to pull it out without this step is why people assume theirs is seized.
- Pull the latch out to open the channelThe pusher rod comes with it.
- Lay the strip in with the legs pointing downGun held the normal way up, so the crown is uppermost and the legs face the exit slot.
- Reinsert, push in, slide up until it clicksReverse of step 2. The click matters here for the same reason as before.
Not sure which one you have? Look at the seam. If the magazine splits along the underside, it’s a bottom-loader. If it opens along the top edge, it’s a top-loader. You don’t need the model number to figure this out.
Which Staple Size Goes With What
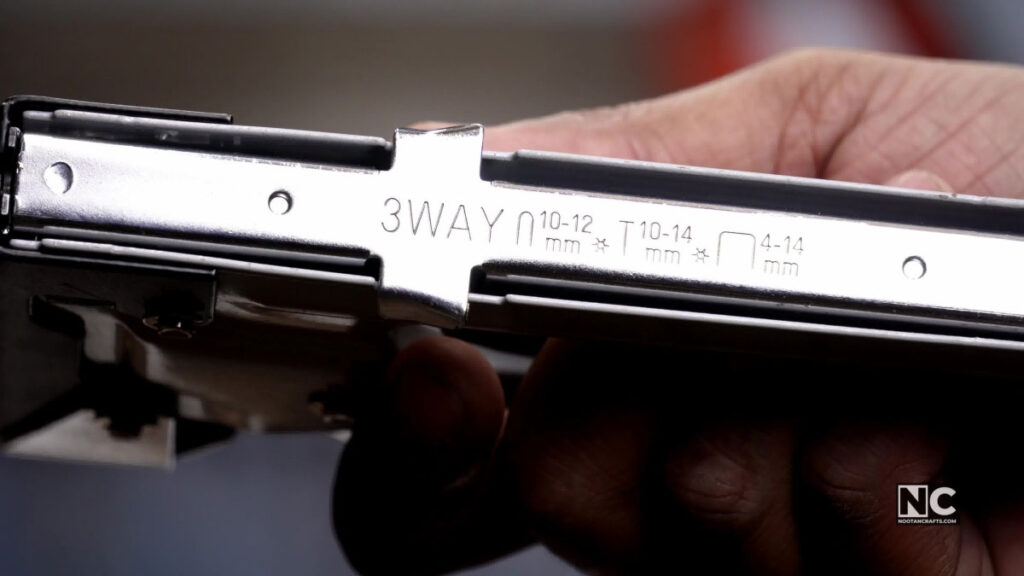
Leg length determines whether the staple holds. The rule of thumb is that the legs should be roughly three times the thickness of the material you’re fastening down, so the points bite well into whatever is underneath rather than just passing through the top layer.
| Leg length | Fastens | Typical job |
|---|---|---|
| 4-6 mm (3/16-1/4 in) | Paper, thin card, light fabric | Poster board, netting, sheeting on a frame |
| 6-8 mm (1/4-5/16 in) | Upholstery fabric, thin ply, insulation facing | Recovering a chair seat, backing boards |
| 8-10 mm (5/16-3/8 in) | Heavier fabric, cabinet backs, house wrap | Sofa upholstery, drawer bottoms |
| 10-12 mm (3/8-1/2 in) | Carpet, underlay, thin battens | Carpet to wood, felt underlay |
| 12-14 mm (1/2-9/16 in) | Roofing felt, fencing wire, thicker stock | Shed felt, mesh to posts |
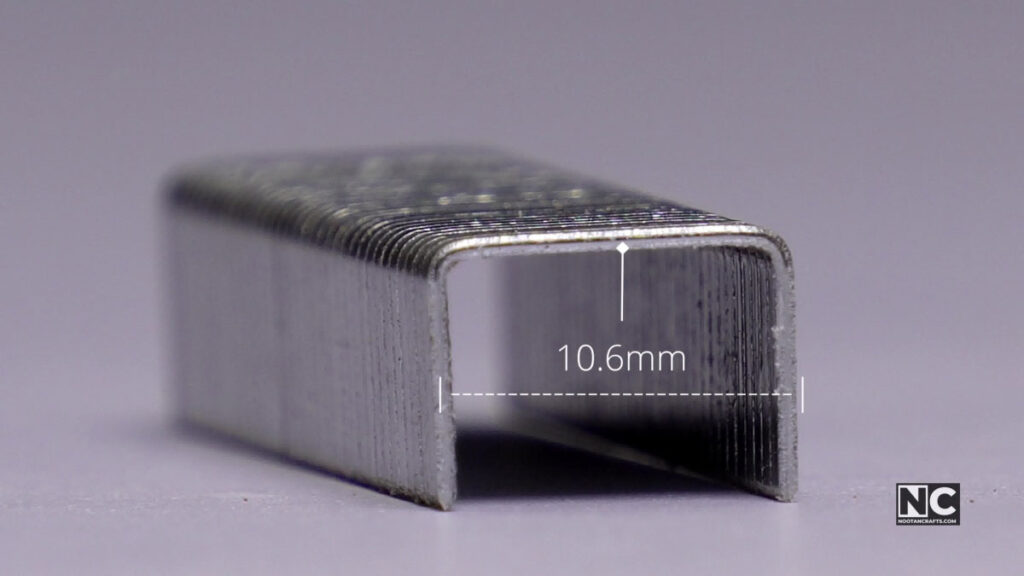
Crown width — the flat bar across the top — decides how the load is spread and how visible the staple is.
| Crown | Width | What it’s for |
|---|---|---|
| Narrow | Around 6 mm (1/4 in) | Trim and finish work where the staple should barely show |
| Medium | Around 10 mm (3/8 in) | The general-purpose size – the common Arrow T50 family sits here, and most household guns take it |
| Wide | 12 mm (1/2 in) and up | Spreading load across soft or tearable material – insulation facing, house wrap, netting |
| Round / cable | Shaped, not flat | Low-voltage cable and wire, where a flat crown would crush the insulation |
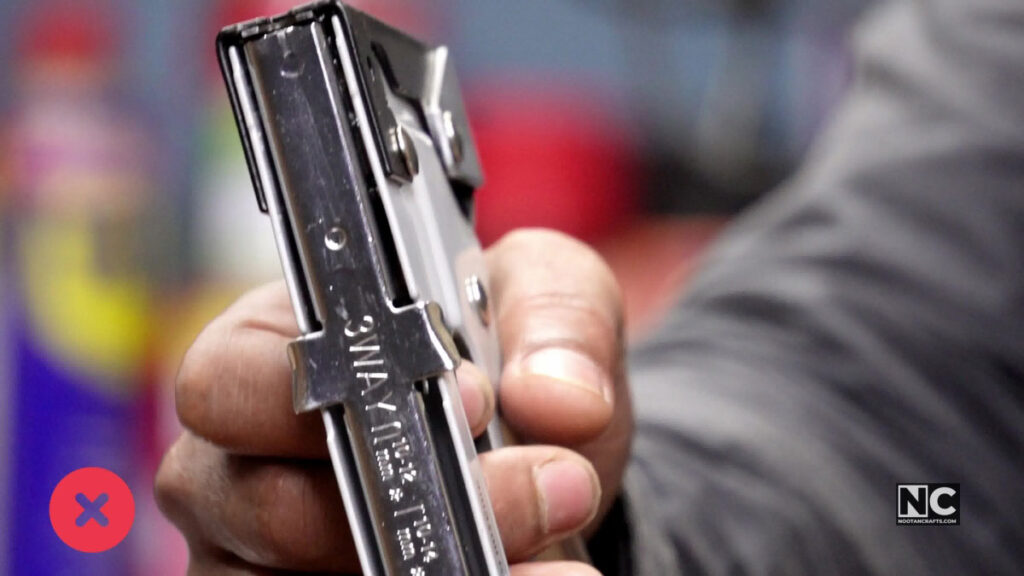
The gun body is the authority, not this page. Staple type codes are brand-specific, and they do not cross over — a strip that physically fits the channel can still be the wrong gauge for the driver blade. Every gun has its accepted sizes stamped on the magazine or printed in the manual. Read that first; use the tables above to choose the accepted size that suits the job.
The Three Parts of a Staple, and Why Each One Matters
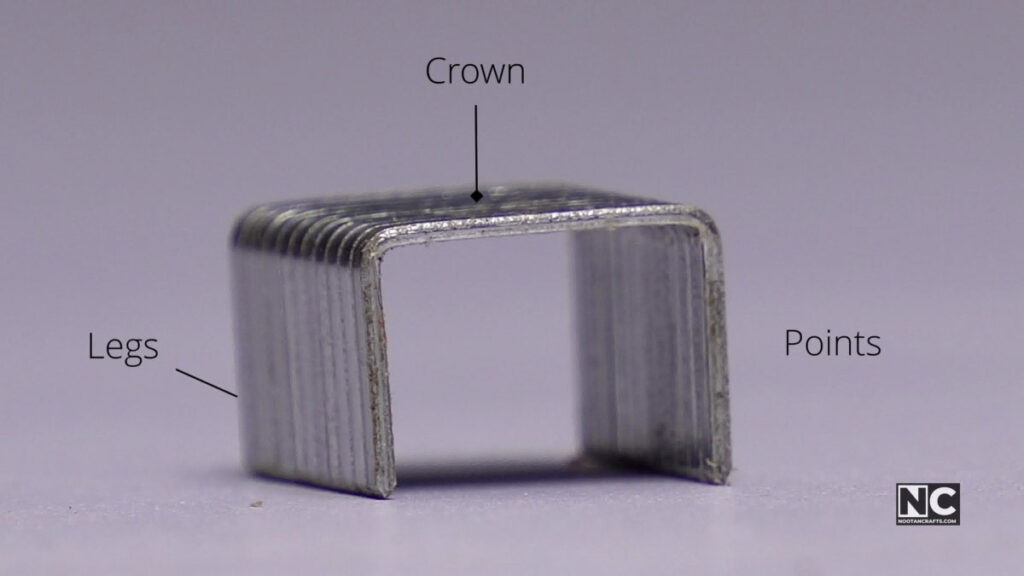
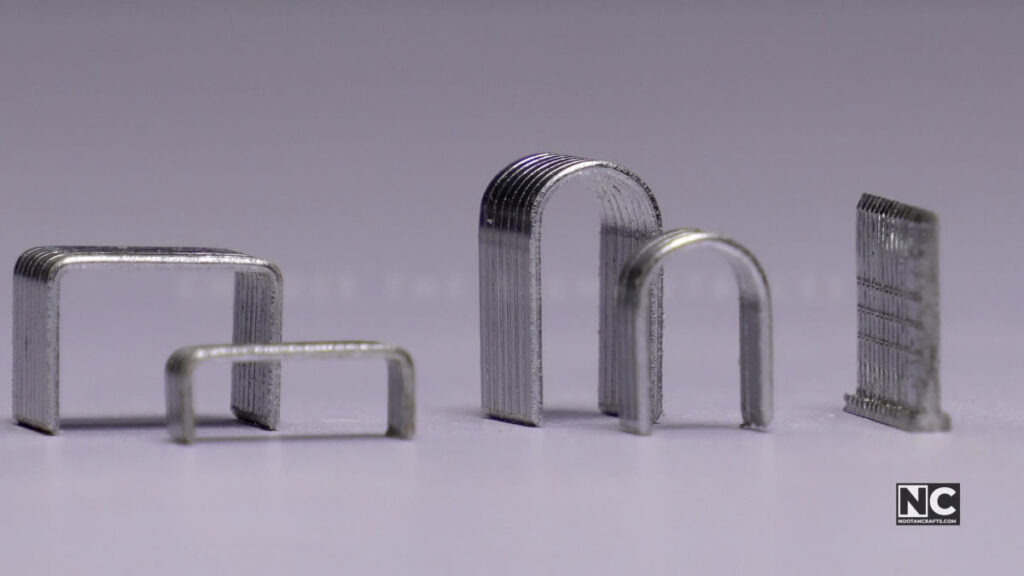
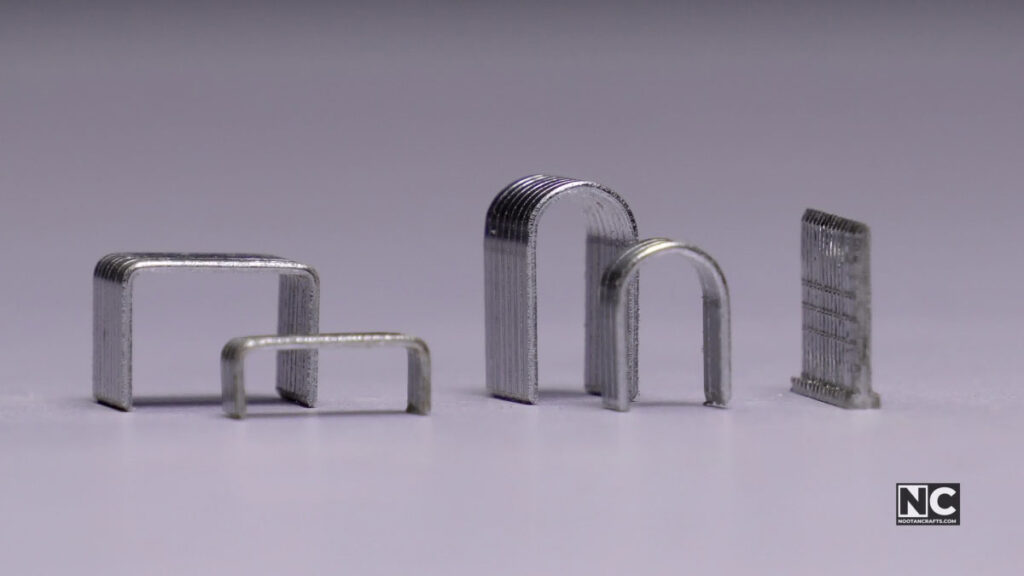
- The crown is the bar joining the legs. A wider crown spreads the holding force over more material, which stops a staple from pulling through fabric or insulation.
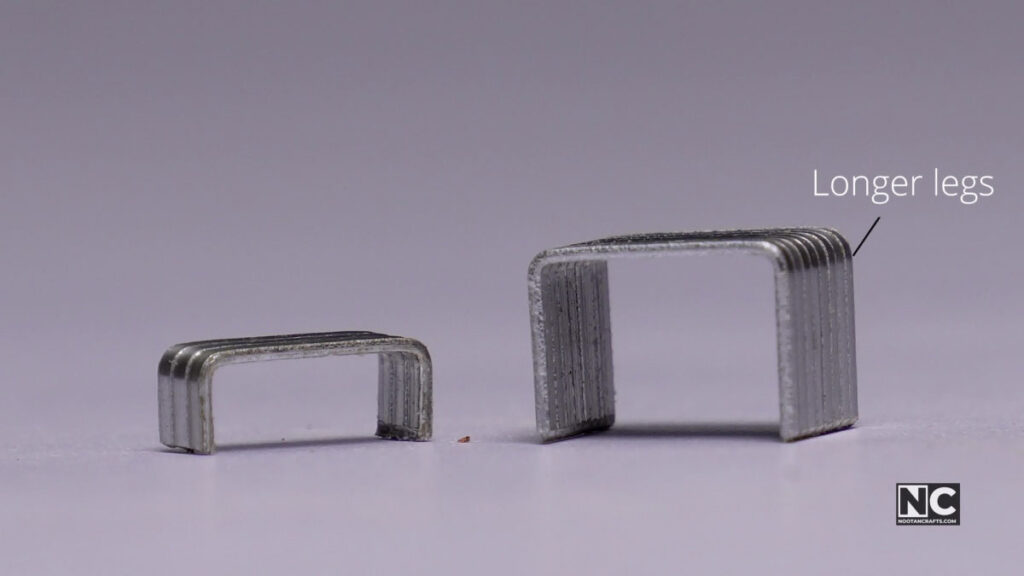
- The legs do the holding. Length sets penetration; thicker gauge resists bending in dense wood but needs a gun rated for it.
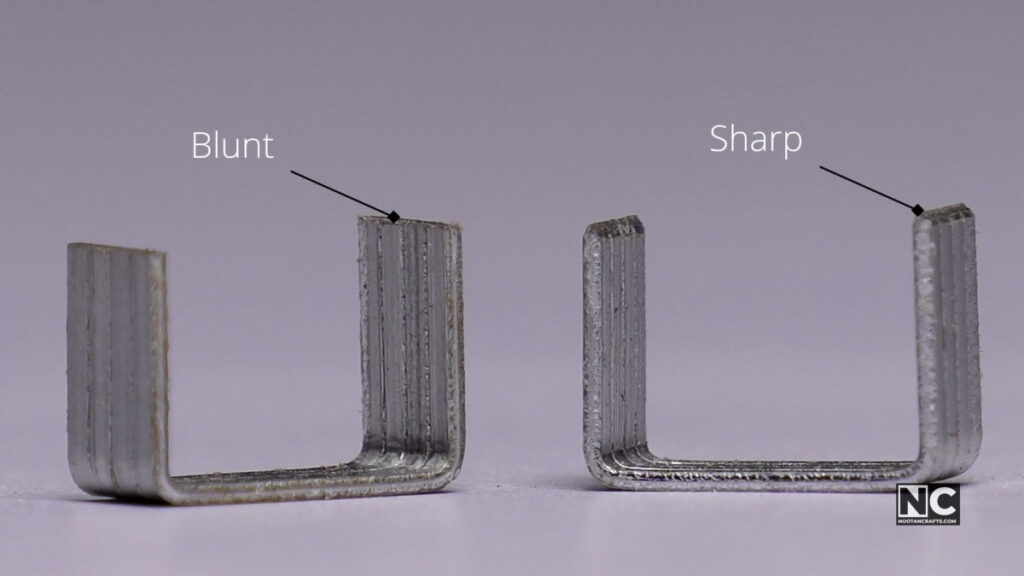
- The points set how the staple enters. Chisel points cut in cleanly and hold hardest; blunt points are deliberately less aggressive on material that splits or marks easily.
Firing It Without Wrecking the Work
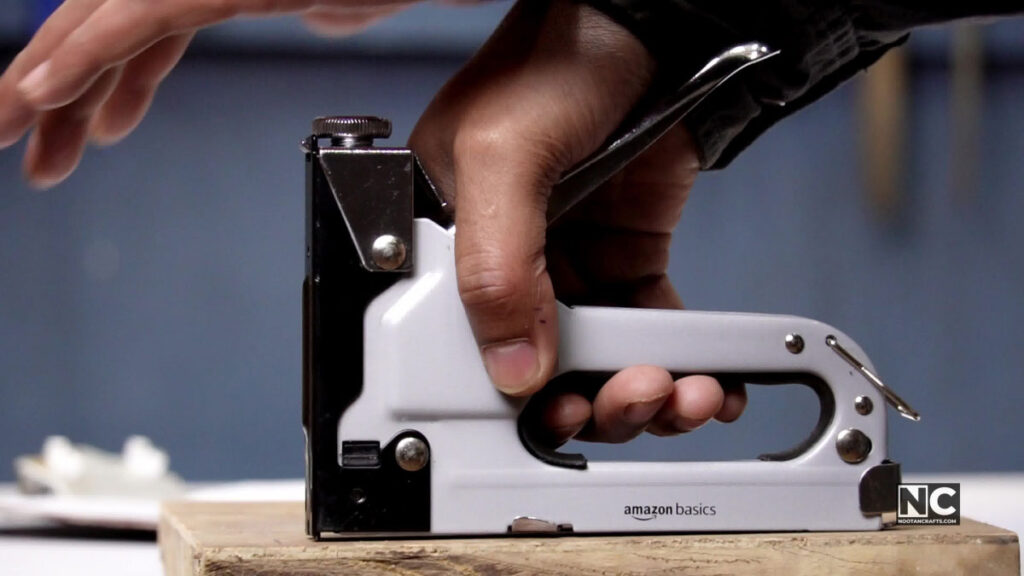
Press the nose down hard against the surface before you squeeze. A gun that isn’t seated bounces at the moment of firing, and a bounced staple goes in crooked with one leg proud — which is the single most common reason a finished job looks amateur.
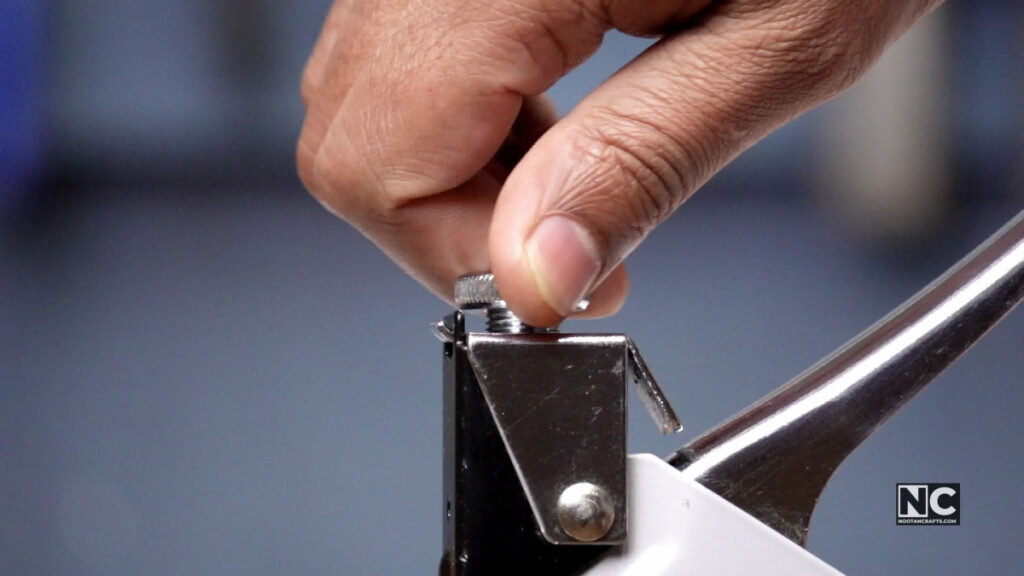
Set the depth on scrap, not on the work. Too shallow leaves the crown standing above the surface; too deep drives it through the face and puckers fabric or dents wood. Two or three test shots get you there.
On upholstery, work from the middle of each side outward, alternating opposite sides and tensioning as you go. Stapling one edge fully before starting the next is how fabric ends up pulled off-square with creases you can’t get out afterward.
Where This Goes Wrong
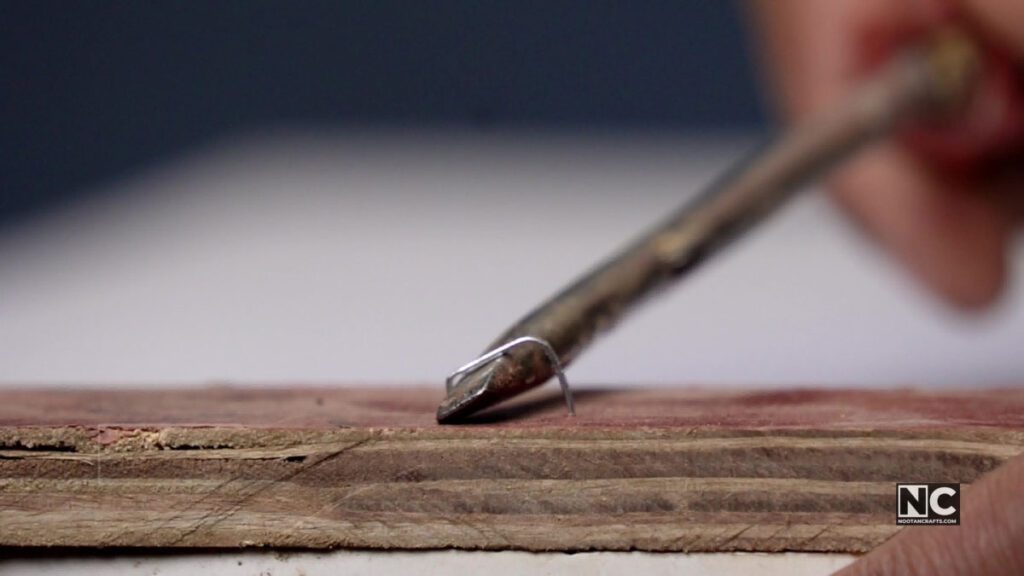
The staple sits proud and won’t pull tight
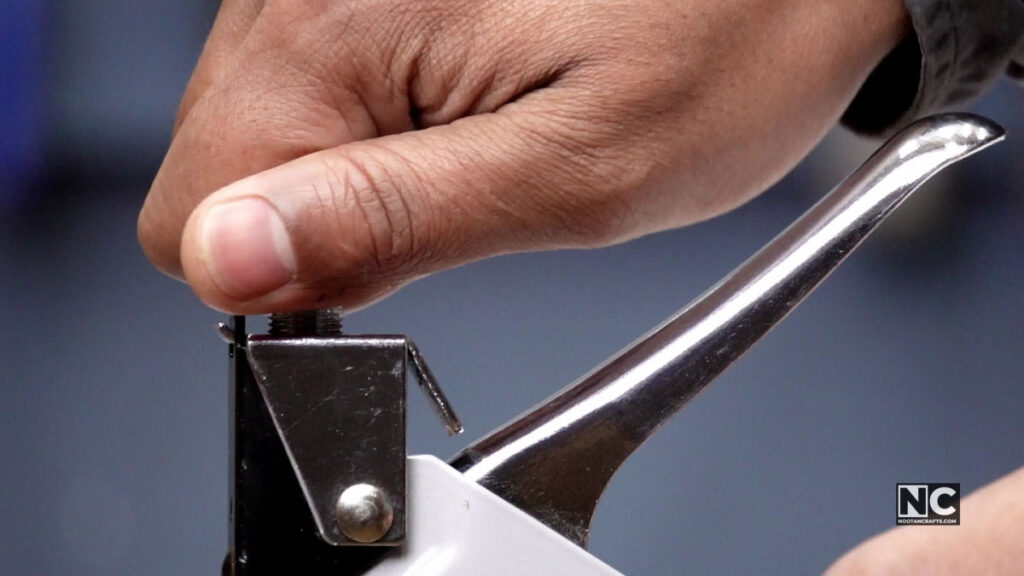
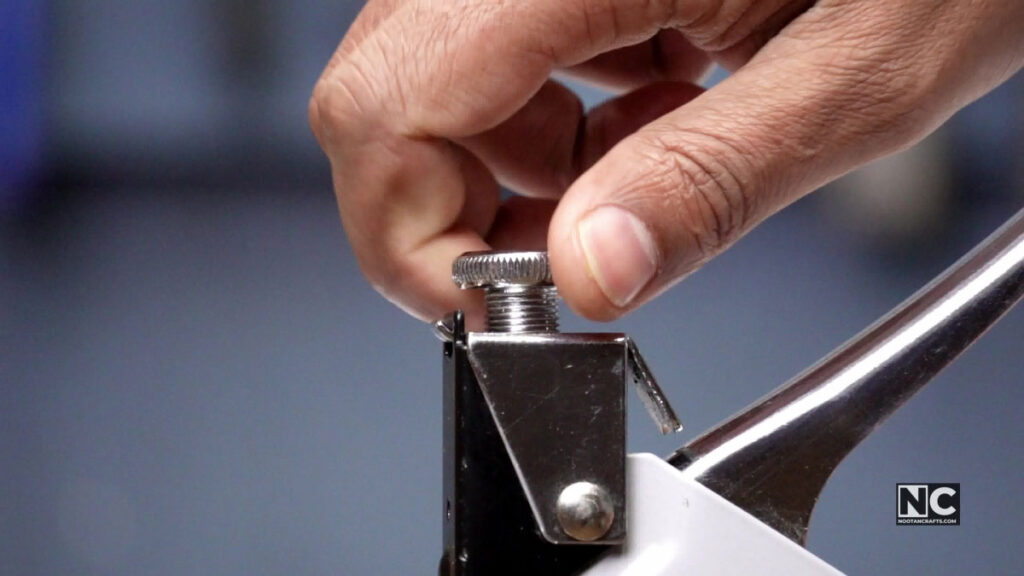
Either the depth setting is too shallow, or the legs are too short for the stack. Turn the depth up first, since it costs nothing. If the crown still stands off, move up a leg length — the points aren’t reaching solid material underneath.
The staples won’t go in at all
The material is denser than the spring can drive through. Longer legs won’t fix this on their own — a hand gun has a fixed amount of stored energy, and hardwood or dense engineered board simply exceeds it. That’s when an electric or pneumatic gun stops being a luxury.
It keeps jamming
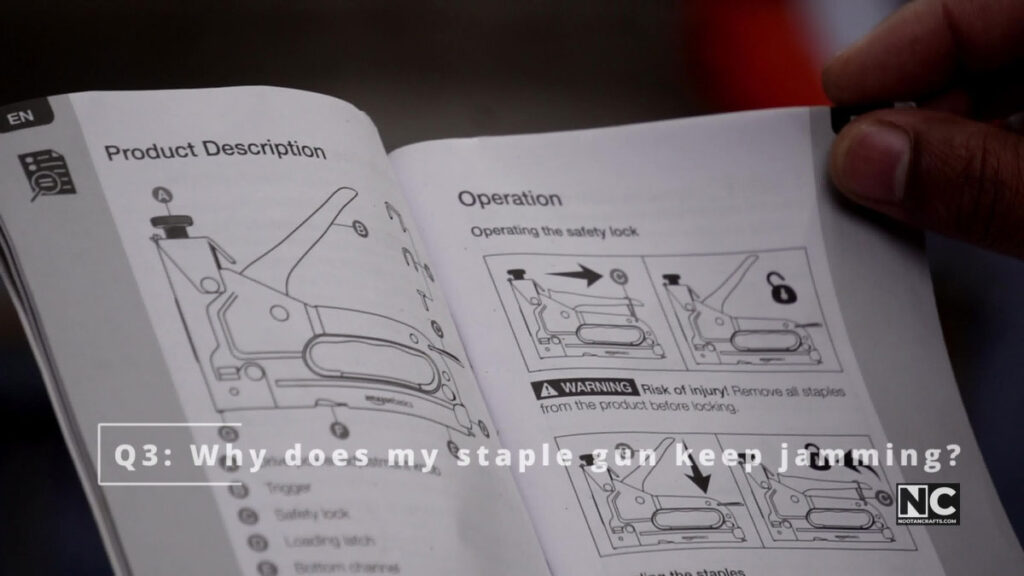
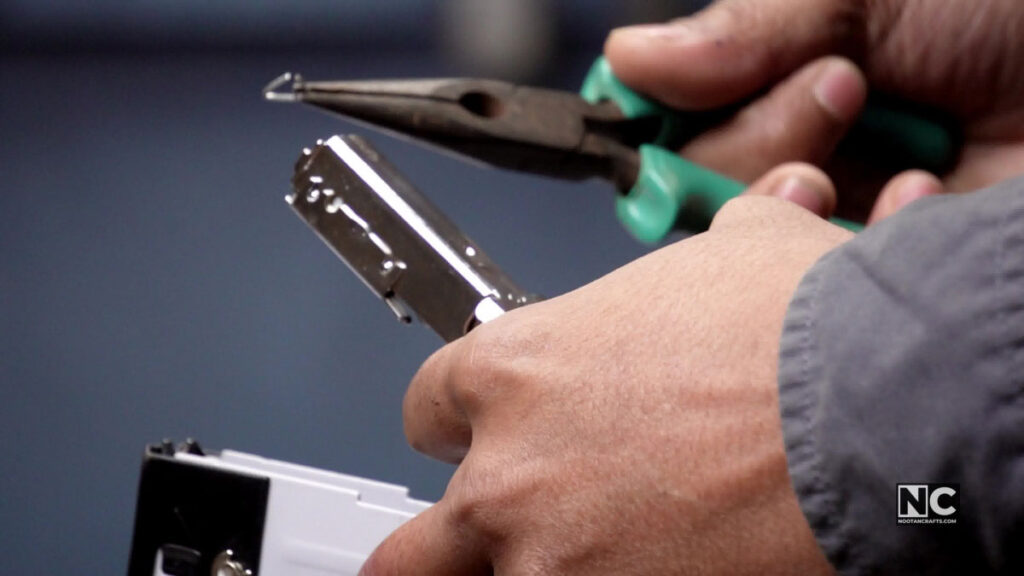
Three causes, in order of likelihood: a staple size the gun doesn’t accept, one bent staple wedged in the channel, or a dry mechanism that’s stopped feeding smoothly. Unload the magazine before you go near the jam, then lift the bent staple out with long-nose pliers instead of firing to clear it.
The staples bend on impact
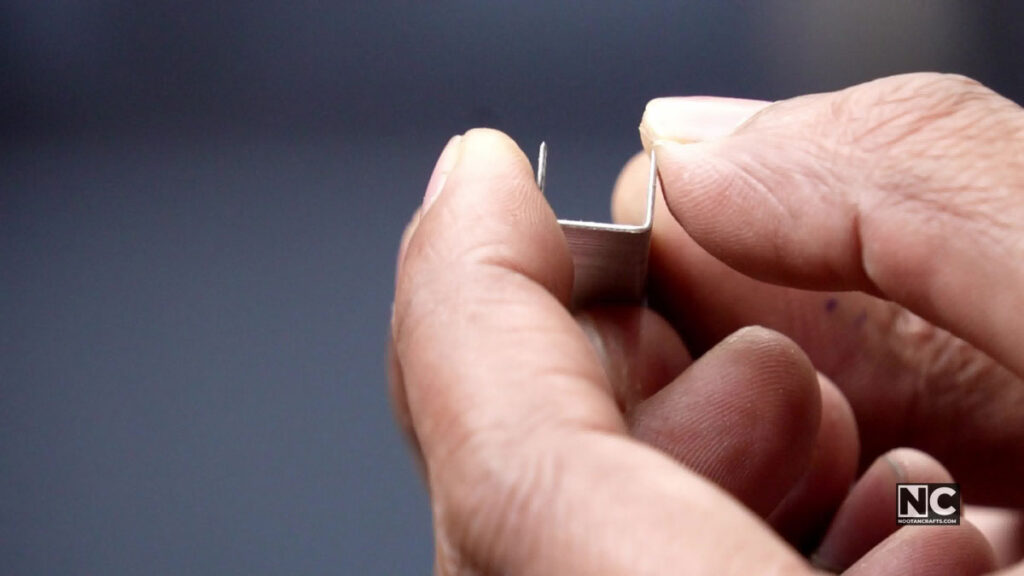
Usually cheap staples — thin wire folds instead of penetrating, especially against grain or a knot. The gun can also bounce off an unseated nose. Better staples fix the first; leaning into the tool fixes the second.
What a Staple Gun Is Actually Good For
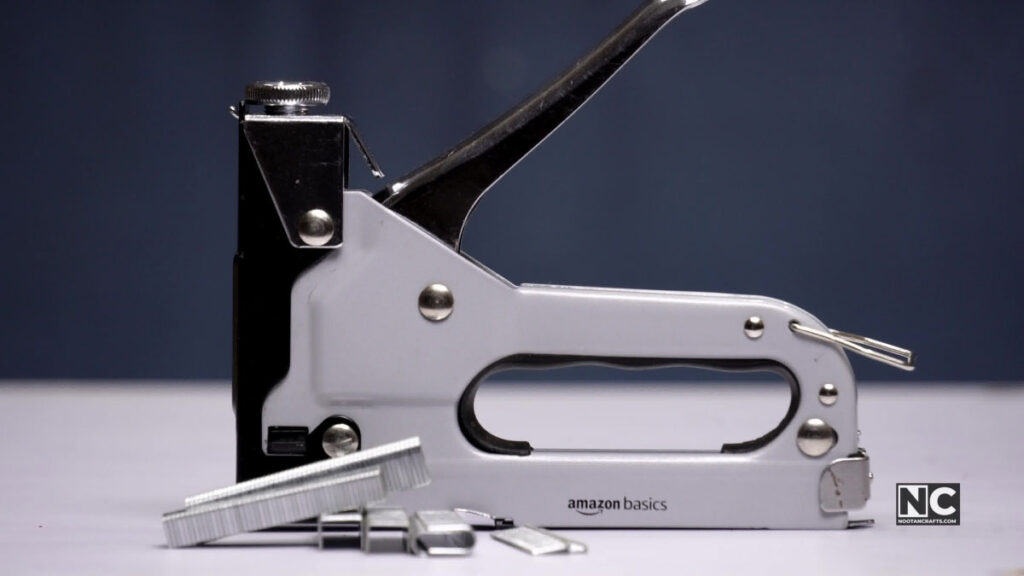
- Upholstery — tensioning fabric over a frame. This is the job the tool does best, and where crown width matters most.
- Carpet and underlay — fixing to wood subfloors and stair treads.
- Cabinet backs and drawer bottoms — thin ply into a carcass, where a nail would split the edge.
- Sheeting and netting — polythene, shade cloth, mesh onto battens or posts.
- Picture frames and light joinery — holding backing board in, or holding a glue-up while it sets.
It isn’t good for structural work. A staple’s holding power comes from friction on two thin legs, so anything carrying real load wants a screw. If you’re fixing into masonry rather than wood, that’s a different tool entirely — see drilling into concrete.
How the Mechanism Works
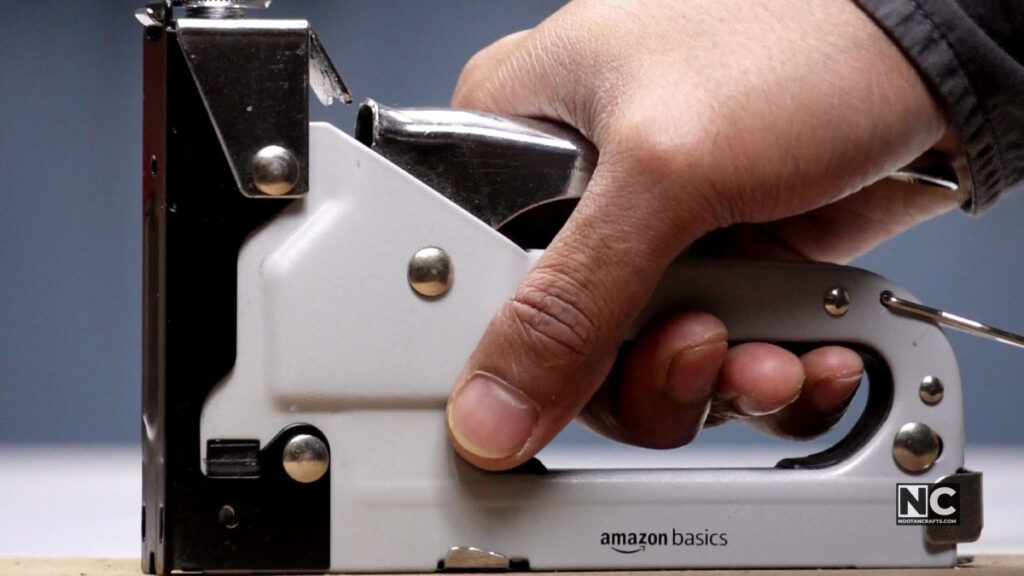
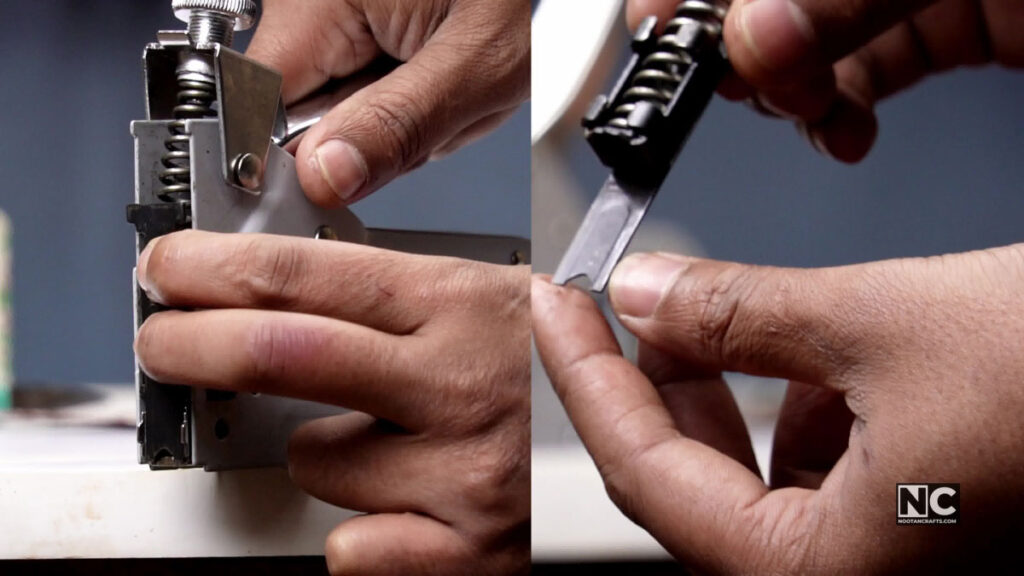
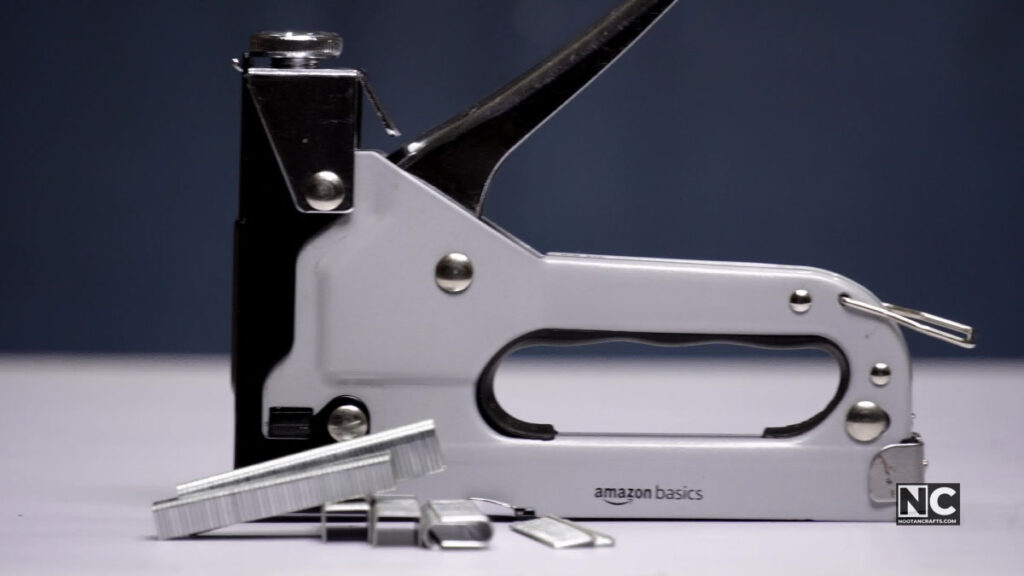
Squeezing the handle compresses a spring against a driver blade. At the top of the stroke, the blade releases, slams down the channel, and shears the leading staple off the strip and into the material. A second spring — the pusher rod you removed while loading — keeps the strip pressed forward so the next staple is waiting.
Everything that goes wrong traces back to one of those two springs. A jam is the driver meeting something it can’t shear; a gun that fires blanks is the pusher not advancing the strip, usually because the rod wasn’t clicked home.
Manual guns are spring-only. Electric ones use a solenoid and hit noticeably harder, and pneumatic ones run on compressed air and hit even harder — which is why a pneumatic gun needs the safety rules above followed exactly, not approximately. If you’re building out a workshop, that upgrade path is worth thinking about alongside which brands are worth buying.
Staple Gun Questions People Actually Ask
Which way up do the staples go in?
Legs toward the gun’s exit slot, always. In a bottom-loader you hold the gun upside down to load, so the legs point up at you. In a top-loader you hold it the normal way up and the legs point down. Same rule, two orientations.
How do I know which staples my gun takes?
The accepted sizes are stamped on the magazine or printed in the manual. Type codes are brand-specific and do not cross over, so match the code the gun names rather than a strip that looks about right in the shop.
My gun clicks but no staple comes out.
The pusher rod almost certainly isn’t latched. Take it out and push it back in until you hear the click. If it is latched and the magazine has staples, you have a jam in the channel — unload it and check.
Can I use a staple gun on a wall or ceiling?
Into wood studs or battens, yes. Into plaster, brick or concrete, no — there’s nothing for the legs to grip, and driving into masonry will deflect the staple. Use a drill and plug for those.
Do I need to oil a staple gun?
Manual guns generally don’t, and adding oil attracts dust into the channel. Pneumatic guns usually do need a drop of air-tool oil at the inlet. Follow the manual for your specific tool rather than a general rule.
Why do my staples go in crooked?
The nose isn’t flat against the surface when you fire. The gun bounces at the moment the driver releases and the staple twists as it enters. Press down harder and keep the tool square to the work.
Can I load a staple gun that’s already partly loaded?
Yes — pull the rod out, add the new strip behind the remaining one, and click the rod home. Don’t force a partial strip in front of the old one; that’s a jam waiting to happen.
| If this is happening | The cause | What to change |
|---|---|---|
| Crown sits proud | Depth set too shallow, or the gun was not pressed down before firing | Seat the nose hard against the work, and set depth on scrap first |
| One leg proud, staple crooked | The gun bounced at the moment of firing | Press down before you squeeze, not while you squeeze |
| Staples will not feed at all | Wrong strip for the gun | Check the size chart above against the model, not the brand |
| Staples bend on impact | Gauge too light for the material | Heavier gauge, and a gun rated to fire it |
| Pulls through fabric or insulation | Crown too narrow to spread the load | Wider crown, same leg length |
The One Thing to Get Right
Match the staple to the gun before you match it to the job. Loading takes ten seconds once you know which way the magazine opens, but the wrong strip will jam a good tool all afternoon and leave you thinking it’s broken. Check the stamp on the magazine, buy that size, and unload it before you ever put a finger near the channel.