Hot glue guns look harmless. But if you’re using a glue gun for the first time, a few wrong moves and you’re dealing with burns, stringing, weak bonds, or glue in completely the wrong place.
This guide covers everything you need to know about how to use a glue gun safely — from choosing the right type and glue stick, to getting a clean bond on fabric, plastic, and everything in between. Whether you’re tackling a craft project or a quick repair, by the end of this post, you’ll know how to work without making a mess, without burning yourself, and without wasting half a stick on your first attempt.
Best Glue Guns!


Last update on 2026-05-10 / Affiliate links / Images from Amazon Product Advertising API
How to Use a Glue Gun Video
1. What a Glue Gun is and Why It’s Useful
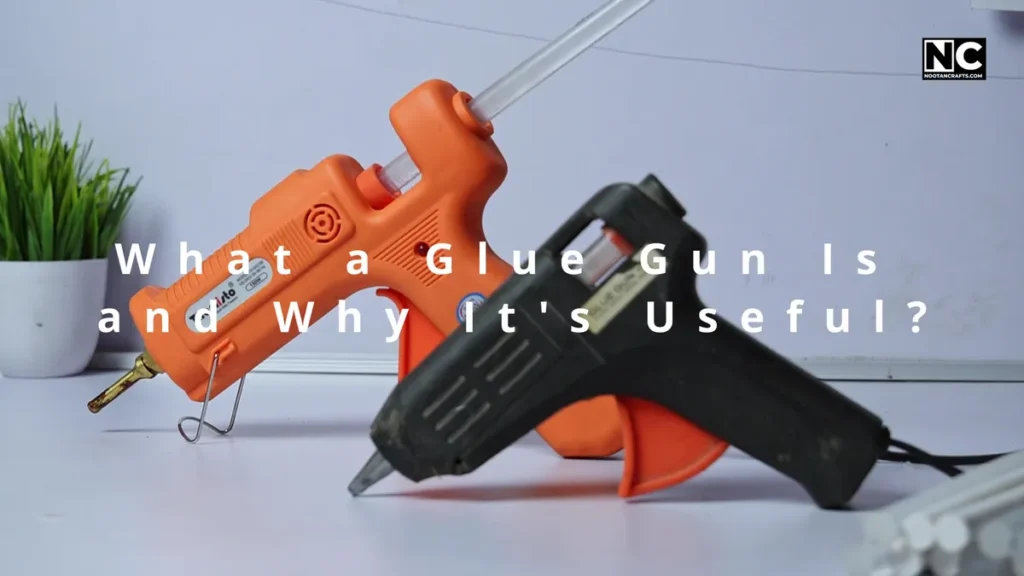
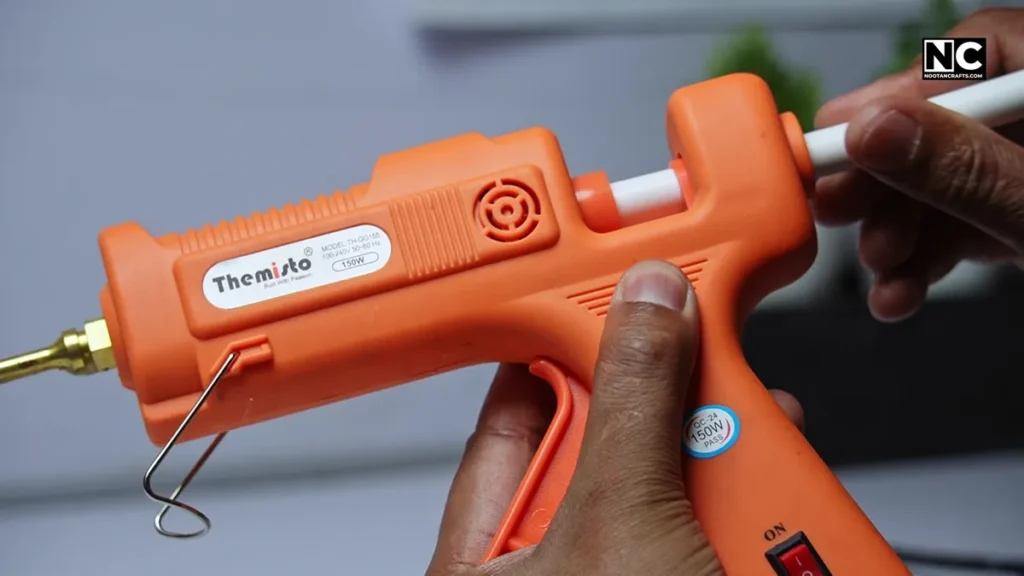
A glue gun is a portable adhesive system — fast, easy to use, and surprisingly versatile. It’s used across crafts, repairs, DIY electronics, and decoration.
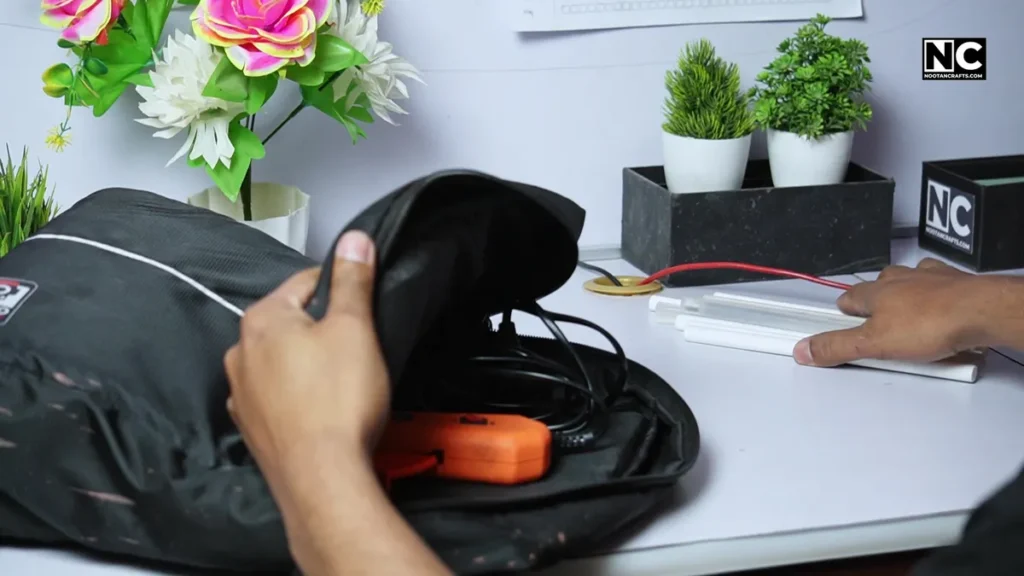
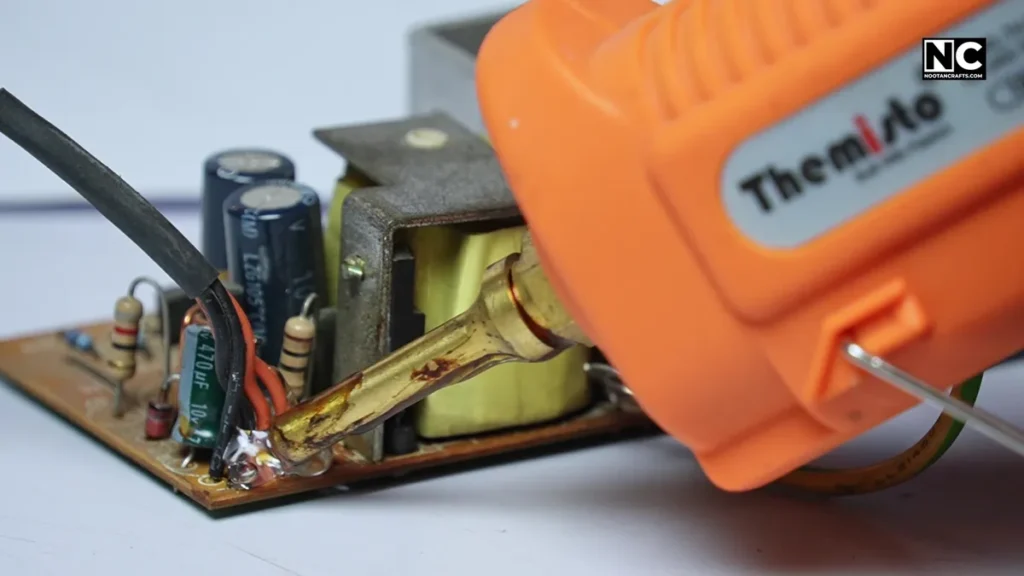
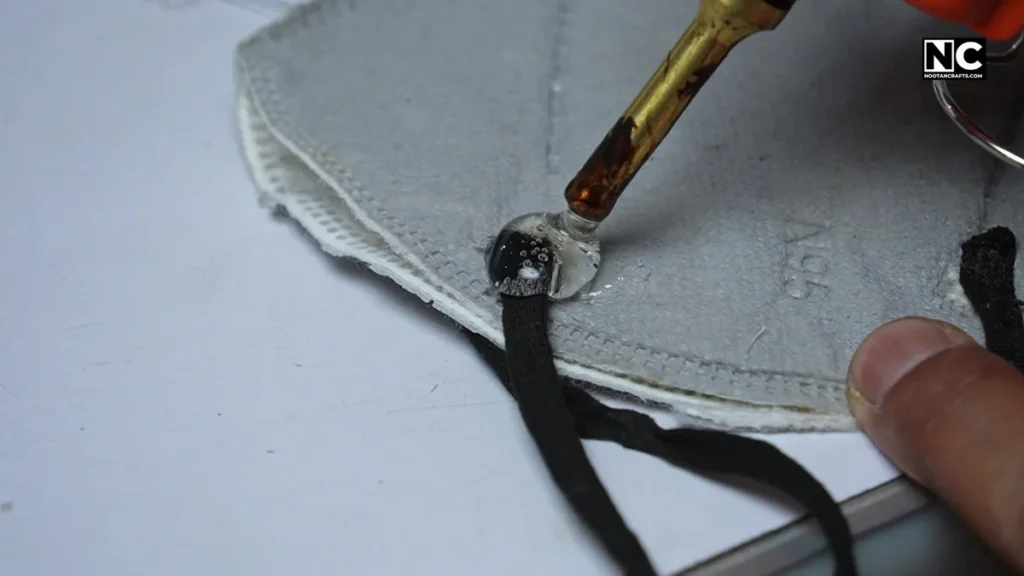
Some things you can do with one: fix a loose part, secure wires, hang string lights, create cardboard structures, form a quick mold for resin, or temporarily join two wooden pieces. The range of applications is genuinely wide.
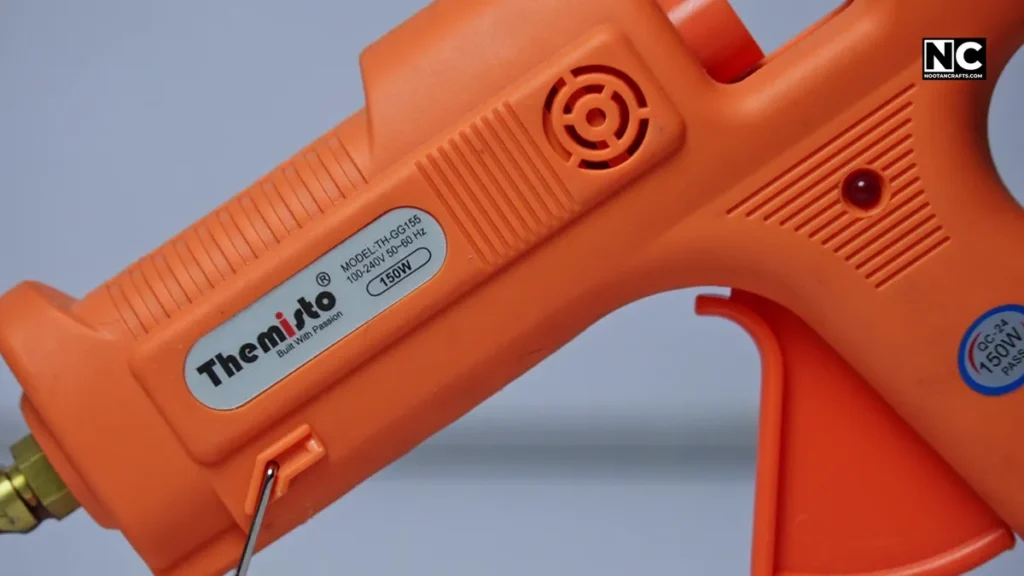
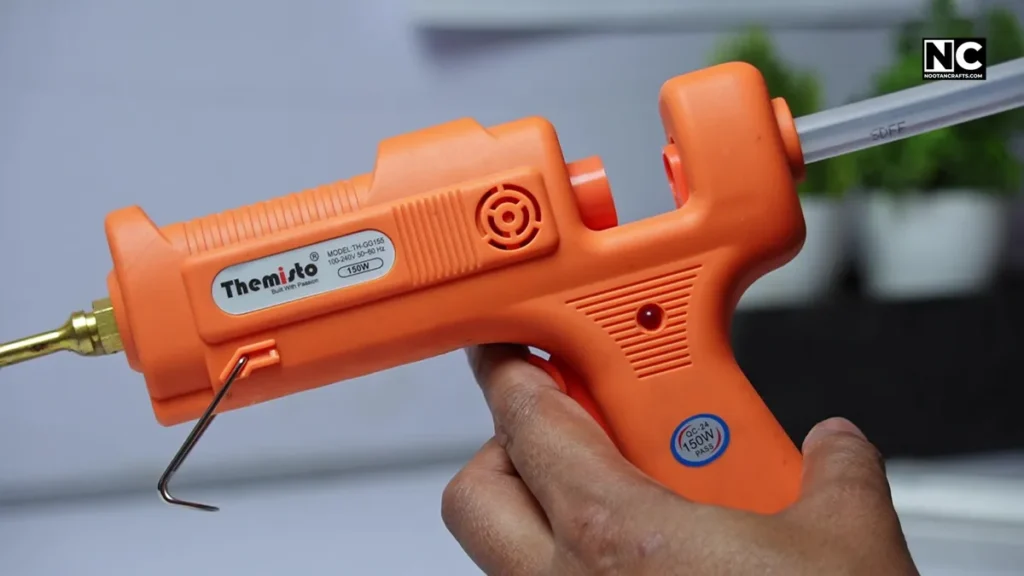
2. How a Glue Gun Actually Works

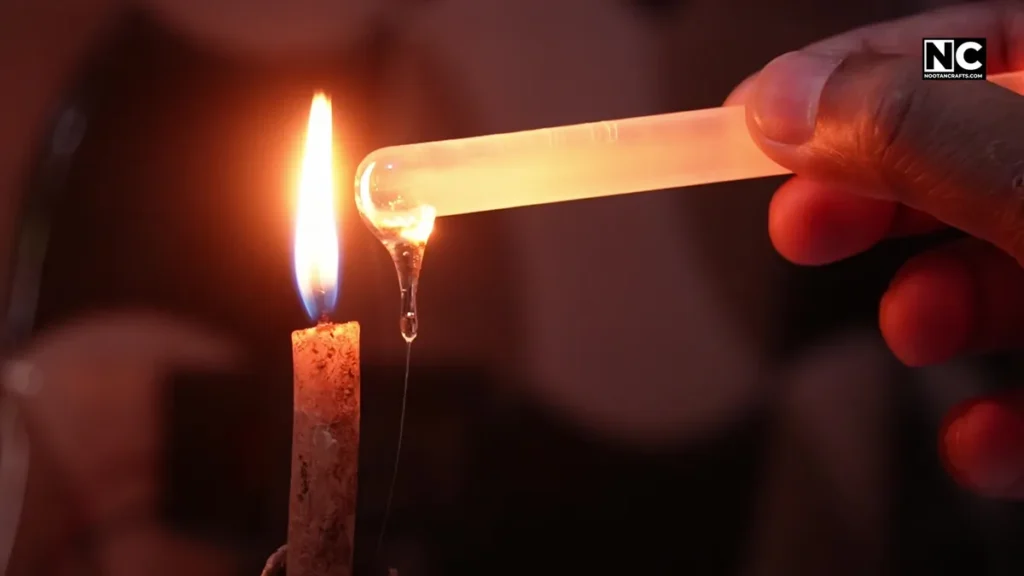
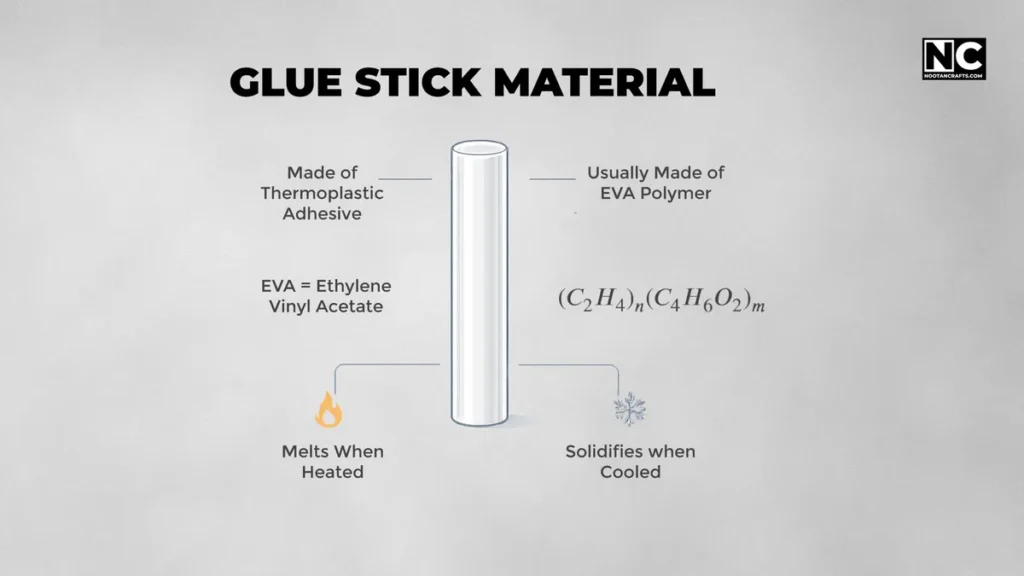
Glue sticks are made of thermoplastic adhesive — usually EVA (ethylene-vinyl acetate). It melts under heat and solidifies as it cools, forming a bond. The gun’s job is to melt that stick in a controlled way and apply it cleanly.
Here’s the process step by step:

- You insert a glue stick into the chamber at the back of the gun.
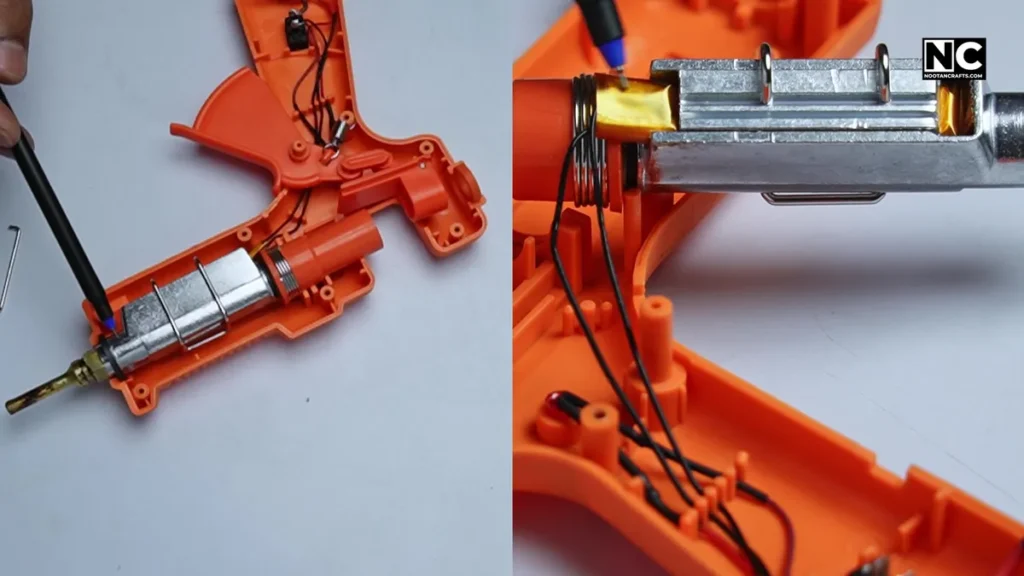
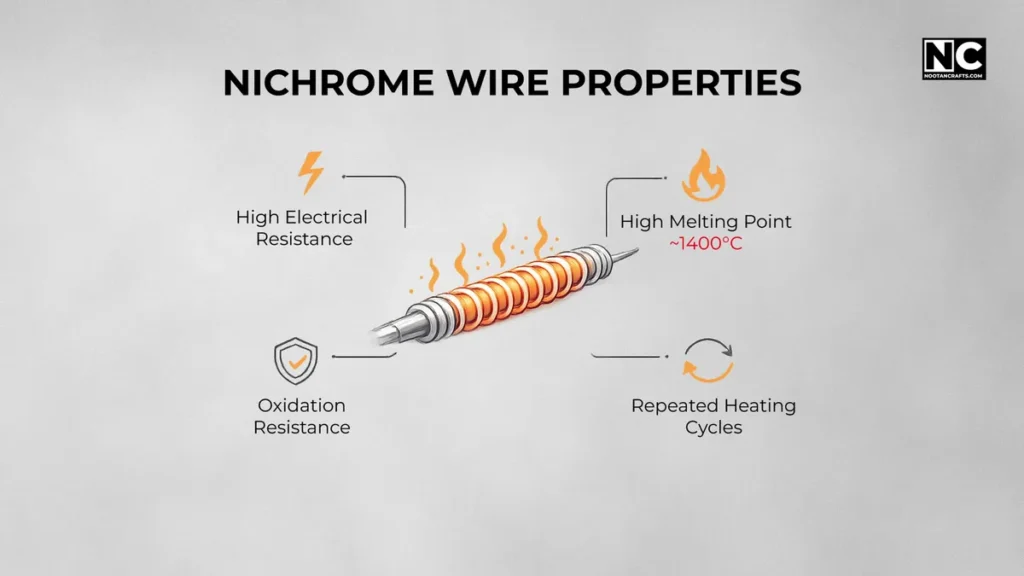
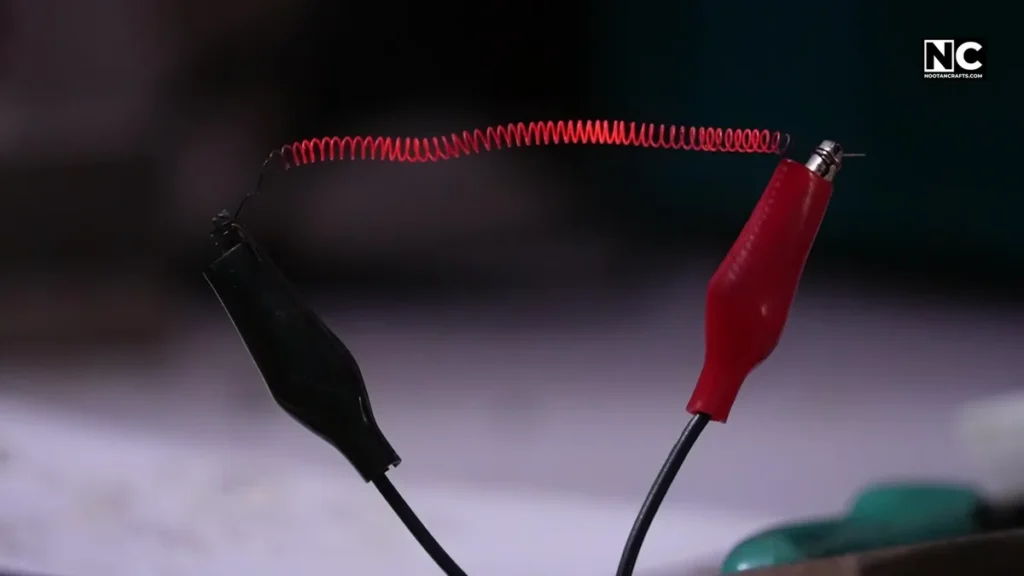
- When you switch the gun on, electricity passes through a heating element — typically made of nichrome wire, the same material used in kettles, irons, and water heaters.
- The element heats up, melting the portion of the stick inserted.
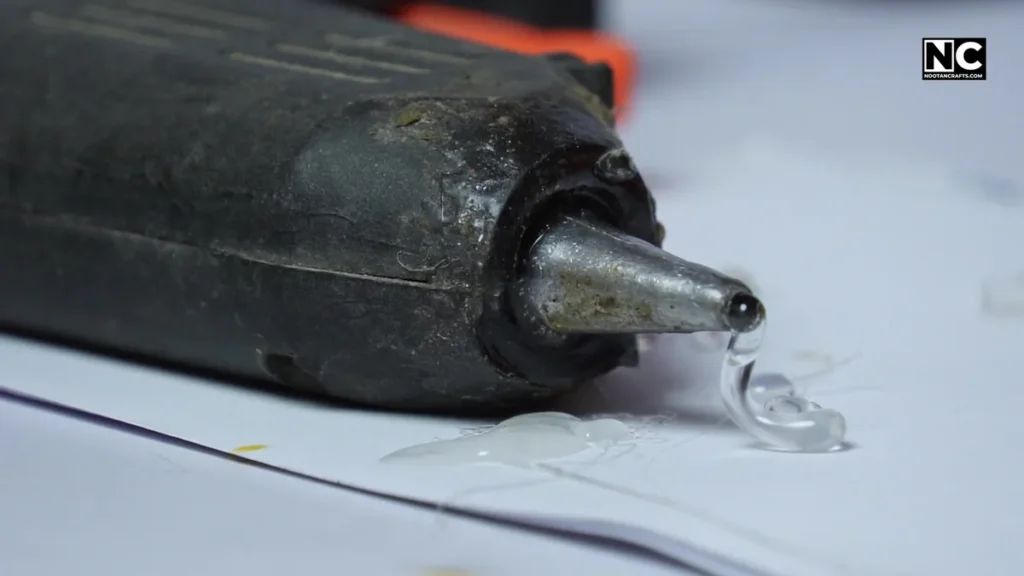
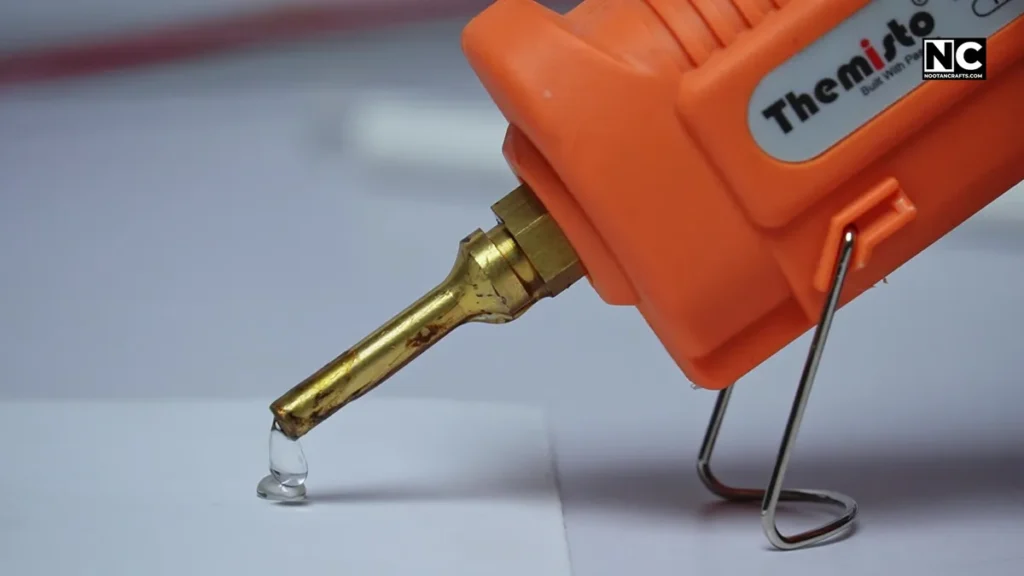
- When you press the trigger, a mechanism pushes the stick forward, forcing liquid glue out through the nozzle.
- The glue cools on contact with the surface and solidifies, creating the bond.
Also read: How to Make a Pencil Holder from scrap marble
3. Types of Glue Guns
Glue guns are broadly divided into three categories based on temperature range and wattage.
Low temperature (10–20W, ~120–170°C)
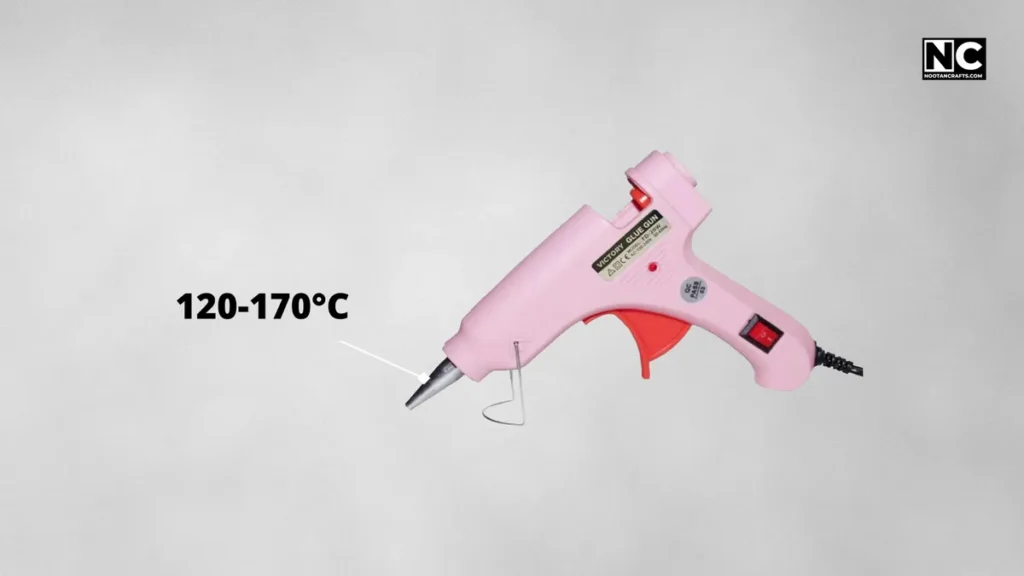

These melt glue slowly and produce a softer, lower-strength bond. The trade-off is safety — they’re much less likely to cause burns. Ideal for paper, fabric, foam, and children’s school projects. Not suitable for structural repairs.
High temperature (40–100W, ~170–220°C)
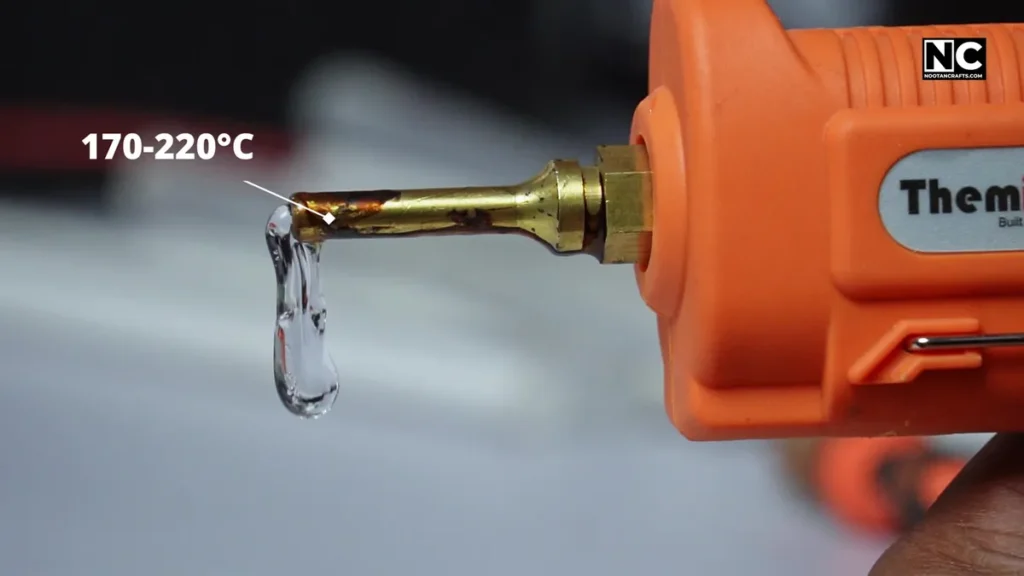
The glue flows more like a liquid, penetrates surfaces better, and creates a much stronger bond. These guns can damage delicate materials and burn skin quickly if you’re not careful. Best for wood, plastic, and light metal bonding — real repair and DIY work.
Dual temperature
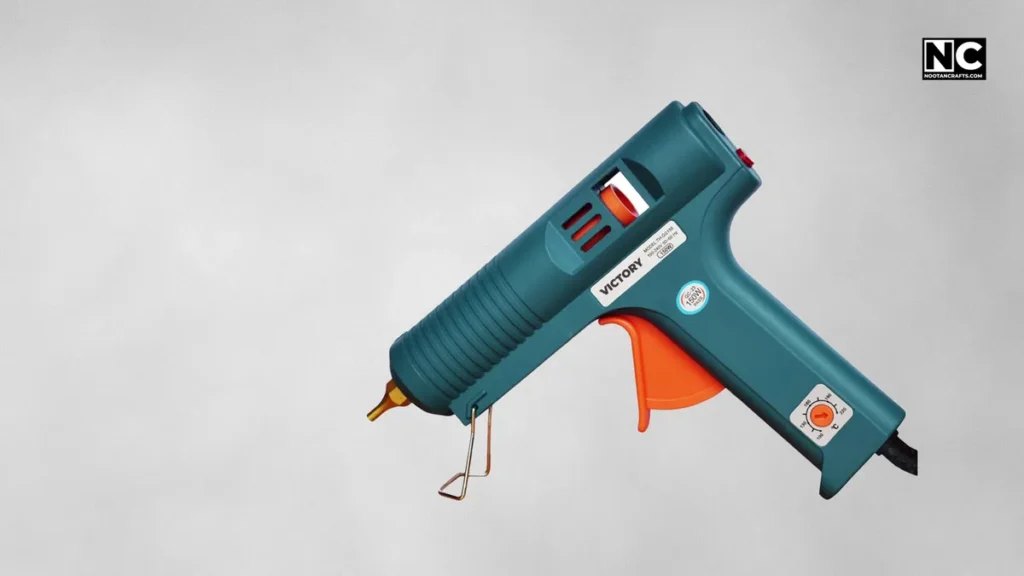
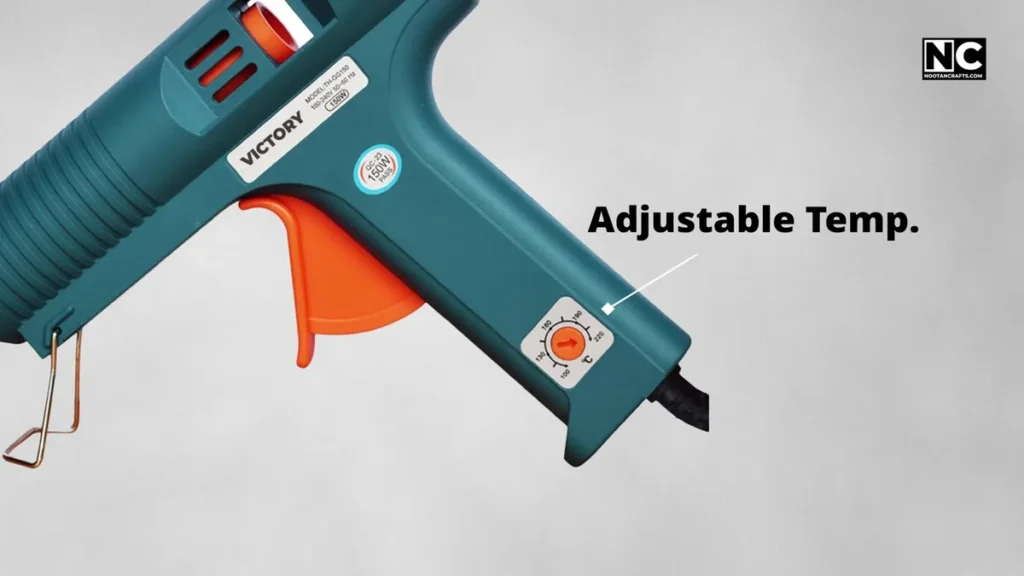
These let you switch between wattage settings (typically 20W and 80W) depending on the material. The most practical option if you do a mix of craft and repair work.
| Type | Wattage | Temp | Best for |
| Low temp | 10–20W | 120–170°C | Paper, fabric, foam, kids’ projects |
| High temp | 40–100W | 170–220°C | Wood, plastic, light metal, repairs |
| Dual temp | Adjustable | Both ranges | Mixed craft and DIY work |
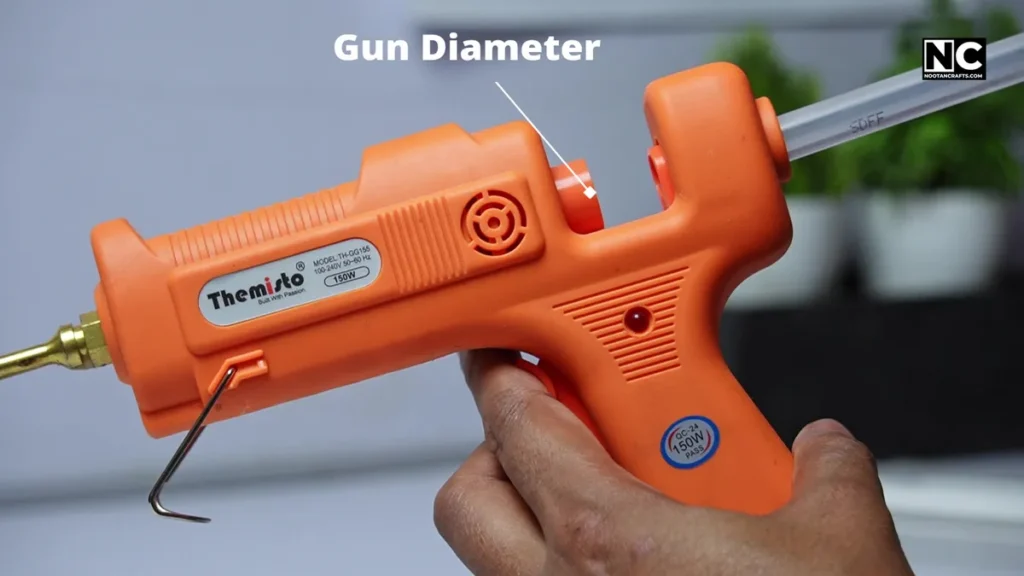
4. Choosing the Right Glue Stick
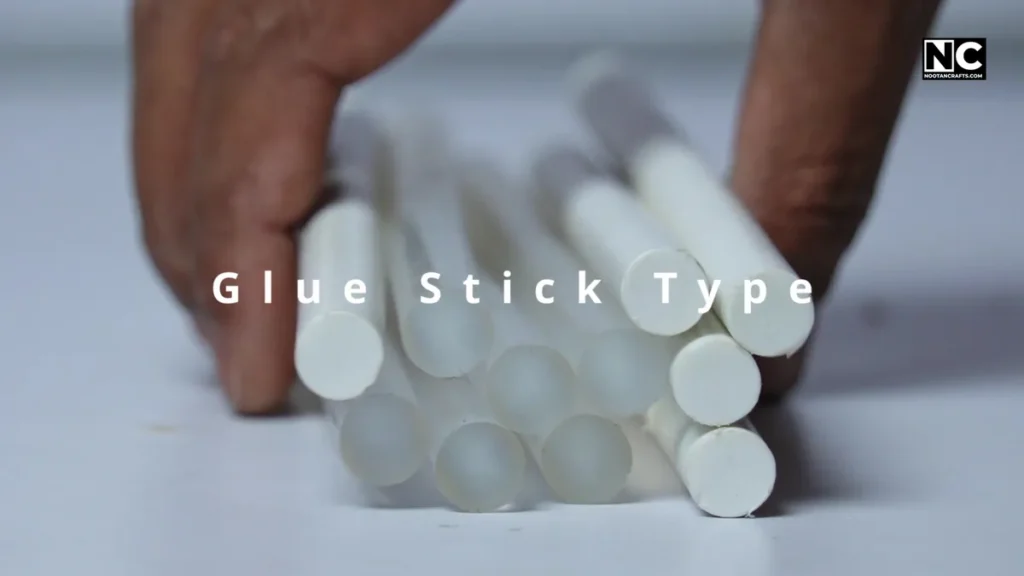
Before anything else, check your gun’s chamber diameter. The three most common stick sizes are 7mm (small/mini guns), 12mm (general purpose), and 15mm (industrial). Using the wrong diameter means the stick either won’t fit or won’t feed properly.
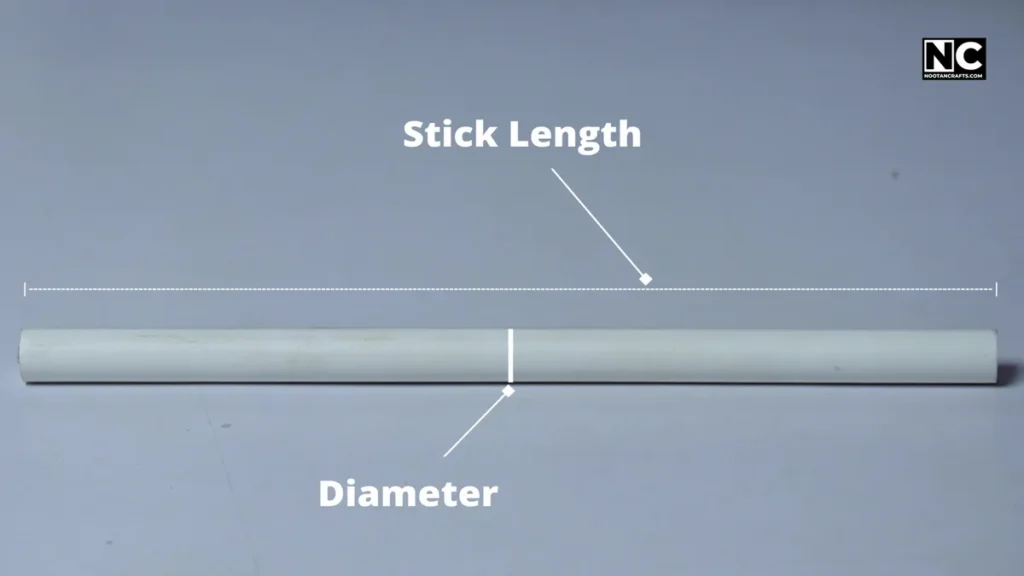
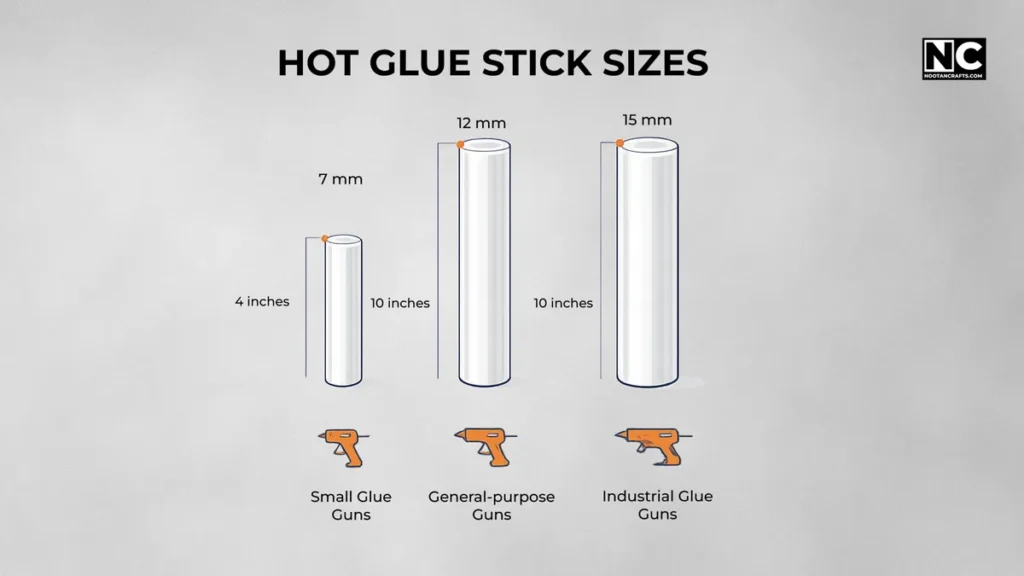
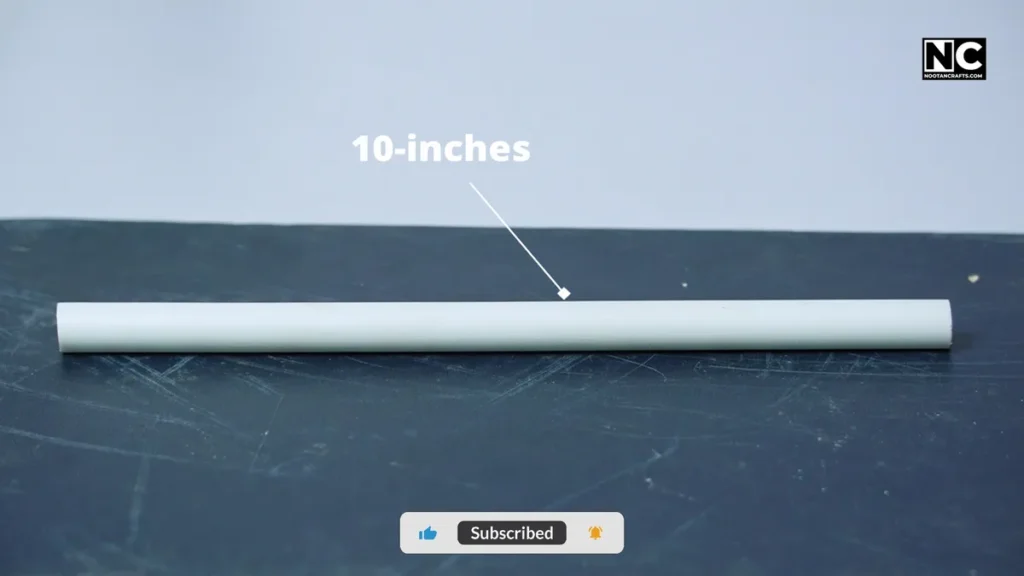
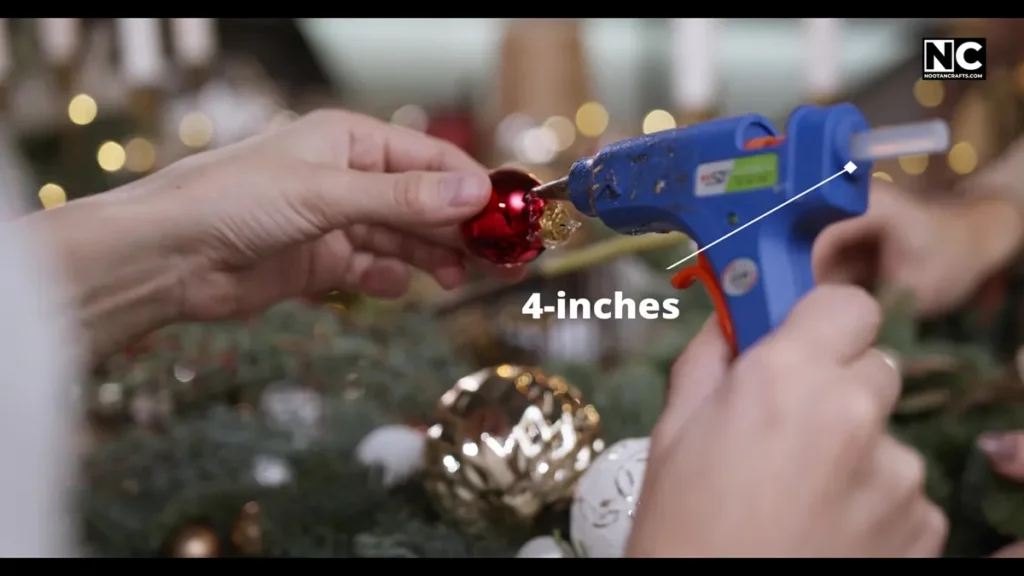
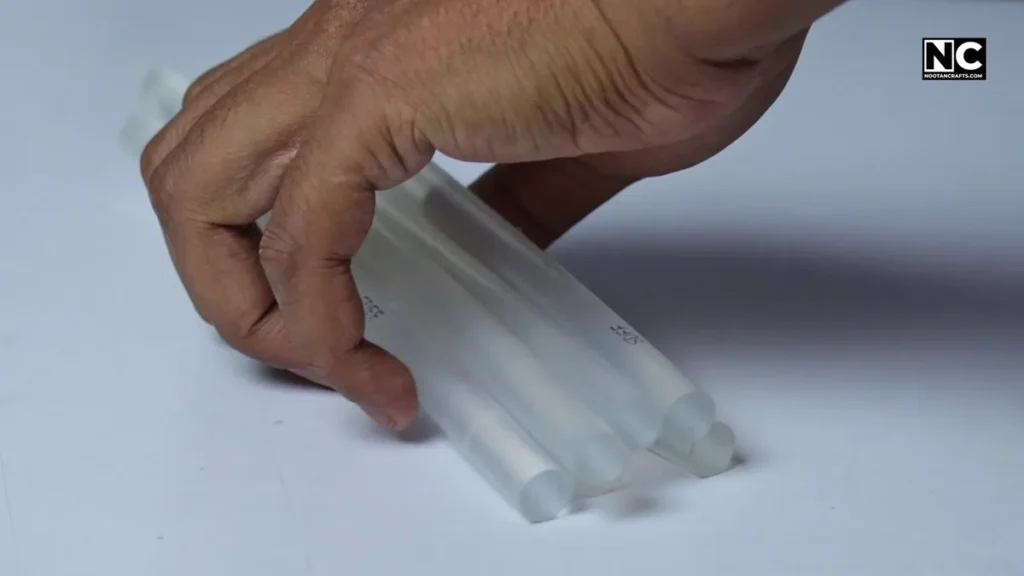
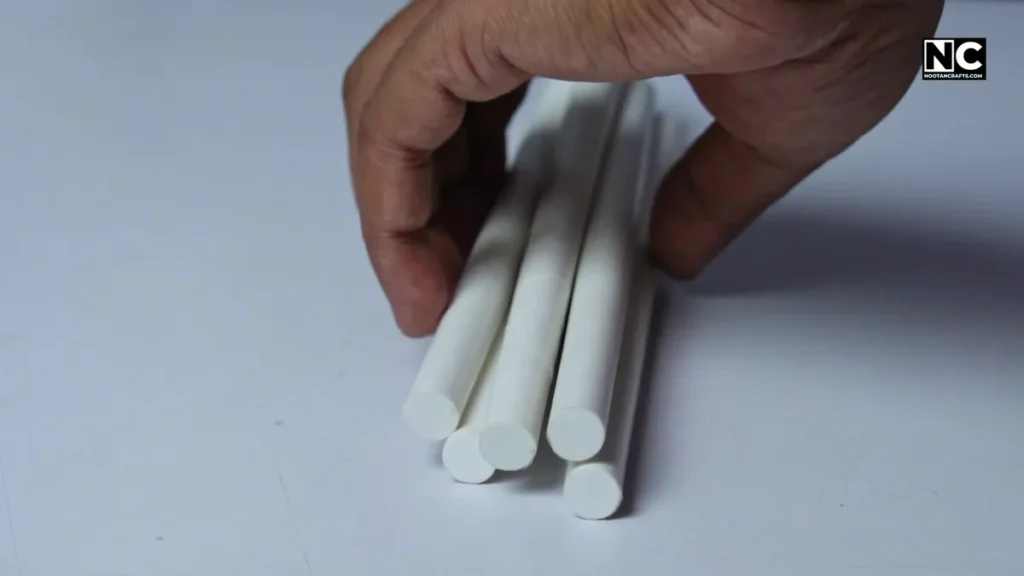
Standard sticks come in 4-inch and 10-inch lengths. The color is usually transparent, though coloured sticks are available for craft matching. Specialized sticks for wood, fabric, and plastic also exist — they offer stronger bonding on those specific materials.
| Diameter | Gun type | Common use |
| 7mm | Mini/small | Light crafts, detail work |
| 12mm | Standard | General purpose |
| 15mm | Industrial | Heavy-duty applications |
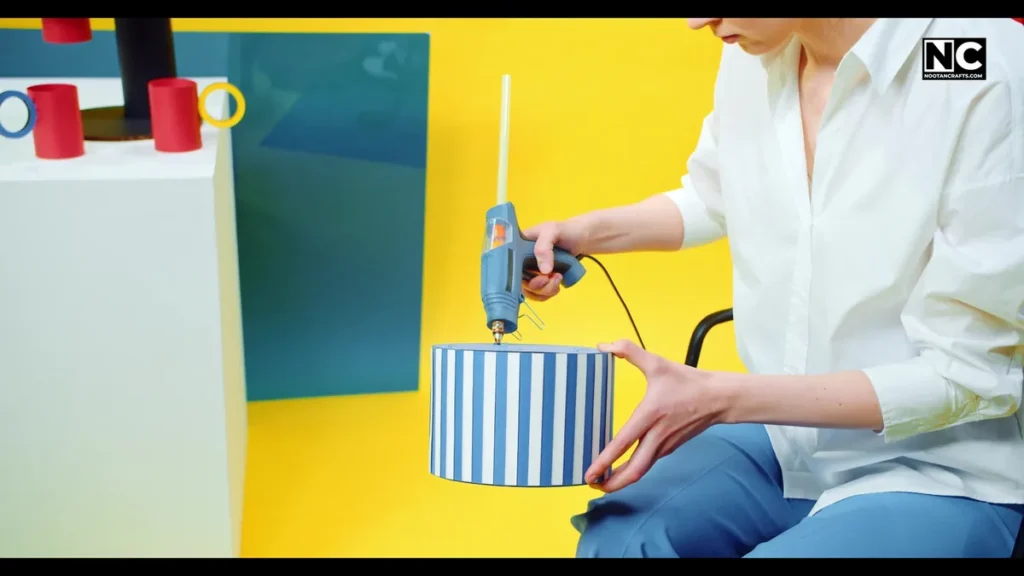
5. How to Use a Glue Gun Correctly
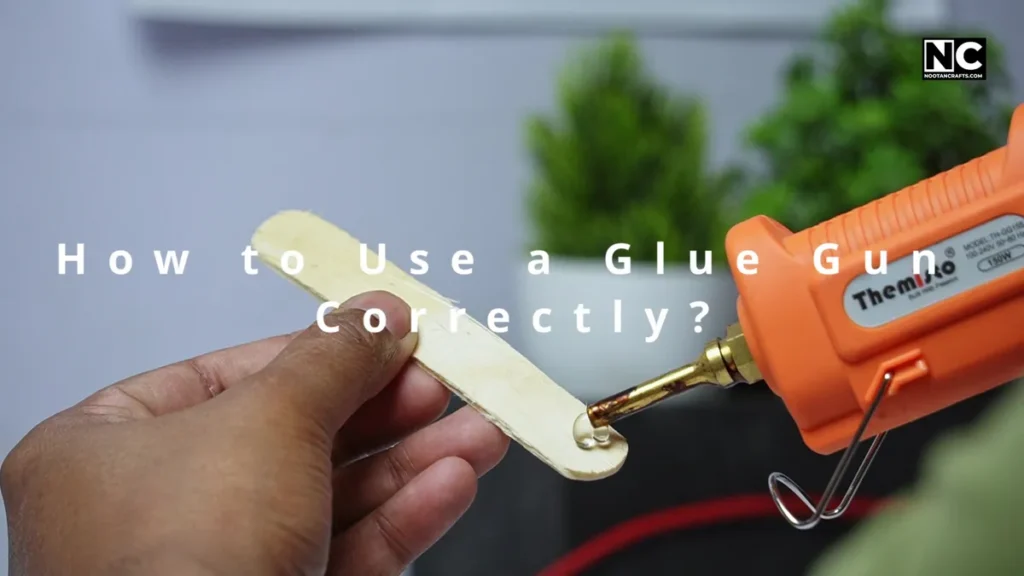
- Insert the glue stick until it seats properly — no forcing required, it should slide in smoothly.
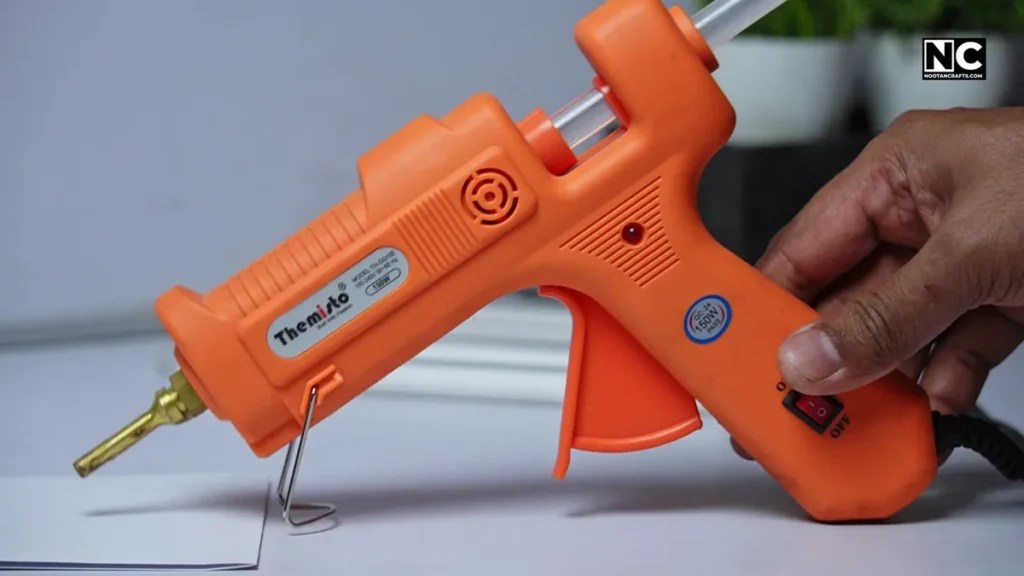
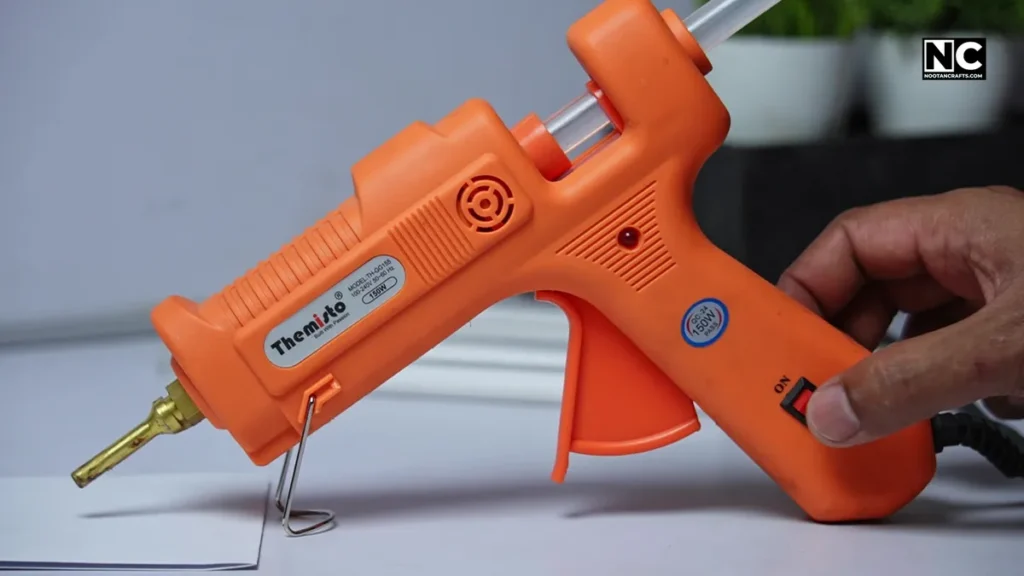
- Place the gun on its stand and switch it on. Wait 3–5 minutes for full heat-up.
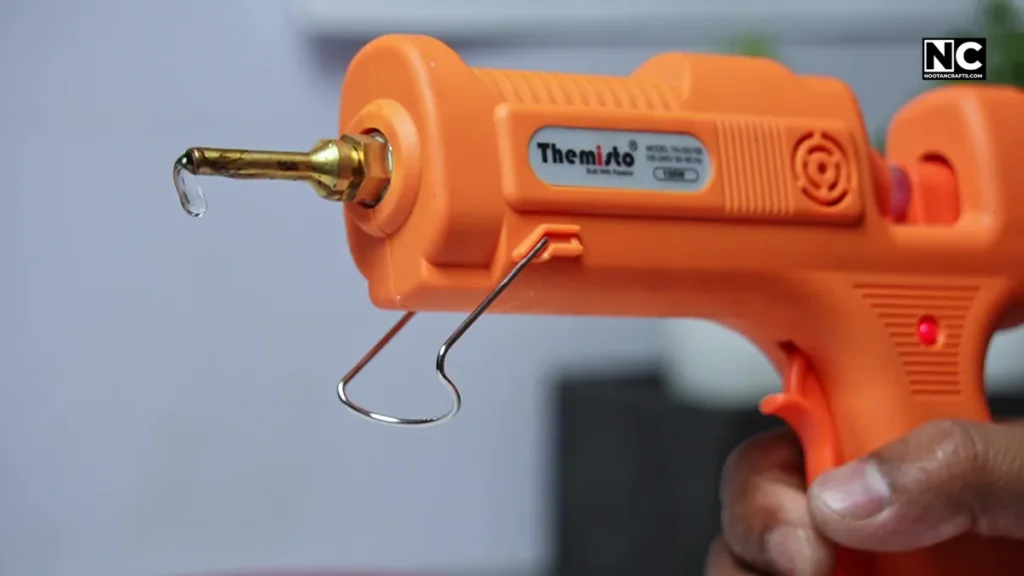
- Hold the gun comfortably. Do not touch the nozzle at any point — it gets extremely hot.
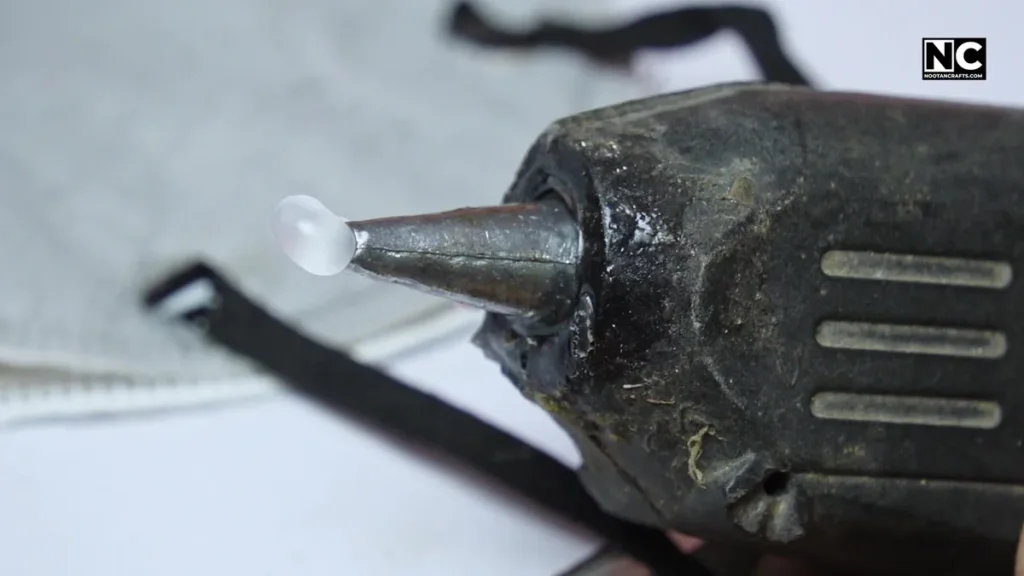
- Gently press the trigger. If the glue comes out in chunks rather than flowing smoothly, give it another minute.
- Apply glue to your surface, then press and hold the two pieces together for 10–30 seconds.
- Keep trigger pressure consistent — squeezing too hard wastes glue and reduces control.
- If glue goes in the wrong spot, don’t touch it while it’s hot. Let it cool, peel it off cleanly, and redo.
- When the stick gets short, load a new one behind it — the new stick pushes the old one through.
6. Techniques for Better Results
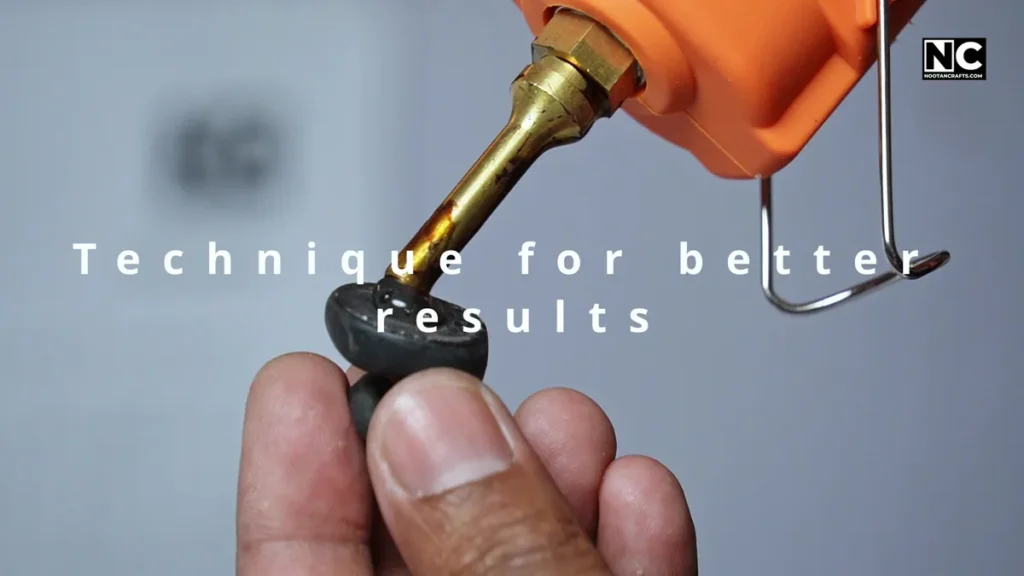
- Avoid stringing: When lifting the gun away, do a small rotating motion — this breaks the strand cleanly instead of dragging it.
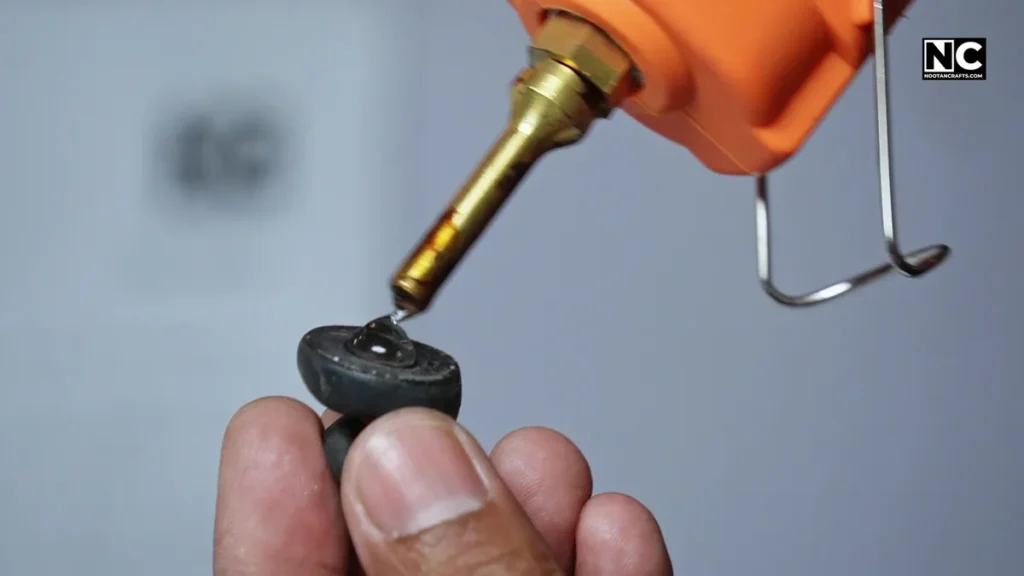
- Prep shiny surfaces: Plastic and metal don’t grip well. Scratch the surface lightly with coarse sandpaper first.
- Don’t reshape hot glue: Trying to mould it while it’s still hot makes a mess. Wait until it cools.
- Match the technique to the job: Small dots for lightweight items. A continuous bead (applied in layers) for stronger bonding.
- Warm the surface in cold environments: A quick pass with a heat gun before applying helps adhesion significantly.
7. What You Can and Can’t Glue
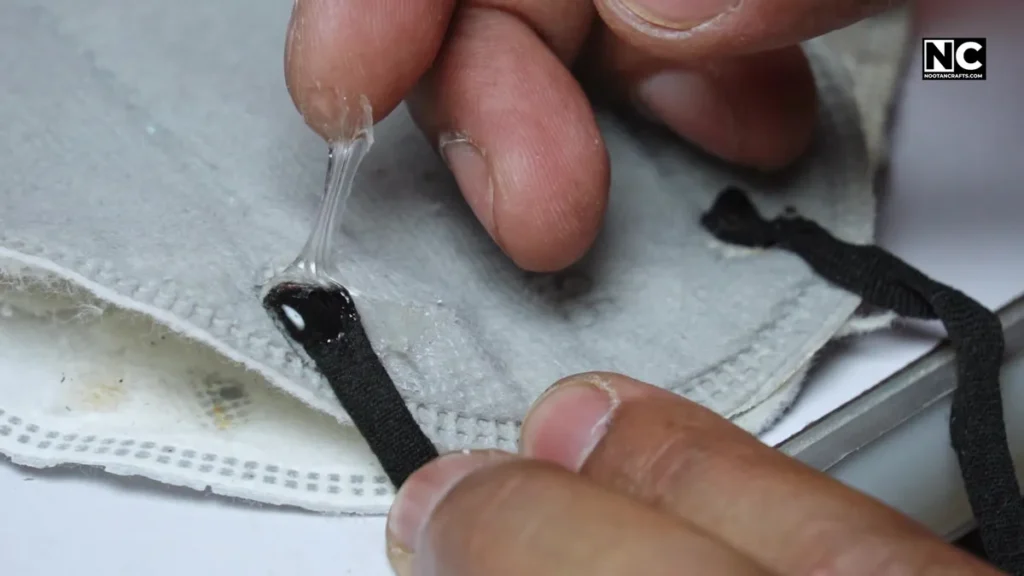
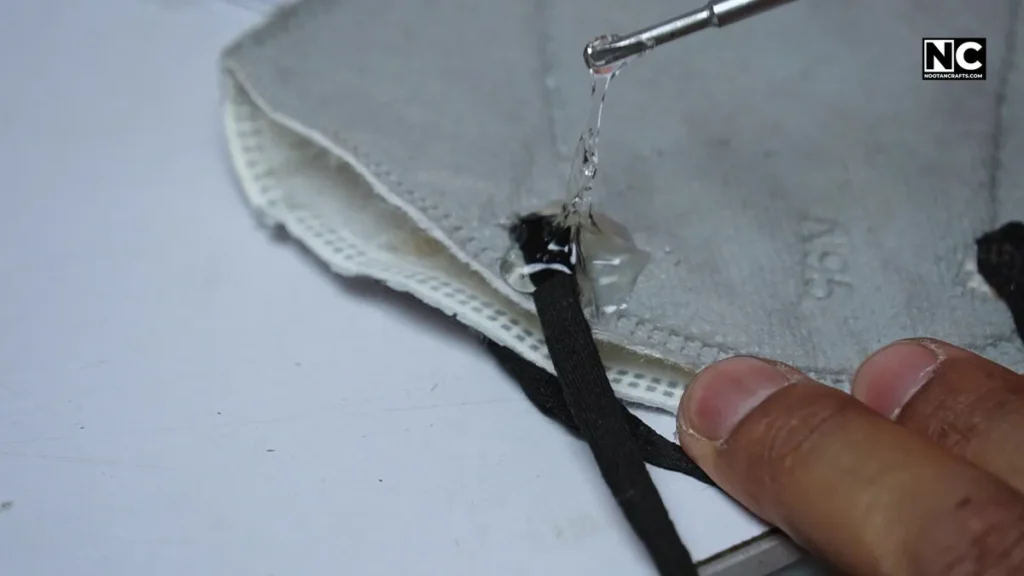
Hot glue needs something to grip onto. Rough surfaces work well — wood, cardboard, paper, fabric, foam, ceramics, and light metals all bond reliably. Smooth or shiny surfaces like polished plastic or glass are problematic without preparation.
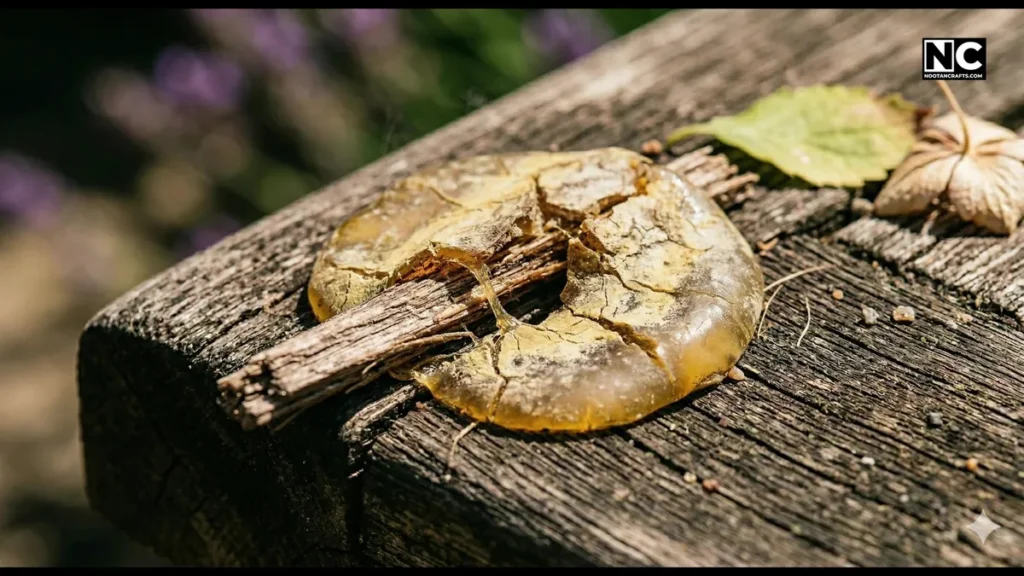
Avoid: Applying hot glue to anything that will be exposed to outdoor conditions or sustained heat. The glue can soften, lose its bond, or degrade entirely.
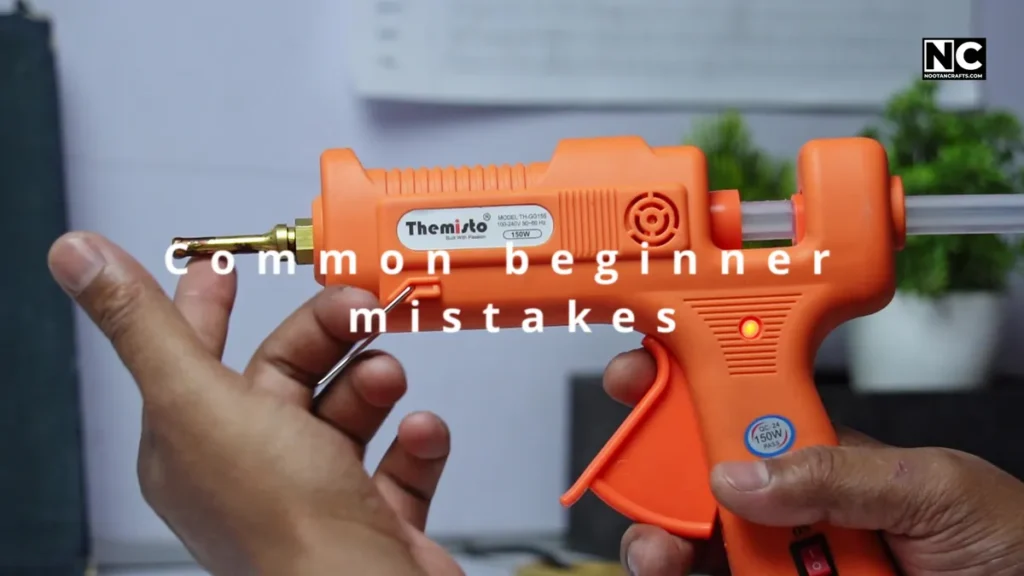
8. Common Beginner Mistakes

- Squeezing the trigger too hard. There’s a slight delay between pressing and glue flowing. Gripping harder doesn’t speed it up — it just dumps too much glue at once. Apply steady, consistent pressure instead.
- Not waiting for full heat-up. If the gun isn’t fully heated, the glue won’t flow and you’ll end up pressing harder to compensate. This puts unnecessary strain on the mechanism. Always wait the full 3–5 minutes.
- Using too much glue. More glue doesn’t equal a stronger bond — it usually means a messier join and longer cooling time. The exception is if you’re insulating wires or filling gaps in electronics.
- Touching hot glue to correct a mistake. Instinct says reach in and fix it. Don’t. Hot glue sticks to skin and causes painful burns. Let it cool, then remove.
- Moving pieces before the glue sets. High-watt guns produce glue that takes longer to fully cool. Give it a couple of minutes before handling. Rushing leads to weak bonds.
9. How to Use a Glue Gun Safely
The nozzle gets dangerously hot. Never touch it during operation, and be careful when setting the gun down — always use the stand.
- Never touch the nozzle while the gun is on — or for several minutes after switching it off.
- Avoid contact with the glue itself while it’s still liquid. If you do get glue on your skin, don’t pull it off immediately — let it cool slightly first.
- Always unplug the gun after use. Don’t leave it plugged in unattended.
- Keep it on its stand in an upright position when not actively applying glue.
- Keep it away from children, even if it’s switched off. The residual heat lingers.
Conclusion
A glue gun is a simple tool — but using it well comes down to timing, control, and understanding how the glue behaves. Most people just press the trigger. Now you know how to control every drop. Thanks for reading, have a great day. 🙂