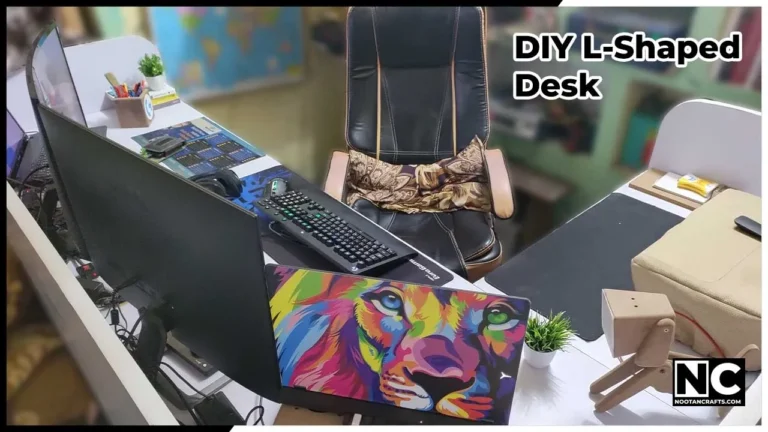
I started blogging in 2018 on a table that could barely hold a laptop. As the setup grew to two monitors, a laptop and a printer I needed something bigger — and every carpenter I asked either refused to touch the metal frame or quoted a price that made no sense. So I opened 3D modeling software for the first time in my life, taught myself SketchUp, and designed it myself.
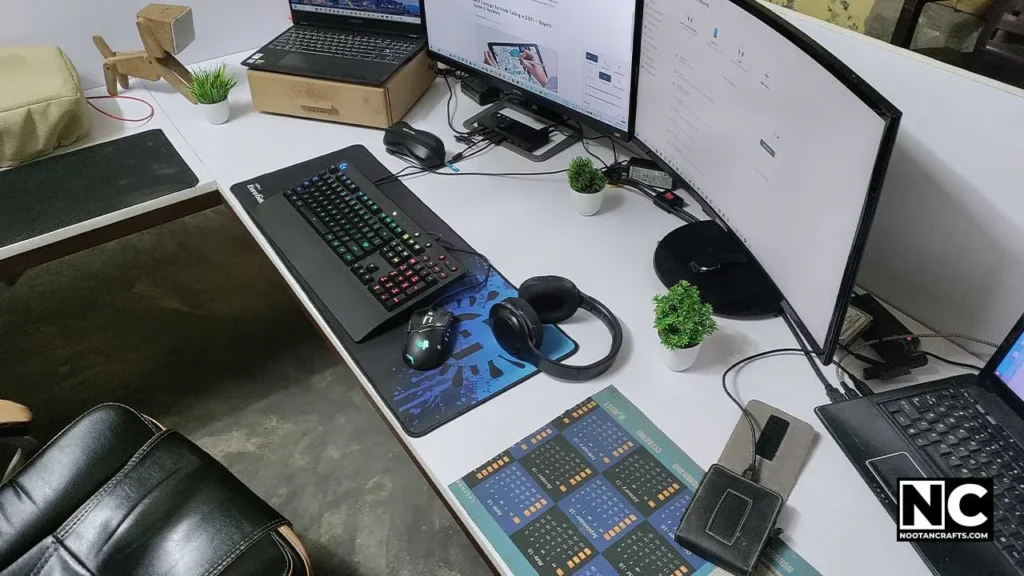
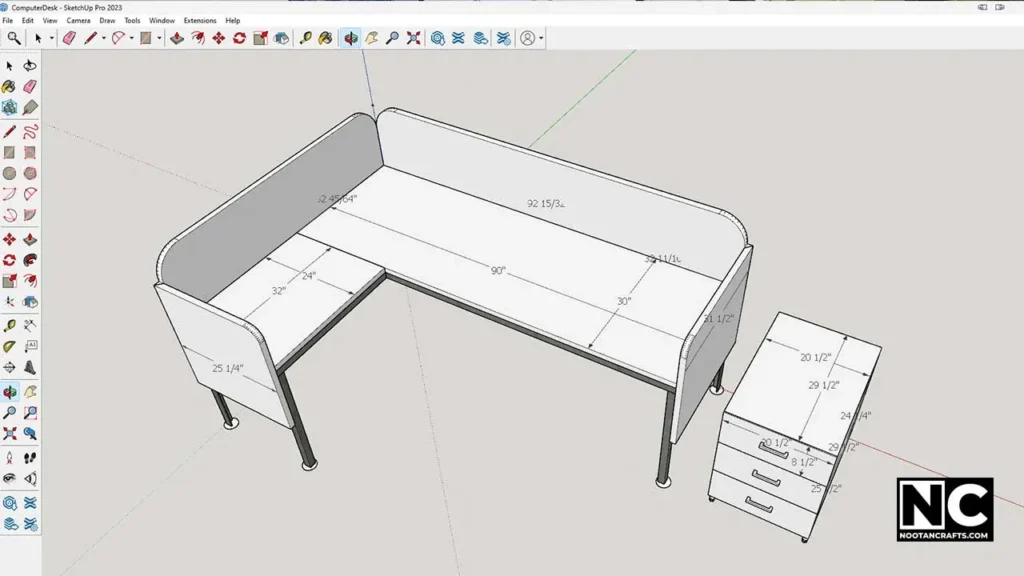
This is that desk: a welded angle-iron frame with a blockboard top — a 90″ × 30″ main surface, a 32″ × 24″ return, 30″ high, on five legs, with a freestanding three-drawer unit and four privacy panels. Eleven pieces of 1.5″ angle iron make the frame, two sheets of blockboard make the top, and the whole thing took a welder, an angle grinder, a drill and a jigsaw.
The full cut list and the SketchUp model are below, free. Adapt the dimensions to your room — everything else in the build stays the same.
- Angle iron, 1.5″ — 40 feet total
- Blockboard, 1″ — approx. 4 boards at 4×8 ft
- MDF, 0.5″ — approx. half a 4×8 ft board
- Drawer channels, 18″ — 3 sets
- Drawer handles — 3 sets
- Machine nuts and bolts, ½″ × 2″ — 24 sets
- Wood screws, ½″ to 3″
- Laminate sheet, primer, oil paint
- Welding machine (I used an inverter arc welder)
- Angle grinder — cutting and dressing welds
- Drill and electric screwdriver
- Circular saw and jigsaw
- Speed square, level, measuring tape, clamps
- Chisel and hand planer
- Paintbrush or sprayer
- SketchUp (free version is enough)
Cutting and welding steel indoors is the dangerous half of this build
Woodworking mistakes cost you a board. The metalwork on this project involves an abrasive disc at full speed, an arc bright enough to burn your corneas, and a shower of sparks in a room that probably contains sawdust and offcuts. Take this part somewhere you can control, and clear it first.
- Arc eye is delayed. You will not feel it while welding — it arrives hours later and feels like sand in your eyes. A proper welding helmet, every strike, even for a tack. Anyone watching needs eye protection too; reflected UV from a wall is enough.
- Weld outdoors or with real extraction. Welding fume is a respiratory hazard, and painted or galvanized steel is far worse — never weld coated stock without grinding the coating back first.
- Clear the sparks’ path. Grinding steel throws hot particles several meters. Sawdust, offcuts, laminate, thinner, rags — move all of it before you start, and keep water or an extinguisher within reach.
- Match the disc’s rpm stamp to the grinder’s plate, and keep the guard on. A cutting disc is for cutting, not side grinding — using the face of a thin disc is how they shatter.
- Face shield over safety glasses for grinding, and ear defenders. Cutting 40 feet of angle iron is a long, loud job.
- Mask for MDF. MDF dust is fine enough to stay airborne for a long time and is a known respiratory irritant. Cut it outside if you can.
- Steel stays hot long after it stops glowing. A freshly cut end looks the same as a cold one.
What’s Inside!
- 1 – The Cut List
- 2 – Getting the Dimensions Right for Your Room
- 3 – Step 1 — Cutting and Welding the Frame
- 4 – Step 2 — Desktop and Privacy Panels
- 5 – Step 3 — Building the Drawer Unit
- 6 – Step 4 — Assembly
- 7 – Why a Metal Frame
- 8 – Designing It in SketchUp
- 9 – Where This Goes Wrong
- 10 – Desk Build Questions People Actually Ask
- 11 – Get the Frame Square and the Rest Follows
The Cut List
Everything is in inches, matching the SketchUp model. If you’re adapting the size, change the top dimensions first and let the frame follow.
Frame — 1.5″ angle iron, 11 pieces
| Ref | Part | Length | Qty |
|---|---|---|---|
| A-E | Legs | 28″ | 5 |
| F | Perimeter | 32″ | 1 |
| G | Perimeter | 24″ | 1 |
| H | Perimeter | 62″ | 1 |
| I | Perimeter | 90″ | 1 |
| J | Perimeter | 30″ | 1 |
| K | Perimeter | 90″ | 1 |
Tops and panels — blockboard
| Part | Size | Qty |
|---|---|---|
| Main desktop | 90″ × 30″ | 1 |
| Return desktop | 32″ × 24″ | 1 |
| Privacy panels | To suit your layout | 4 |
Drawer unit
| Part | Size | Qty |
|---|---|---|
| Cabinet top and bottom | 29.5″ × 20.5″ | 2 |
| Cabinet sides | 29.5″ × 24.5″ | 2 |
| Cabinet back | 24.5″ × 18″ | 1 |
| Drawer face panel | 20.5″ × 8.5″ | 3 |
| Drawer front and back | 18.5″ × 7.5″ | 6 |
| Drawer sides | 24″ × 7.5″ | 6 |
| Drawer bottom | 24″ × 7.5″ | 3 |
Subtract the channel thickness before you cut a single drawer part. The drawer box has to clear the channels on both sides, which is why the face panel is wider than the box and the box is narrower than the opening. Get this wrong and the drawers either bind or rattle, and you find out after everything is cut.
Getting the Dimensions Right for Your Room
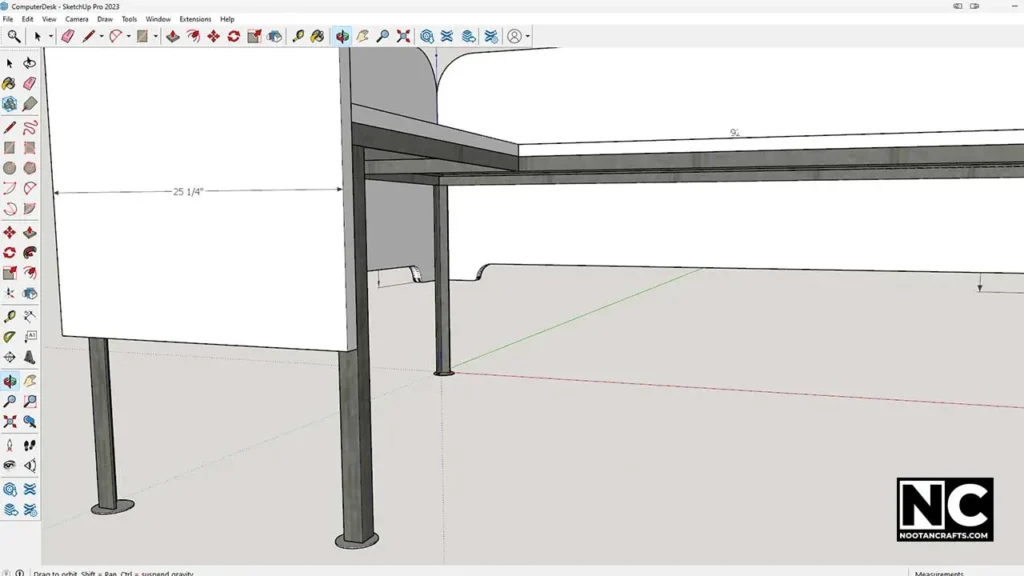
Three numbers matter and everything else follows from them: height, depth, and length.
| Dimension | Mine | How to set yours |
|---|---|---|
| Height | 30″ (76 cm) | Sit in your chair at working height, measure from floor to elbow with forearms level, add clearance for your thighs |
| Depth | 30″ (76 cm) | Driven by monitor size – a 27″ screen needs real distance. 24″ is tight, 30″ is comfortable |
| Main length | 90″ (229 cm) | Add up what actually lives on it. Mine holds two monitors, a laptop and a printer |
| Return | 32″ × 24″ | Sized for a secondary laptop. Shorter if it is just overflow space |
| Leg height | 28″ | Desk height minus board thickness minus frame angle |
For the height I raised my chair to its full height, added a few inches for movement clearance, and landed on 30 inches. That is the standard desk height for a reason, but it is worth checking against your own chair rather than assuming.
Step 1 — Cutting and Welding the Frame
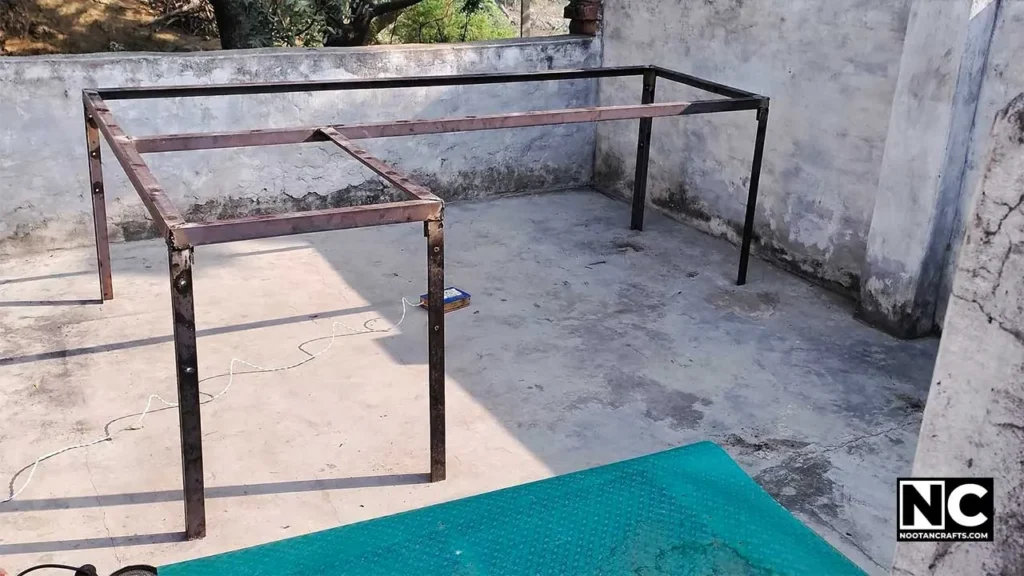
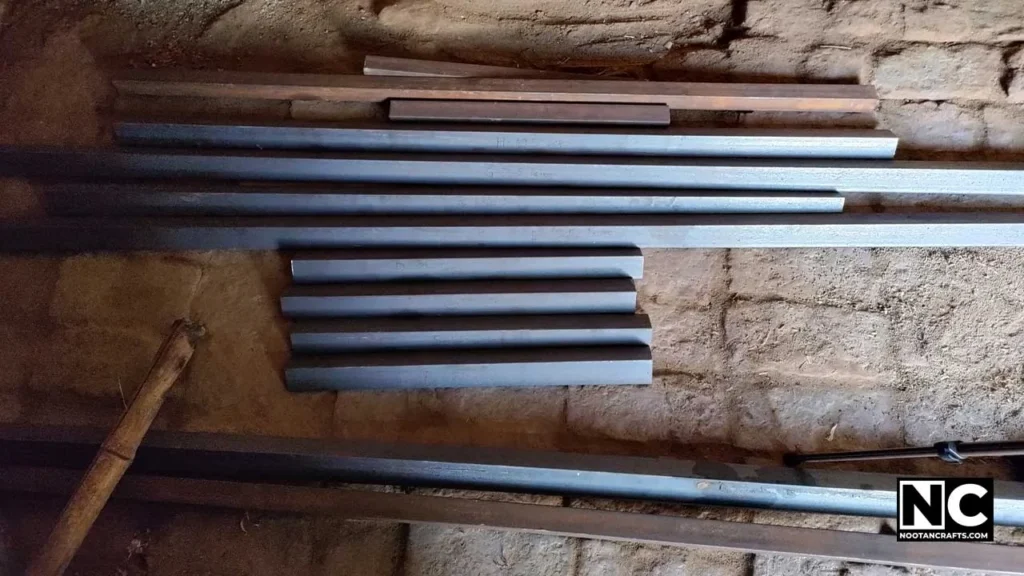
- Check every length of stock for straightness firstOne of my 20-foot lengths had been bent in transport and it threw my measurements out before I had cut anything. Sight down each piece against a straight edge and set the bent ones aside for offcuts.
- Cut all eleven pieces with the grinderI didn’t have a chop saw at the time, so everything came off a hand-held angle grinder. Mark with a scriber, not a pencil – pencil disappears the moment sparks touch it.
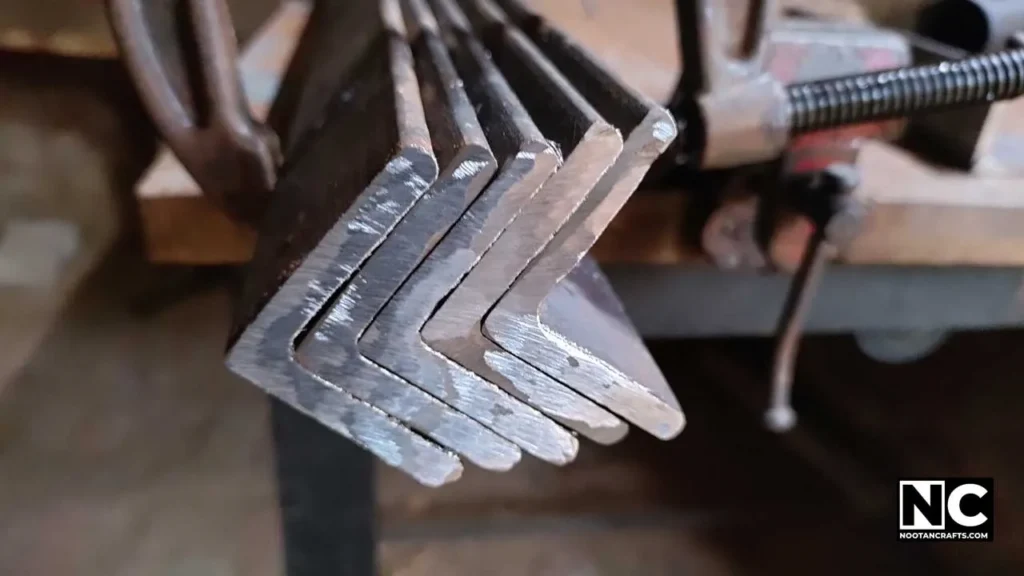
- Stack matching pieces and grind them to identical lengthHand cuts are never exact. Clamp the five legs together, grind the ends flat as a set, and they all end up the same. Do the same for any pair.
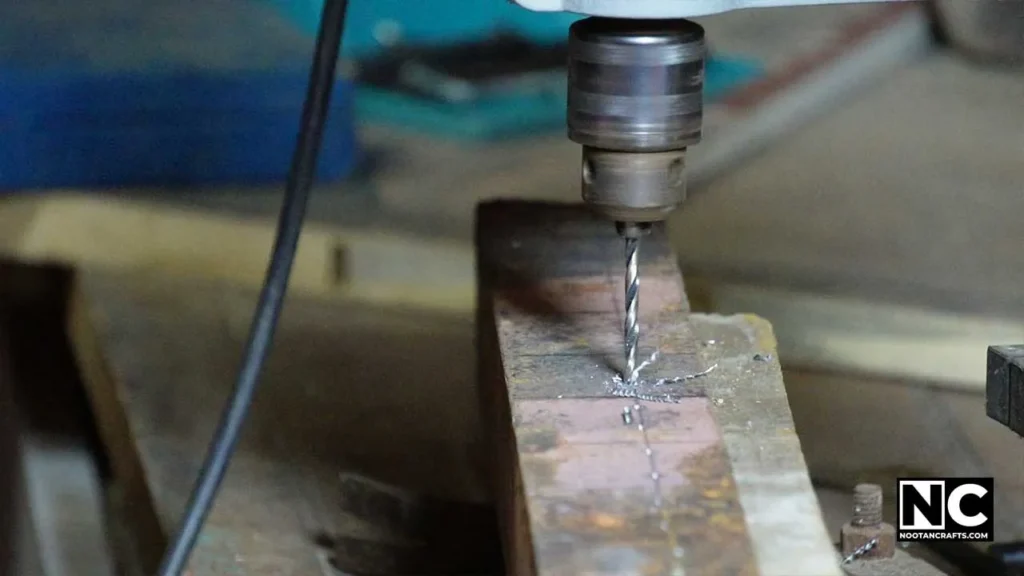
- Drill every fixing hole now, before weldingDrilling a flat bar on a bench is easy. Drilling the same hole in an assembled 90-inch frame is a fight. Mark the desktop and panel fixings and get them all done at this stage.
- Cut 45-degree miters on the perimeter cornersTwo mitred ends make a clean 90-degree corner and give the weld more surface to bite on than a butt joint does.
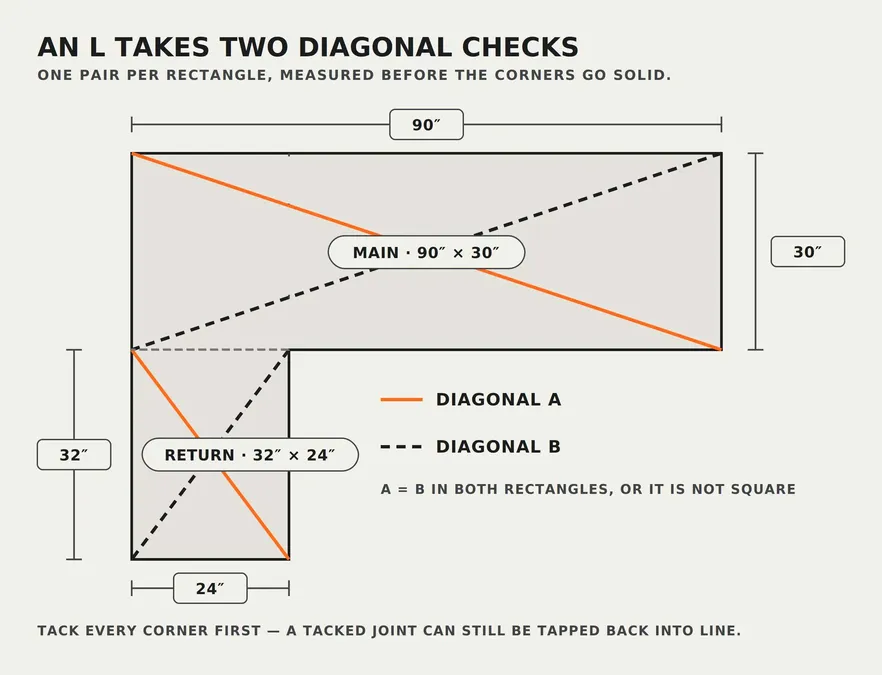
- Weld the L-shaped perimeter flat on the groundFlat surface, all six pieces laid out, corners checked square before you strike an arc. Tack each corner first, check the whole perimeter, then weld it properly – a tacked joint can still be tapped back into line.
- Weld the five legs, checking each with a speed squareCheck vertical in both directions on every leg. A leg that leans a degree out is an inch out at the floor and the desk will rock.
- Grind the welds back and paintFlip the frame upright, dress every weld smooth, then primer and topcoat. I used dark brown oil paint, which looks sharp against the white laminate and photographs well as a backdrop.
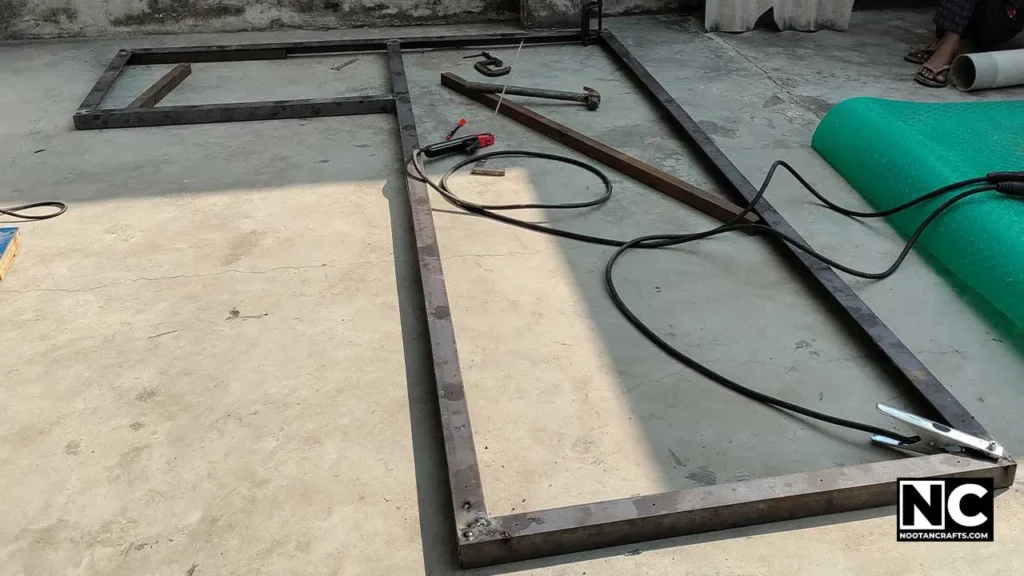
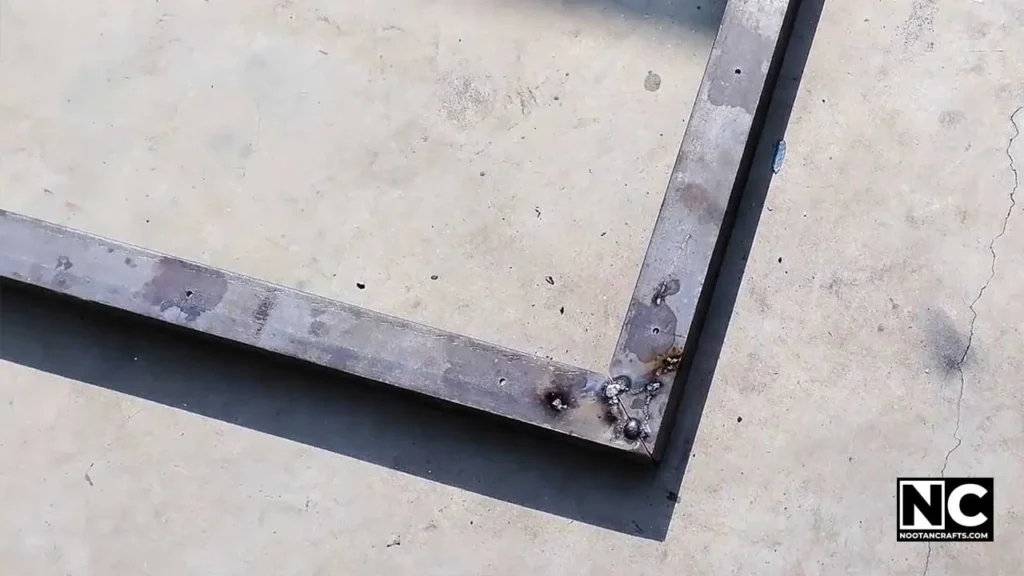
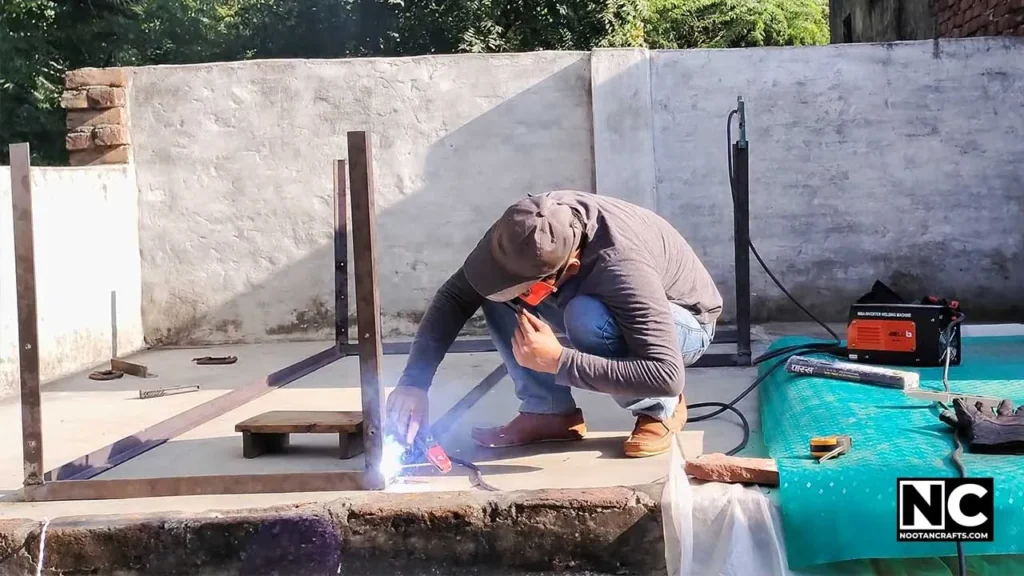
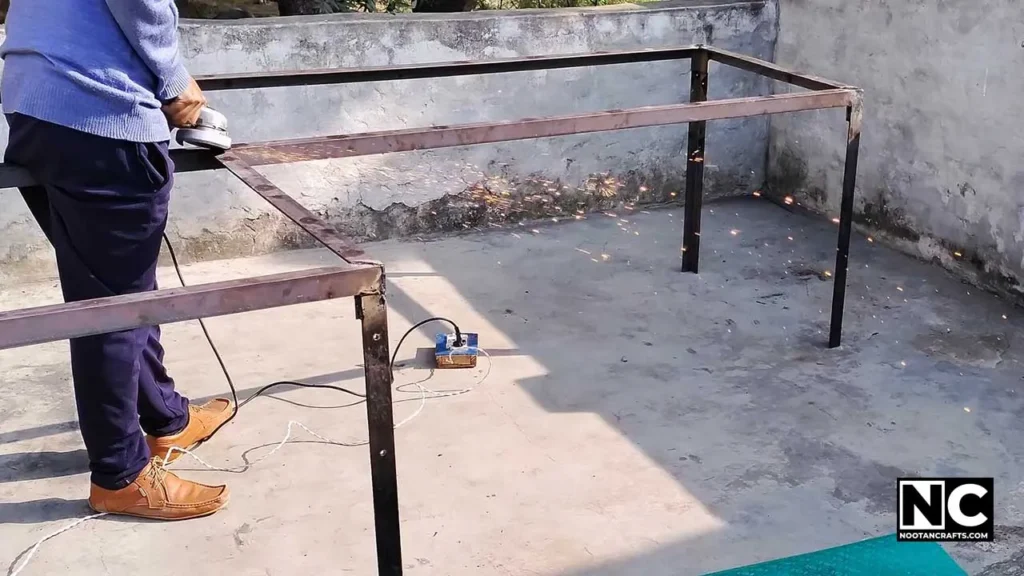
My frame was not perfectly square, and it cost me later. It held up fine structurally, but fitting the privacy panels to a frame that is a few millimeters out is awkward work with no clean solution. Spend the extra half hour checking diagonals before the final welds — measure corner to corner both ways and adjust until the two figures match.
Step 2 — Desktop and Privacy Panels
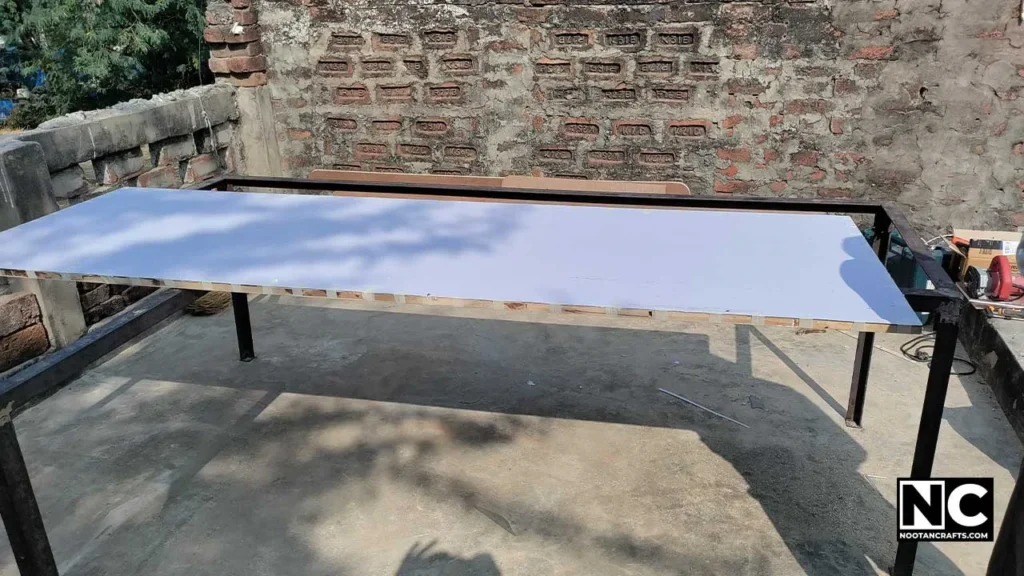
Two blockboard pieces make the top — 90″ × 30″ and 32″ × 24″ — cut with a circular saw. Cut them to exact length and they sit flush on the frame with no packing needed.
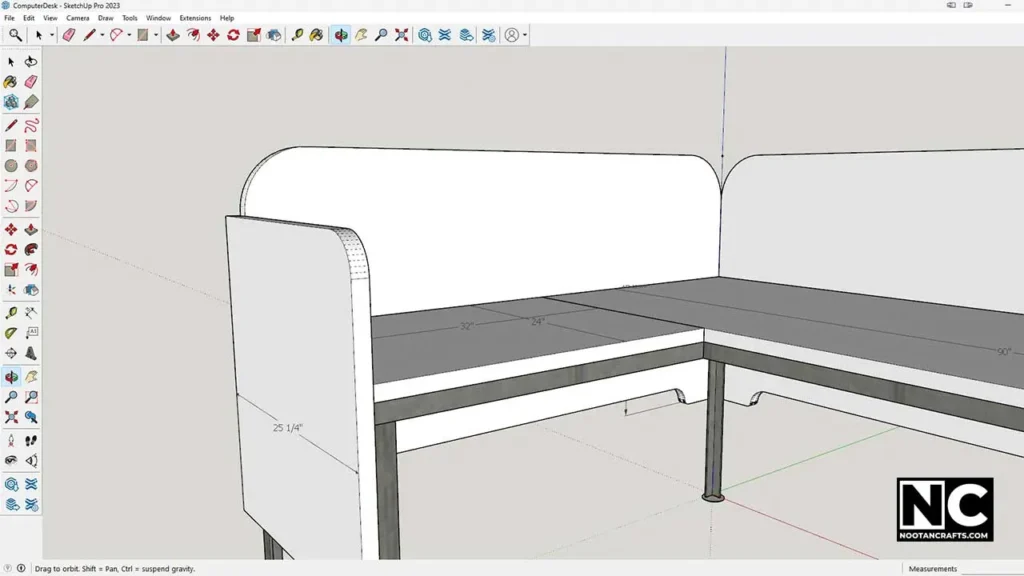
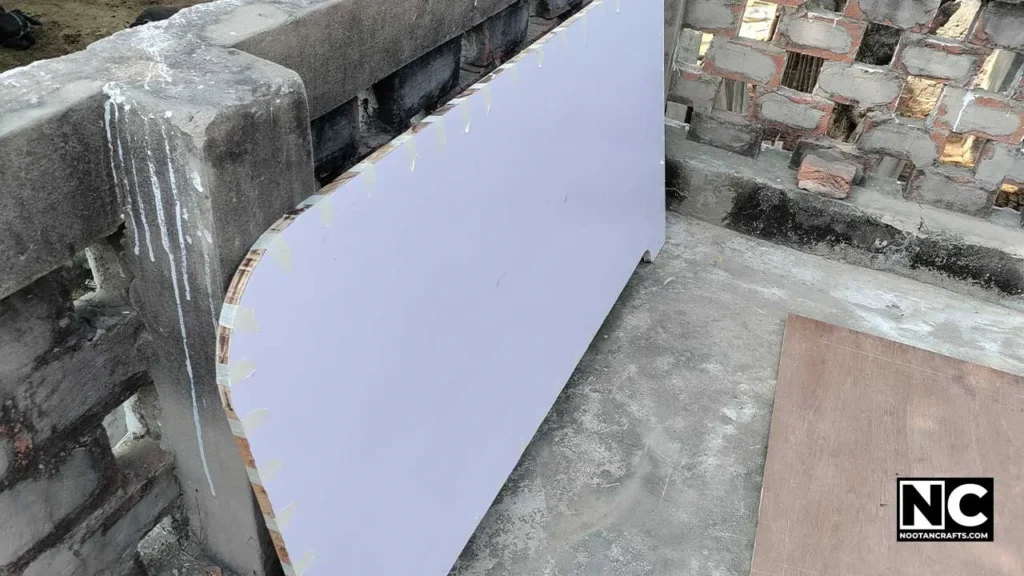
The privacy panels get rounded corners cut with a jigsaw, and a notch along the bottom edge cut with the jigsaw and circular saw together. It’s cosmetic, and it’s what stops the desk looking like four flat boards bolted to a frame.
Applying the Laminate

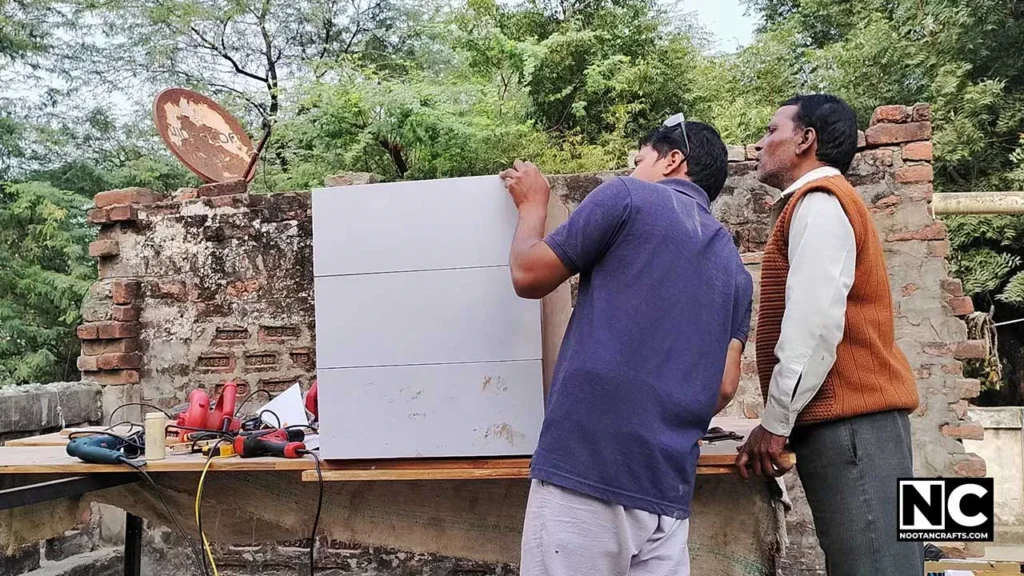
This is the hardest part of the whole build, and it has nothing to do with skill. Contact adhesive grabs on contact — once the laminate touches the glued board it will not slide, and pulling it back tears it. You get one attempt per panel.
- Comb glue onto both surfacesA serrated spreader gives an even film. Both the board and the back of the laminate.
- Let it go tacky before you join themContact adhesive bonds when dry to the touch, not while wet. Rushing this is the other way to ruin a panel.
- Get a second person for anything largeOne of you holds the far end clear while the other lays it down from one edge. On a 90-inch top this is not optional.
- Line up one corner, then lay it down progressivelyMatch the corner, keep the rest lifted, and lower it a section at a time so no air gets trapped. Do not lift and reposition.
- Press the whole surface down with a cloth-wrapped blockWork from the center outward. Tape the corners until the glue has fully cured.
What I’d buy for the drawer unit


Last update on 2026-10-19 / Affiliate links / Images from Amazon Product Advertising API
Step 3 — Building the Drawer Unit
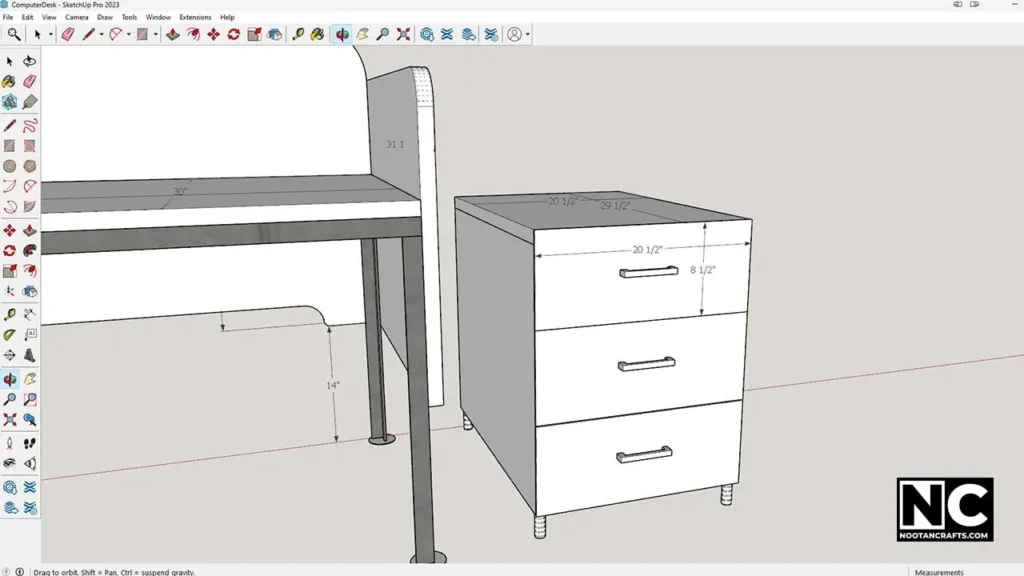
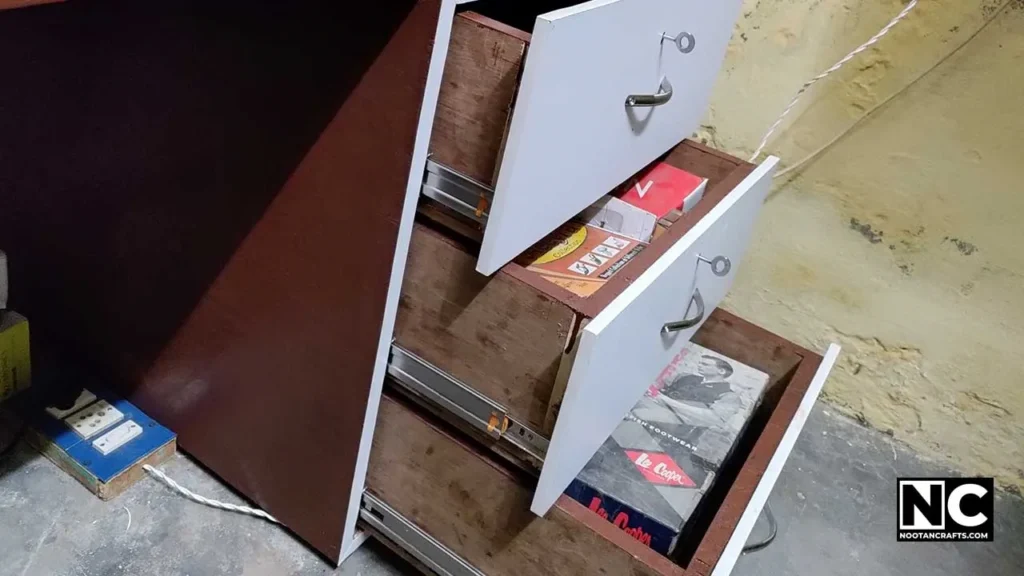
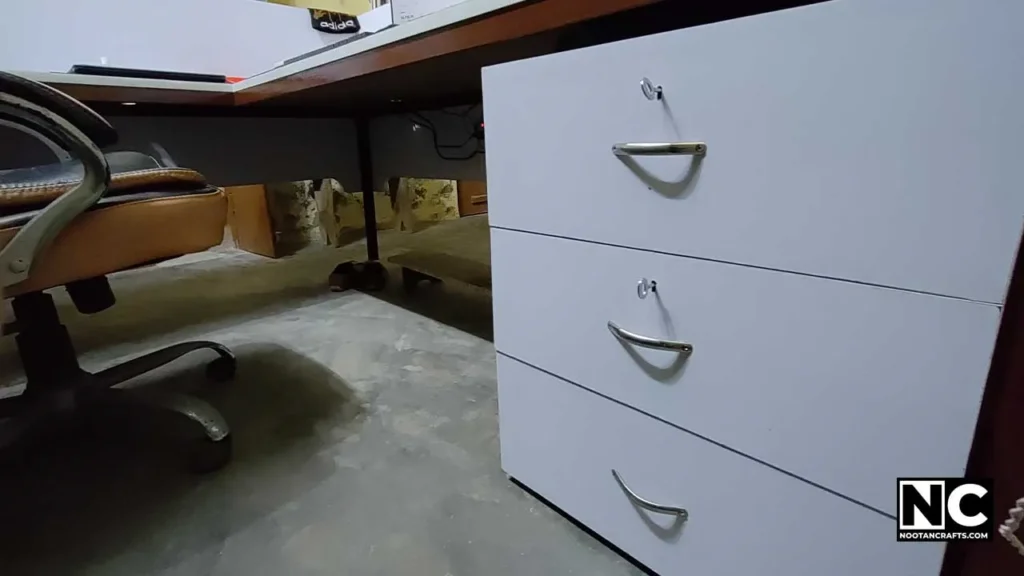
I made this a freestanding unit rather than building it into the frame. Embedding it would have locked it into one position forever; freestanding, it slides anywhere under the desk and I can get a broom under there. I considered caster wheels and skipped them because I rarely move it — add them if you would.
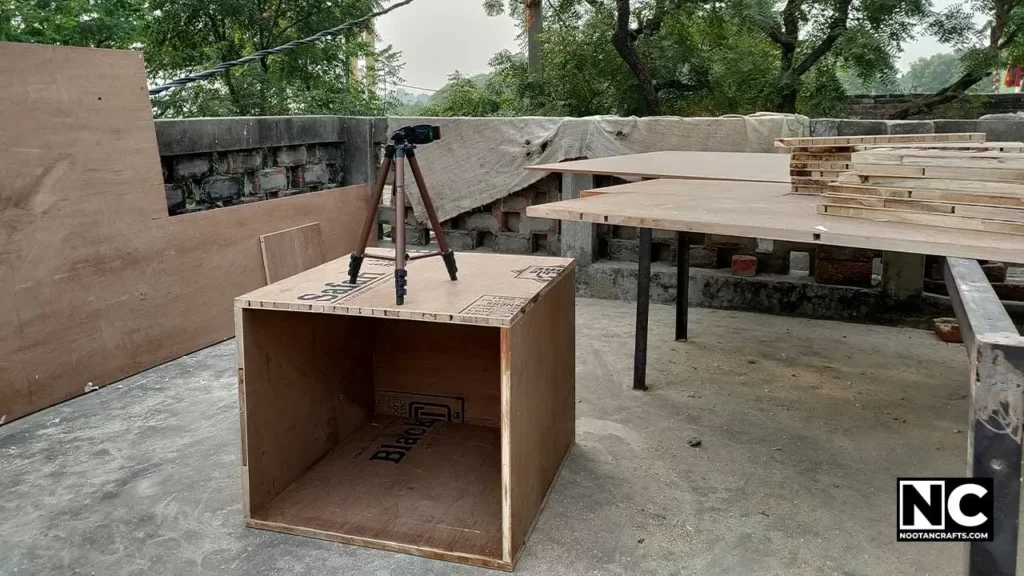
Drawers are the part of this build that needs real precision, and they were the part I got wrong first. The cut list above is what worked after trial and error — but the sequence below matters as much as the numbers.
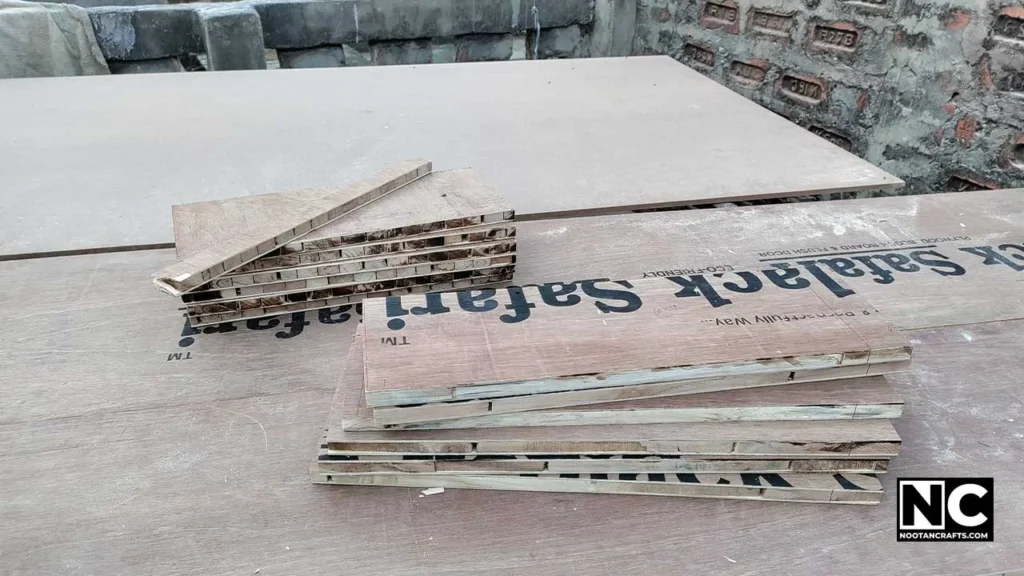
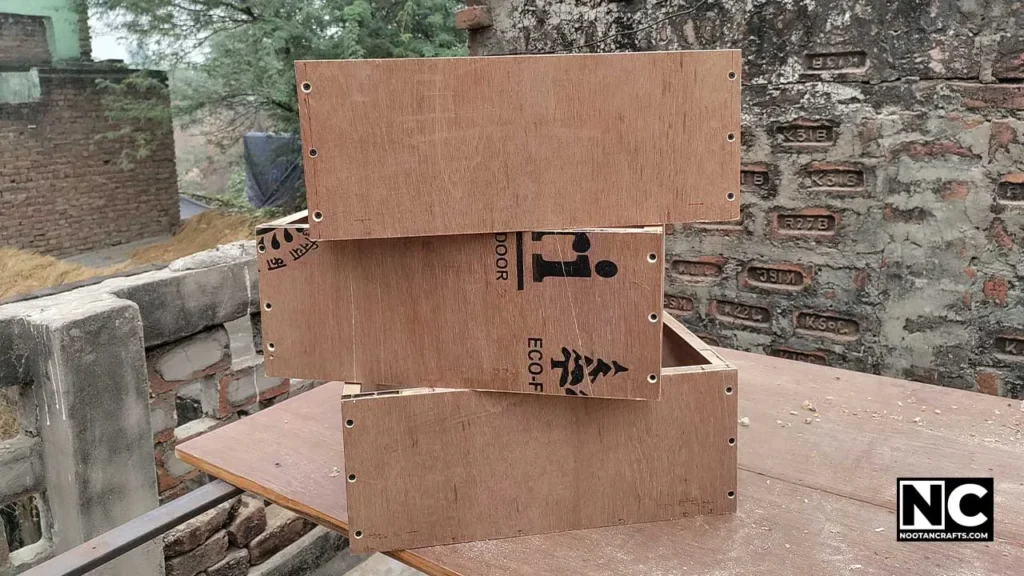
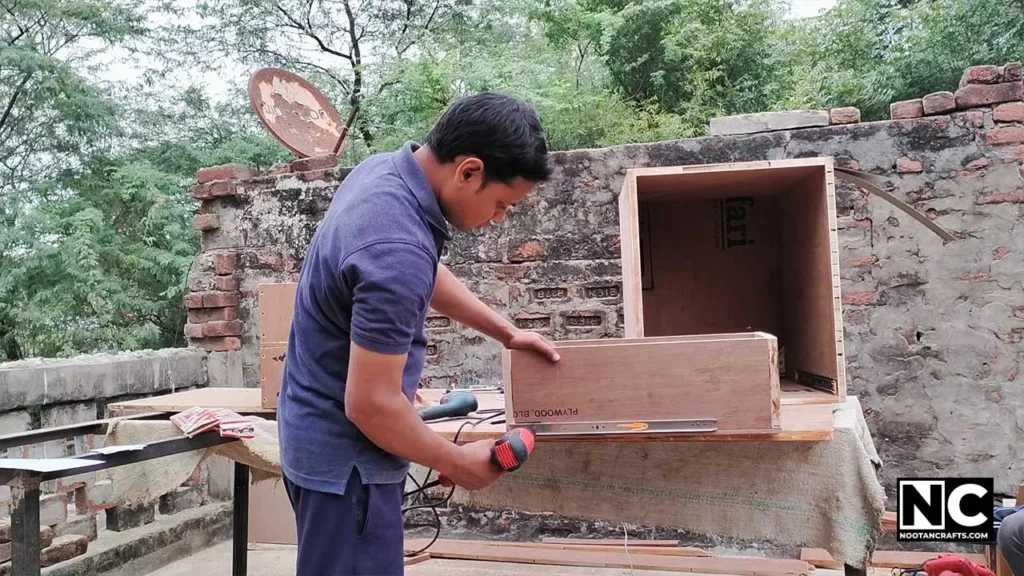
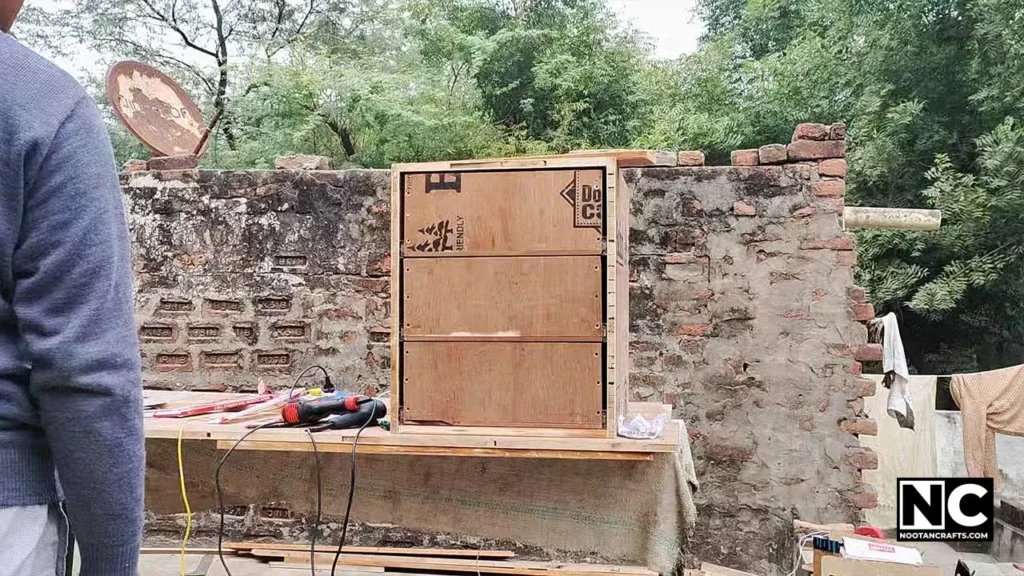
- Build the cabinet carcass firstScrews and glue. Check it for square with a diagonal measurement before the glue sets – a racked carcass means no drawer will ever run smoothly.
- Build the three drawer boxes, leaving the face panels offThe faces go on last, and that is what lets you correct any misalignment at the end.
- Slide the bare boxes in and space them evenlySet the gaps by eye or with spacers, then mark the channel positions on both the cabinet walls and the drawer sides while everything is in place.
- Take them out and fit the channels to your marksUse the slotted adjustment holes first, not the fixed round ones. The slots let you shift the runner a couple of millimeters once you see how it runs.
- Test, adjust, then commit to the fixed holesSlide each drawer in and out fully. Once all three run true, drive screws into the fixed holes to lock the position.
- Align the face panels with a spacer stripA thin strip of offcut between panels sets an identical gap across all three. Tack them on with double-sided tape first.
- Screw each face on from inside the drawerPull the drawer out, screw through the box front into the face panel. The tape holds the alignment while you do it.
- Drill for the handles lastWith the faces fixed and aligned, mark and drill the handle holes so they line up across all three drawers.

Step 4 — Assembly
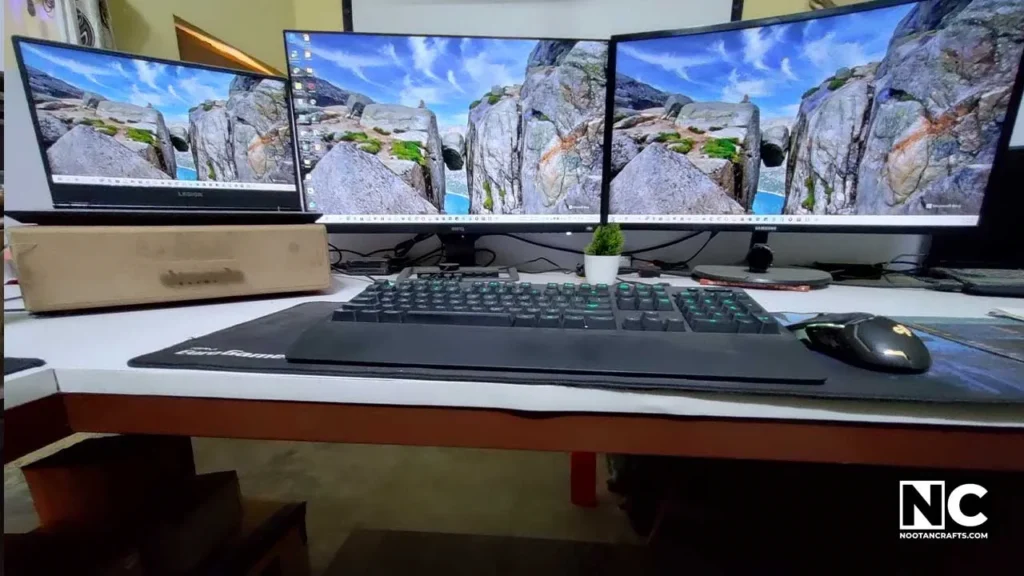
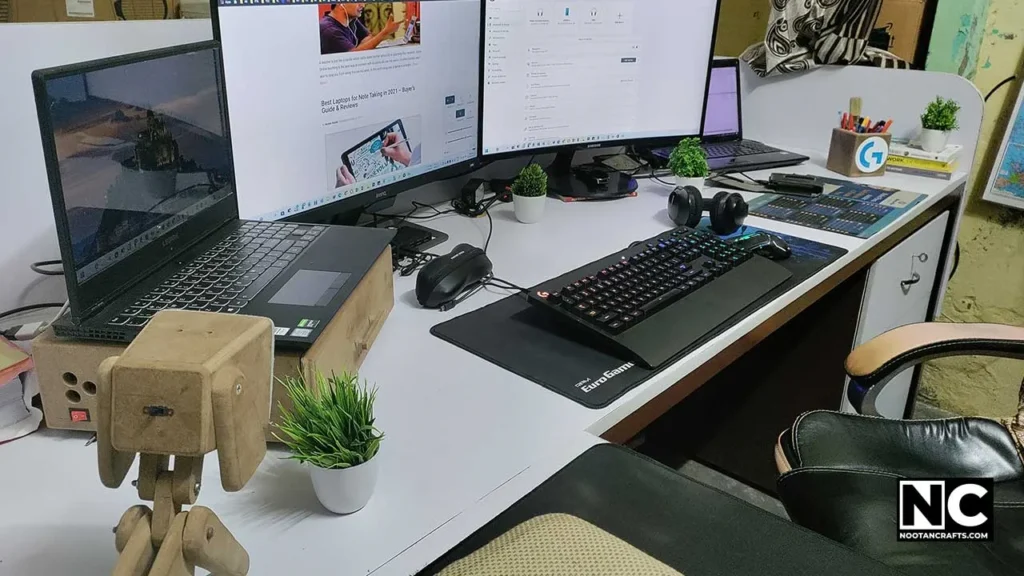
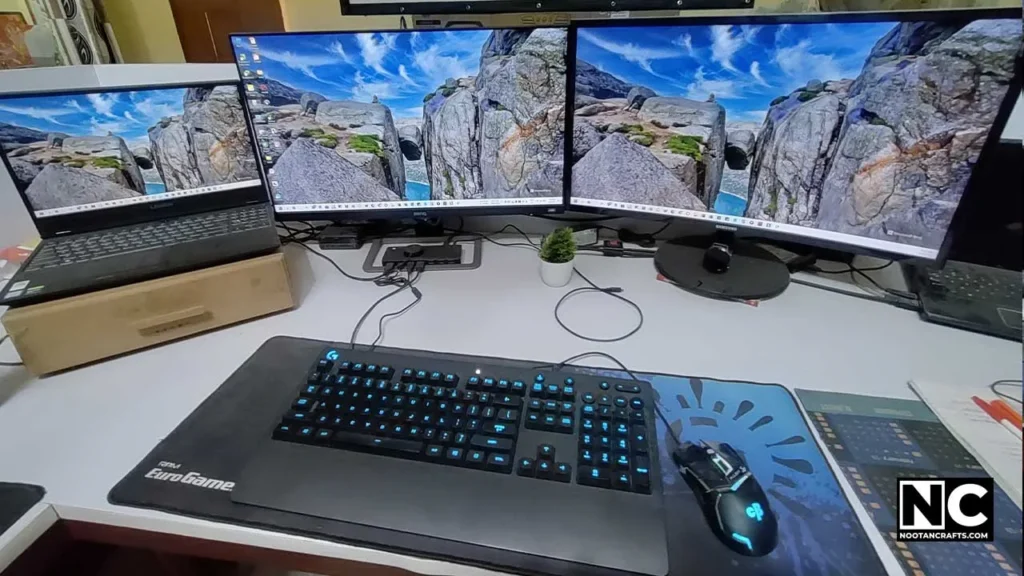
Lay the two desktops onto the frame — cut to exact length, they sit flush — and screw up through the holes you drilled in the angle iron before welding. Bolt the privacy panels on with the machine nuts and bolts rather than screws; the panels are large and the bolted joint is what stops them working loose.
Then drill two cable pass-throughs in the desktop and mount a power strip underneath. Doing this at the end, once you know where the monitors actually sit, is better than guessing at the design stage.
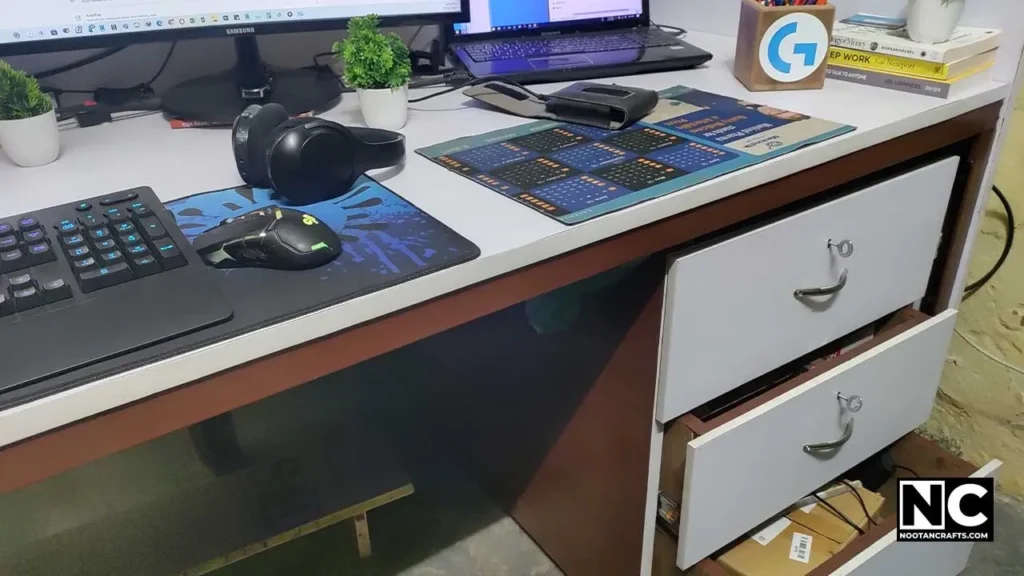
The finished desk does not move. I jumped on it to check, and nothing flexed. The trade-off is weight — which is why everything except the welded frame is designed to come apart and go back together if I ever have to shift it.
Why a Metal Frame
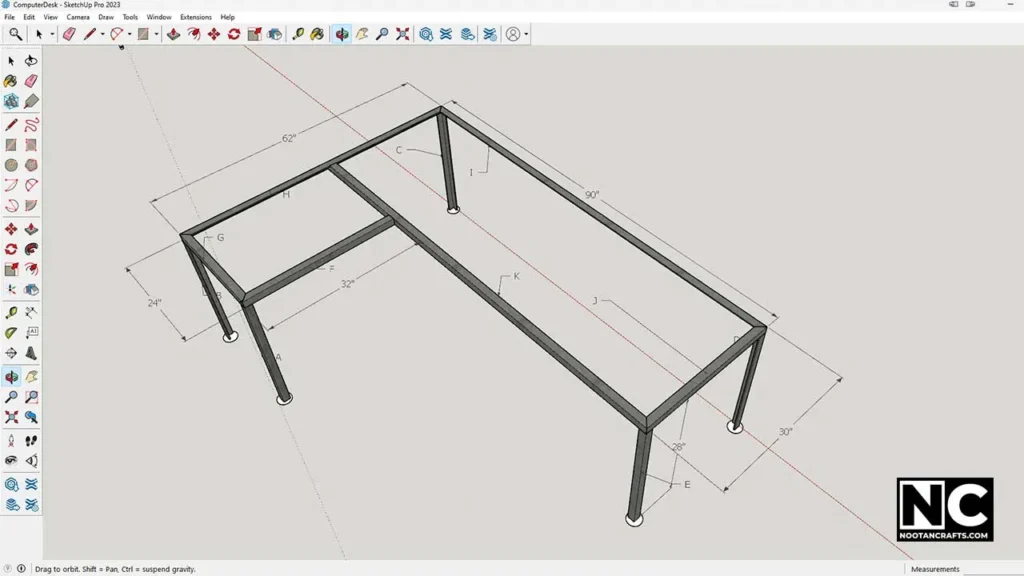
Three reasons, and the first is the one that matters most: an 8-foot wooden desktop without a substantial frame under it will bow over time. Blockboard sags under a monitor arm and a stack of books, slowly enough that you notice it a year later. Angle iron does not.
Second, five slim legs and an open perimeter means nothing obstructs the chair. A wooden desk needs bulky legs or a modesty panel; this one leaves the whole underside clear.
Third, it uses much less wood overall, and angle iron is cheap and easy to work with. I found no existing design online for a metal-framed L-desk, which is partly why the plans are free — if you want to build one, you shouldn’t have to start where I did. If you’re weighing up the sheet material, structural versus non-structural board is worth reading first, and plywood versus melamine covers the laminate question.
Designing It in SketchUp
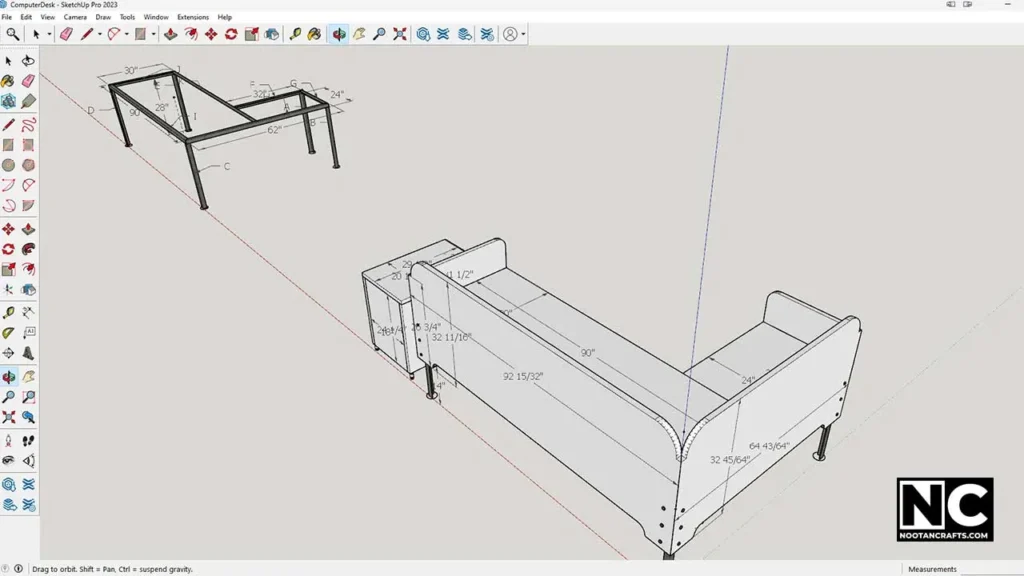
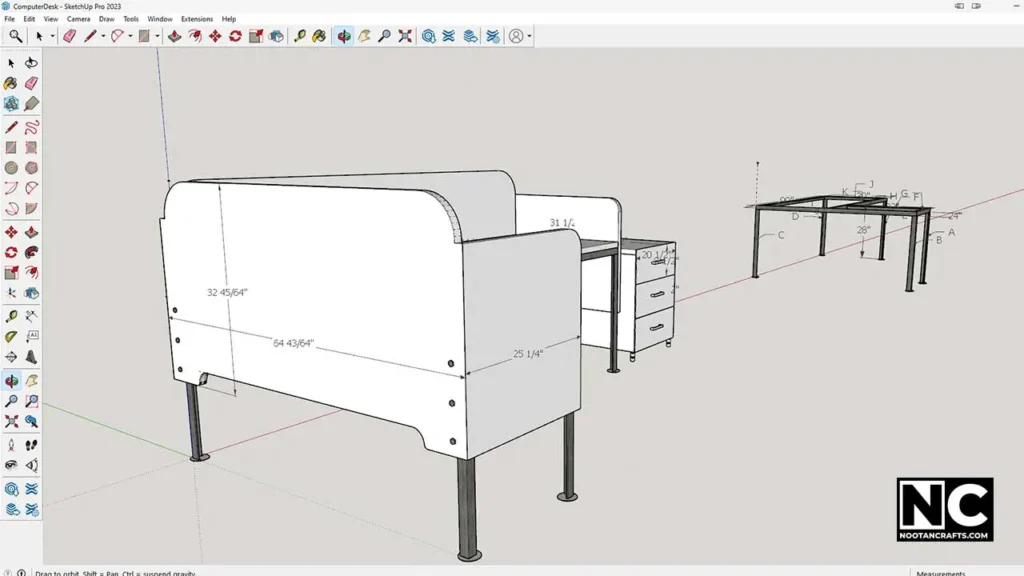
I had never opened 3D modeling software before this. SketchUp‘s free version is more than enough for work at this level, and modeling the desk before cutting anything is what produced a usable cut list instead of a pile of guesses.
I built the metal frame first in the model — five legs and the L-shaped perimeter — then the two desktop pieces, then the four privacy panels with their rounded corners and bottom notch. Keep it simple and functional was the entire brief, and modeling it first is what kept me to it.
Where This Goes Wrong
- Welding the frame out of square. Mine was, slightly, and every panel fitted afterwards had to be worked around it. Check the diagonals before the final welds — errors here compound through every later stage.
- Cutting drawer parts without allowing for the channels. The runners take space on both sides. Measure a channel before you cut anything.
- Laminating alone. Contact adhesive gives no second chance and a big panel needs two people. This is the mistake that costs a whole board.
- Drilling after welding. Every hole is ten times harder once the frame is assembled. Do them flat, on the bench.
- Using blockboard for the privacy panels. They carry no load. MDF or particleboard saves money and a surprising amount of weight.
- Building it in the room it has to live in. A welded 90-inch frame does not go round a tight corner. Check your doorways before you weld.
Desk Build Questions People Actually Ask
Can I build this without a welder?
Yes, with a different frame. Bolted angle iron works if you use gusset plates at the corners and accept some flex, and 2×4 legs with a plywood apron is the standard alternative. What you cannot do is skip the frame entirely — a 90-inch unsupported top will bow.
How much does this cost to build?
It varies too much by location and material grade to give a figure that stays true. The rough proportions are useful though: the blockboard is the largest line, the angle iron is surprisingly cheap, and the drawer channels and handles add up faster than you would expect.
What desk height should I use?
Mine is 30 inches, which is the common standard. Check it against yourself rather than defaulting: sit in your chair at working height with forearms level, measure floor to elbow, and allow thigh clearance under the top.
Can I use plywood instead of blockboard?
Yes. Blockboard is lighter for the same thickness and takes screws well in the face; good plywood is stiffer across a span. For a top that is supported by a frame every couple of feet, either works.
Do I need the privacy panels?
No, they are cosmetic and they hide cables. Leaving them off saves material and weight. If you do fit them, bolt rather than screw them — they are large enough that screws work loose.
How long does the build take?
Realistically a few weekends rather than one, and the drawers take longer than the frame. The metalwork is fast; the laminating and the drawer fitting are what consume the time.
Can I change the dimensions in the SketchUp file?
That is what it is for. Change the desktop dimensions first, then let the frame follow — the leg length is desk height minus board thickness minus the angle iron, so it recalculates from the top down.
Get the Frame Square and the Rest Follows
I built this before the blog and the YouTube channel existed, so the photos are not as complete as my newer projects. The desk is. It’s still standing, still solid, still in daily use, and the only thing I would change is spending another half hour with a tape measure before the final welds.
Take the plans, change the dimensions to your room, and don’t rush the frame.


Thank you
Glad you find it useful!
This is a fantastic post. I love how you’ve explained the nuances of building the L shaped desk. It will save me many bucks.
You explained it very well, but a video would have been amazing!
I know, but unfortunately when I made this I didn’t even have a blog or YouTube channel, this is all I got! Thanks for your input.
The desk is very beautiful and professional. You made it look easy, otherwise it’s very hard to build because I had a similar experience when I build a small table.
You made my day, thank you so much!
Many thanks mate, I was looking for a similar guide like this, Cheers!
Welcome, and thank you so much for your beautiful comment!
How much is the cost of all of this?
Thank you so much for sharing this information. It is very useful for building a diy desk, I will try that!
My pleaseure!
Thanks for the free 3D plans, I appreciate that. It was really helpful, however, I made few alteration according to my requirements.
You’re welcome!
Can I use a square pipe instead of angle bar, I think it would be more durable.
Yes, you can, and you’re right it indeed would be more durable. Best of luck!