Porcelain tile cracks under a drill for one reason: the glaze is a hard, brittle skin under compression, and a bit that skates across it before biting scratches a starting point for a crack. Beat that first moment and the rest of the hole is straightforward. A diamond bit, water, low speed, and a way of stopping the bit from wandering.
What’s Inside!
Why Porcelain Is Harder Than Ceramic
Both are fired clay, but porcelain is fired hotter from a finer, denser body. It absorbs almost no water, which makes it good for floors and bathrooms—and it is significantly harder, which makes it awkward to drill. A carbide masonry bit that goes through wall tile in a minute will polish porcelain and get nowhere.
The two failure modes are different and they need different fixes. A chipped glaze at the start is a wandering bit — solve it with a guide. A cracked tile partway through is heat or pressure — solve it with water and patience. Knowing which one you got tells you what to change.
What You Need
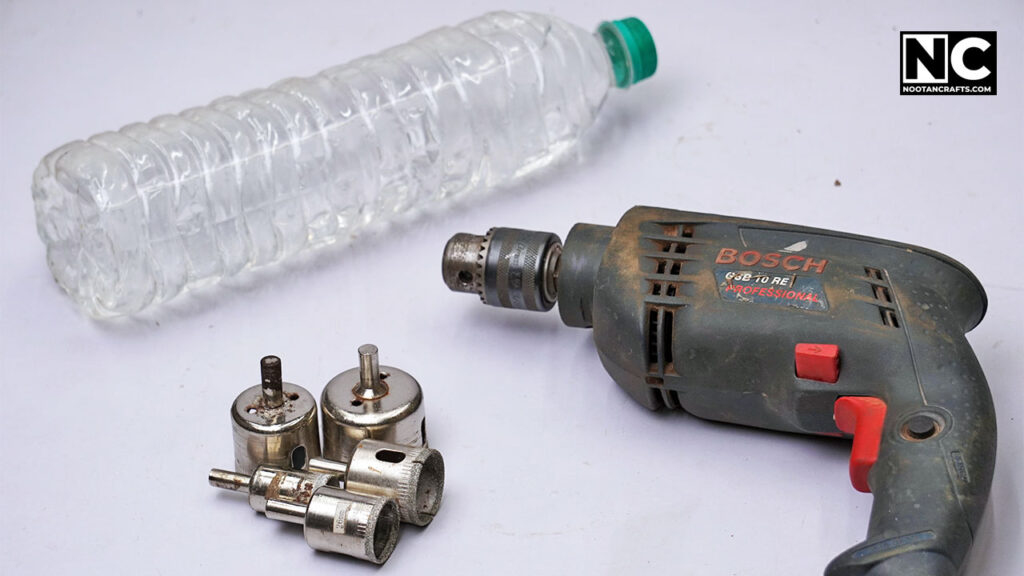
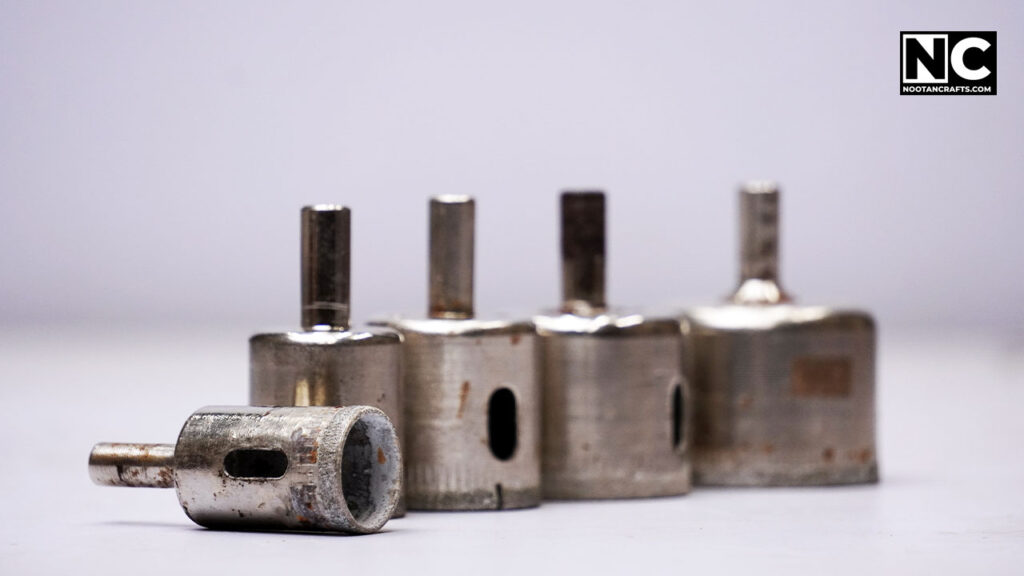
- Diamond bit – spear point for small holes, diamond core for anything above about 10 mm (3/8 in)
- Variable-speed drill, hammer mode OFF
- Water – a sponge, a spray bottle, or a putty dam
- Masking tape and a marker
- A scrap of wood or a proper tile jig to stop the bit skating
- Safety glasses and a dust mask if you end up cutting dry at any point
The tool for this job

Last update on 2026-10-25 / Affiliate links / Images from Amazon Product Advertising API
The Method
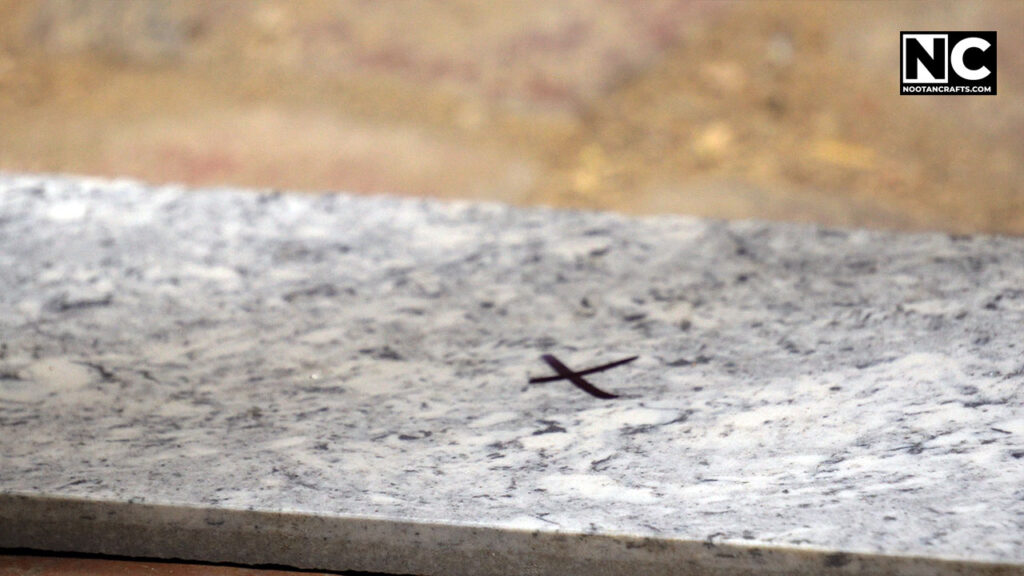
1. Mark the Drilling Spot
Cross two strips of masking tape over the spot, and mark the top. The tape gives the bit something with texture to sit in and stops the marker from rubbing off.
2. Set Up the Drill and the Water
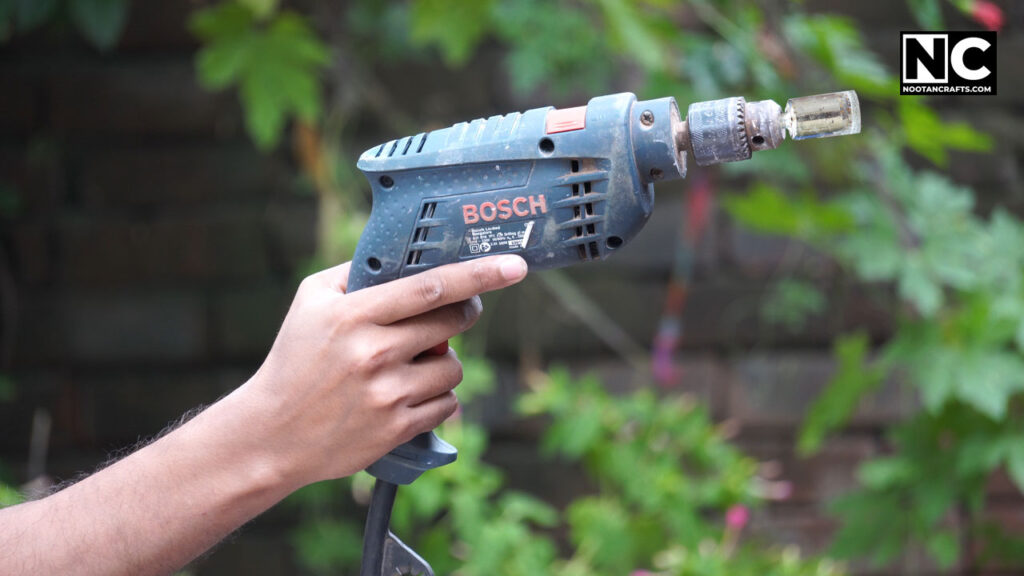
Fit the diamond bit, set a low speed, and check that hammer mode is OFF before anything touches the tile. Then get water to the spot – a sponge held against it, a spray bottle to hand, or a ring of plumber’s putty holding a puddle.
3. Start the Bit at an Angle
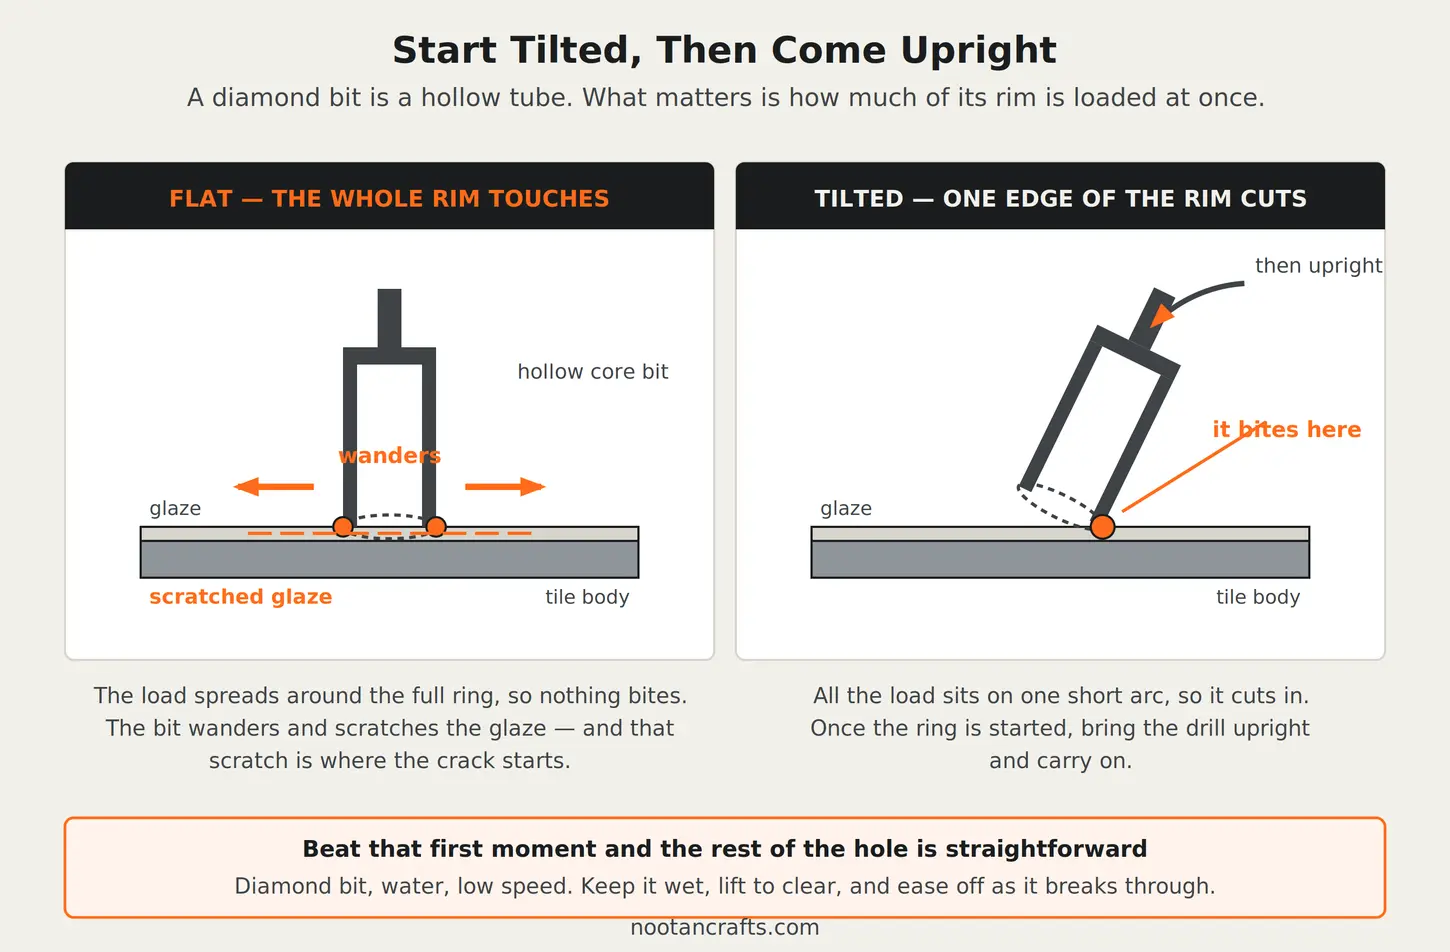
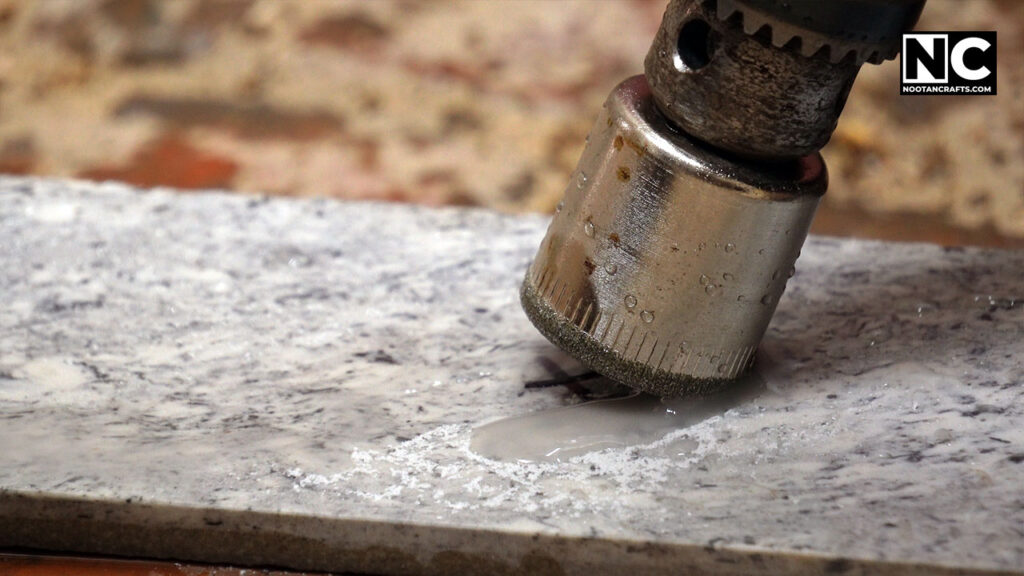
This step decides whether the glaze chips. Begin at roughly 45 degrees so the edge of the bit cuts a small crescent, then bring the drill upright once that crescent stops it from wandering. Better still, hold a scrap of wood with a hole in it against the tile as a guide for the first ten seconds.
4. Drill, Wet, Lift, Repeat
Around 500-600 rpm and light pressure – diamond grinds rather than cuts, so leaning on the drill adds stress without adding progress. Lift every 15 to 20 seconds to re-wet. Steam or a squeal means you are already too dry.
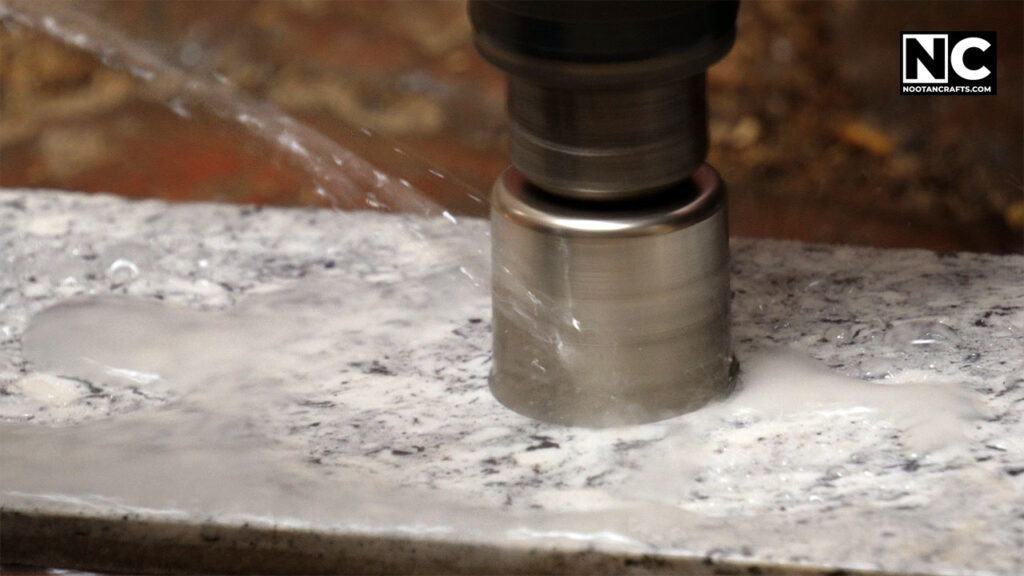
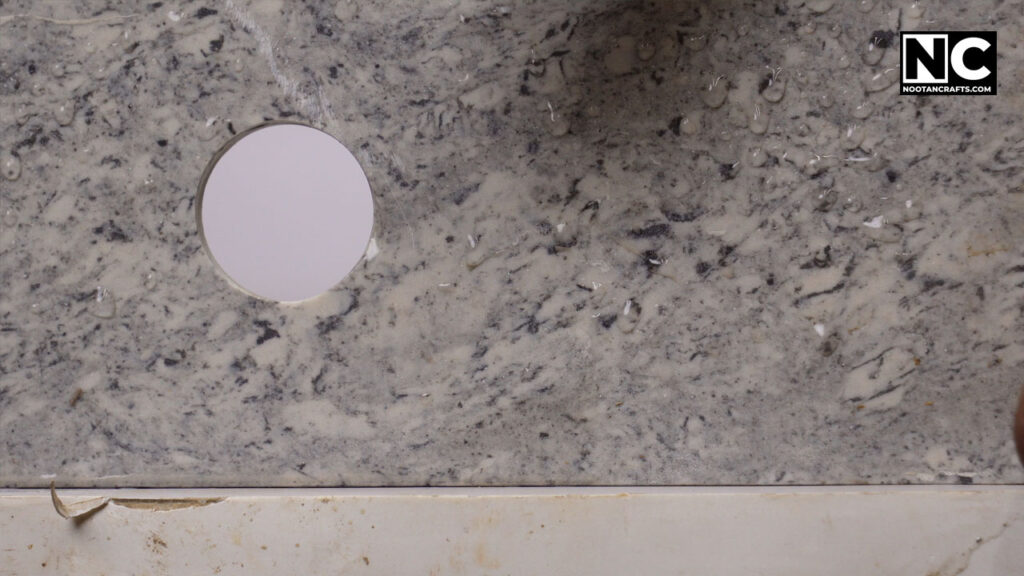
5. Ease Off and Finish the Hole
The last millimeter is where a clean hole becomes a chipped one, especially on a wall where the tile has adhesive behind it rather than solid support. Reduce pressure to almost nothing as the bit begins to break through.
Hammer mode will destroy the tile, and it is on by default on many drills. Percussion is exactly the shock loading porcelain cannot absorb – hammer drills and rotary hammers exist for the opposite job. Check the selector before the bit touches the tile — this is the single most common way people crack a tile on the first attempt, and it happens in under a second.
Water, Power Tools and Silica
You are adding water to a running tool, and the dust is not ordinary dust
- Cordless if possible. It removes the water-and-line-voltage problem rather than managing it.
- Corded means a GFCI in the supply. A plug-in adapter is enough. Wet floor plus corded tool is precisely what they are for.
- If you ever cut dry, wear a mask rated for fine particles. Porcelain and tile dust carries crystalline silica, which is a genuine long-term respiratory hazard rather than a nuisance. Keeping the cut wet suppresses it, which is a second reason for the water beyond saving the bit.
- Safety glasses. Glaze chips are small, hard and fast.
- Know what is behind the tile before drilling into a wall – pipes and cables run where you would expect them to, above and below fittings.
When It Goes Wrong
| What happened | Cause | Fix |
|---|---|---|
| Bit skated and scratched the glaze | No guide at the start | Tape plus a wood guide, or start at 45 degrees |
| Bit spins without cutting | Wrong bit, or a diamond bit glazed over | Confirm it is diamond; more water; dress the tip |
| Tile cracked partway through | Heat, pressure, or hammer mode | More water, less pressure, check the selector |
| Chipped on the back face | No support behind, full pressure at breakthrough | Ease right off in the last millimeter |
| Hole is bigger than intended | Bit wandered before biting | Guide, and let the crescent form before standing up |
What I’d buy for this job


Last update on 2026-10-25 / Affiliate links / Images from Amazon Product Advertising API
Common Questions
Can I use a regular masonry bit on porcelain?
On ceramic wall tile, often yes. On porcelain, usually not – it is dense enough that a carbide tip polishes the surface instead of cutting it, and the extra force people apply when it stalls is what cracks the tile. A diamond bit is the right tool and not an expensive one.
What speed should I use?
500 to 600 rpm, lower for larger core bits. Diamond bits work by abrasion, so higher speed adds heat without adding cutting.
How do I stop the bit from wandering?
Give it a physical guide for the first ten seconds – a scrap of wood with a hole in it, or a suction-cup tile jig. Tape alone helps but does not stop it. Failing that, start the bit at about 45 degrees so its edge cuts a crescent, then stand it upright.
Do I need to keep it wet the whole time?
Yes. Water carries heat away, flushes the slurry out of the cut and suppresses silica dust, the same reason cutting sheet goods should be done wet or extracted. Dry drilling ruins the bit quickly and is the most common reason a tile cracks halfway through.
What if the tile is already fitted to the wall?
Same method, with two additions: build a putty dam to hold water against a vertical surface, and find out what is behind the tile first. Ease off harder at breakthrough, because a fitted tile has adhesive behind it rather than solid support everywhere.
Can I drill close to the edge of a tile?
Keep at least 15 mm (about 5/8 in) from an edge if you can. Edges have less material resisting the load in every direction, and a hole near one is far more likely to run a crack out to the side.
Guide the start, flood the cut, and keep hammer mode off. Everything else here is detail on top of those three.