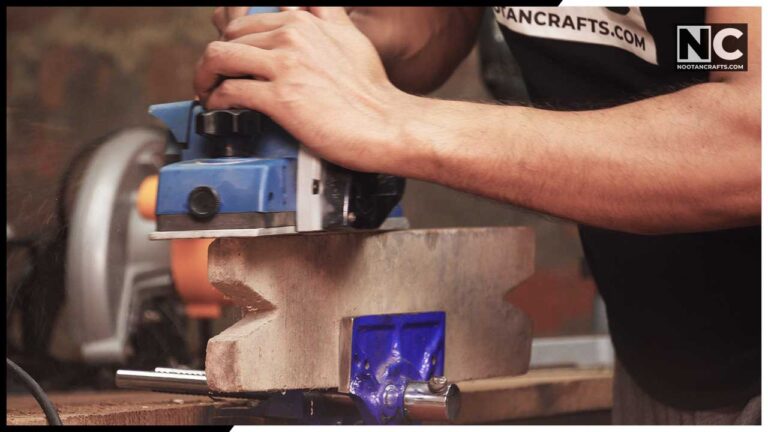
When I bought my first electric planer, I thought I could make anything flat by pressing a button. What I actually made was a row of chasms down a wood plank, and I got through a few pairs of blades finding out why. The tool is not difficult. It just punishes two specific mistakes, and nobody warns you about either one.
Those two mistakes are taking too much in one pass and letting the planer tip at the ends of the board. Everything below focuses on avoiding them.
The blades keep spinning after you let go of the trigger
An electric planer has a drum of blades turning at high speed inside an open shoe. It does not stop when the motor does — it coasts, for several seconds, with nothing covering it. Most planer injuries happen after the cut, when the tool is set down on the bench while it is still spinning.
- Set it down on its side, or on the kickstand. Most planers have a small stand that drops the shoe clear of the bench. Use it. A planer laid flat on a still-spinning drum walks across the bench.
- Wait for it to stop before you touch the shoe or clear a shaving.
- Safety glasses and a dust mask. A planer throws a continuous stream of chips out of the side port, and the fines stay in the air afterwards.
- Hearing protection. These are among the loudest tools in a home workshop, and the noise is sustained rather than brief.
- Unplug it before changing blades. Blade changes mean fingers inside the drum.
- Check for nails and screws first. Reclaimed wood hides them, and a blade hitting steel chips it instantly and throws fragments.
What’s Inside!
What an Electric Planer Actually Does
Sharp blades sit in a rotating drum between two flat shoes. The front shoe rides on the uncut surface, the rear shoe rides on the surface you have just cut, and the depth knob raises or lowers the front shoe. The gap between the two shoes is the depth of cut — that is the whole mechanism.
It removes material much faster than a hand plane, which is its advantage and also its problem. A hand plane takes a shaving when you push it. A power planer takes one whenever it is running and touching wood, including in the half-second you were not paying attention.
- Electric planer with sharp blades
- Clamps, or a bench with a stop — the workpiece has to be held
- Safety glasses, dust mask, hearing protection
- Straightedge to check your progress, and a pencil
- Spare blades — they dull sooner than you expect on hardwood
Snipe, and How to Stop It
This is the one that ruined my first plank, and it has a name: snipe. A dip gouged into the first or last few inches of the board, deeper than the rest of the cut, which you only notice once you put a straightedge on it.
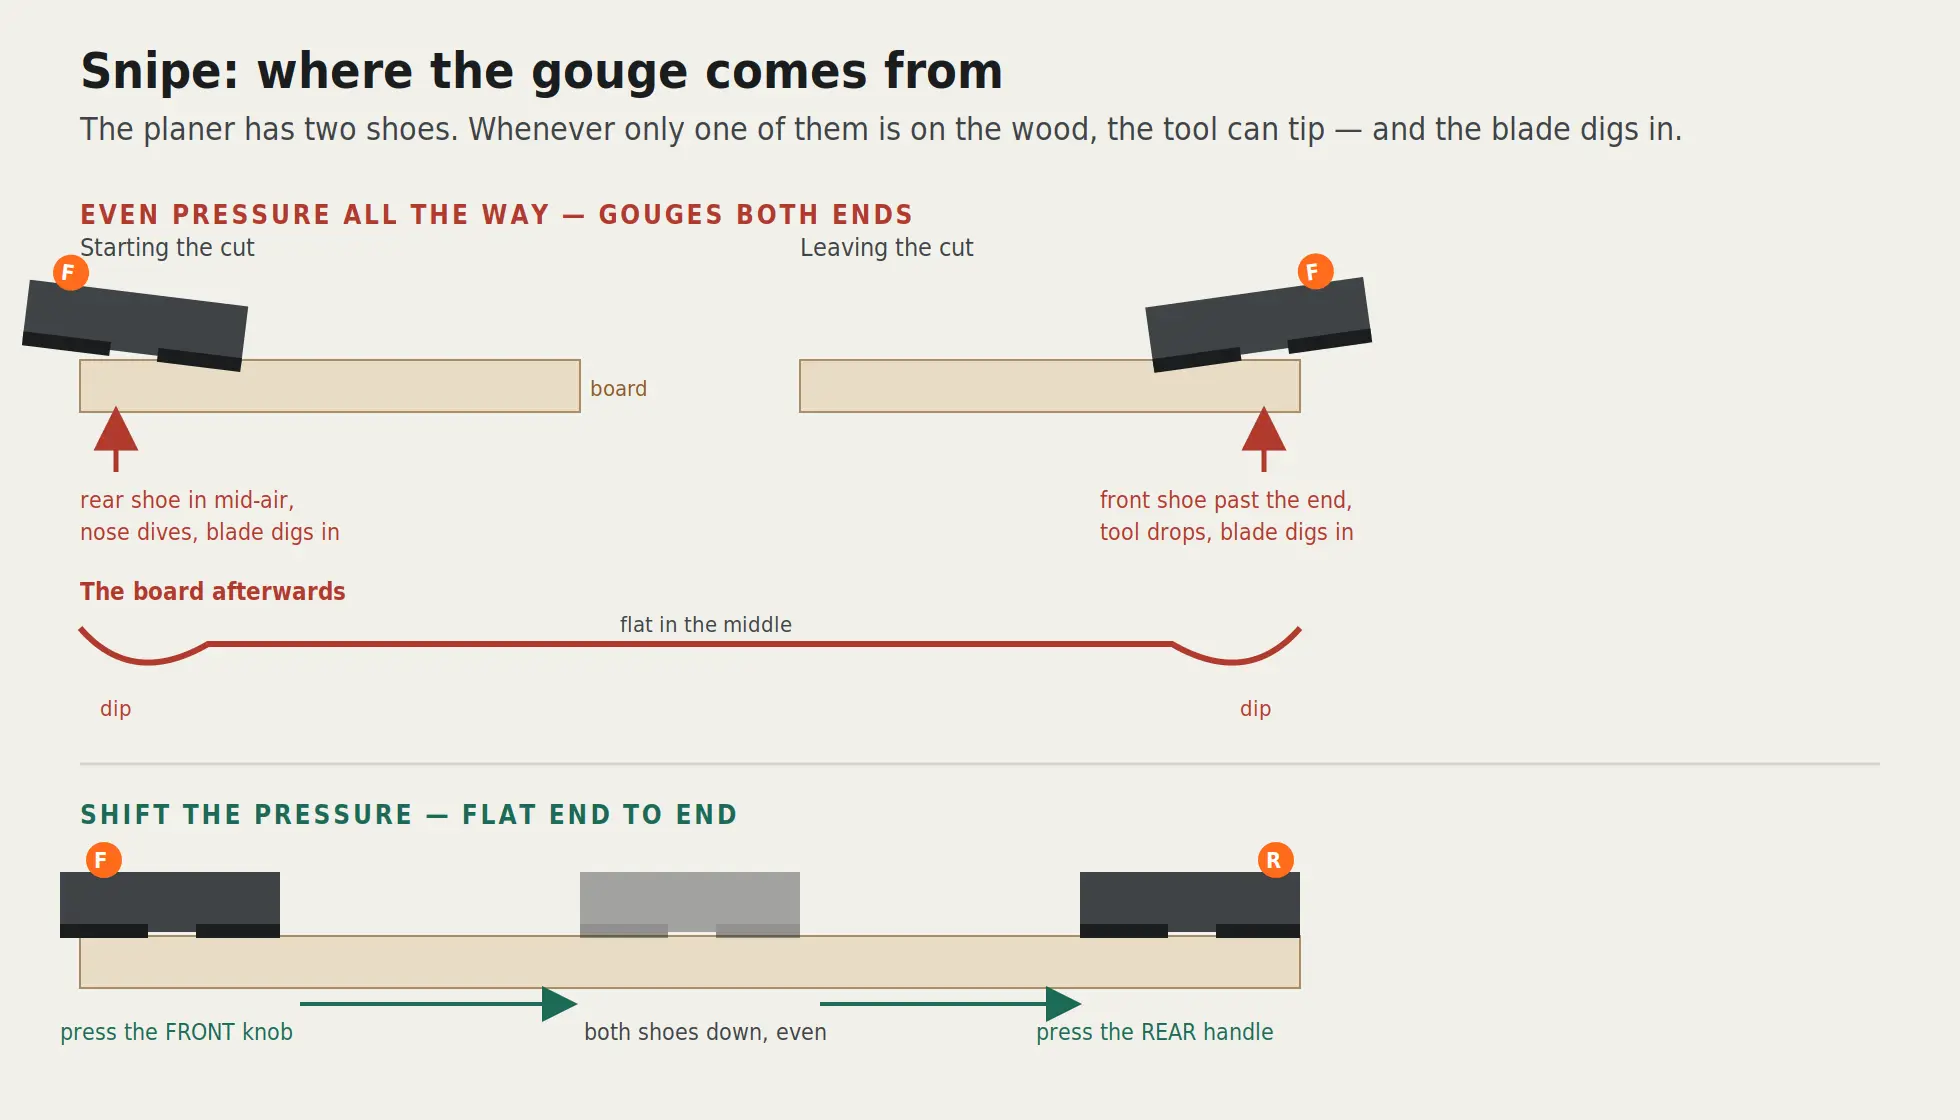
The cause is simple once you see it. At the start of the cut, only the front shoe is on the wood, so pressure at the back tips the nose down and the blade digs in. At the end of the cut, only the rear shoe is left on the wood, so pressure at the front drops the tool off the end and the blade digs in again.
The fix costs nothing. Start with your weight on the front knob. As the tool moves onto the board, let it settle evenly across both shoes. As you approach the far end, shift your weight to the rear handle. Keep the shoe that is still supported pressed down, and nothing else.
Two more things help. Keep the planer moving at a steady walking pace — pausing mid-board cuts a dip in exactly the same way. And where you can, clamp a sacrificial offcut of the same thickness at each end of the workpiece, so the shoes run on and off that instead of on your piece.
Planing a Board, Step by Step
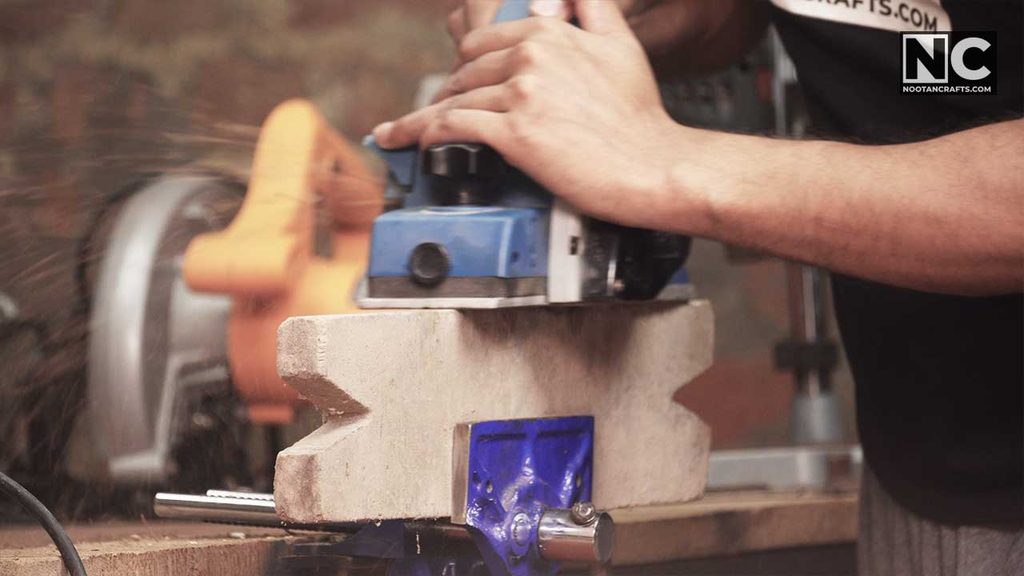
- Check the board for metal. Nails, screws, staples, grit in reclaimed lumber. One hit destroys a pair of blades and throws fragments.
- Read the grain. Look at the edge of the board and find which way the fibers rise toward the surface. Planing with them gives a clean cut; planing against them tears the fibers out. If the surface starts tearing, turn the board around.
- Clamp the workpiece. The planer pushes the wood away as it cuts, and a small piece will slide. A bench stop or two clamps, every time.
- Set a shallow depth. Start at the lightest setting the tool offers. A shallow pass repeated four times leaves a better surface than one deep pass, and it does not bog the motor or tear out around knots.
- Mark the high spots. Pencil scribbles across the face. When the scribbles are gone, that area has been cut. This is the simplest way to see what you are actually doing.
- Start with weight on the front knob, tool already running, and enter the cut moving.
- Walk it through at a steady pace, overlapping each pass by about half the width of the shoe so you do not leave ridges between passes.
- Shift your weight to the rear handle as the front shoe approaches the end of the board.
- Check with a straightedge, re-mark the remaining high spots, and repeat. Stop when the straightedge sits flat, not when the board looks flat.
- Set the tool down on its kickstand and let the drum stop before you do anything else.
Knots, Grain and Difficult Wood
| What you hit | What to change | Why |
|---|---|---|
| Softwood, pine and similar | Slightly deeper cut, normal pace | Cuts easily. The good wood to learn on |
| Hardwood | Shallower cut, slower pace | Blunts blades quickly and bogs the motor if you rush it |
| A knot | Lightest depth, slow steadily through it | The grain runs in every direction at a knot, so it chips and it dulls blades |
| Tearout appearing | Turn the board end for end | You are planing against the grain. Direction, not technique |
| Figured or wild grain | Very light passes, or stop | Grain reverses within the board. Sometimes a hand plane or a sander is the right answer |
| Wood that is still wet | Wait | Damp fibers compress instead of shearing, so the surface comes up fuzzy |
Chamfering an Edge
Most planers have a V-groove machined into the front shoe for this. Sit the groove on the corner of the board, and it holds the tool at 45 degrees for you, so a light pass down the edge gives an even chamfer without any marking out. Take it in two or three light passes rather than one, and keep the groove seated on the corner the whole way — lifting halfway through leaves a step you will have to plane out.
Blades and Maintenance
Almost everything that goes wrong with a planer’s finish is a blade problem. Dull blades burnish rather than cut, leaving a shiny compressed surface that will not take stain evenly, and they make the motor work far harder than it should.
- Clean the shoe after every useResin builds up on the base plate and stops it sliding, which makes you push harder and cut unevenly
- Reversible bladesMost modern planers use disposable double-edged blades. Flip them once, then replace
- Resharpenable bladesOlder and higher-end planers take steel blades you can hone on a silicon carbide stone. Both blades must come off equally or the drum runs out of balance
- Change them as a pairOne new blade and one worn one puts the drum out of balance and leaves a ridged cut
- Store it on its sideNot resting on the blades
What I’d buy for this job
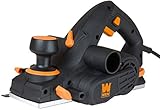


Last update on 2026-10-21 / Affiliate links / Images from Amazon Product Advertising API
Mistakes That Cost Me Blades
Too much depth in one pass. This was mine. It feels productive and it is the fastest way to a dished, uneven board — plus a stalling motor and torn grain around every knot. Depth is the setting people get wrong, and shallow is almost always right.
- Uneven pressure through the cut. Leaning on whichever end feels natural instead of shifting deliberately. This is snipe, and it is the other half of what wrecked my first plank.
- Pausing mid-board. The blade keeps turning while the tool is stationary, and cuts a dip where you stopped.
- Planing an unclamped piece. The tool pushes the work away, you chase it, and the cut goes crooked.
- Working with dull blades and blaming the technique. If the surface is shiny rather than crisply cut, change the blades before changing anything else.
- Trying to flatten a twisted board with a power planer. A power planer follows the surface it is sitting on. It cannot make a board flat the way a jointer does — it can only make it thinner and smoother. A badly twisted board needs different tools.
Electric Planer Questions People Actually Ask
Is an electric planer suitable for beginners?
Yes, on softwood, with a shallow depth setting and a clamped workpiece. It is not a difficult tool to control — it is an unforgiving one to rush. Practice on an offcut before touching the piece that matters.
Why does my board have a dip at each end?
Snipe. The planer tipped as it entered and left the cut, because only one shoe was supported at those moments. Shift your weight from the front knob to the rear handle as you go, or clamp sacrificial offcuts at each end so the tool runs on and off those instead.
Can I use an electric planer to remove paint?
You can, and it will cost you the blades. Paint, and the grit and nails often under old paint, wreck an edge fast. Use a scraper or a sander, and keep the planer for wood.
There is a bigger reason than the blades on old work. Paint in a house built before 1978 may be lead-based, and the EPA is blunt about what happens when you disturb it: any renovation, repair or painting project in a pre-1978 home with lead paint “can easily create dangerous lead dust”. A planer throws that dust across the room at speed. Test the paint first, and if it is positive, this is not the tool.
How often should the blades be sharpened or changed?
By feel rather than by schedule. Check them before each session, and change or flip them when the cut stops looking crisp — a shiny, burnished surface instead of a cleanly sheared one is the clearest sign. Hardwood and any dirty reclaimed lumber will get you there much faster than clean pine.
Can an electric planer be used on curved surfaces?
No. The two flat shoes need a flat surface to register on. Curved and irregular shapes need a hand plane, a spokeshave, or a sander.
What safety gear do I need?
Safety glasses, a dust mask, and hearing protection. The chip stream comes out sideways at speed, the fine dust hangs in the air afterwards, and the noise is loud and continuous rather than brief.
Can a power planer flatten a warped board?
Not really. A power planer rides on the surface it is sitting on, so it follows the twist rather than removing it — you get a thinner warped board. Flattening is a jointer’s job, or hand planes with winding sticks.
Getting a Flat Board
Shallow depth, steady pace, grain in the right direction, and your weight moving from the front of the tool to the back as you travel. That is most of it. The chasms in my first plank came from getting the depth and pressure wrong at the same time, and I fixed both by slowing down rather than buying anything.
Once the surface is flat, the next question is the finish—and planed wood behaves differently from sanded wood when stain hits it. That is covered in smoothing wood after staining.