You cannot sand stain smooth.
That rough feel is not stain sitting on top of the wood. It is wood fiber. The liquid in the stain soaked in and lifted those fibers, like hair standing up. If you sand them off now, the color comes off with them. That is why people end up with pale streaks exactly where they rubbed hardest.
Here is what works instead. Put on one thin coat of your topcoat first. It glues the raised fibers down and makes them hard. Let it dry. Now sand with 320 grit. You are cutting hardened finish, not color. The surface comes out smooth and the stain stays where it was.
The rest of this page is the full order of work, the grit for every stage, and the four ways this goes wrong.
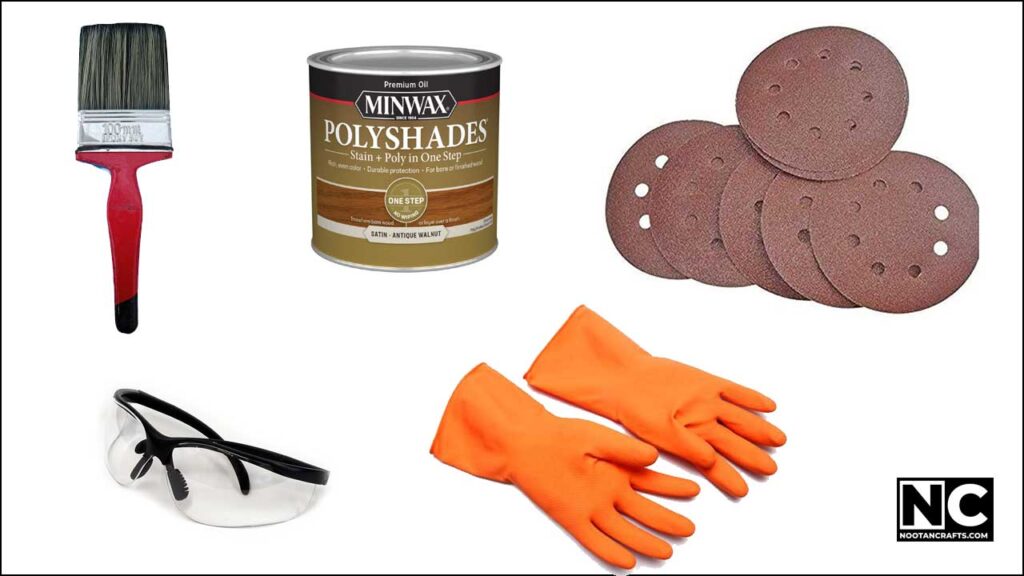
- Sandpaper: 120, 180, 320 and 400 grit
- A sanding block, or a flat offcut
- Lint-free rags or an old cotton shirt
- Your stain
- Wood conditioner, if you are staining pine or another softwood
- Clear topcoat: polyurethane, water-based poly or shellac
- A cheap brush you do not mind losing, or a sprayer
- A metal can with a tight lid, or a patch of concrete outdoors
- Nitrile gloves
Rags soaked in oil-based stain can catch fire on their own
This is not a warning about fumes. Oil-based stains and oil finishes do not dry by evaporating. They dry by reacting with oxygen, and that reaction gives off heat. Spread a rag out flat and the heat escapes into the air. Screw it into a ball and drop it in a bin, and the cloth wraps its own heat in. The reaction speeds up, which makes more heat, which speeds it up again. The US National Park Service records a crew who oiled some tool handles and had the rag ignite the same day, lying flat on a workbench. One fire service puts the ignition point at around 250 °F (120 °C), and notes that the bigger the pile, the bigger the risk.
- Never leave stain rags in a ball. Not in a bin, not in a bucket, not in a corner of the shop.
- Spread them out flat on concrete, outside. One layer, not touching, out of direct sun. Leave them until they go stiff and brittle. Then they are safe to bin.
- Or drown them. Put them in a metal can, cover them with water, and shut the lid.
- This applies to oil-based stain, boiled linseed oil, tung oil and Danish oil. Water-based stains do not do this.
- It also applies to your gloves and your brush. Anything that held the oil.
What’s Inside!
Why Stained Wood Feels Rough
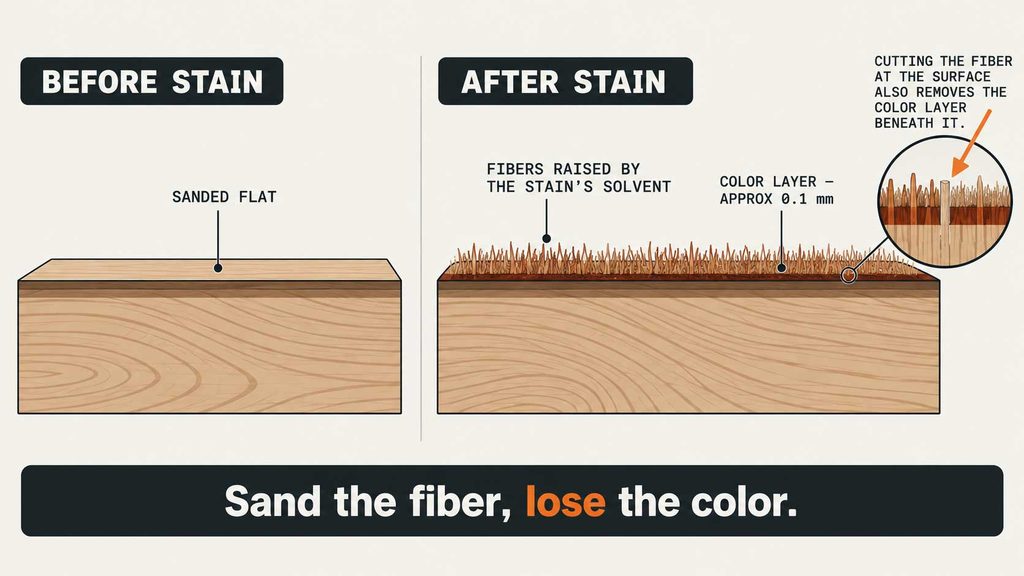
Wood is a bundle of hollow fibers. Sanding does not cut every one of them off cleanly. It shears some and leaves them lying flat against the surface, still attached at one end. You cannot feel them. The wood feels finished.
Then you brush on stain. The water or solvent in it soaks into those flattened fibers. They swell, stand up, and dry standing up. Now you can feel every one of them. Nothing went wrong. The stain did exactly what stain does.
This is why the usual advice backfires. Almost every guide tells you to wait for the stain to dry and sand it with 220 grit. But the color only sits in the top fraction of a millimeter of wood. Sand the raised fibers off and you cut straight through that layer into bare wood underneath. The surface gets smooth and patchy at the same time. Water-based stains raise grain the hardest, but oil-based stains do it too.
So the fix is not a finer paper or a lighter touch. The fix is to stop sanding the color at all, and sand something harder instead.
How to Smooth Wood After Staining, Step by Step

- Sand the bare wood to 180Start at 120 grit if the surface is rough or machine-marked, then 150, then 180. Do not skip grits. Each one removes the scratches from the last. Always sand along the grain, never across it.
- Raise the grain on purposeThis is the step that saves the whole job. Wipe the bare wood with a damp rag and let it dry for about thirty minutes. The fibers stand up now, while the wood is still bare and there is no color to lose. Knock them off with 220 grit, very lightly. Repeat once if you want. After this the stain has far fewer fibers left to lift.
- Condition softwoodPine, fir and poplar drink stain unevenly and go blotchy. A coat of wood conditioner evens out how much they absorb. Follow the time on the can, because most want the stain applied within two hours.
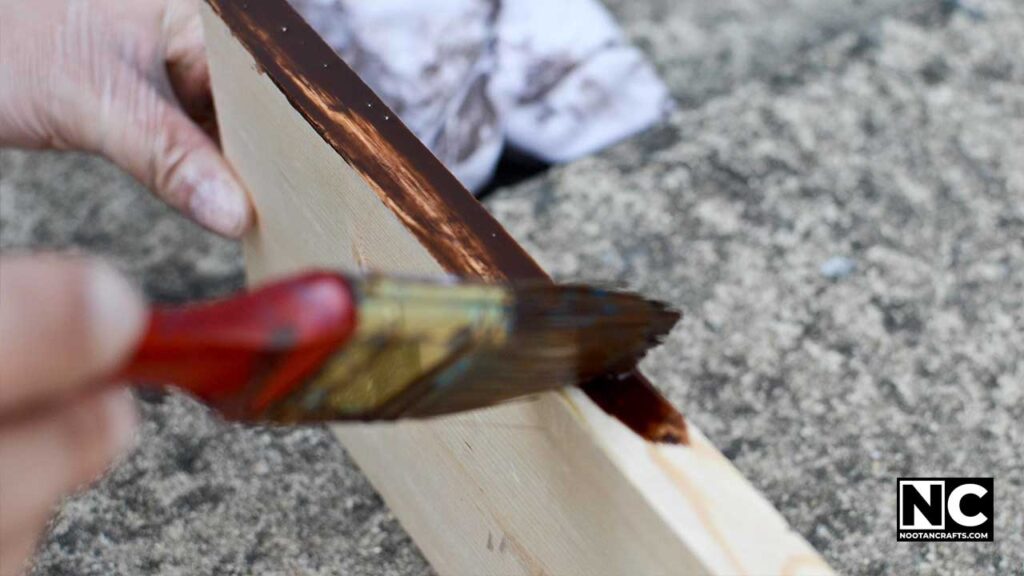
- Apply the stain and wipe it backWork in small sections and go with the grain. Leave it a few minutes, then wipe off everything that has not soaked in. Stain left sitting on the surface never really hardens. It stays soft under the finish and shows every mark.
- Let it dry properlyGive it the full time on the can, usually a day for oil-based. Do not judge by touch. Stain can feel dry and still be soft below.
- Do not sand the stainThis is the step everyone adds and it is the one that ruins the finish. Leave the roughness alone. It is about to be dealt with.
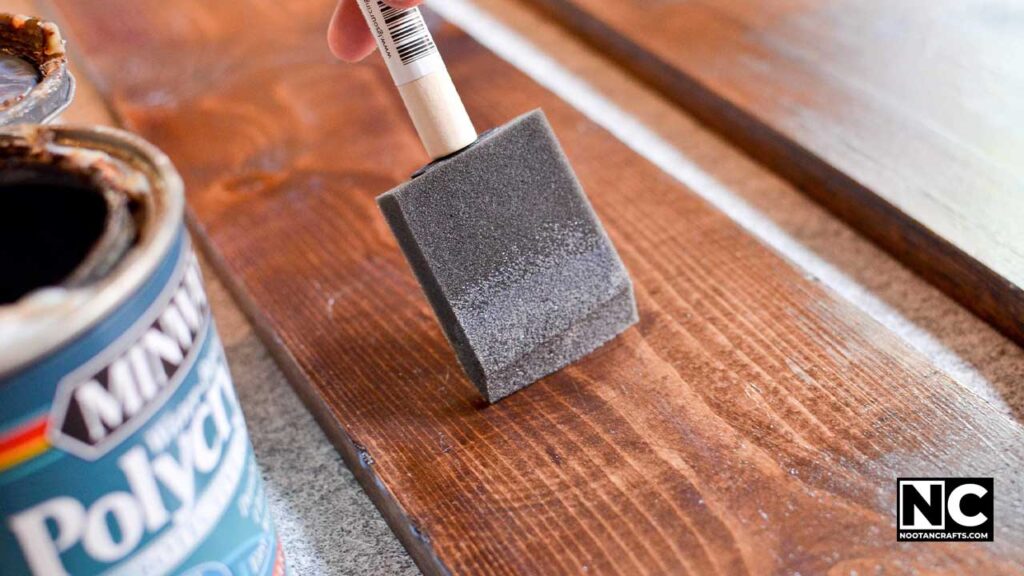
- Brush on one thin coat of topcoatThin. You are not building a finish yet, you are locking those fibers down and turning them hard. Let it dry fully.
- Now sand with 320Light pressure, flat block, with the grain. You will feel the roughness disappear in a few passes, and the dust will be white. White dust is cured finish. If you start seeing colored dust, stop immediately, because you have gone through to the stain.
- Wipe off the dust and build your coatsA dry microfiber or a tack cloth. Then two or three more coats, sanding with 320 or 400 between each one.
- Rub out the last coat if you want it perfectSkip this if you are happy. If you want glass, wet sand the final coat with 600 grit and a drop of soapy water, then buff with 0000 steel wool for satin, or polishing compound for gloss.
Which Grit at Which Stage
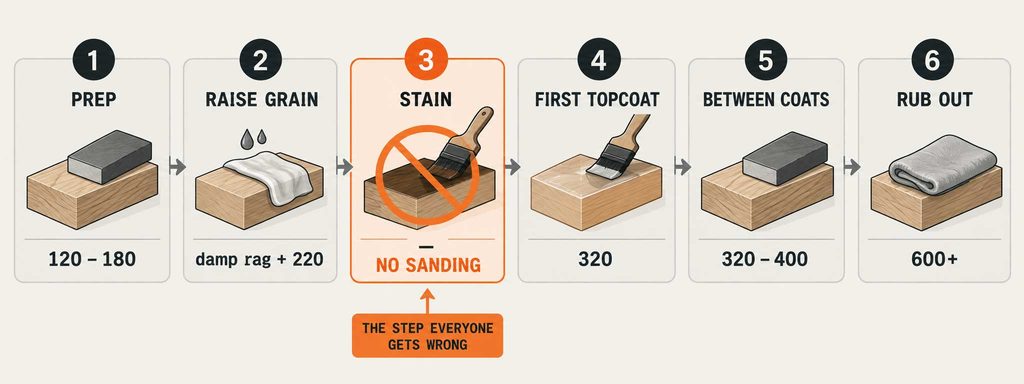
Most guides give you one number and leave it there. The number changes at every stage, and so does what you are actually cutting.
| Stage | Grit | What you are cutting | Skip it and… |
|---|---|---|---|
| First pass on rough or machined wood | 120 | Mill marks and tearout | Every later grit just polishes the marks |
| Working up | 150, then 180 | Scratches from the grit before | Deep scratches show through the stain, darker than the rest |
| Raising the grain on purpose | Damp rag, dry, then 220 | Lifted fibers, while the wood is still bare | Those fibers lift later, after the color is on |
| Right after staining | None | — | You cut through the color and get pale streaks |
| After the first thin topcoat | 320 | Hardened finish holding the fibers | The fibers stay standing under every coat you add |
| Between topcoats | 320 to 400 | Finish only, plus any dust specks | Coats sit on each other instead of keying together |
| Final rub out, optional | 600 wet, then 0000 steel wool | Finish only | Dust nibs stay in the last coat forever |
One place the experts disagree, so you should know about it. Some woodworkers say sanding past 180 before staining burnishes the surface and stops the stain soaking in, which gives you a lighter, patchier color. Others sand to 220 with no trouble at all. Minwax, who make the stain, tell you to go 120 to 220. There is no settled answer, and it depends on the wood. Softwoods like pine are the ones that show the problem. If you are staining pine, stop at 180 and use conditioner. On oak or ash, 220 is fine. If it matters, test on an offcut from the same board.
The Four Ways This Goes Wrong
You sanded the stain and now there are pale streaks
You cut through the color layer. There is no way to blend it back, because the sanded spots are now bare wood and they will take stain differently from the rest. Sand the whole surface back to bare, start again, and this time raise the grain before you stain.
The surface is smooth but it feels sticky weeks later
You left excess stain on the surface instead of wiping it back. Stain has no binder to speak of. The part that soaks into the wood cures; the part sitting on top never fully does, and now it is sealed under your finish. There is no fix but to strip it.
It went blotchy the moment the stain touched it
That is the wood, not your technique. Pine, fir, poplar, birch and maple have patches of different density, and the soft patches drink more stain than the hard ones. Conditioner before staining is the standard answer. A gel stain is the stronger one, because it sits on the surface instead of soaking in.
The finish is smooth but full of tiny bumps
Dust landed in the wet coat. Sand it out with 320 and put the next coat on in a cleaner space, or spray instead of brushing. A sprayer lays a thinner and more even coat than a brush, which means fewer bumps to sand out in the first place.
Choosing a Topcoat That Sands Well
The whole method depends on that first coat going hard enough to sand. Not all finishes do that equally.
| Finish | Ready to sand in | How it sands | Use it when |
|---|---|---|---|
| Shellac, dewaxed | About 1 hour | Best of the three. Powders off cleanly and never gums up the paper | You want the fastest route to a flat surface. Goes under almost any other finish |
| Water-based poly | 2 to 4 hours | Sands well once fully hard. Stays clear, so it will not warm the color | You want no yellowing and low smell |
| Oil-based poly | 24 hours | Toughest film, but gums the paper if you rush it | The piece will take real wear, like a tabletop or a floor |
A thinned coat of dewaxed shellac is the traditional trick here, and it is worth knowing. It dries in about an hour, sands to powder, and you can put oil-based or water-based poly straight over the top of it. It turns a one-day job into an afternoon.
Whichever you pick, thin that first coat. A heavy first coat buries the raised fibers instead of locking them down, and then you are sanding a thick film to reach them.
Stained Wood Sanding Questions People Actually Ask
Can you sand wood after staining?
You can, but you should not. The color sits in the top fraction of a millimeter of wood, so sanding the stained surface removes color unevenly and leaves pale patches. Put one thin coat of finish on first, let it harden, then sand that with 320 grit. You get the same smooth surface without touching the color.
Why is wood rough after staining?
The liquid in the stain soaked into wood fibers that sanding had flattened rather than cut off. They swelled, stood up, and dried standing up. That is what you are feeling. It happens with every stain, and water-based ones do it most.
Why do people say to sand after staining?
Because the surface really does feel rough, and sanding is the obvious answer. It works in the sense that the roughness goes. It just takes some of your color with it. The advice is repeated everywhere because the side effect only shows up later, once the finish is on and the streaks catch the light.
Can I skip sanding before staining?
No. Stain does not hide anything, it makes everything more visible. Every mill mark, scratch and glue spot takes stain differently and shows up darker or lighter. Sanding is also what opens the surface so the stain can soak in evenly.
How long should I wait between coats of stain?
Check the can, but plan on 24 hours for oil-based and 2 to 4 hours for water-based. Do not go by touch. Stain can feel dry on top and still be soft underneath, and sealing soft stain under a finish never ends well.
How do I make stained wood shiny?
Shine comes from the topcoat, not the stain. Build three or four thin coats of gloss polyurethane, sanding with 320 or 400 between them. For a mirror, wet sand the last coat with 600 grit and buff with polishing compound. For a soft sheen instead, buff with 0000 steel wool.
What do I do with the rags?
If you used an oil-based stain, do not ball them up and bin them. They generate their own heat as they cure and can catch fire. Spread them flat on concrete outside until they go stiff, or sink them in a metal can of water with the lid shut. Water-based stain rags are safe to bin.
Do I need to raise the grain if I am using oil-based stain?
It helps less than with water-based stain, but it still helps. Oil-based stains raise grain too, just not as aggressively. If you are going to the trouble of a good finish, the damp-rag step costs you thirty minutes and removes most of the problem before there is any color to protect.
The One Thing Not to Get Wrong
When the stained wood feels rough, do nothing. That is the whole trick. Put the first thin coat of finish on it, let it go hard, and sand that instead.
If you want to go one better, raise the grain deliberately before you stain. A damp rag, thirty minutes, a light pass with 220. You are dealing with the same fibers, but at the one moment in the job when there is no color to lose. Every finish after that is easier.
And spread the rags out flat before you go inside.