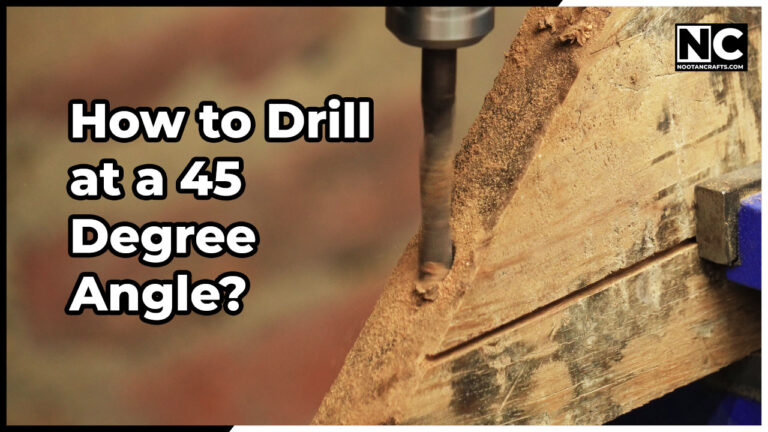
Drilling and screwing at 45 degrees not only makes your project look aesthetically appealing but also improves the strength of joints. It’s widely used in furniture and cabinetry making. No doubt, it’s a bit challenging process and requires some precaution because sometimes the drill bit slips, especially if you are doing hand drilling.
Don’t worry; in this guide, I will tell you how to drill at a 45-degree angle easily with different methods.
What’s Inside!
How to Drill at a 45-degree Angle
Method 1: Freehand Drilling to MAKE ANGLED Holes
With this method, you can easily make a pilot hole to drive a screw at an angle. Remember, with the free hand drill, accuracy isn’t guaranteed and depends on the person’s experience.
Tools required:
- A hand drill
- Wood drill bits – according to your requirements
Step 1 – Start drilling on your workpiece at 90 degrees.
Step 2 – Now, gradually tilt the bit while drilling until you reach your desired angle.
Step 3 – (A) If you’re using a countersink bit, then continue drilling to your final hole.
(B) If you’re using a thick bit, like 12mm for the countersink, then stop as soon as you reach deep enough to hide the screw head. You can stick a tape on the drill bit to monitor the depth.
Step 4 – Use a thinner bit, like 3mm, to make a pilot hole through the wood.
Step 5 – Attach a screw/nail to fasten the wood pieces.
Method 2: Use a Drill Guide Jig for Accurate 45-degree Holes
Tools required:
- A hand drill
- Wood drill bits – according to your requirements
- Drill guide jig – to make the accurately angled holes
Step 1 – Clamp the drill guide jig on the workpiece where you want to make a hole. Remember, first, we need to make the countersink hole, so align the large hole of the jig first.
Step 2 – Use the thick bit to make a countersink hole just enough for the screw head.
Step 3 – Move the jig on the hole, but now align the small hole because we will make a pilot hole for the screw now.
Step 4 – Use the 3mm bit to make a pilot hole.
Step 5 – Remove the jig and screw your workpiece.
Method 3: The Drill Press Angle Jig
Tools required:
- Drill press
- Wood drill bits – according to your requirements
- Wood piece cut at a 45-degree angle.
This technique is fantastic for consistently drilling perfect 45-degree holes. You will need a wood piece cut at a 45-degree angle, which will work as a guide for our workpiece. You can make this wood piece by cutting with a miter saw, circular saw, or simply with a tenon saw and miter box.
Step 1 – Set the angle jig to your drill press and clamp it so it doesn’t move. It’s permanently set at 45 degrees, which makes it easier to drill multiple holes quickly.
Step 2 – Place your board on the jig and clamp it securely.
Step 3 – Now, you can drill confidently, knowing you’ll achieve that precise 45-degree angle.
Woodworkers often prefer this method for its simplicity, accuracy, and faster working.
Method 4: Using a Drill Press with a Clamping Jig
You can use a clamping jig if you are dealing with a verticle board or challenging angle. Here’s how it works:
Tools required:
- Drill press
- Wood drill bits – according to your requirements
- Clamping jig
Step 1 – When the angle is too difficult to drill, clamp your board to the side of the jig.
Step 2 – With the board secured, use your drill press as usual, drilling straight through the wood.
FAQs
Q1: Can I use these techniques with different drill types?
A: Absolutely! These techniques can be adapted for both battery-powered drills and drill presses.
Q2: What if my angle isn’t exactly 45 degrees?
A: Aim for 45 degrees, but remember, the exact angle may vary slightly. The key is to ensure it’s consistent across your project.
Q3: Do I need special tools for these methods?
A: While specialized tools like an angle jig and drill guide, most of these techniques can be executed with standard drill bits and clamps.
Q4: Can I use these methods for metalworking?
A: While these techniques are primarily for woodworking. Working with metal is more challenging; we will discuss it in another post.
Conclusion
Now you have learned different techniques to drill at an angle; it will help you to improve your woodworking projects. If you still have any questions or suggestions, please comment below. Thanks for reading; keep crafting!