A vernier caliper reads to 0.02 mm, and it does so with no battery, no electronics, and a principle that has not changed in three hundred years. The trick is that its sliding scale is deliberately made slightly smaller than the main one — fifty divisions squeezed into forty-nine millimeters — so only one line on it can ever align perfectly with a line on the main scale. That line gives you the hundredths.
Once you have seen that, the tool stops being a wall of tiny lines. I met my first one in a physics lab, stared at it, and had no idea which numbers I was supposed to read. My professor cleared it up in about four minutes. This is that four minutes, plus everything I got wrong afterward.
Recommended Calipers


Last update on 2026-10-04 / Affiliate links / Images from Amazon Product Advertising API
What’s Inside!
Least Count: The Number That Defines Your Caliper
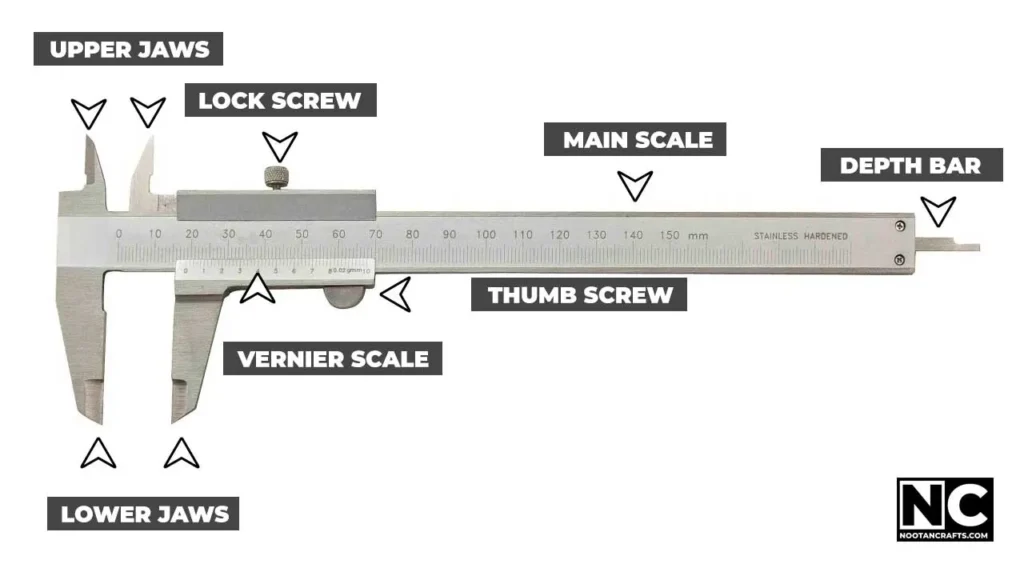
Every vernier caliper has a least count — the smallest difference it can resolve — and it is not a quality rating. It falls straight out of the arithmetic:
Least count = one main-scale division ÷ number of divisions on the vernier scale. A main scale marked in millimeters with 50 divisions on the slider gives 1 ÷ 50 = 0.02 mm. Count the divisions on your own caliper before you trust any number you read off it.
| Vernier divisions | Least count | What that means in practice |
|---|---|---|
| 50 | 0.02 mm | The common workshop caliper. Fine for anything a home workshop machines or fits |
| 20 | 0.05 mm | Often on cheaper or school calipers. Still useful, but do not report hundredths from it |
| 10 | 0.1 mm | Coarse. Roughly what a good steel rule and good eyes will give you anyway |
| Imperial, 25 | 0.001 in | The inch equivalent, usually on the lower scale of a dual-marked caliper |
This is the single most useful thing to know before you buy one, and it is why “0.02 mm accuracy” printed on a box is not the same claim as a caliper that actually resolves 0.02 mm. Resolution is what the scale can show. Accuracy is whether it is telling the truth, which is what calibration is for.
Vernier, Dial or Digital
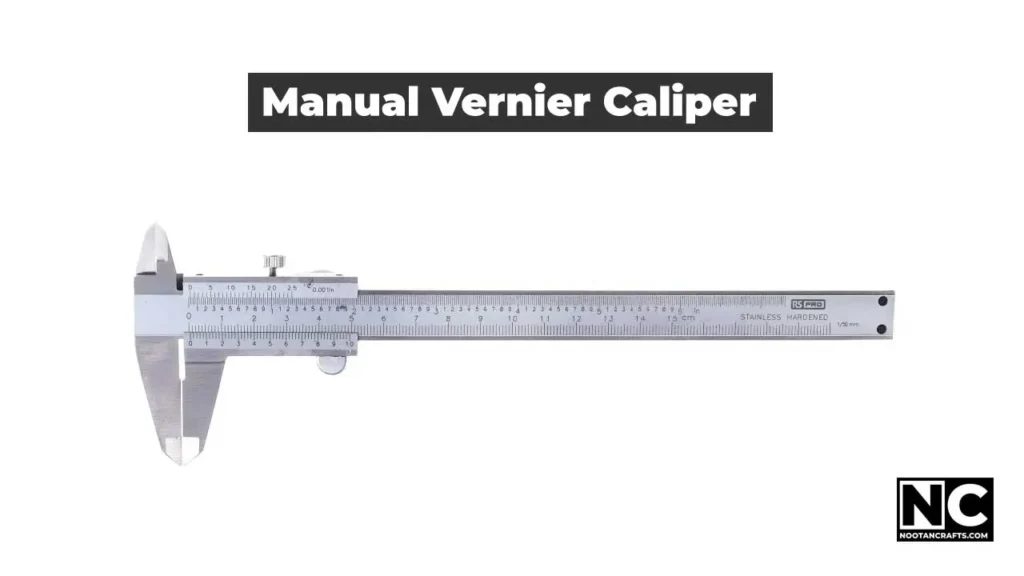
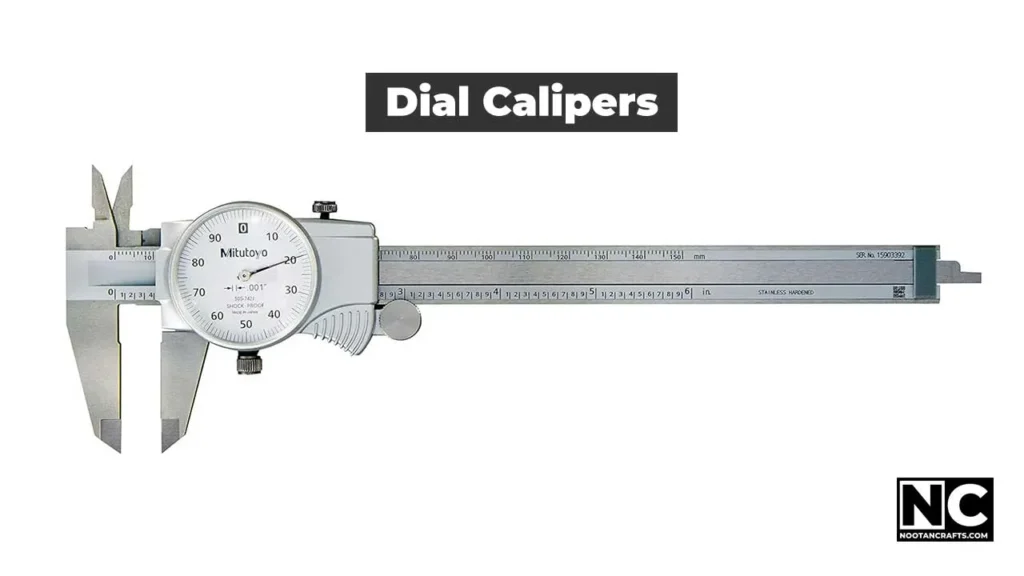
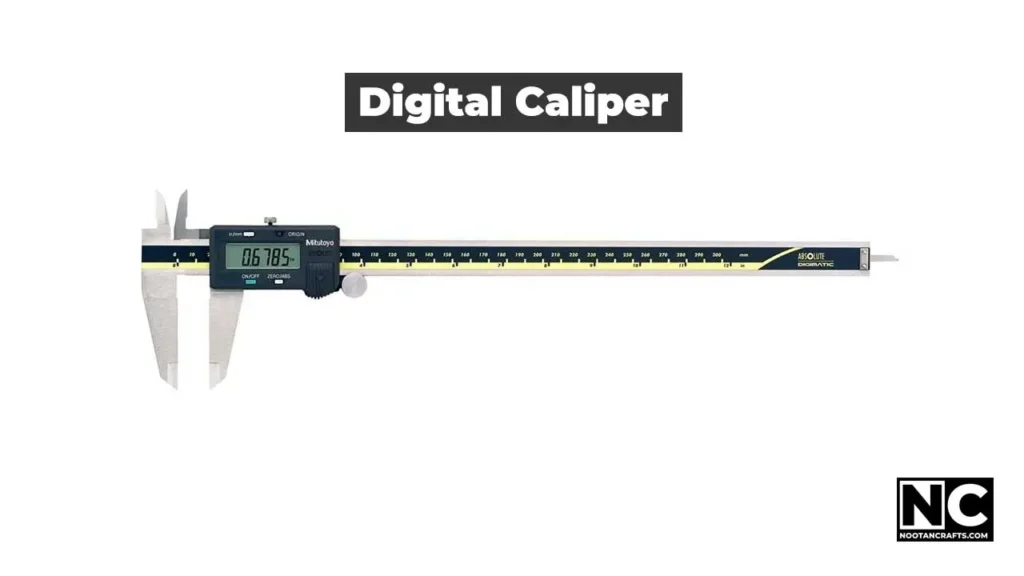
- Vernier. Two scales, read by eye. Nothing to fail, nothing to run flat, and it will still be working in twenty years. It asks more of you and rewards you with a tool that never lies about its battery.
- Dial. A rack and pinion drives a needle, so you read a dial instead of aligning lines. Faster than vernier, and the needle makes it obvious when something is drifting. Dirt in the rack is its one weakness.
- Digital. Fastest to read, switches between millimeters and inches, and will zero anywhere along its travel — which is useful for comparing one part against another. It is also the one that will be flat the morning you need it – unlike a multimeter, where a dying battery can show a stable wrong number.
If you are buying your first one, buy the vernier. Not for authenticity — because learning to read the scale teaches you what the tool is actually doing, and a digital readout hides that completely. People who start on digital are the ones who cannot tell when a reading is wrong.
Reading It, With an Actual Example
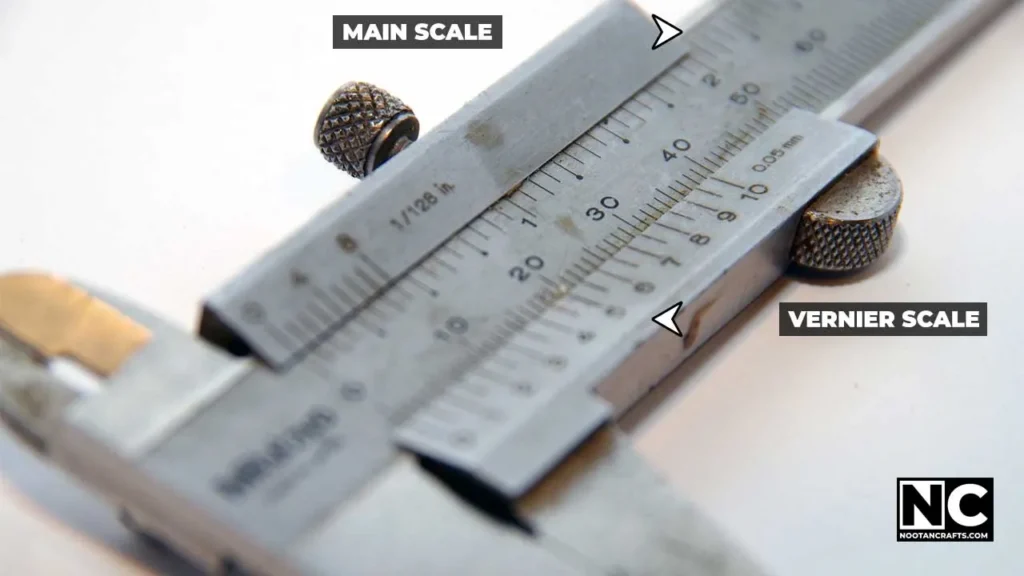
Two readings added together. That is the whole operation.
- Read the main scaleFind the zero mark of the sliding vernier scale, and read the last main-scale line it has passed. Not the nearest line – the last one it passed. Say that is 24 mm.
- Find the one line that alignsRun your eye along the vernier scale until you find the division that lines up exactly with any line on the main scale. Only one will. Say it is the 17th division.
- Multiply by the least count17 × 0.02 mm = 0.34 mm.
- Add them24 + 0.34 = 24.34 mm. That is your measurement.
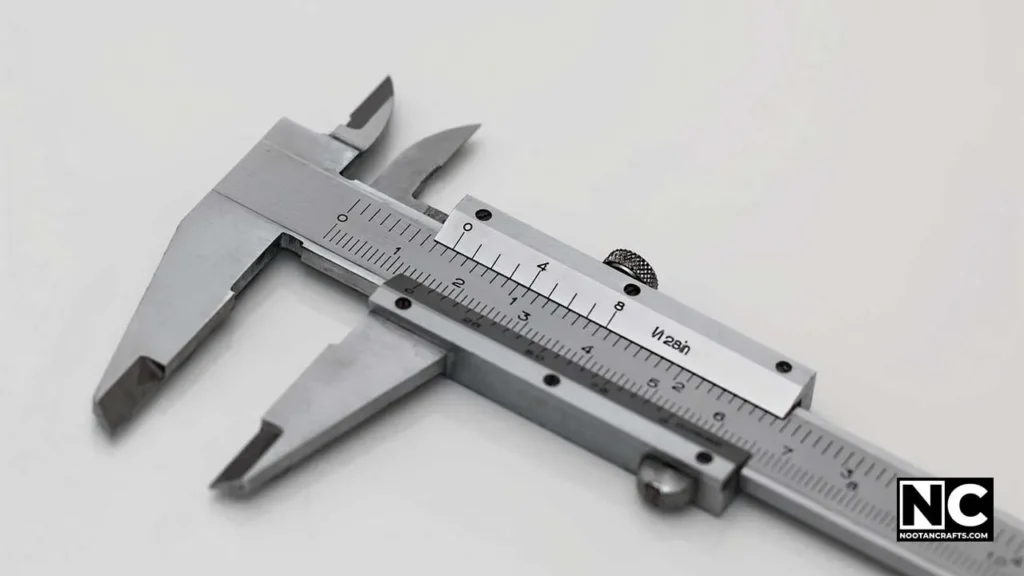
The step people get wrong is the first one. If the vernier zero sits between 24 and 25, the main-scale reading is 24 — always the line already passed, never the closer one. Rounding up there puts you a whole millimeter out, and it is a mistake that looks like a working measurement, which is what makes it dangerous.

When I was learning I rushed this and misread a run of measurements the same way each time, which at least made them consistently wrong. Read the main scale, say the number out loud, then go looking for the aligned line.
Taking the Three Kinds of Measurement
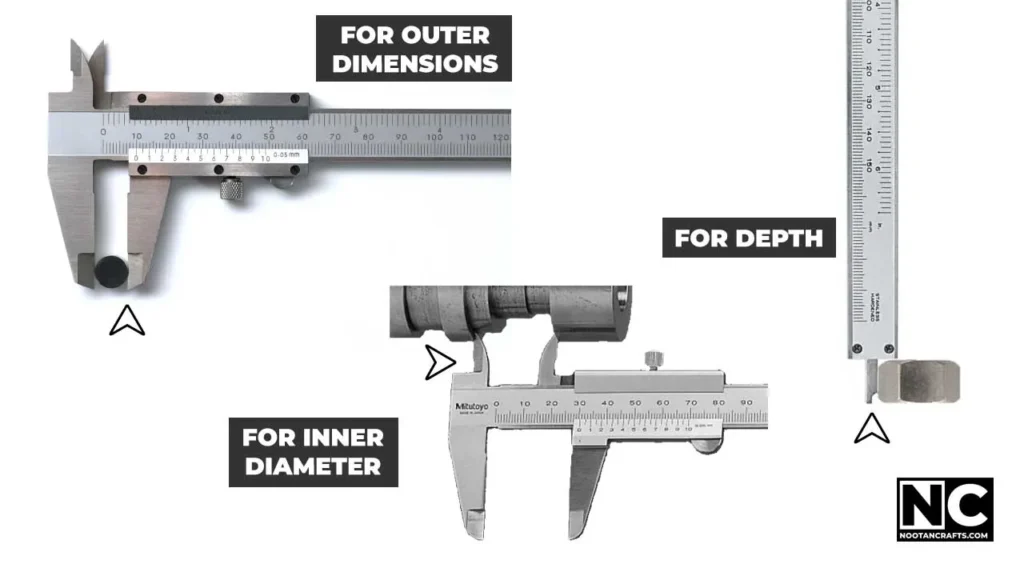
Before any of them: wipe the jaws and close them. The reading must be zero. If it is not, everything you measure afterward carries that error, and you will not see it because the caliper will look perfectly consistent.
Before any of them: wipe the jaws and close them. The reading must be zero. If it is not, everything you measure afterward carries that error, and you will not see it because the caliper will look perfectly consistent.
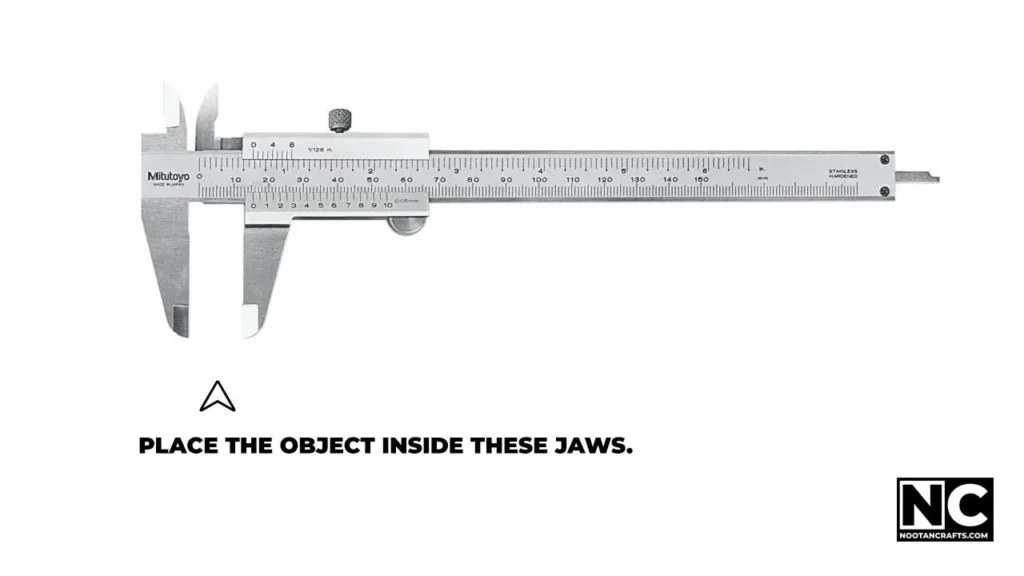
Measuring External Dimensions
The big lower jaws. Open them, seat the object squarely, and close until the jaws just make contact – just contact, no squeeze. Then read.
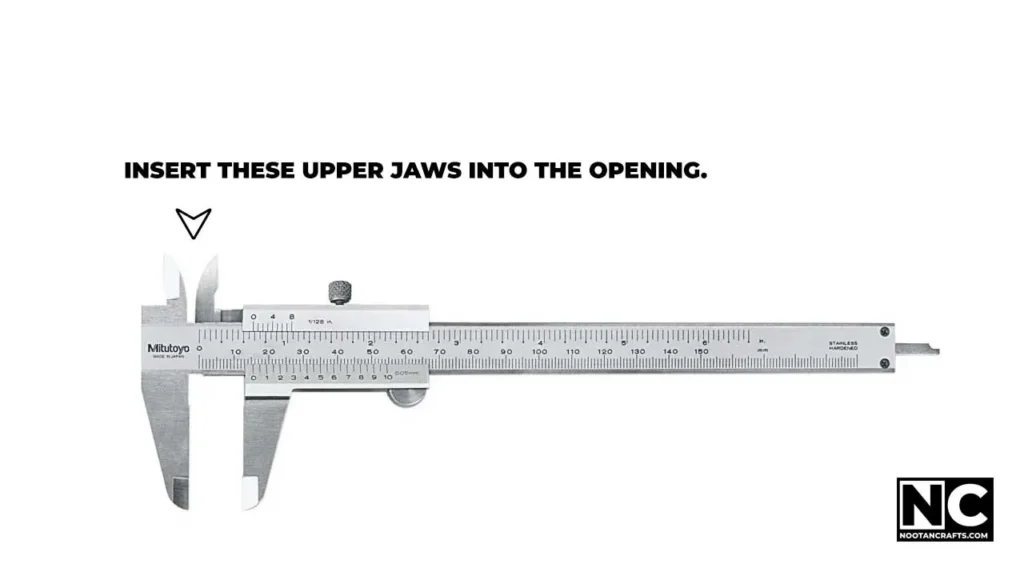
Measuring Internal Dimensions
The small upper jaws. Put them inside the bore or slot and open until they touch both walls. Rock the caliper very slightly and take the smallest reading you find – that is the true diameter. Anything larger means you were measuring across a chord rather than through the center.
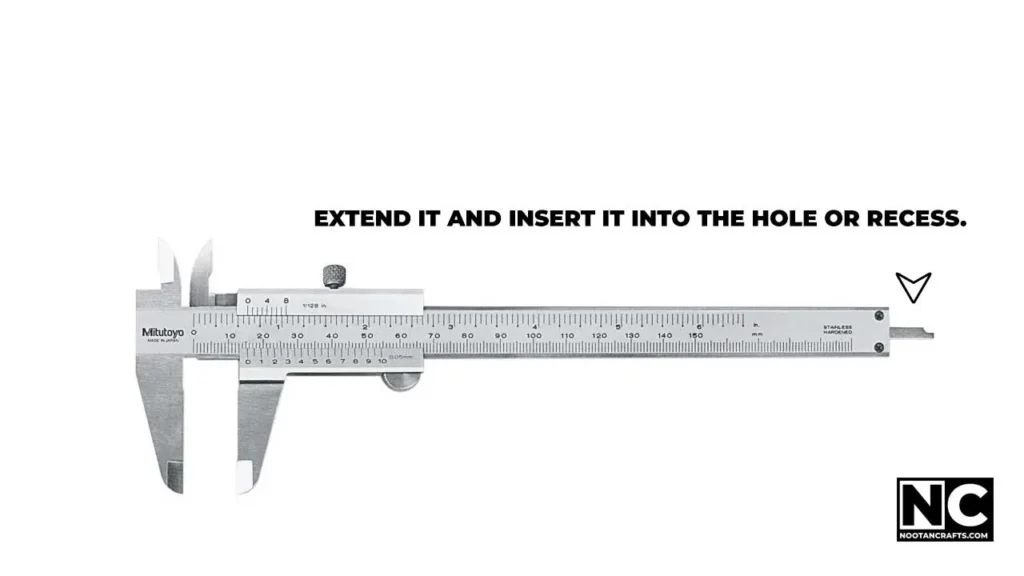
Measuring Depth
The rod that extends from the tail. Sit the caliper’s end flat across the mouth of the hole and run the rod down until it stops. Keep the body flat on the surface, or you are measuring a diagonal.
The locking screw is there so you can take the caliper off the work before reading it, which is much easier on awkward parts.
Pressure is the error nobody expects. A vernier caliper is sensitive enough that how hard you squeeze changes the reading — the jaws flex, and on anything soft, so does the workpiece. When I started I was surprised by how much difference it made, and it took real practice to settle into a consistent light touch. Measure the same feature three times; if the numbers wander, it is your hand, not the tool.
Where the Readings Go Wrong
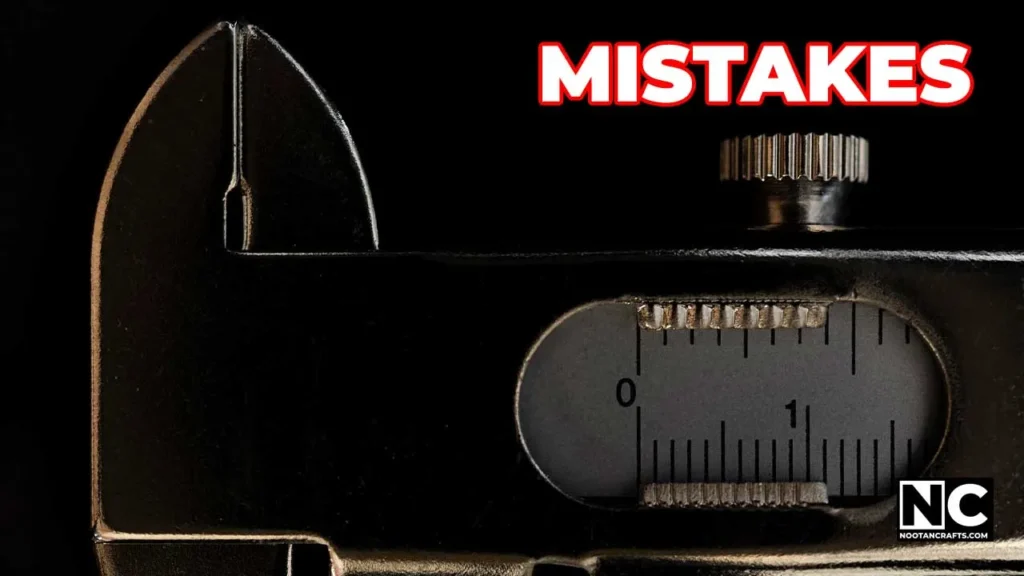
- Rounding the main scale up. Covered above, and it is the one that costs a whole millimeter.
- Squeezing. Also above. Light contact, repeated three times.
- Not zeroing. A caliper that reads 0.06 mm with the jaws shut adds 0.06 mm to everything, silently and consistently.
- Measuring at an angle. Hold the caliper square to the feature. A tilted jaw reads the diagonal, which is always larger than the dimension you wanted.
- Measuring hot metal. Steel expands about 12 micrometers per meter for every degree Celsius. On a 100 mm part, a 20-degree temperature difference is more than a hundredth of a millimeter — larger than your least count. For workshop work this rarely matters; for anything where 0.02 mm is the point, let the part reach room temperature first.
Keeping It Accurate
- Wipe it after every use. Dry cloth. Grit on the jaw faces is a measurement error you cannot see, and grit in a dial caliper’s rack is how the needle starts sticking.
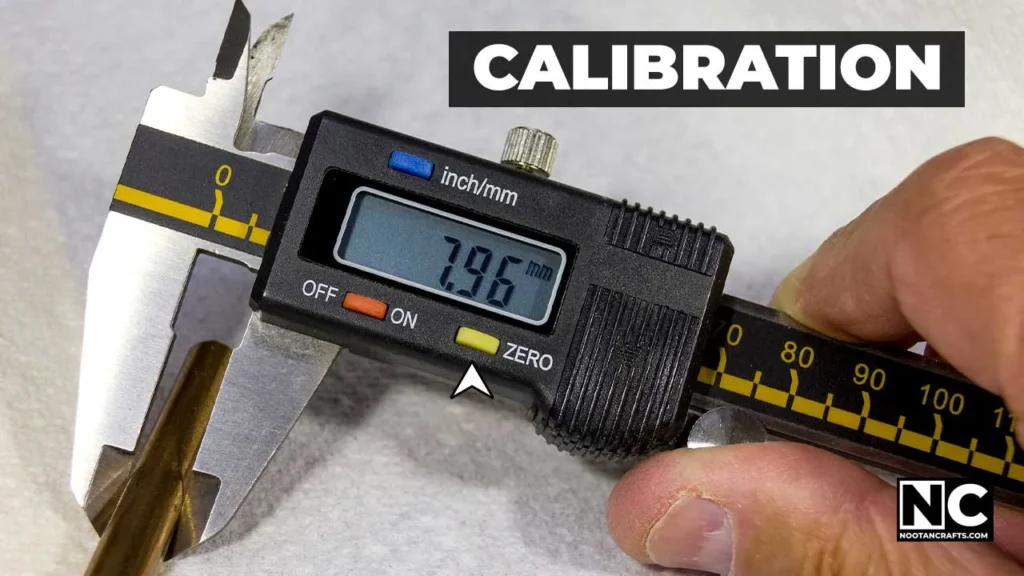
- Zero it before every session, and again immediately after any drop.
- Check it against something known from time to time — a gauge block if you have one, a drill shank of known size if you do not. Zeroing only proves the caliper is honest at zero.
- Store it in its case, dry. A light film of oil on the sliding surfaces if the air is humid, and a desiccant sachet in the case costs nothing.
I left mine out on the bench at the end of a long day, meaning to clean it in the morning. By morning it had rust spots on the beam. It still worked, but it never slid the same way again — and the lesson stuck harder than any amount of good advice would have. The case takes four seconds.
Buying One
Two questions decide it: how fine a least count you actually need, and whether the jaws are ground properly enough to deliver it. Brand matters more here than on almost any other tool, because a caliper that is out cannot be spotted by eye — the brands worth trusting. If your work is wood rather than metal, the requirements are different and mostly cheaper: calipers for woodworking.
What I’d buy for this job
Last update on 2026-10-04 / Affiliate links / Images from Amazon Product Advertising API
Common Questions
What is the least count of a vernier caliper?
Most workshop calipers are 0.02 mm, which comes from 50 vernier divisions against a millimeter main scale. Cheaper and school calipers are often 0.05 mm with 20 divisions. Count the divisions on yours rather than assuming – it takes ten seconds and it determines every reading you will ever take with it.
How do I read the vernier scale?
Find the one vernier division that lines up exactly with a main-scale line, multiply its number by the least count, and add that to the last main-scale line the vernier zero has passed. Exactly one division will align; that is the entire principle the tool works on.
Why does my caliper give different readings for the same part?
Almost always hand pressure, and occasionally a tilted jaw. Measure three times with the lightest contact that still holds the part. If the spread stays large after that, check the jaws for grit and confirm it still zeroes.
How often should I calibrate it?
Zero it before every session, and check it against a known dimension every six months or after any drop. A caliper that has been knocked off a bench can look perfect and read wrong.
Digital or vernier – which is better?
Digital is faster and switches units; vernier never needs a battery and cannot fail in a way that still looks like it is working. For a first caliper, vernier teaches you the tool. For daily production measuring, digital saves real time.
Can I measure the inside of a pipe with it?
Yes, with the small upper jaws. Rock the caliper slightly and take the smallest reading – the true internal diameter is the minimum, and anything larger means the jaws were sitting across a chord rather than through the center.