
My grandfather could run a hand saw straight through a board without it sticking once. I watched him do it and thought it looked easy. I was younger and stronger than him, so I was sure I could push harder and cut faster.
I tried. The saw jammed. I pulled it free, pushed again, and it jammed again. My grandfather stood there laughing at me. Sawing is not a power game, he said. It is technique. I still think about that every time I pick up a hand saw.
Here is what he knew and I did not. A crooked cut is not a technique problem spread across the whole cut. It is a starting problem. The first three strokes cut a groove, and after that the saw follows that groove whether it is square or not. No amount of careful sawing later will pull the blade back to the line.
So the job starts there. Thumb knuckle against the blade, two light pull strokes at a shallow angle, check it is square, then raise the saw to about 45 degrees and let its own weight do the cutting. That is the page in four sentences. The rest is the angles, the tooth count, and the reasons.
- A sharp crosscut hand saw, 8 to 12 TPI for most work
- A pencil and a combination square or straightedge
- Two clamps, or a bench with a vise
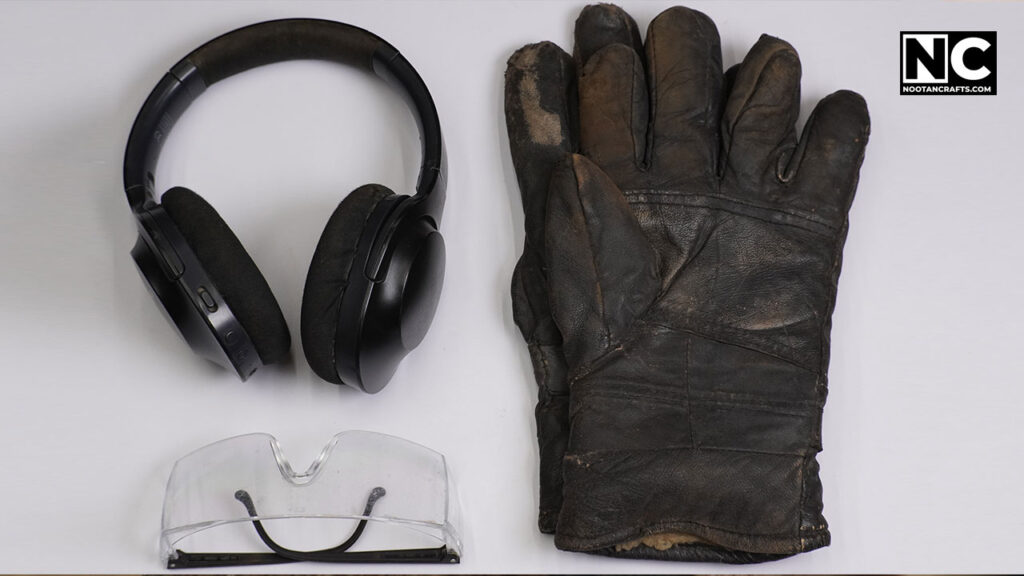
- Safety glasses
- A scrap of wood to practice the start on
Almost every hand saw injury happens in the first three strokes, to the hand that is not holding the saw
At the start of a cut the teeth are not yet in a groove, so they can skate sideways across the surface. Your other hand is right there steadying the wood, and that is what they skate into. Once the kerf is established the blade is trapped and the danger mostly ends.
- Use the knuckle of your thumb, not the pad or the side. Bend the thumb and rest the flat of the blade against the knuckle joint. If the saw jumps, it slides along bone, not across soft skin.
- Keep your guide hand behind the teeth, never in front of them. A saw that skates travels forward.
- Clamp the work. Holding it down with your hand puts your fingers near the line and lets the board move, which is what makes the saw jump in the first place.
- Wear glasses. Sawdust in the eye at the wrong moment is how the hand slips.
- Support the offcut near the end. When the piece breaks away it takes the saw with it, and the last stroke is the one that runs.
What’s Inside!
- 1 – Why Your Cuts Come Out Crooked
- 2 – How to Start a Cut That Stays Straight
- 3 – The Angles and Numbers Nobody Gives You
- 4 – Saw on the Waste Side of the Line
- 5 – What a Crosscut Saw Actually Is
- 6 – Can You Even Sharpen Your Saw
- 7 – When the Saw Binds, Skips or Wanders
- 8 – Choosing a Hand Saw
- 9 – Looking After the Saw
- 10 – Hand Saw Questions People Actually Ask
- 11 – The One Thing to Get Right
Why Your Cuts Come Out Crooked
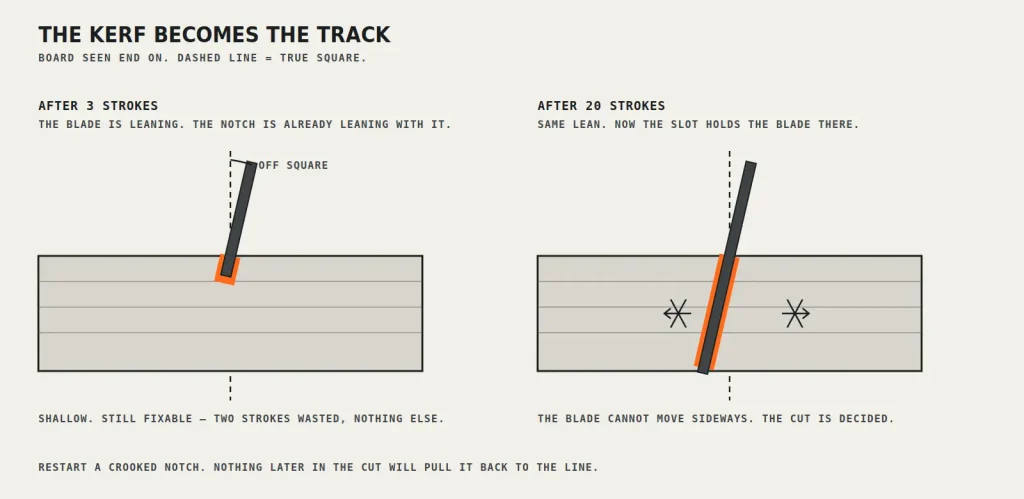
A saw blade is thin, and it cuts a slot slightly wider than itself. That slot is called the kerf. Once the kerf is about 1/8 in deep, it holds the blade like a track. The blade cannot leave it, and that is exactly the point—it stops the saw from wandering.
The catch is that the track gets laid down in the first few strokes, before you have really started paying attention. If the blade was leaning five degrees off vertical, then every stroke after that follows a cut that leans five degrees off vertical. You feel the saw fighting you, you correct, the blade flexes, and the cut comes out bowed instead of merely crooked.
This is why pushing harder makes it worse, which was my mistake. Force does not steer the blade, it bends it. A bent blade binds in its own kerf, and binding is the sticking my grandfather never had. He was not stronger. His cut was straight, so the blade had nothing to rub against.
How to Start a Cut That Stays Straight
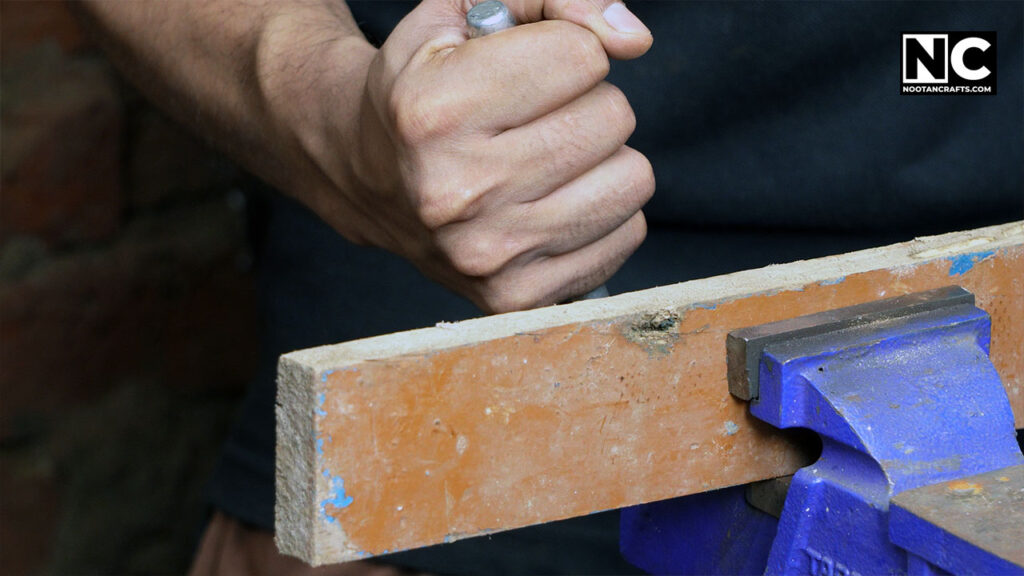
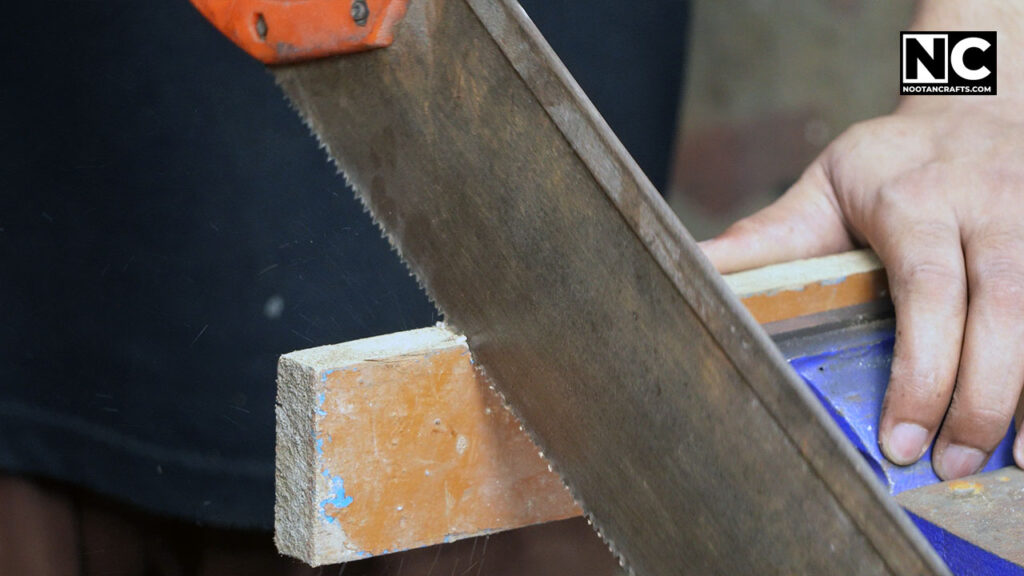
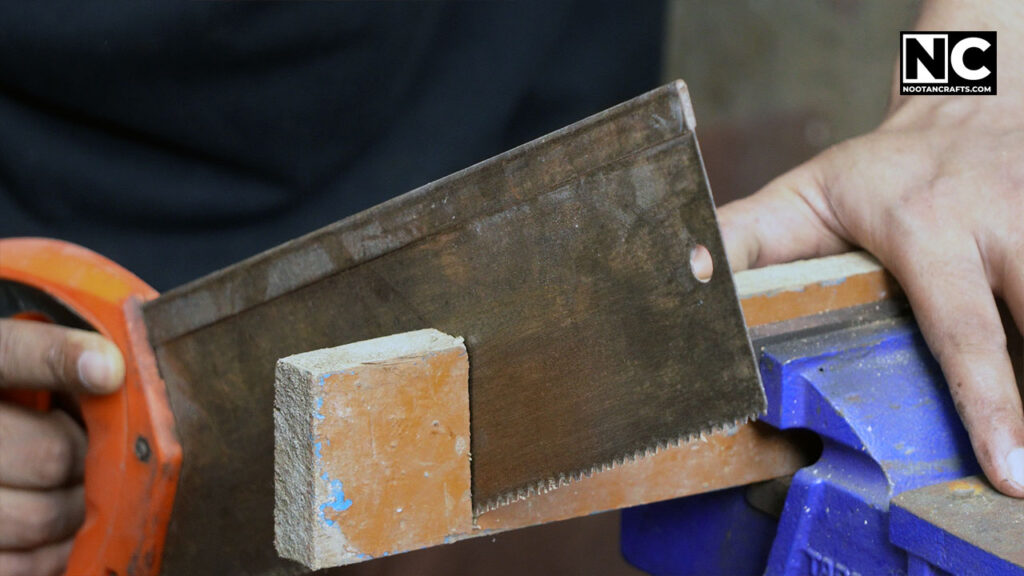
- Clamp the board so the cut line hangs off the benchThe offcut needs somewhere to go and the saw needs room below the wood. A cut made over the middle of a bench top runs out of blade travel and you end up sawing with six inches of a fifteen inch saw.
- Mark the line with a square, all the way aroundA pencil line on the top face only tells you nothing about whether the cut is square through the thickness. Carry the line down both edges. Now you can see the error while it is still fixable.
- Put the teeth on the waste side of the lineThe kerf eats about 1/32 in of wood. Saw down the middle of your mark and the piece comes out about 1/32 in short, every time. More on this below, because it is the error that quietly ruins measurements.
- Brace the blade with your thumb knuckleBend your thumb and rest the side of the blade against the knuckle. This is the fence that holds the saw on the line for the two strokes before the kerf can do it.
- Pull backward twice, at a shallow 15 to 20 degreesBackward only, with no weight on the saw. A Western saw does not cut much on the pull, and that is what you want here — you are scoring a shallow groove, not removing wood.
- Stop and check it is squareTwo strokes in, put the square against the blade. This is the moment the whole cut is decided, and it is the step everybody skips. If it is off, the groove is shallow enough to abandon and restart.
- Raise the saw to about 45 degrees and cutNow let the saw’s weight do the work. Long strokes using most of the blade, light on the return. If you are pressing down, you are bending the blade.
- Ease off and support the offcut at the endShort, slow strokes for the last inch, with your free hand holding the waste piece. Otherwise it snaps off and tears a chunk out of the underside.
The Angles and Numbers Nobody Gives You
Most guides say hold the saw at a comfortable angle and use smooth strokes. That is not instruction; it is a description of someone who already knows how. Here are the actual numbers.
| What | The number | Why that number |
|---|---|---|
| Angle to start the kerf | 15 to 20 degrees | Shallow means more teeth touching the wood, so the saw is less likely to skate off the line |
| Angle for crosscutting | About 45 degrees | The working compromise between cutting speed and a clean edge |
| Angle for ripping along the grain | About 60 degrees | Steeper takes a bigger bite, which suits the long fibers you are splitting rather than severing |
| Teeth per inch, framing and rough cuts | 7 to 9 TPI | Fewer, bigger teeth clear sawdust fast and cut quickly. The edge is rough, which does not matter here |
| Teeth per inch, general boards and trim | 10 to 12 TPI | The one to own if you own only one saw |
| Teeth per inch, plywood and hardwood | 12 to 15 TPI | Finer teeth take a smaller bite, so the surface veneer tears less |
| Minimum teeth in the wood | Three, at all times | With fewer than three engaged the saw grabs and jumps instead of cutting. This is the rule behind all the TPI numbers above |
| Stroke length | Most of the blade | Short strokes wear out one patch of teeth and give you less control, not more |
| Downward pressure | None on purpose | The weight of the saw is the correct pressure. Adding to it bends the blade and binds it |
The three-teeth rule is the one worth remembering, because it explains the rest. Cutting a thin strip of 1/2 in plywood with a 7 TPI framing saw means barely three teeth are ever in contact, and the saw snatches. Same saw, same hands, thicker wood, and it behaves perfectly.
Saw on the Waste Side of the Line
This one deserves its own section because it’s why careful measuring still produces pieces that don’t fit.
The blade removes wood. The slot it leaves is roughly 1/32 in wide, sometimes more. So a pencil line has three possible cuts: on the keeper side, down the middle, or on the waste side. Only one of them leaves your piece the length you marked.
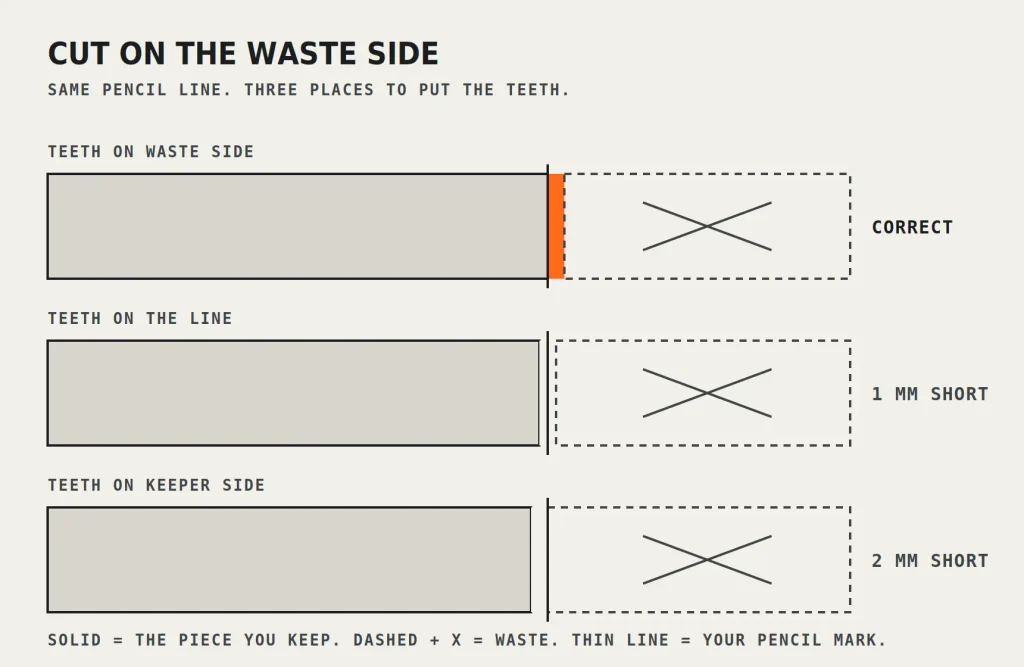
| Where you cut | What you get |
|---|---|
| Teeth on the waste side, line still visible | Correct. The piece is the length you marked |
| Teeth centered on the line | About 1/32 in short. Fine for a fence post, not for a joint |
| Teeth on the keeper side | About 1/16 in short, and now the offcut is the accurate piece |
The habit that fixes it for good: mark the waste side with a scribble or an X as soon as you draw the line. Then you don’t have to think when the saw is in your hand. Cut so the pencil line survives on the piece you are keeping.
What a Crosscut Saw Actually Is
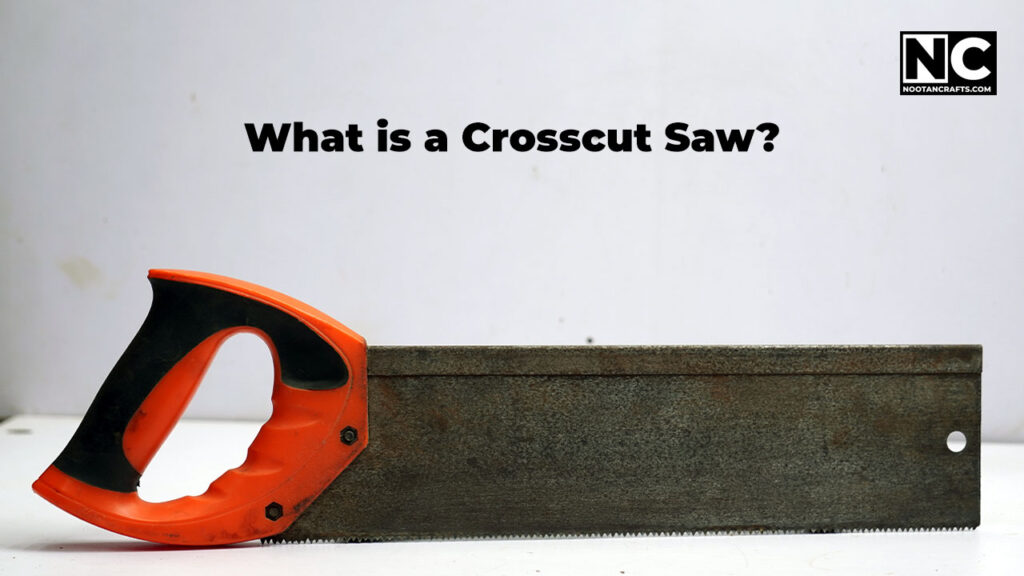
Crosscut is not a shape of saw. It is how the teeth are filed.
Crosscut teeth are filed at an angle so each tooth is a small knife point. When you cut across the grain, you sever wood fibers sideways, and a knife does that cleanly. Rip teeth are filed straight across so each tooth is a tiny chisel. Going along the grain, you are splitting between the fibers, and a chisel does that faster. Put a rip saw across the grain, and it tears the edge to fluff. Put a crosscut saw along the grain and it works, just slowly.
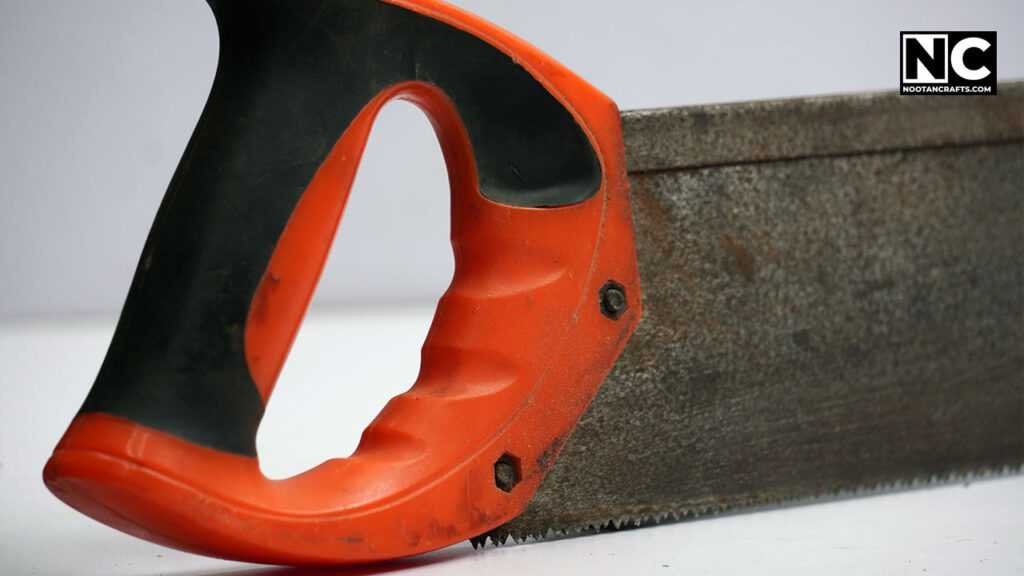
The teeth are also bent very slightly left and right, alternately. That is the set, and it makes the kerf wider than the blade so it can move without rubbing. A saw that binds constantly in straight, sound wood has usually lost its set, not its sharpness.
Can You Even Sharpen Your Saw
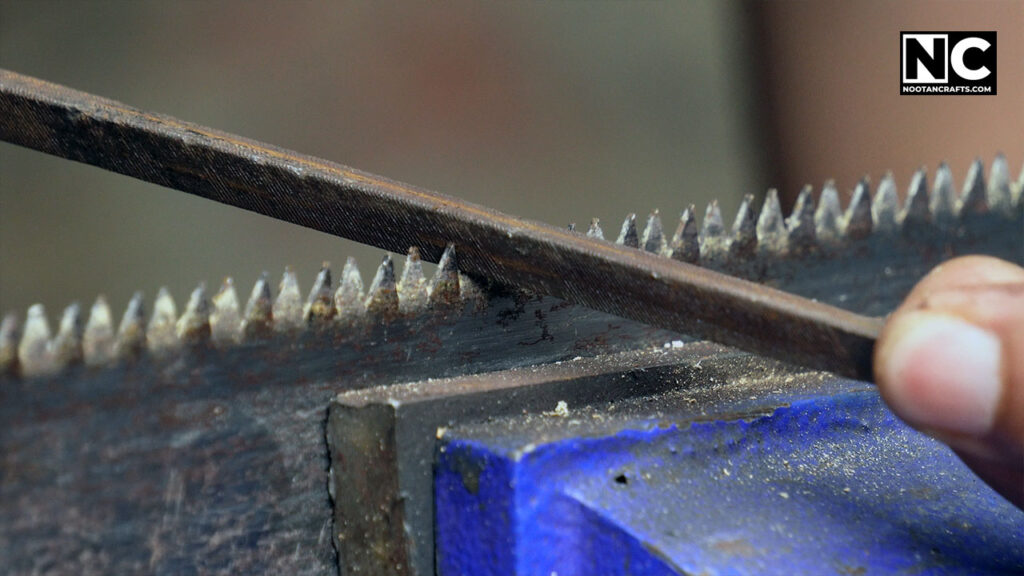
Check the teeth before you buy a file. Most hand saws sold today have induction-hardened teeth, usually called hardpoint. The tips are heat-treated so they stay sharp two or three times longer than plain steel. They are also far too hard for a file to touch. The file skids off and blunts itself.
The tell is color. Hardened tips look darker than the rest of the blade — blue, gray, or almost black for the first 1/8 in or so. If your teeth look like that, the saw is a consumable. Use it until it stops cutting well, then replace it. That is not a fault; it is the design.
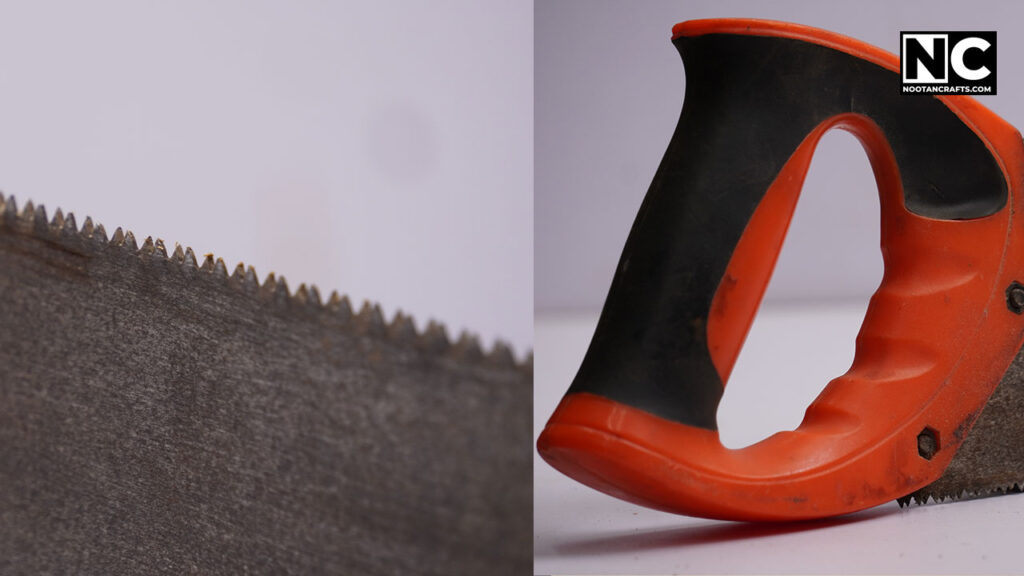
If the teeth are the same bright steel all the way to the tips, you have a traditional saw, and you can sharpen it. That takes a triangular saw file and a saw set, a vise to hold the blade along its full length, and patience — you file every tooth to the same angle, then reset the bend on alternate teeth. It is a real skill and worth learning on an old saw you do not mind spoiling.
Another correction. An older version of this page said a crosscut saw can cut soft plastics and thin sheet metal in a pinch. Do not. Sheet metal will strip the set and round the tips on the first pass, and a wood saw’s teeth are shaped to slice fibers, not shear metal. You will trade a working saw for one cut. Use a hacksaw.
When the Saw Binds, Skips or Wanders
| What it does | What is causing it | Fix |
|---|---|---|
| Sticks and jams mid-cut | You are pushing down, so the blade bows in its own kerf. This was my problem | Take the weight off. Let the saw fall through the wood at its own speed |
| Closes up and pinches the blade | The board is sagging and the cut is closing behind the saw | Support both sides, or tap a thin wedge into the kerf behind the blade |
| Skips and chatters at the start | Too few teeth in contact, or the angle is too steep to begin | Drop to 15 to 20 degrees, pull strokes only, use the thumb knuckle |
| Wanders off the line | The kerf started crooked, and it is now steering the blade | Restart. Nothing rescues a crooked kerf. Two wasted strokes beats a ruined board |
| Cut leans through the thickness | The saw is tilted and you cannot see it from above | Square the line down both edges, then check the blade against the square two strokes in |
| Splinters the underside | The teeth exit through unsupported fibers | Score the line with a knife first, back the cut with scrap, and ease off at the end |
| Feels like hard work everywhere | Blunt, or the wrong TPI, or a lost set | Try it on softwood scrap. If that is hard too, the saw is the problem, not you |
Choosing a Hand Saw
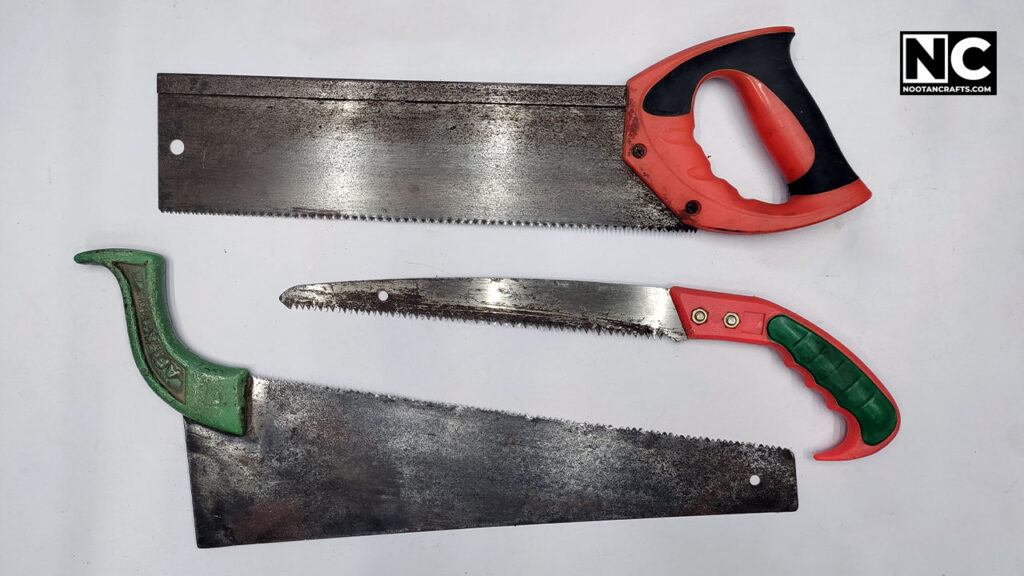
Three things decide it: tooth count for the material, length for the reach, and whether you want a Western saw that cuts on the push or a Japanese saw that cuts on the pull.
The push-or-pull question matters more than it sounds. A Western blade is thick enough to be pushed without buckling, which is why it leaves a wide kerf and takes effort. A Japanese pull saw is under tension while cutting, so the blade can be much thinner — less wood removed, less force, a finer cut. The trade is that a thin blade kinks if you ever push hard on it.

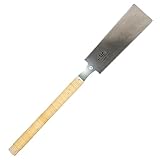

Last update on 2026-10-21 / Affiliate links / Images from Amazon Product Advertising API
| If this is you | Get | Why |
|---|---|---|
| You want one saw that handles most jobs around the house | Irwin 15 in Universal Handsaw | Hardpoint teeth, so it stays sharp a long time and you never have to learn filing. Cuts across and along the grain well enough for boards, battens and rough work. Replace it when it dulls |
| You want clean cuts and you are tired of fighting the saw | SUIZAN Ryoba 9.5 in pull saw | Cuts on the pull with a very thin blade, so it takes far less effort and leaves a narrow kerf. Both edges are toothed — crosscut on one side, rip on the other. Replaceable blade. Do not push on it |
| Your cuts keep coming out crooked and you want that fixed today | Stanley clamping miter box with saw | Holds the blade square mechanically so your starting angle cannot be wrong. It solves the exact problem this article is about, without needing the technique first |
Being straight about that third one. A miter box is not a way to get good at sawing — it is a way to get square cuts while you are still learning. Use it for trim, frames and anything that has to fit, and keep practicing freehand on scrap. Most people who buy one end up using both.
Looking After the Saw
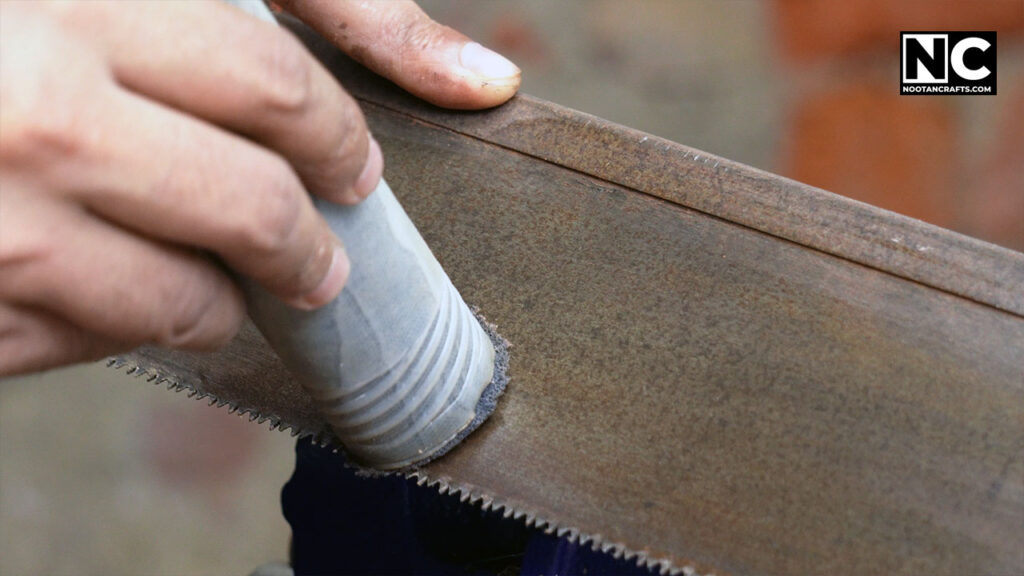
- Brush the dust off and wipe the blade. Damp sawdust sitting against steel is how rust starts, and treated lumber is worse than most.
- Wipe on a light film of oil. Any thin machine oil. It also makes the blade slide through wood more easily, which is a real difference you can feel.
- Hang it, do not stack it. A saw left flat on a bench gets a heavier tool dropped on it, and a kinked blade never cuts straight again. A nail through the handle hole is enough.
- Keep it dry. Not the floor, not a damp shed corner, not touching concrete.
- Check the handle screws now and then. A loose handle lets the blade twist slightly under load, and you will blame your technique for it.
Hand Saw Questions People Actually Ask
Why does my saw keep getting stuck?
Almost always because you are pressing down. The blade bows inside its own slot and rubs on both walls. Let the saw’s weight do the cutting and use long, light strokes. The other cause is the board sagging and closing the cut behind the blade — support both sides, or tap a wedge into the kerf.
What angle do I hold a hand saw at?
About 45 degrees for crosscutting across the grain, about 60 degrees for ripping along it. Start every cut much shallower, around 15 to 20 degrees, for the first two pull strokes, then raise to the working angle once the groove exists.
Does a hand saw cut on the push or the pull?
A Western saw cuts on the push. Let it glide back on the return with no pressure. A Japanese saw cuts on the pull, which lets it use a much thinner blade. Use pull strokes to start a Western saw anyway — you are scoring a groove there, not removing wood.
What TPI should I get?
10 to 12 TPI if you are buying one saw for general work. Go 7 to 9 for framing and rough cuts, 12 to 15 for plywood, hardwood and fine work. The rule underneath all of those is to keep at least three teeth in the wood at all times, otherwise the saw grabs.
Can I sharpen my hand saw?
Only if the teeth are plain steel. If the tips look darker than the rest of the blade they are induction-hardened, and a file cannot cut them. Those saws are made to be replaced. A bright-toothed traditional saw can be filed and reset, which is a proper skill and best learned on an old saw first.
Can a crosscut saw cut metal or plastic?
Metal, no. It will wreck the teeth in one pass. Use a hacksaw. Thin soft plastic will cut, but it melts and clogs the teeth, and a fine-tooth saw or a knife does it better. This page used to say metal was fine in a pinch, and that was wrong.
What is the difference between a crosscut saw and a rip saw?
The filing on the teeth. Crosscut teeth are angled into little knife points that sever fibers across the grain. Rip teeth are filed square into little chisels that split between the fibers along the grain. A crosscut saw will rip, slowly. A rip saw crosscuts badly and tears the edge.
Is a hand saw still worth learning with a circular saw in the shop?
Yes, and for a practical reason rather than a romantic one. A hand saw needs no setup, no cord and no clearance, which makes it faster for one cut. It is also far harder to ruin an expensive workpiece with, which is why it earns its place at the finishing stage.
The One Thing to Get Right
Stop after two strokes and check the blade against a square.
That is the whole cut, decided in about three seconds. Everything after it is just following the groove you already made. Get those two strokes square and the rest of the sawing is easy, which is exactly what my grandfather was laughing about.
And take the weight off the saw. It is not a power game.

What are you doing in the last image? What device is this?