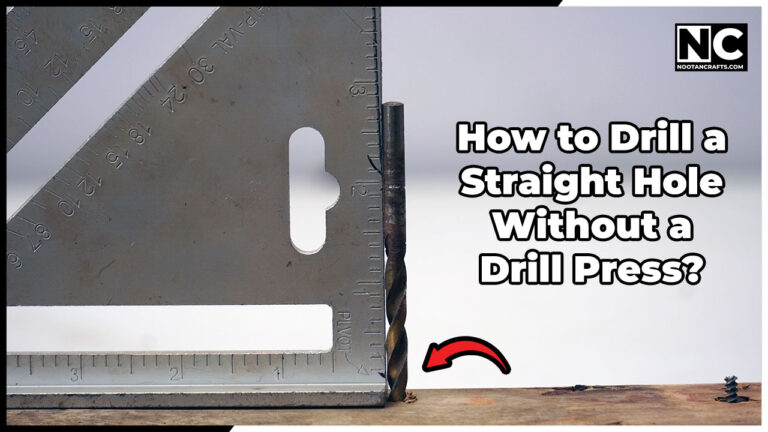
Your eye cannot judge vertical as well as it believes. Hold a drill up to a board, get it looking perfectly square, and it will usually be two or three degrees off — and two degrees over a 50 mm (2 in) depth is a hole that comes out somewhere you did not intend. The fix is never to try harder. Instead, give the bit something physical to follow.
Four ways, all of which work. They differ in what they cost and how much accuracy they buy.
| Method | Costs | Accuracy |
|---|---|---|
| Speed square beside the bit | Nothing, if you own one | Good enough for most work |
| Commercial drill guide | The price of the guide | Best of the four, and repeatable |
| Shop-made block guide | A scrap of wood | As good as the hole you drill in it |
| Square tube guide | An offcut of tube | Very good, and self-squaring by design |
What’s Inside!
Method 1: A Speed Square
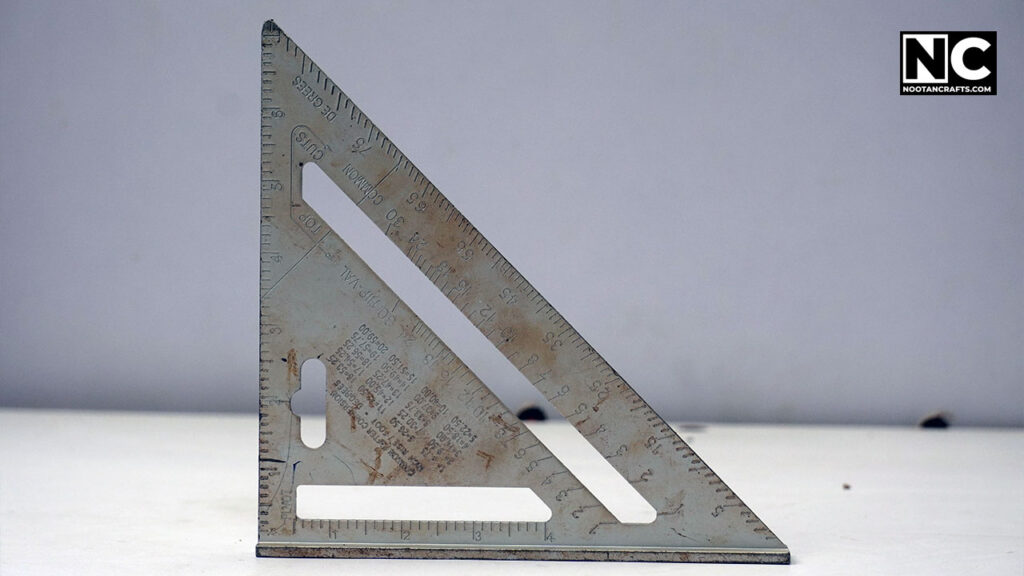
Stand a speed square on the workpiece right beside where the bit will go, with its fence against the surface. Now you are not judging vertical in the abstract — you are comparing the bit to a known 90-degree edge a few centimeters away, which your eye does far better.
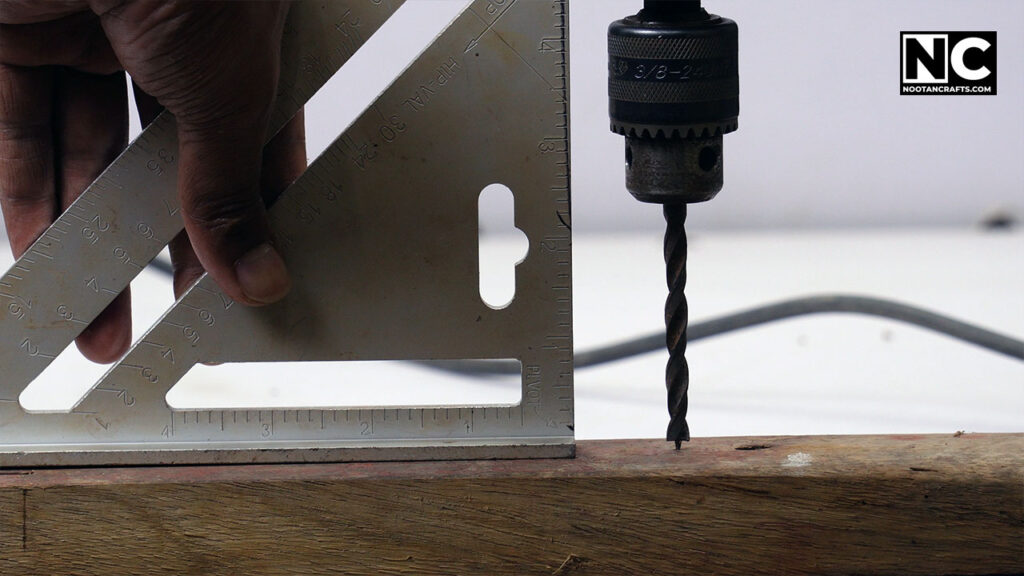
The refinement that makes this work: a square controls only one axis. Check from the front, then walk around and check from the side—or use two squares at right angles to each other. A hole that is perfectly vertical seen from where you are standing can still be leaning away from you, and that is the error people miss.
Method 2: A Commercial Drill Guide
A frame that holds the drill on two posts and slides down them, so the bit physically cannot go anywhere but straight. Most also tilt for angled holes, and better ones have a depth stop. If you drill holes that matter with any regularity, this is the tool that turns guessing into a setup.
The tool for this job
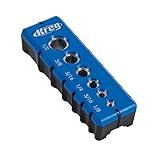
Last update on 2026-09-22 / Affiliate links / Images from Amazon Product Advertising API
The limitation is reach. A guide has a frame around the bit, so it can’t reach a corner or halfway along a wide panel. That’s why the homemade options below still earn their place.
Method 3: A Block You Drill Yourself
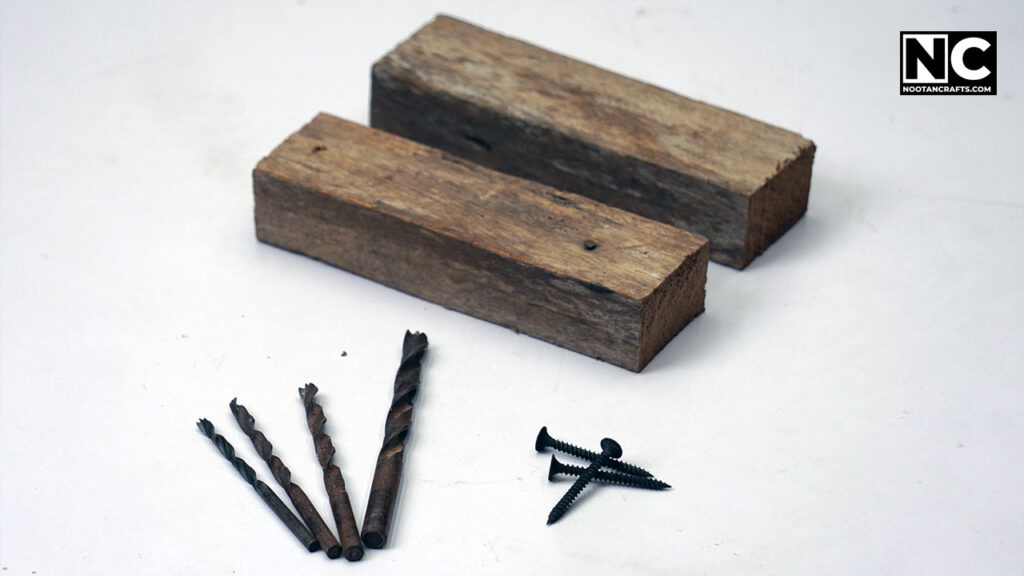
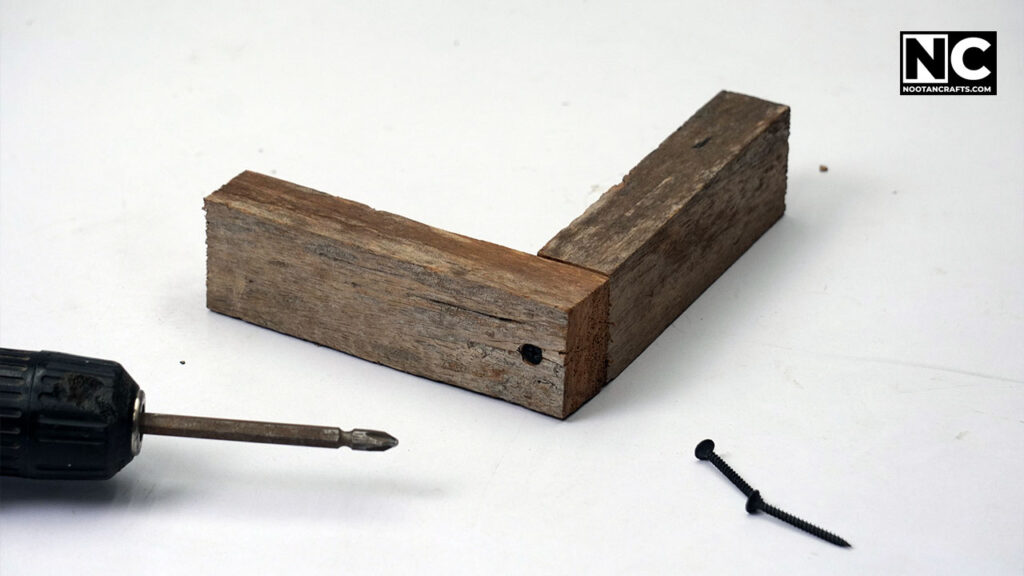
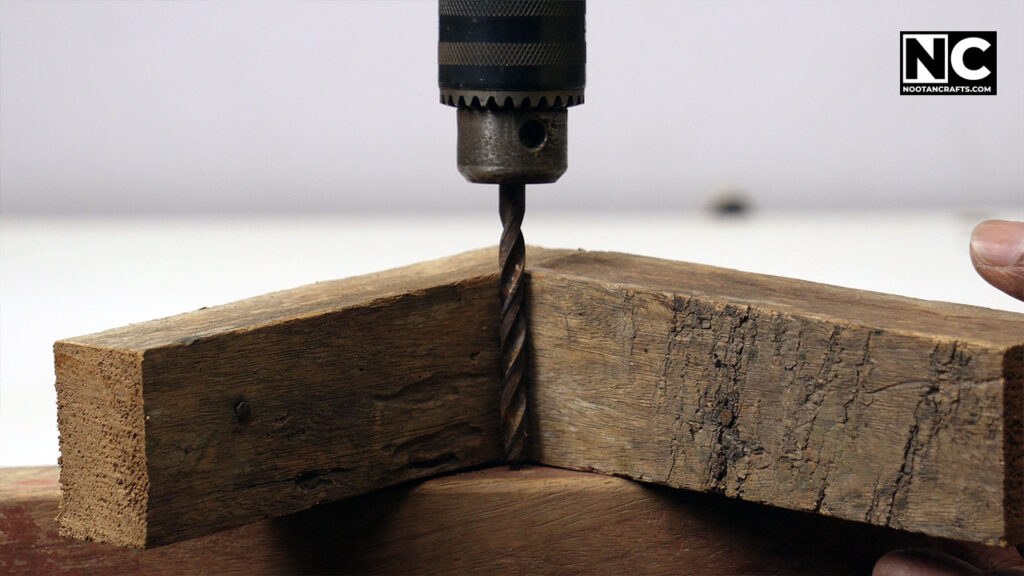
- Take a thick offcut.40 mm (1-1/2 in) or more. A longer bushing hole controls the bit better than a short one, which is the whole principle.
- Drill through it as squarely as you can manage.This is the accuracy bottleneck. Use a speed square, take your time, and accept that the block will only ever be as good as this one hole.
- Check the block before you trust it.Drill a test hole through scrap with it, saw the scrap in half through the hole, and look. Two minutes now saves a ruined workpiece later.
- Clamp it to the work and drill through it.Clamp, not hold. A block that shifts is worse than no block, because you will trust it.
The catch is circular and worth stating plainly: you need one accurate hole to make a jig that gives you unlimited accurate holes. If a friend has a drill press, ten minutes there makes a block you keep for years.
Method 4: A Square Tube Guide
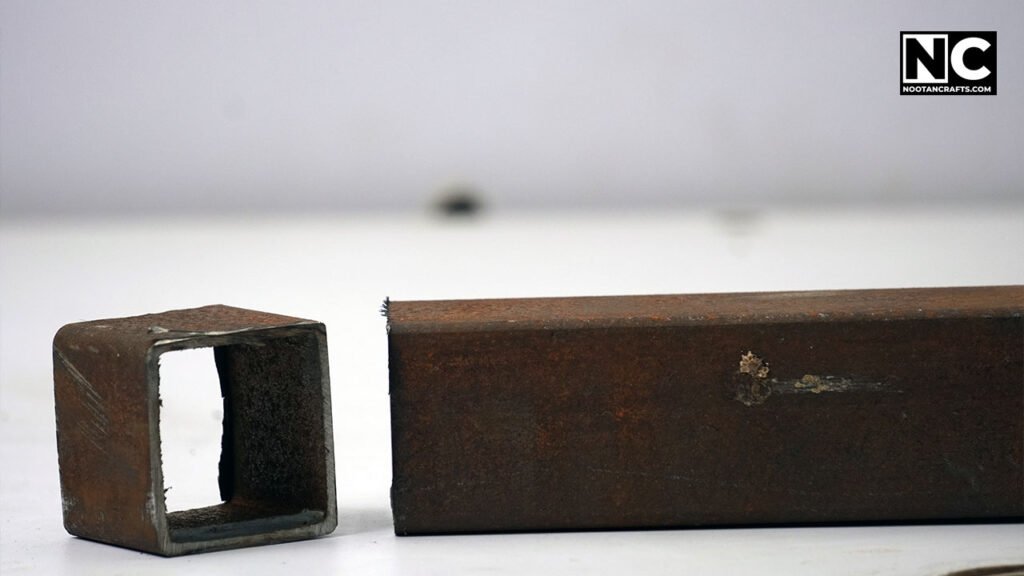
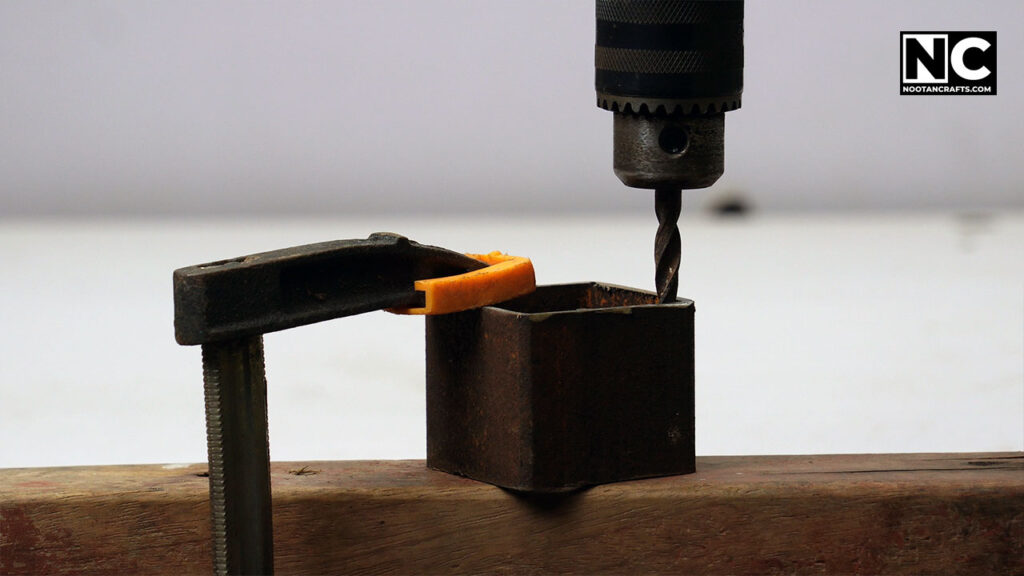
The cleverest of the four, because it does not depend on you drilling anything accurately. A length of square tube cut square at both ends is inherently perpendicular to whatever surface it stands on. Stand it on the workpiece, drop the bit down inside it, and the tube’s walls constrain the bit to the tube’s axis — which is vertical.
Its accuracy comes entirely from the squareness of the cut ends, so cut them on a miter saw or a chop saw rather than by hand. Choose a tube whose internal dimension is only slightly larger than the bit; a loose fit gives the bit room to lean, which defeats the point.
Whichever Method You Use
- Mark and punch first. A dimple stops the bit wandering in the first moment, which is where most of the error is introduced. A center punch in metal, an awl, or a brad point bit in wood.
- Pilot hole for anything large. A small, accurate pilot hole is easier to drill straight than a large one, and the large bit then follows it.
- Slow, especially at the start. Speed makes a wandering bit wander further before you notice.
- Clamp the work. A workpiece that shifts by a millimeter mid-hole produces an angled hole no guide can prevent.
- Check with a square as you go, not only at the start. Bits drift, particularly in wood with varying grain density.
Common Questions
How accurate can I get without a drill press?
With a commercial guide or a square tube, close enough for joinery, dowels and hardware. With a speed square checked on two axes, within a degree or two, which covers most work. A press is still better and always will be – it removes your hands from the accuracy equation entirely.
How do I make sure my homemade guide is accurate?
Test it before you rely on it. Drill through scrap with the block, saw the scrap in half through the hole, and look at the path. If it leans, the block leans, and it will lean the same way in every hole it ever guides.
Do I have to clamp the workpiece?
Yes. Every guide here assumes the work does not move, and every one of them fails silently if it does – you get an angled hole and no indication of why. Clamping is also the difference between a bit that binds and a piece that spins.
Is a speed square really enough?
For most work, yes, provided you check from two directions at right angles. The common failure is checking only from where you happen to be standing, which controls one axis and leaves the other free.
What about deep holes?
Depth magnifies every error, so start with a short bit to establish the hole square, then switch to a longer one to follow it. Withdraw regularly to clear chips – a bit packed with waste pushes itself off line.
The bit will follow whatever you give it. Give it something better than your eye.