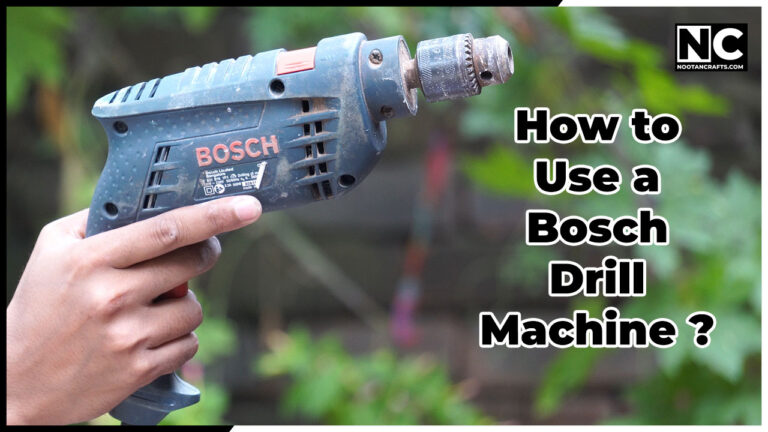
This was my first-ever power tool, and it holds memories of my grandfather, so I bought the same model again after the first one failed rather than moving to something newer—and then rebuilt the old one with new components anyway. I’ve been running a GSB 10 RE, nearly the same machine, for over ten years of DIY and home improvement work. I own better drills. This is still the one I reach for.
Three controls decide everything on the GSB 500 RE: the mode switch (drill or impact), the forward/reverse collar, and the trigger, which is also the speed control — the harder you squeeze, the faster it turns. Wood wants full trigger and drill mode. Metal wants roughly half trigger and drill mode. Concrete wants impact mode and steady pressure. That’s the whole tool.
What the manual won’t tell you is what catches people: there is no torque clutch. Nothing stops the motor when a screw seats or a bit binds, so the twist goes into your wrist instead. Everything below is written around that.
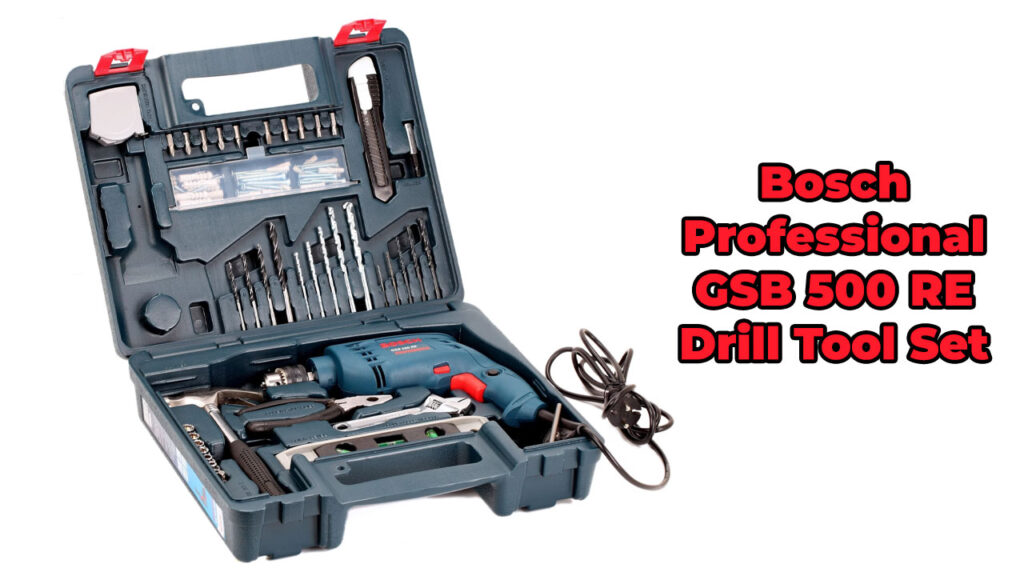
- Input power500 W
- No-load speed2,600 rpm, variable via trigger
- Chuck1.5-10 mm, keyed
- ModesDrill and impact
- RotationForward and reverse
- Torque clutchNone
No clutch means a bound bit turns the drill instead of the bit
Every failure mode on this machine comes from the same fact: there is no torque limiter. When the bit jams — breaking through the far side of steel, hitting rebar in concrete, catching a knot in wood — the motor keeps making torque and the only thing that can move is the tool. It snaps round in your hands hard enough to sprain a wrist, and harder still if you’re up a ladder with one hand. The second hazard is what’s behind the wall: this drill will punch straight through drywall into a cable or a pipe without any change in feel.
- Two hands, always — fit the auxiliary handle for anything in masonry or steel, and brace so the tool twisting can’t take you with it.
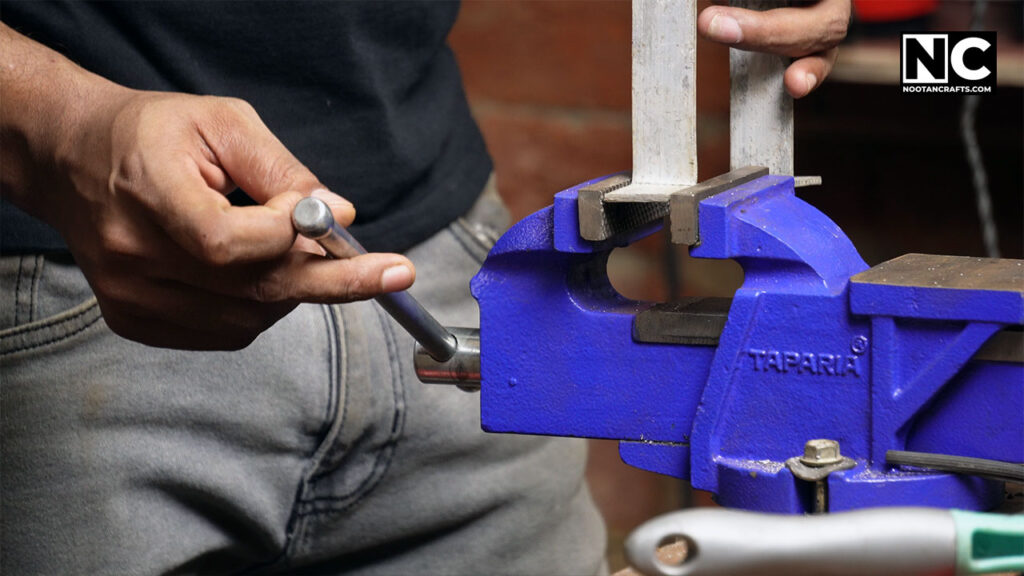
- Clamp small work. A piece that spins with the bit becomes a blade. This is the most common injury with bench drilling and it is entirely preventable.
- Ease off as the bit breaks through — the far side is where a bit grabs, in metal especially.
- Check the wall before you drill it. Cables run vertically and horizontally from outlets and switches. A detector costs less than a rewire; a live cable at 240 V through a steel bit is a fatal shock risk.
- Take the chuck key out before you press the trigger. A keyed chuck will throw it across the room. Get in the habit of never letting go of the key while it’s in the chuck.
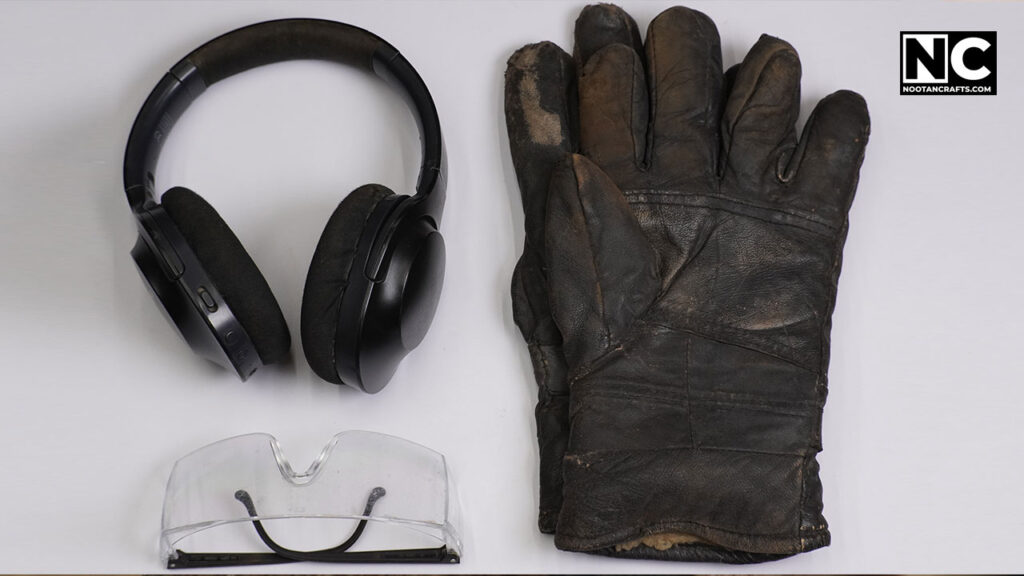
- Glasses and ear defenders. Impact mode into concrete is loud enough to do permanent damage over a long job, and it throws grit constantly.
- No gloves near the chuck. Gloves protect against sharp edges and hot swarf, but a loose glove finger caught in a rotating chuck pulls your hand in. Same for sleeves, cords and long hair.
Before any of that: give it the once-over out of the box. Check the chuck key is in its holder, the auxiliary handle threads on without cross-threading, and the vent slots are clear of packing dust.
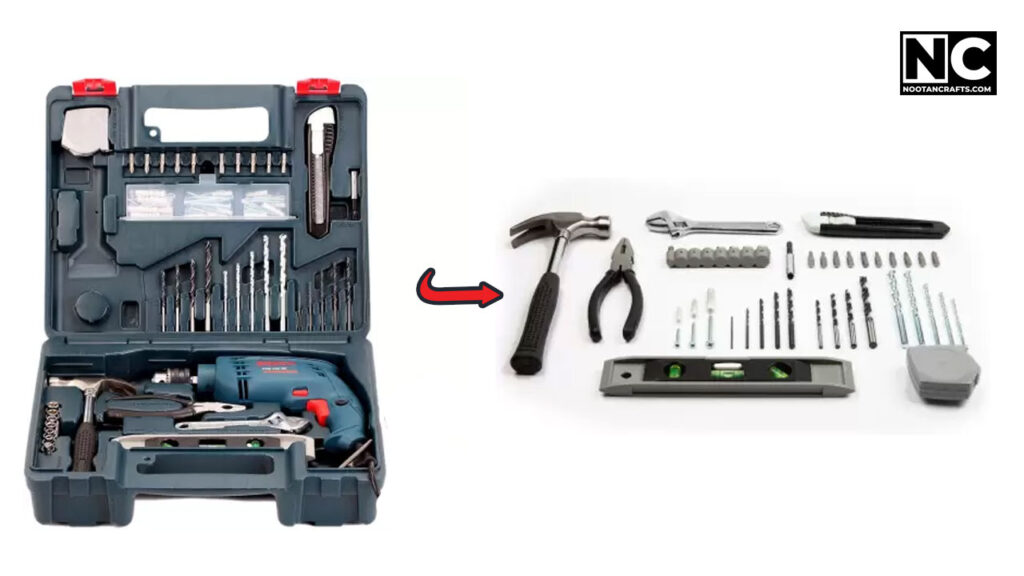
What’s Inside!
- 1 – Fitting a Bit in the Keyed Chuck
- 2 – Speed and Mode by Material
- 3 – Manufacturer's Stated Capacities
- 4 – Drilling Wood
- 5 – Drilling Metal
- 6 – Drilling Concrete and Brick
- 7 – Driving Screws Without Snapping Them
- 8 – Stance, Grip and the Auxiliary Handle
- 9 – Where This Goes Wrong
- 10 – Keeping It Alive for Ten Years
- 11 – When It Stops Working
- 12 – How It Compares to a Cordless Drill
- 13 – Bosch GSB 500 RE Questions People Actually Ask
- 14 – The One Thing to Remember
Fitting a Bit in the Keyed Chuck
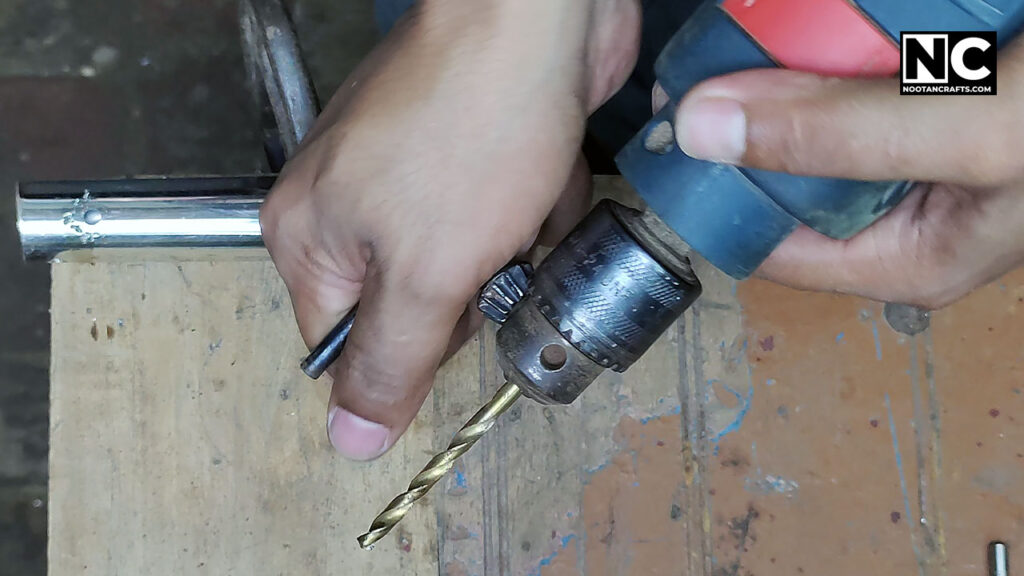
- Open the jaws wider than the bitTurn the chuck sleeve by hand until the three jaws clear the shank comfortably.
- Seat the bit fully, then back it out slightlyPush it right in, then pull back a couple of millimeters so the shank isn’t bottomed against the chuck’s center. Bottoming it out is what makes bits sit off-center.
- Nip it by hand first, and check it runs trueSpin the chuck by hand and watch the tip. If it describes a circle rather than staying put, the bit is between two jaws instead of centered by all three. Reseat it.
- Tighten with the key in all three holesThis is the step people skip. A keyed chuck has three key positions and using only one grips unevenly — the bit slips under load and rounds off its own shank. Give each hole a firm turn.
- Remove the key before you plug inEvery time. No exceptions.
Speed and Mode by Material
This is the table the tool needs, and the manual doesn’t give you, because the trigger has no markings. Treat “trigger” as roughly how far down you’re holding it.
| Material | Mode | Trigger | What goes wrong otherwise |
|---|---|---|---|
| Softwood, plywood | Drill | Full | Too slow and the bit tears rather than cuts |
| Hardwood | Drill | Three-quarters | Full speed burns the hole and blunts the bit |
| Thin steel, sheet | Drill | Half | Fast and light work-hardens the steel; then nothing will cut it |
| Thicker steel, over 3 mm | Drill | A third, with firm pressure | Same, plus the bit overheats and loses its temper |
| Concrete, brick | Impact | Two-thirds, steady | Drill mode alone just polishes the hole |
| Tile, glass | Drill | A quarter | Impact mode cracks the tile instantly |
| Driving screws | Drill, reverse for removal | A quarter, feathered | No clutch – full trigger snaps the screw or strips the head |
The principle underneath it: bigger bit, slower speed. Cutting speed at the rim rises with diameter, so a 10 mm bit at full trigger is running its cutting edge far faster than a 3 mm bit at the same trigger. In metal, heat is what kills bits.
In metal, slow and heavy beats fast and light. The reason isn’t gentleness — it’s that a fast, lightly loaded bit rubs instead of cutting, and rubbing work-hardens the surface of the steel. Once that skin forms, the bit cannot get under it and the hole is finished. Lean on it, keep the chips coming, and add a drop of cutting oil.
Manufacturer’s Stated Capacities
| Material | Maximum diameter |
|---|---|
| Steel | 10 mm |
| Concrete | 13 mm |
| Wood | 20 mm |
These are Bosch’s own figures from the GSB 500 RE manual, not independently measured. Treat them as the ceiling rather than the working range — a 20 mm hole in wood is possible with a spade bit and patience, but the motor will get hot doing it, and 500 W is not much for that job.
The chuck tops out at 10 mm, so anything above that needs a reduced-shank bit. Larger spade and masonry bits are commonly sold with a 10 mm shank for exactly this reason.
Drilling Wood
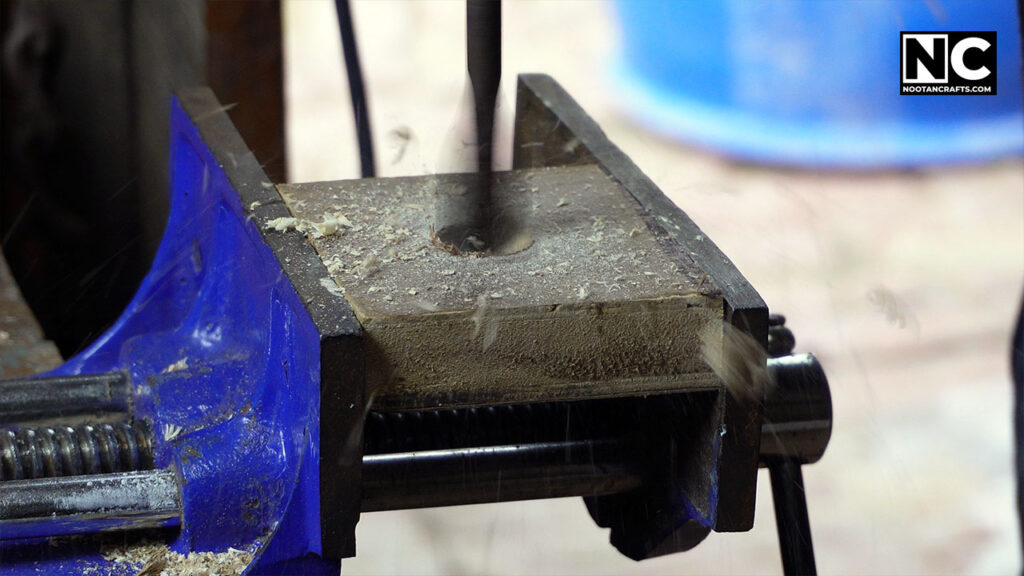
The easiest material and the one this drill is best matched to. Drill mode, full trigger, moderate pressure, and let the flutes clear the waste.
Back the bit out every centimeter or so on deep holes. Packed chips in the flutes stop the bit cutting and start it burning, and a burnt hole in hardwood never comes clean afterward. Clamp a scrap block behind the workpiece if the far face has to be tidy — the tear-out happens as the bit exits, and a sacrificial block gives the fibers something to push against.
Spade, Forstner, and countersink bits all work in this chuck. Forstner bits want a slower trigger than twist bits do; they cut on a rim rather than a point, and they scorch if pushed.
Drilling Metal
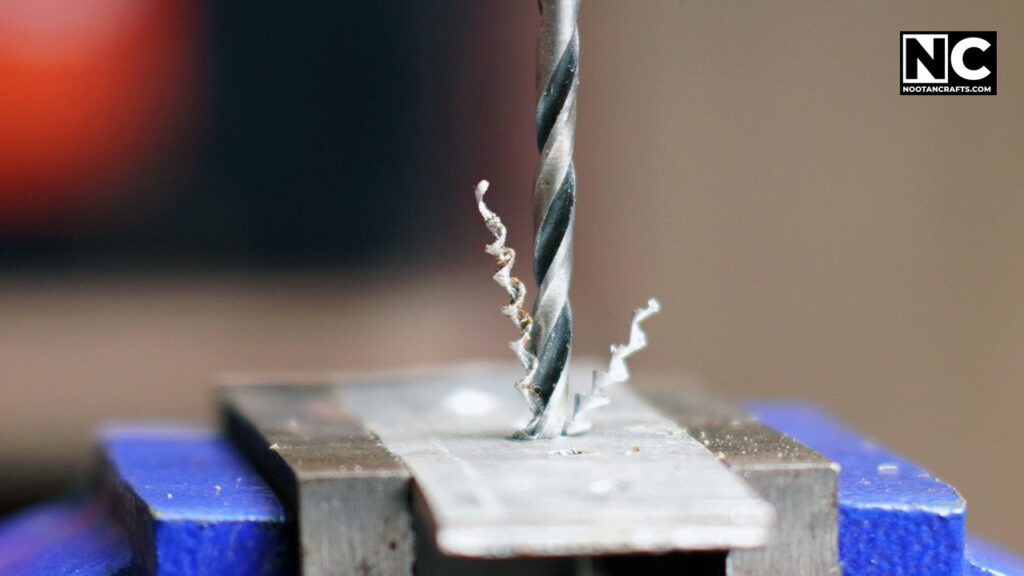
Punch a center mark first. A twist bit will wander several millimeters across smooth steel before it bites, and no amount of care with the trigger prevents it — the dimple from a center punch does.
Then slow, firm and wet: a third to half trigger, real pressure, and a drop of oil. You want a continuous curl of swarf coming off. Dust instead of curls means the bit is rubbing, and rubbing is what ruins both the bit and the hole.
The breakthrough is where it grabs. As the tip pierces the far side, the cutting edges catch on the thin remaining rim and the bit tries to screw itself through. On a drill with no clutch that torque goes into your wrists. Ease right off as you feel the resistance drop, and never drill sheet metal held only in your hand.
500 W is modest for steel, so stay well inside the 10 mm rating. Which bit you use matters as much as the drill does — the right bits for metal is a separate subject and worth getting right before you blame the machine.
Drilling Concrete and Brick
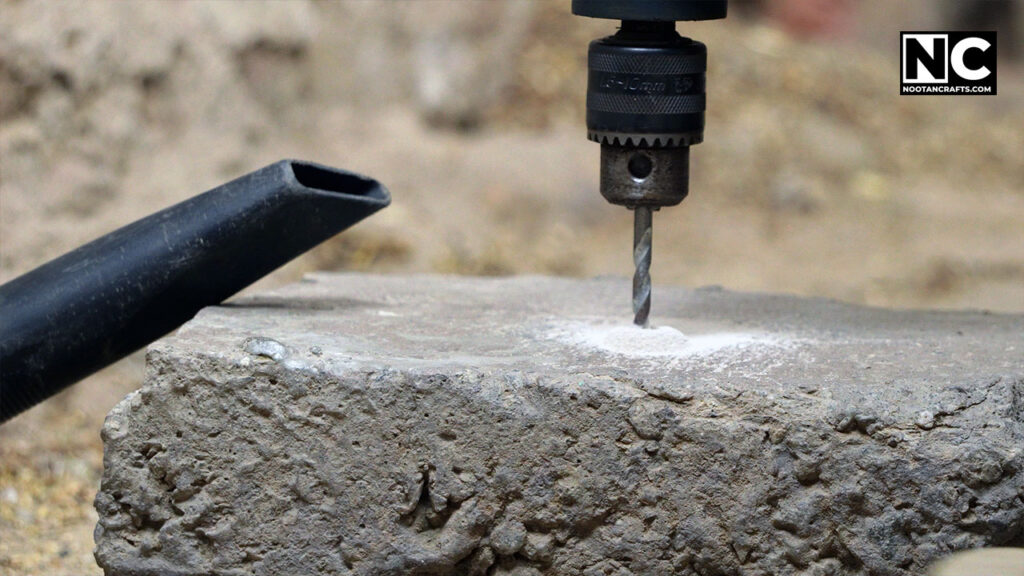
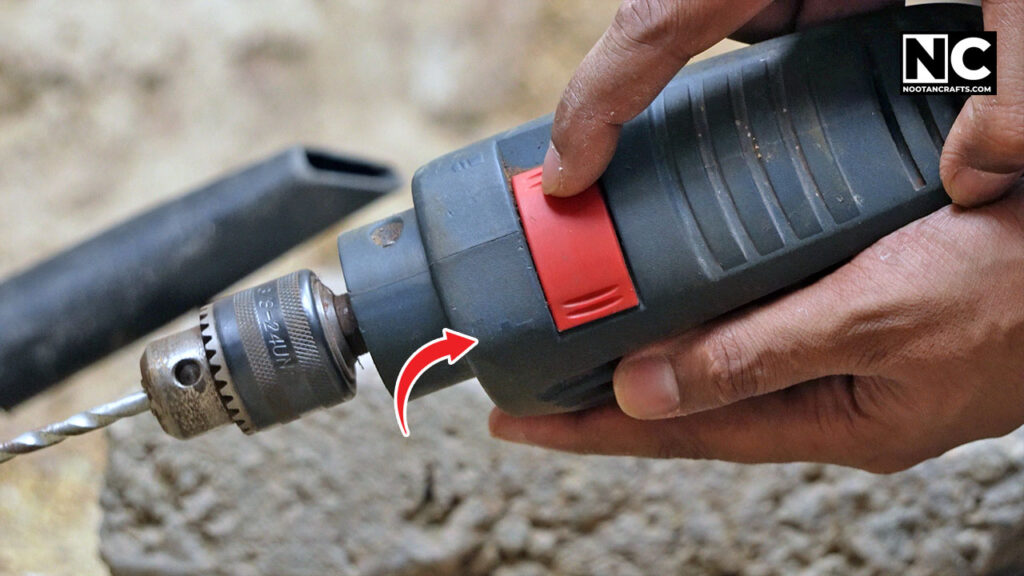
Switch to impact mode and fit a masonry bit — a carbide tip, not a twist bit. In impact mode the chuck hammers forward as it turns, and masonry drilling is that percussion crushing the material while the flutes clear the dust. A twist bit has nothing to crush with and will simply polish the surface.
Apply steady pressure, use two-thirds trigger, and pull the bit out every few centimeters to clear dust. A hole packed with dust stops progressing, and people respond by pushing harder, which cooks the bit’s carbide tip.
Be realistic about what a 500 W percussion drill is. It is a hammer drill in name, and it will get through brick, block, and ordinary concrete slowly. It is not an SDS rotary hammer, and it will struggle badly on dense structural concrete or anything with aggregate. If you hit rebar, stop — move the hole rather than trying to drill through it. When you have neither the right drill nor the option to wait, you can drill concrete without a hammer drill.
Driving Screws Without Snapping Them
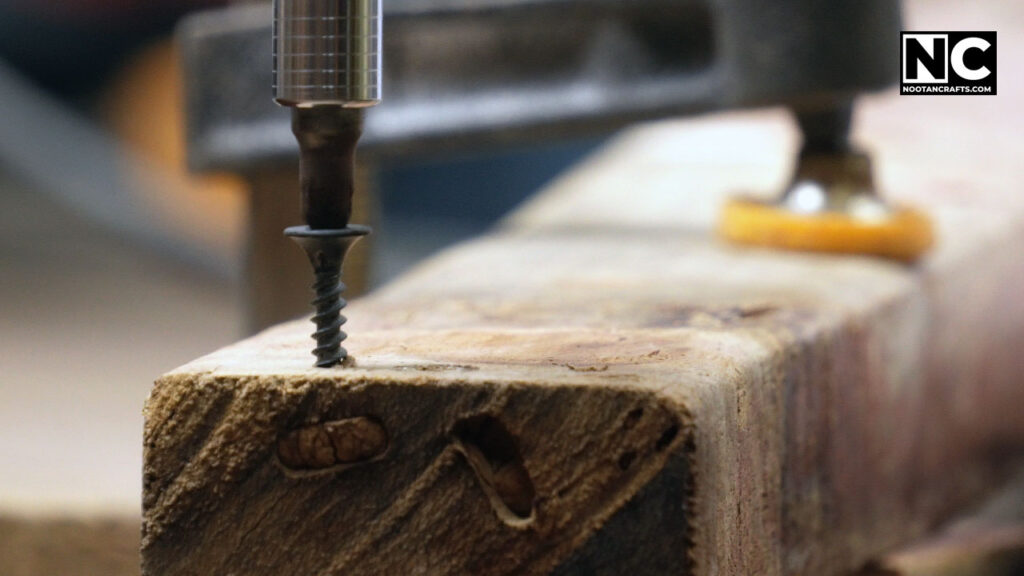
This drill will drive screws, but it’s the job it’s worst at, and the reason is the missing clutch. A cordless driver stops turning when the screw seats. This one doesn’t — it keeps applying 500 W of torque until you release the trigger, and whatever gives first, gives. Usually the screw head strips. Sometimes the screw snaps off in the timber.
The technique is entirely in the trigger finger: about a quarter travel, feathered, and off the moment the head touches the surface. Drill a pilot hole for anything into hardwood or near an edge, and use reverse to back a screw out rather than fighting it.
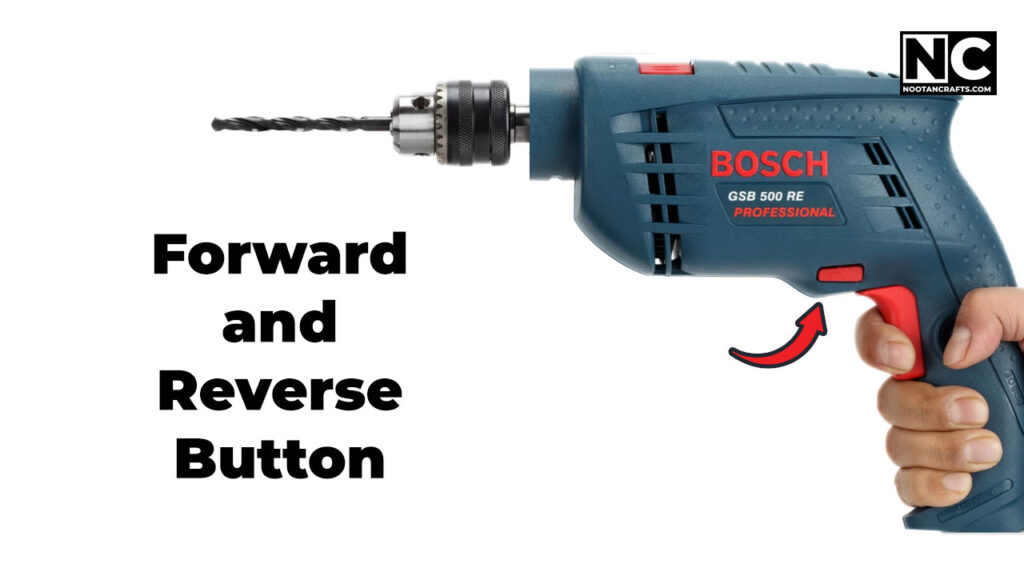
Change direction only when the motor has stopped. Flicking the collar while it’s still spinning down is how the switch mechanism wears out, and that switch is not a cheap part on an otherwise repairable tool.
Stance, Grip and the Auxiliary Handle
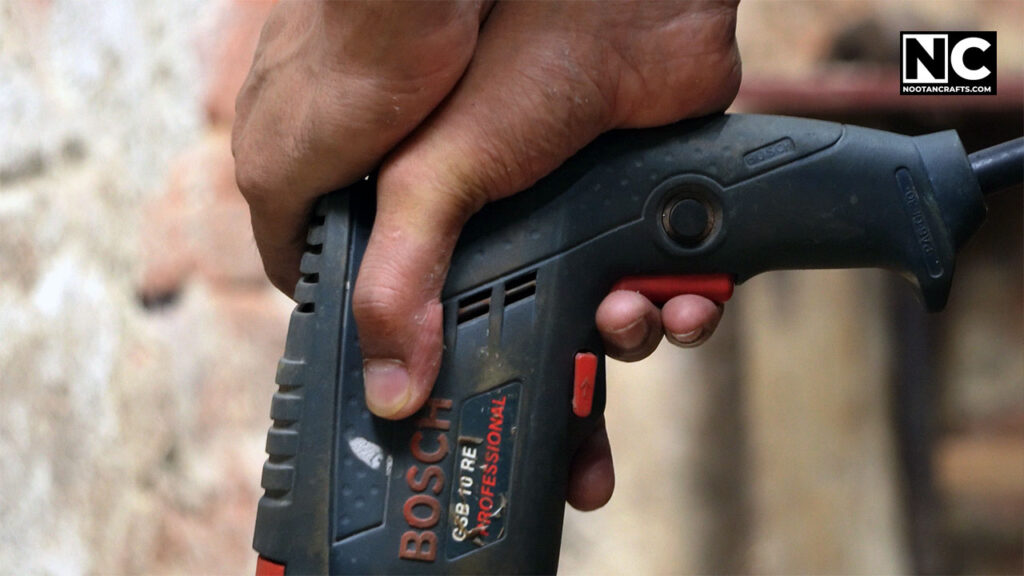
Feet apart, weight behind the tool, both hands on it. The auxiliary handle isn’t a comfort accessory — it’s the lever that lets you resist the drill twisting when a bit binds, and it’s the difference between a startle and a sprain.
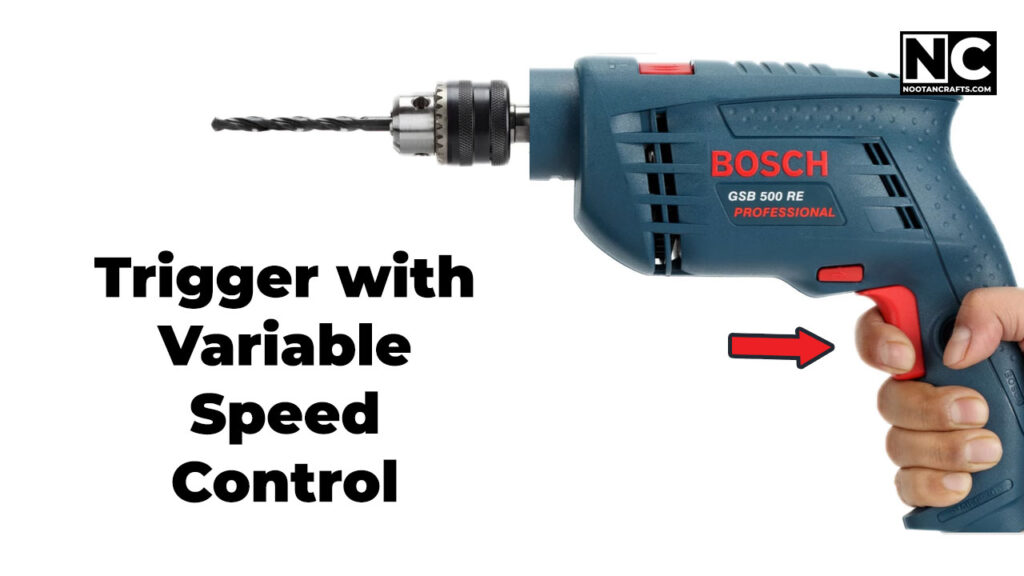
Keep the drill square to the surface. A drill held at an angle puts side load on the bit, and small bits snap from side load far more often than from being pushed too hard.
Where This Goes Wrong
- Impact mode left on for wood or metal. The percussion does nothing useful and hammers the bit’s cutting edges flat. Check the switch before every job.
- Full trigger in steel. The single most common way people ruin bits. Speed generates heat, heat draws the temper out of the bit, and a softened bit stops cutting for good.
- Tightening the chuck from one keyhole. Uneven grip, bit slips, shank gets chewed. Use all three.
- Running it continuously. A 500 W motor with no fan-forced cooling will get hot on a long job. Let it idle for thirty seconds between holes; that’s what the fan is for.
- Using a masonry bit in wood or a twist bit in concrete. Neither works, and both leave people thinking the drill is underpowered.
- Pushing harder when progress stops. Ninety per cent of the time the bit is blunt or the hole is packed. Force fixes neither.
Keeping It Alive for Ten Years
Mine is past a decade, and I’ve rebuilt one from a dead machine, so this list is not theoretical.
- Blow the vents out. Concrete dust packing the cooling slots is what actually kills these motors. A quick blast of air after masonry work matters more than wiping the body down.
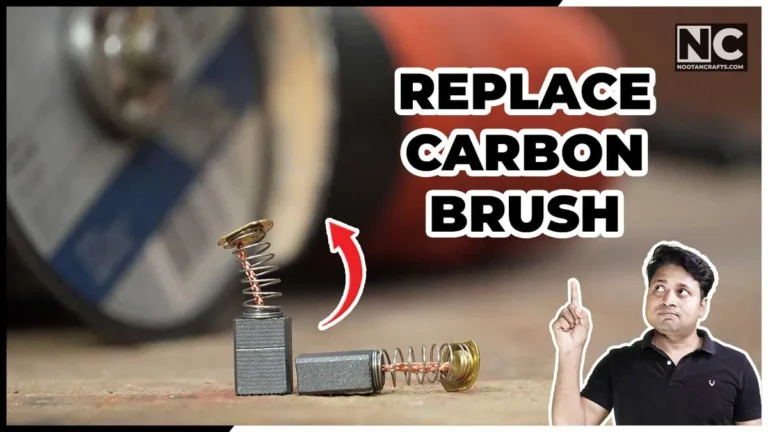
- Carbon brushes are a consumable, not a failure. When the tool starts sparking heavily at the back or losing power intermittently, that’s brushes. They’re cheap, they’re a ten-minute job, and this is the single most common reason a working drill gets thrown away.
- Watch the cord at the strain relief. That’s where corded tools fail, right where the cable enters the body. Any stiffness or exposed conductor there means stop using it until you repair it.
- Keep the chuck jaws clean and lightly oiled. Grit in a keyed chuck makes it grip unevenly and eventually seize.
- Store it dry. Dampness reaches the armature windings, and a corroded winding is not an economical repair.
- Keep the key on the cord. Sounds trivial. Losing the chuck key is how a perfectly good keyed drill ends up unused in a cupboard.
This is the argument for the brand in one paragraph: the parts exist, and someone near you can fit them. A machine you can rebuild is a different proposition to one you replace — the same reasoning that runs through which power tool brands are worth buying in India.
When It Stops Working
| Symptom | Most likely cause | What to do |
|---|---|---|
| Dead, no sound at all | Supply, cord, or trigger switch | Test the outlet, flex the cord at the strain relief, then suspect the switch |
| Runs weakly, sparks at the rear | Worn carbon brushes | Replace both brushes as a pair – the usual fix, and a cheap one |
| Cuts out, then restarts when cool | Overheating | Clear the vents; idle it between holes; you may be over-working it |
| Burning smell, no power | Armature or field winding | Stop using it. This is a workshop repair, not a home one |
| Turns but barely cuts | Blunt bit, wrong bit, or wrong mode | Change the bit before you suspect the drill – it’s the answer most of the time |
| Bit slips in the chuck | Chuck tightened from one hole, or worn jaws | Retighten from all three; if it still slips the chuck is worn |
| Loud rattle in drill mode | Mode switch stuck in impact | Work the switch with the tool off; it collects dust |
How It Compares to a Cordless Drill
The honest comparison, since this is the choice most people are actually making. The GSB 500 RE gives you constant power, no battery to age out, impact mode, and a price a cordless can’t touch. A cordless gives you a torque clutch, no cable, and far better screwdriving — but it costs more, and the batteries are the real long-term expense.
For a first tool in a home workshop, corded is the better buy. Go cordless as a second drill, for screwdriving and for work away from a socket.
Best Cordless Drills


Last update on 2026-09-23 / Affiliate links / Images from Amazon Product Advertising API
Bosch GSB 500 RE Questions People Actually Ask
What can the GSB 500 RE actually drill?
Bosch’s stated capacities are 10 mm in steel, 13 mm in concrete and 20 mm in wood. Those are ceilings rather than comfortable working sizes — at 500 W, staying a few millimeters inside each is easier on the tool and gives a better hole.
Does this guide apply to the GSB 10 RE, 600 or 13 RE?
Yes. The controls are laid out the same way across the range — mode switch, forward/reverse collar, variable trigger, keyed chuck — so the technique transfers directly. Only the power figures and capacities differ, and those are on your own tool’s plate.
Can I use it as a screwdriver?
You can, carefully. There’s no torque clutch, so nothing stops the motor when the screw seats. Quarter trigger, feathered, and let go the moment the head meets the surface. For a lot of screwdriving, a cordless driver with a clutch is the right tool.
Why won’t it drill into my concrete wall?
Three things to check, in order: the mode switch is on impact, the bit is a carbide masonry bit and not a twist bit, and the hole is being cleared of dust. If all three are right and it still won’t go, you’ve likely hit aggregate or rebar — move the hole.
The drill has lost power and sparks at the back. Is it finished?
Almost certainly not — that’s worn carbon brushes, which are a cheap consumable and a quick replacement. It’s the most common reason a perfectly repairable drill gets binned.
How do I change the bit without the chuck key?
You don’t, on this model — it’s a keyed chuck by design. If you’ve lost the key, replacement keys are sold by size, and the size is marked on the chuck. Don’t improvise with pliers; you’ll damage the jaws and then nothing will grip properly.
Is it worth repairing an old one?
Usually yes. Brushes, cord, switch and chuck are all replaceable and inexpensive. I rebuilt a failed one with new components and it went back into service. The exception is a burnt armature, where the parts cost approaches a new machine.
The One Thing to Remember
There is no clutch. Every mistake this drill lets you make — a snapped screw, a wrenched wrist, a ruined bit — comes back to the fact that the motor will keep turning until you stop it. Learn the trigger, use both hands, and match the speed to the material. Do that and the machine will outlast most of the tools you buy after it.

“Great overview! I think it’s also crucial to mention the importance of understanding the torque settings on a Bosch drill. Depending on the material you’re working with, adjusting the torque can prevent stripping screws or damaging the surface. For beginners, it’s helpful to start with a lower setting and gradually increase it until you find the right balance.”
Informative post! For those working with concrete or masonry, it’s worth mentioning the hammer function on some Bosch drills. Understanding how to properly engage this feature and selecting the right
Bosch drill are like old wine, the older they get finer they work. I am a huge fan of Bosch, love it.
Great overview! I think it’s also crucial to mention the importance of understanding the torque settings on a Bosch drill.
Thanks for the practical tips! I’d like to highlight the ergonomic design and safety features of Bosch drills. Features like the soft grip handle and the adjustable side handle can make a significant difference during extended use, reducing fatigue and improving precision.
That’s all I wanted but did’t find anywhere, thanks mate!