This guide will show you how to set up RGB strip lights properly, but before that, have you ever noticed how lightning can affect our mood?
Dim and warm colors make a room feel cozy and calm, while bright white gets you focused. The Rainbow mode will give you an energy boost while gaming. That’s the magic of RGB lighting—you can tune the vibe of your space to how you feel or want to feel. But a bad setup can make your space look cheap, tacky, or worse, like a failed DIY project.
That’s why there are a few key points to consider before setting up an RGB strip light. So, let’s do this!
Recommended Products!


Last update on 2026-03-31 / Affiliate links / Images from Amazon Product Advertising API
What’s Inside!
- 1 – How to Set Up RGB Strip Lights
- 2 – Step 1: Choose the Right Type of RGB Strip
- 3 – Step 2: Plan Your Layout Before You Peel
- 4 – Step 3: Stick the RGB Strip Properly
- 5 – Step 4: Connect the Strip to Power and Controller
- 6 – Step 5: Troubleshooting: Why Your RGB Strip Isn’t Working
- 7 – Step 6: Customize and Sync Your Lighting
- 8 – FAQs Regarding How to Set Up RGB Strip Lights
- 9 – Conclusion – How to install RGB Strip
How to Set Up RGB Strip Lights
Step 1: Choose the Right Type of RGB Strip


Picking the right strip is crucial because it can make or break your project. Here is why?
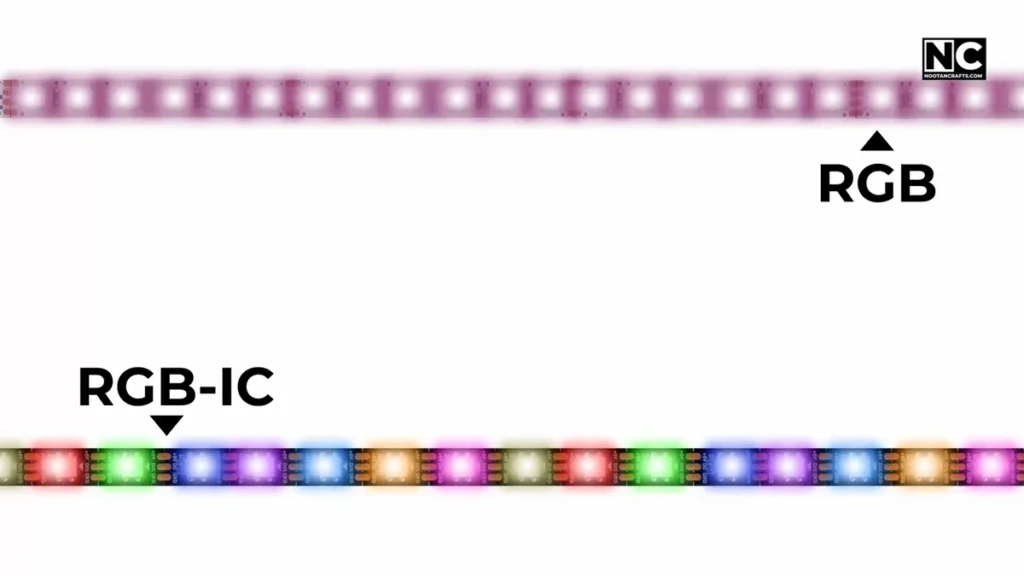
RGB vs ARGB vs RGBIC: If you want one color at a time, such as the entire strip being the same color, basic RGB is the answer, and it’s also more cost-effective.
If you’re looking for rainbow waves and other cool effects, which are achieved by individually-controlled LEDs? ARGB or RGBIC is your jam.
The primary difference between ARGB and RGBIC is that ARGB is primarily found in computer components, such as RAM, GPU, and SSDs, whereas RGBIC is designed for use in rooms and other indoor spaces.
Voltage: RGB typically runs on 12V (4-pin), ARGB on 5V (3-pin). Don’t mismatch, or you might end up with fireworks instead of lighting (and potentially fry something).
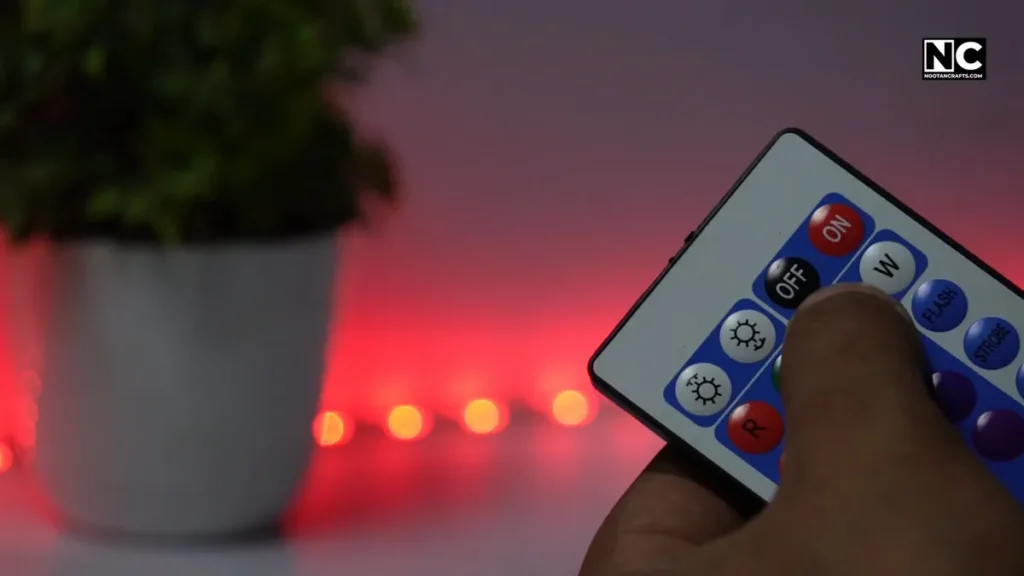
Control Type: Various control options are available, including remote, app, PC, and Alexa. Ensure the strip you purchase is compatible. Choose the control according to your convenience. For example, remotes are straightforward, whereas an app requires multiple clicks to switch a color.
Brightness & LED Density: The brightness is directly proportional to the LED density. For example, an LED strip with 60 LEDs/meter will glow brighter and smoother than a 30 LEDs/meter strip. Keep in mind, LED strips with higher density also cost more and require more electricity.
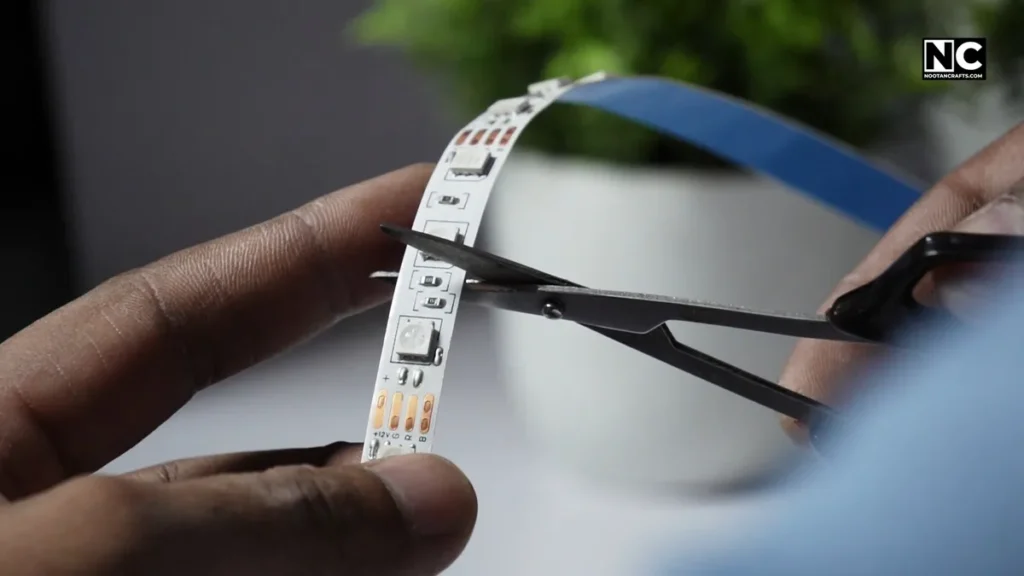
Cuttable or Not: Typically, strips are designed to be cuttable, but only at the marked points. Otherwise, you might end up ruining that section, which won’t glow due to circuit damage.
Consider the vibe you want to create and then select the LED strip accordingly.
Step 2: Plan Your Layout Before You Peel
Pealing and sticking might look satisfying, but wait before deciding, because once you do it, it won’t stick again, at least not properly.
Decide Where: Behind monitors, under desks, ceiling trim, inside shelves, usually where you can’t see it directly, for a smooth, glowing effect.
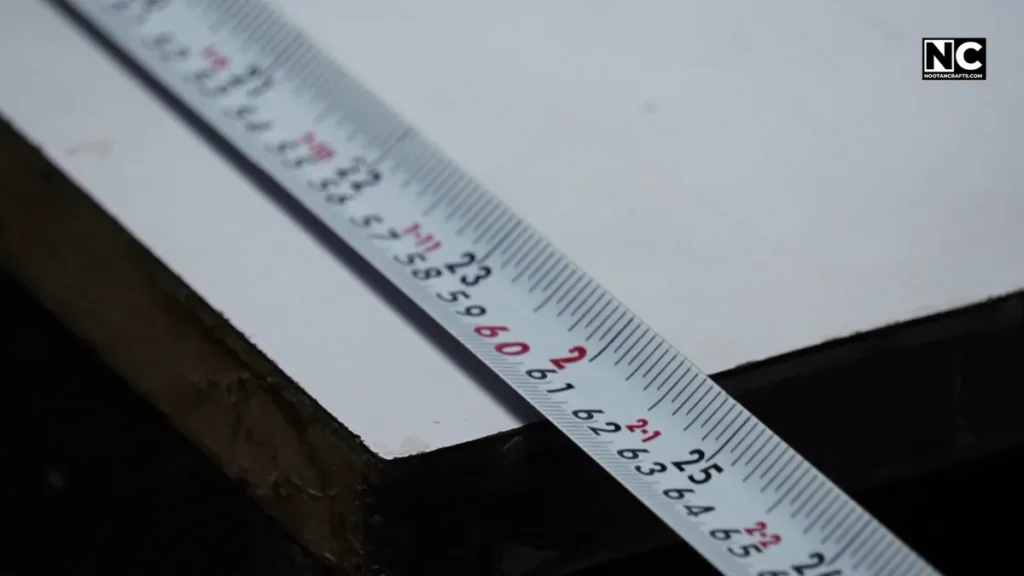
Measure Twice: The strip length, the power cable reach, and the controller position. A simple approach is first to connect the power adapter to the mains and then connect the controller. Now measure the strip length from the controller to the end.
If you have purchased a diffuser or aluminum channel, you will also need to measure its length. The strip will go inside it.
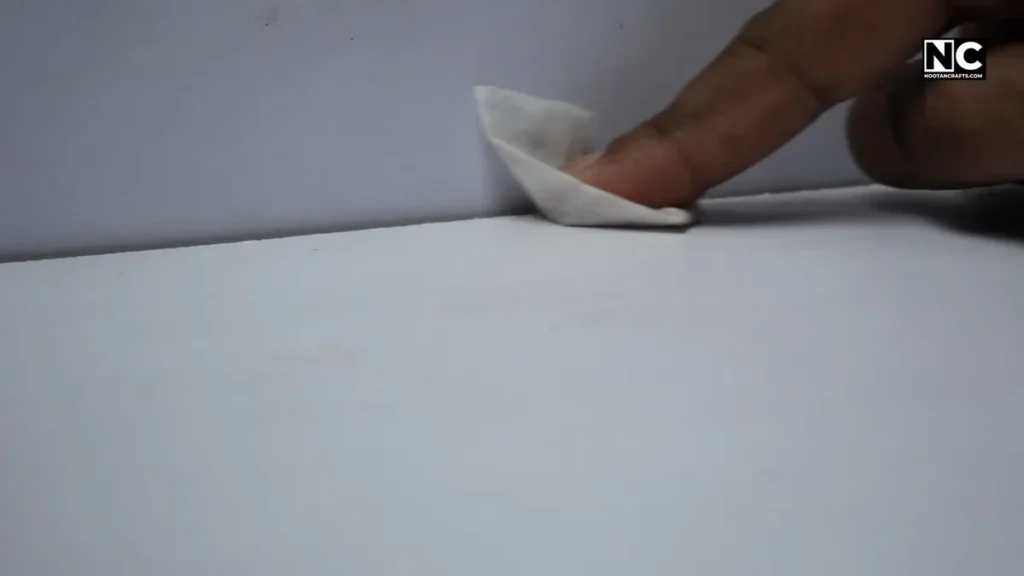
Clean the Surface: Dust, oil, or flaky paint will ruin the adhesive; don’t skip this part. For better stickiness, you can also use alcohol wipes.
Test Fit First: Lay the strip out without removing the backing to check length and corners.
Pro tip: Use an aluminum LED channel with a frosted diffuser cover to create a soft, professional-looking light. It spreads the light evenly and hides the individual LED dots for a more polished look.
A bit of planning saves a LOT of swearing.
Step 3: Stick the RGB Strip Properly
Don’t rush; keep these small things in mind to install an LED strip properly.
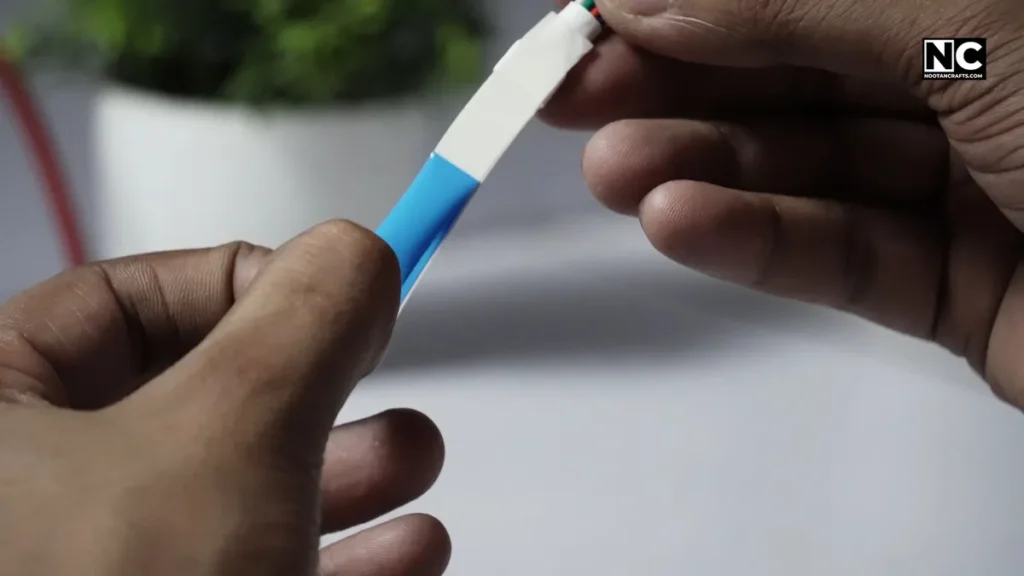
Peel Slowly: Don’t yank all the adhesive off at once. If you peel it off in one go, the strip might entangle and stick to itself, and worse, it might get damaged. Install it a few inches at a time, gently pressing as you go.
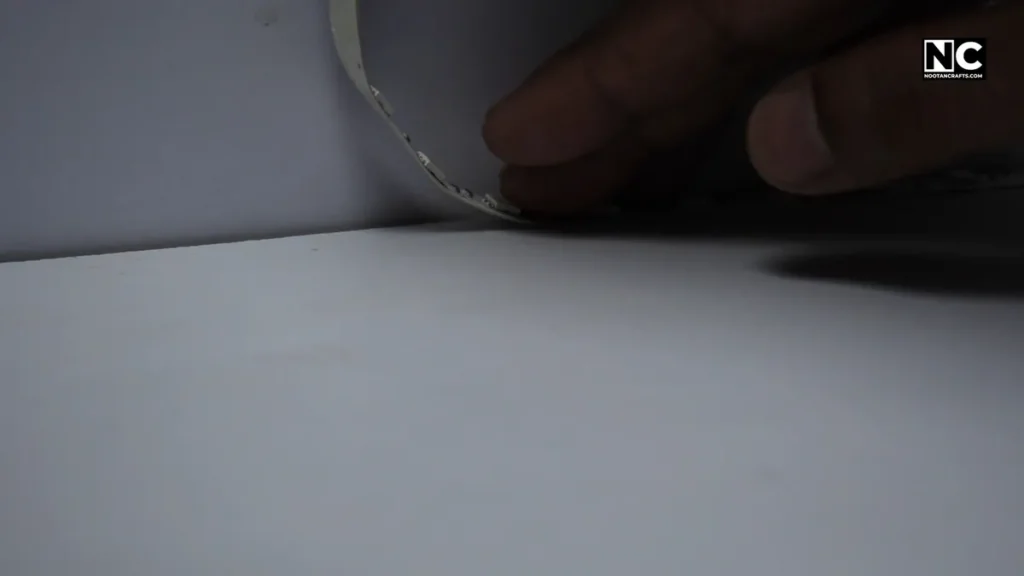
Stick Straight: Follow your markings. If you’re using channels, install them properly first.
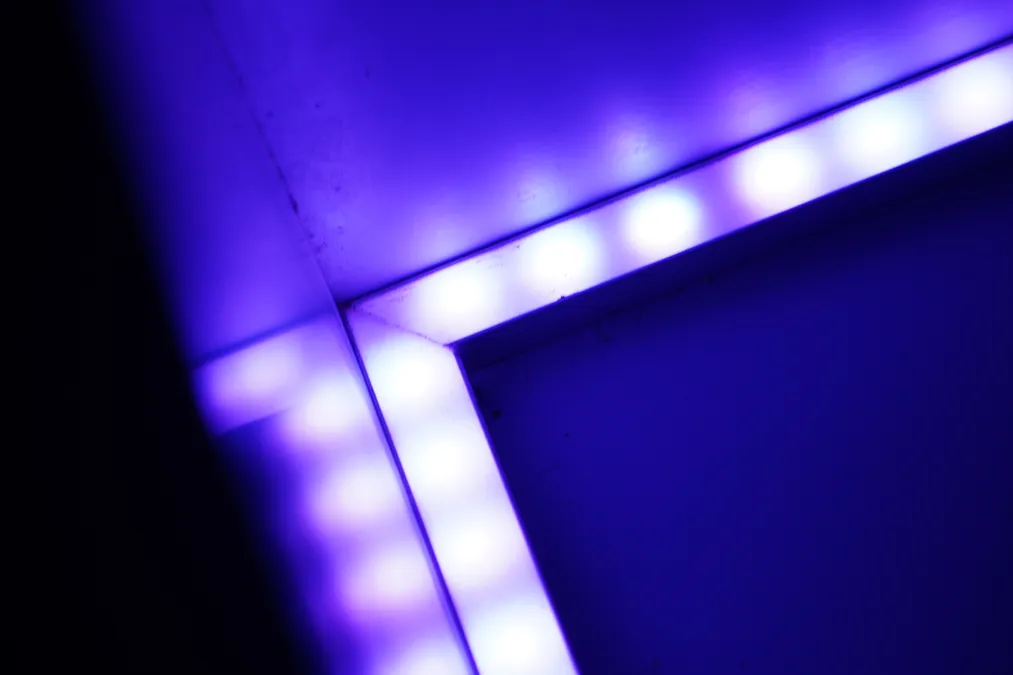
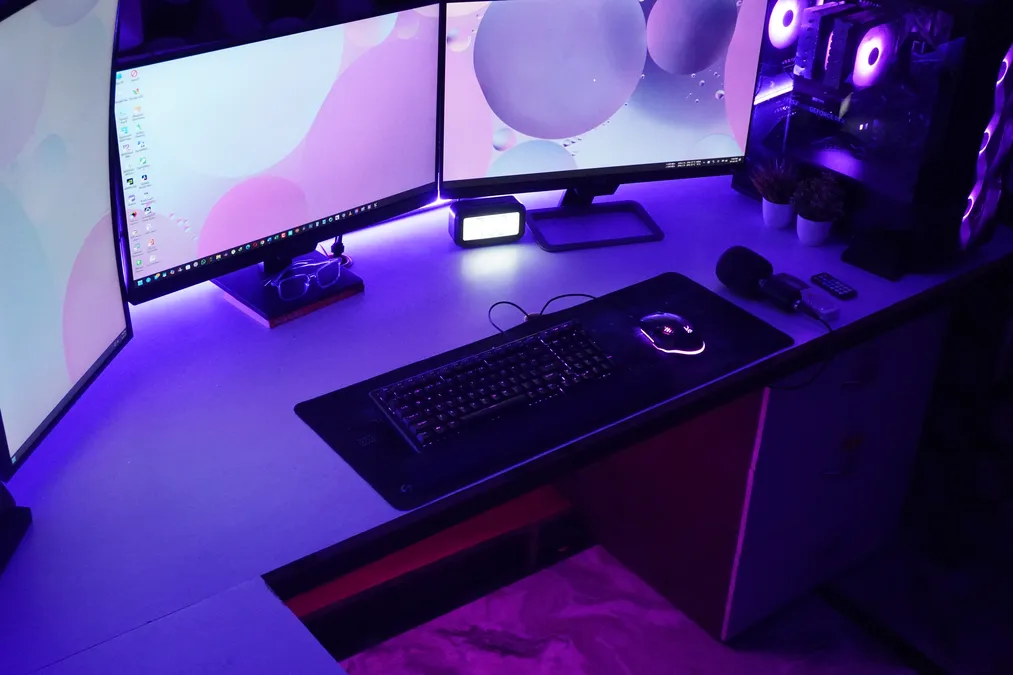
Corners: For 90° bends, avoid folding, as it may damage the strip. Use connectors or loop it softly. Here you can see how I neatly designed my desk backlight by making a miter joint.
Secure It: Use mounting clips or double-sided tape for better long-term stick. Not necessary, if you have used channels.
Pro tip: Avoid touching the adhesive while applying it, as this can weaken its stickiness.
Step 4: Connect the Strip to Power and Controller
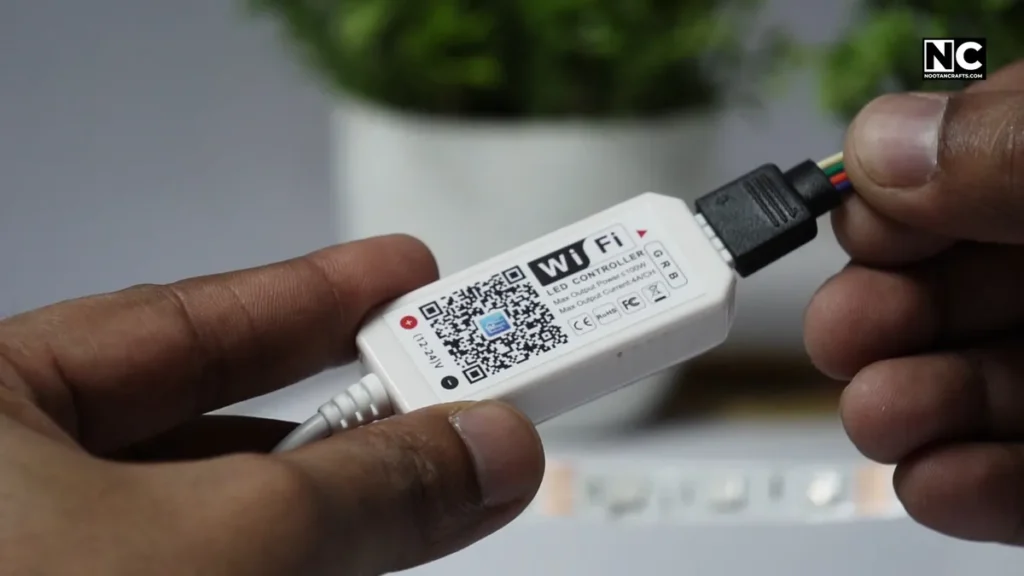


Power adapter > Controller > LED Strips, this is the basis of powering an LED strip. Here is how to set them up.
Match the Arrows: Both the LED strip and the controller have an arrow on their connectors. You need to match those arrows while joining connectors.
Use the Correct Header: For PC users, ensure you use the correct header on your motherboard. For RGB strips use 12V 4-pin or ARGB use a 5V 3-pin header
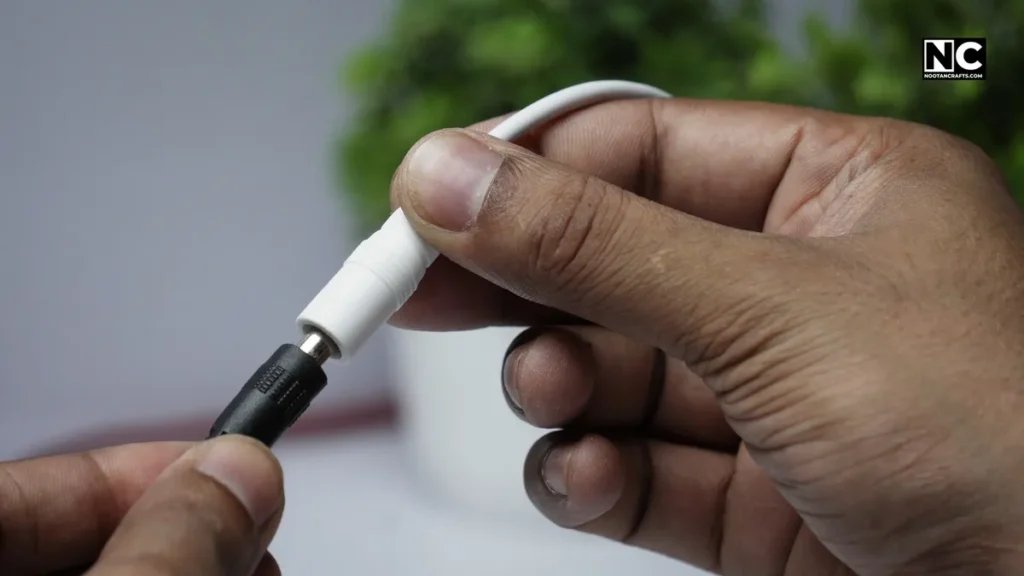
Use the Right Adapter: Some strips use a USB port, while others have wall plugs. Make sure the voltage matches.
Plug into Controller Box: Typically, this connects between the strip and the power source.
Power Up: Once everything is connected, turn it on and test before final mounting.
Boom. You should see the lights. If not, check polarity and connections.
Don’t worry if it’s not glowing. What could have gone wrong?
Step 5: Troubleshooting: Why Your RGB Strip Isn’t Working
No light, or if it flickers like a scene from a horror movie. Let’s fix it.
No Light?
Check polarity, connector fit, and power supply. Also, make sure the wall outlets have power.
Flickering?
It might be a loose connection or an overloaded adapter. Check the connection or change the
Wrong Colors?
The connector might be off by one pin. Just wiggle it a few times and fit it snugly.
Only Half Lights Work?
It usually happens due to a broken circuit, which may be caused by cutting at the wrong spot.
Remote Not Working?
Wrong remote or dead battery—yes, it happens, even some new remotes might come with a faulty battery.
If in doubt, disconnect everything and rebuild one step at a time.
Step 6: Customize and Sync Your Lighting
Now, here’s the fun part: customize it according to your taste.
- Room Vibes: Warm orange for a cozy feel. Cool blues for chill. Rainbows for party mode.
- Music Sync: Some strips pulse to your tunes, great for a house party.
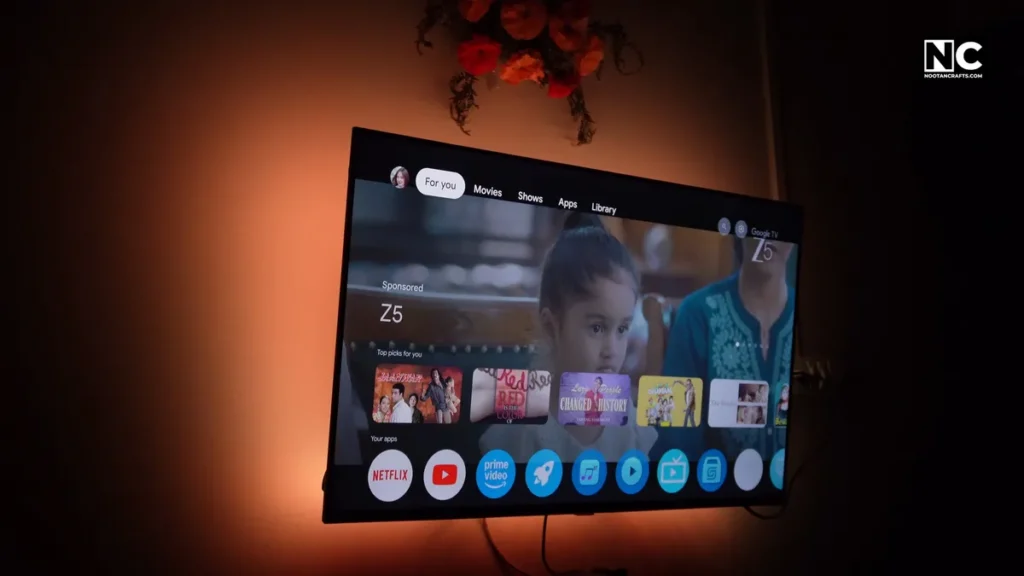
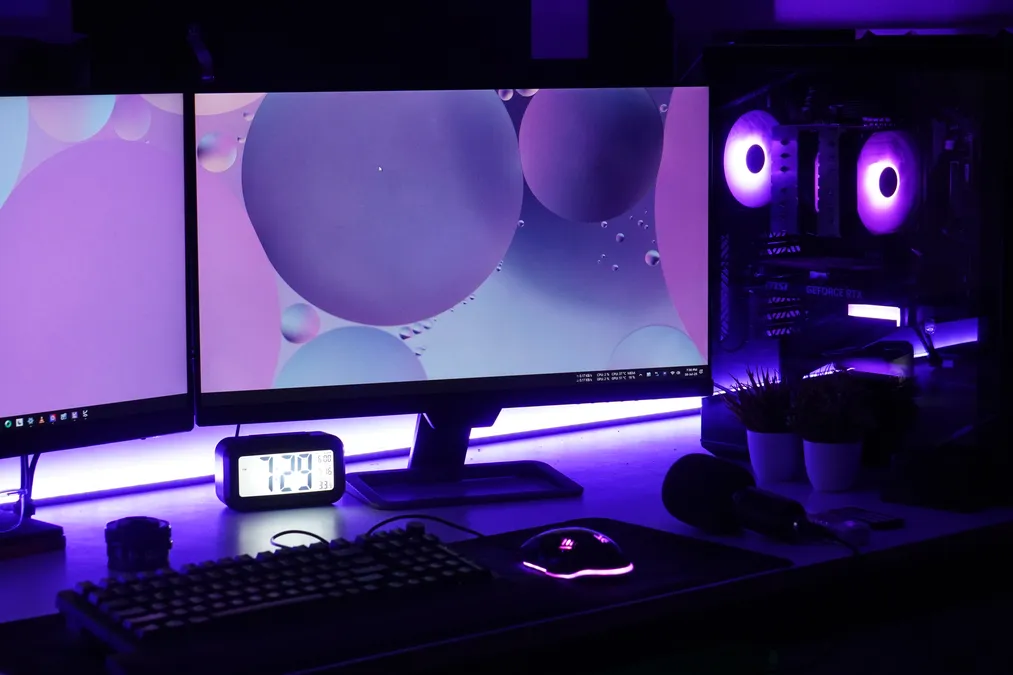
- Gaming Sync: Connect to your PC and make the lights react to in-game events, immersive as hell.
Placement Ideas:
- Behind the monitor = soft glow
- Under the desk = floating effect
- Around the ceiling = full ambient immersion
Automation: Use app timers or a voice assistant to auto-dim at night.
Make it your own. That’s the point.
FAQs Regarding How to Set Up RGB Strip Lights
Q1: Can we cut any RGB strip light at any point?
No. Only cut at the designated cut marks. Also, make sure your light has cutting marks.
Q2: Do I need a controller box?
Generally, yes, but it also depends on the specific circumstances. For example, if you connect it directly to your computer’s motherboard, no controller is required.
Q3: What’s the difference between RGB and ARGB?
RGB shows one color at a time. ARGB allows each LED to be controlled separately, enabling the display of complex effects and patterns.
Q4: My strip doesn’t stick well. What now?
You can use extra adhesive or clips to secure it, but make sure the surface is clean.
Q5: Can I run the room and PC RGB lights together?
Sure, but don’t overload your motherboard header. You can use an external controller for room lights.
Conclusion – How to install RGB Strip
Setting up RGB strip lights is one of the easiest ways to personalize and upgrade your space—but only if you do it correctly. Please select the right strip, plan carefully, install it cleanly, wire it correctly, and enjoy the glow. Don’t rush it.
Want it to look pro? Add a diffuser channel. That’s what takes it from DIY to showroom-level.
Once it works, it transforms your room. And the best part—you did it yourself. Keep crafting. Thanks for reading!