Drilling straight is an advantageous skill required in woodworking, metalworking, and various DIY projects. A crooked hole can lead to misaligned joints, weakened structures, and poor finish. Don’t worry if you don’t have access to a fancy and professional drill press because, with the proper technique, a handheld machine can do miracles. I have shared four practical, effective, and easy methods to answer your question about how to drill a straight hole without a drill press. So, let’s do this!
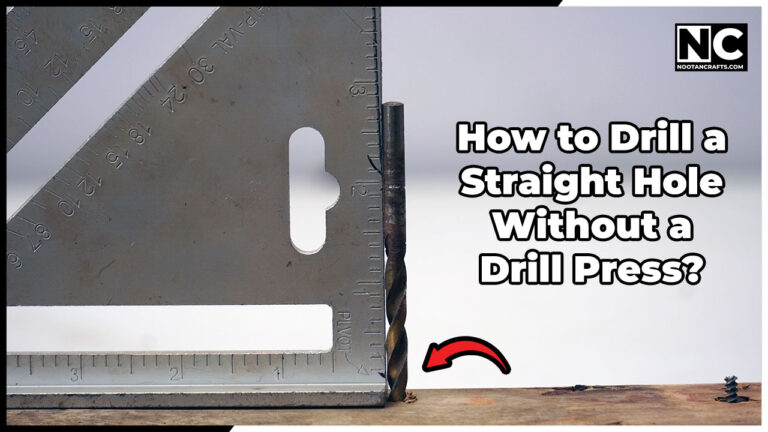
How to Drill a Straight Hole Without a Drill Press – Four Easy Ways
Method 1: Using a Speed Square
What is a Speed Square?
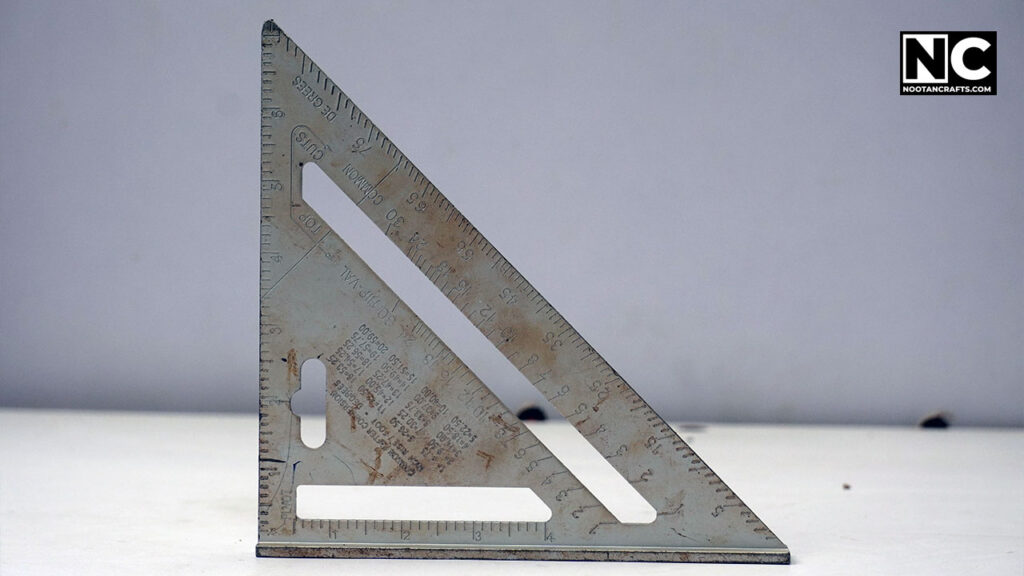
A speed square is a triangular tool used in carpentry to mark and measure angles. It is also helpful for drilling straight holes. Its compact and thin form factor makes it easy to carry and store.
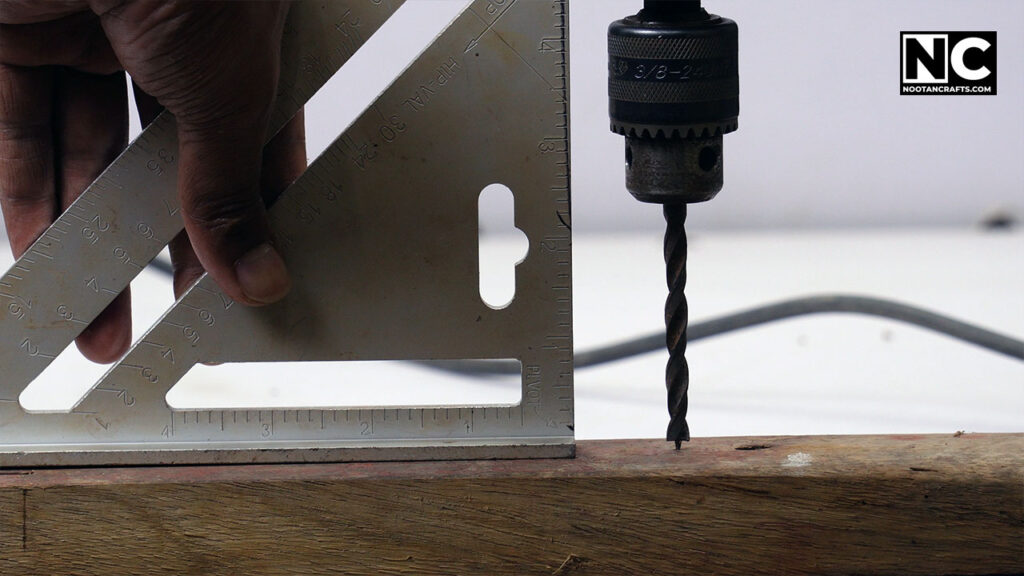
How to Use a Speed Square for Drilling a Straight Hole
Mark the Hole: Place a mark where you want to drill for better accuracy.
Align the Square: Position the speed square against your workpiece.
Align the Drill: Hold the drill against the square’s edge to maintain a straight angle.
Start Drilling: Drill slowly, keeping the drill aligned with the square.
Method 2: Using a Drill Guide
What is a Drill Guide?
A drill guide has pre-set angled holes and a base to clamp to your workpiece. You can clamp it on your workpiece and easily make a straight hole.

- Premium Home Improvement Tools: Drill guide can create perfectly positioned holes thanks to 6 built-in hole alignment marks
Last update on 2026-04-02 / Affiliate links / Images from Amazon Product Advertising API
How to Use a Drill Guide
Choose the Right Guide: Select a guide that matches your drill bit size. An ill-fitting guide can lead to crooked holes.
Position the Guide: Align the drill guide with the marked spot where you want to drill.
Clamp the Guide: Secure the guide to your workpiece using clamps.
Drill the Hole: Insert the drill bit into the guide and start drilling slowly. If the hole is too deep, you can remove the guide and continue drilling because the drill bit can align itself.
The drill guide is highly accurate, easy to use, and versatile for different angles, but it requires purchasing and is usually not available for larger bits.
Method 3: DIY Drill Guide Using Wood Blocks
Creating a DIY Drill Guide
You can easily make one using two wooden blocks if you don’t have a commercial drill guide.
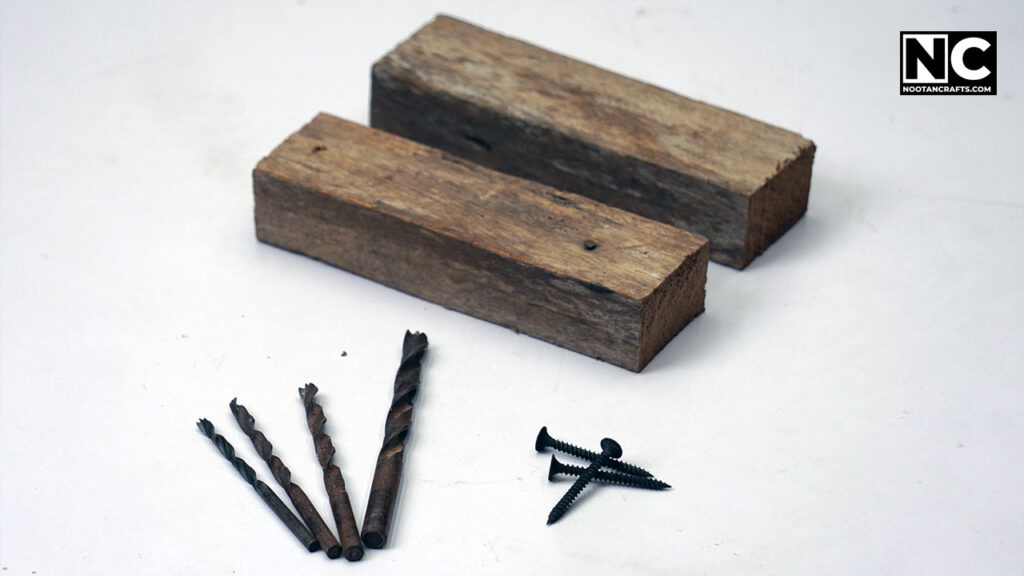
Materials Needed
- Two wood blocks of equal size
- Wood glue or screws
- Drill and bits
Step-by-Step Construction
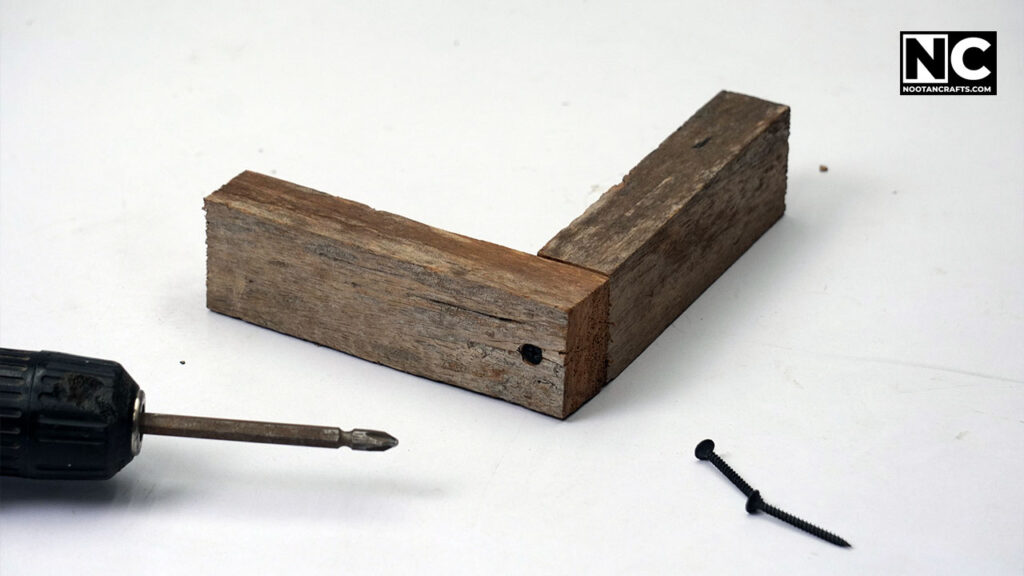
Align the Blocks: Place the blocks together, ensuring their edges are flush.
Glue or Screw Them Together: Use wood glue or screws to secure the blocks.
Using the DIY Drill Guide
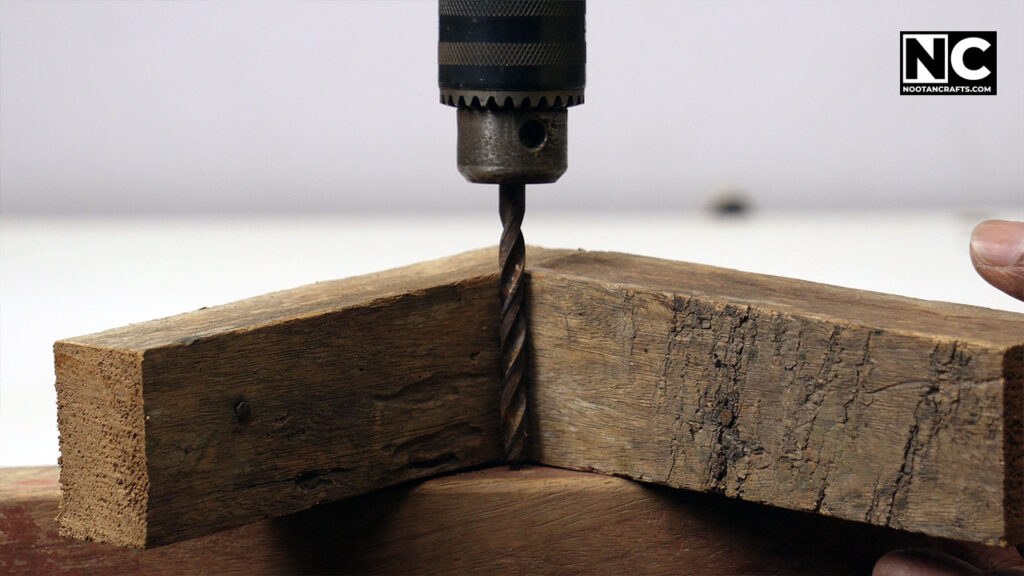
Position the Guide: Place the guide on your marked spot.
Clamp the Guide: Secure it to your workpiece or hold it firmly with your hands.
Drill the Hole: Use the guide to drill your straight hole.
Method 4: Using a Square Tube Guide
What is a Square Tube Guide?
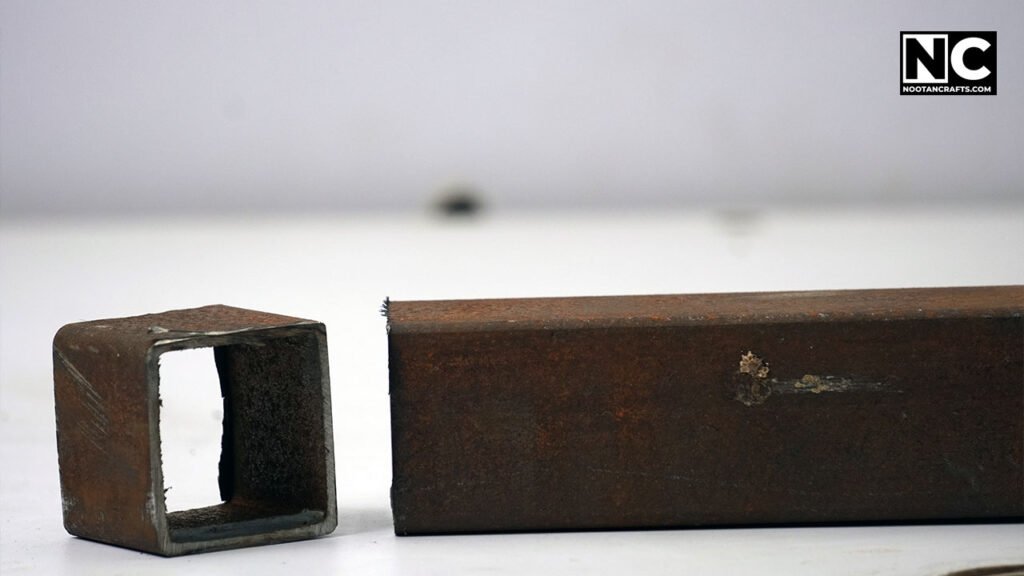
A square tube guide is made of a square pipe by cutting a small piece. It works amazingly well to drill a straight hole.
How to Use a Square Tube Guide
Materials Needed
- Small piece of square tube (metal or plastic)
- Clamps
Step-by-Step Instructions
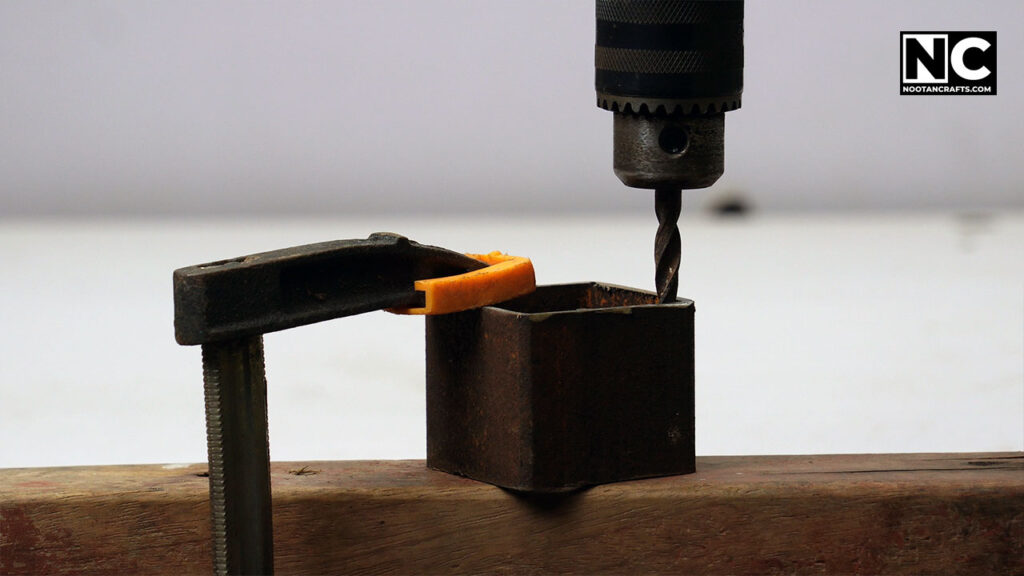
Cut the Tube: Cut a small piece of the square tube, ensuring the ends are perpendicular to its length.
Position the Tube: Place the square tube on the marked spot where you want to drill.
Clamp the Tube: Secure the square tube to your workpiece using clamps to prevent movement.
Drill the Hole: Put the drill bit into the tube and start drilling at low speed, using the tube as a guide.
A square tube is a rigid guide that provides higher precision. It’s easy to create from readily available material and ideal for various sizes of drill bits.
Tips for Drilling Straight Holes
Marking the Hole
Precision is key. Use a sharp pencil or marker to make a clear and visible mark on your workpiece.
Starting with a Pilot Hole
Consider drilling a small pilot hole before using the final drill bit size. It helps guide the bit and prevents slipping.
Steady Hand and Slow Drilling
Always maintain a firm grip on the machine and drill slowly to ensure control and accuracy. Rushing can also lead to mistakes and accidents.
Checking for Straightness
Stop and check your progress regularly. Use a square or level to ensure the hole is straight and adjust if necessary.
General FAQs
Common mistakes include not securing the workpiece, drilling too quickly, and not marking the hole precisely.
Ensure the blocks are perfectly cut, aligned, and securely joined. Use precise measurements for cutting.
Yes, clamping the workpiece prevents movement and ensures accurate drilling.
These methods can be adapted for wood, metal, and plastic. However, you may need to make some adjustments.
Conclusion on Drilling a Straight Hole without a Drill Press
Drilling straight holes without a drill press is possible; you need the right tools and technique. Hopefully, the four methods I shared above will help you drill a straight hole. Sometimes, you must try multiple times to achieve a perfect straight hole, so it would be best to practice on a scrap piece before working on your final project. If you have any questions or suggestions, let me know. Thanks for reading till the end. Until next time, keep crafting.